Hansshow Juniper-Style Carbon Mirror Caps: Tesla Model Y / 3 Install
Wipe the mirror, peel the 3M tape, press the Juniper-inspired overlay on and hold for 15 seconds.
Full video (3 min): New Refresh Mirror Caps for the Model OG Y / 3 | Increase Range!?
Get the parts
DEALCode "JOHN" for 20% off at Hansshow (per the video description)
White buttons are from the video description. “Generic pick” links are my suggestions, not from the video; confirm fitment and part number before buying. Some are affiliate links, so I may earn a commission at no extra cost to you.
Overview
Gives an older Model Y the refreshed Juniper mirror look, and adds a layer of protection. The lip hugs the mirror securely even before the adhesive goes on.
Vehicle & fitment
- Product
- Hansshow real carbon fiber side mirror cover overlays, inspired by the Model Y Juniper
- Shown on
- Tesla Model Y (pre-Juniper)
- Tesla Model Y (per the description). The title mentions the OG Y / 3.
Always confirm fitment for your exact year and trim with the seller before buying.
Tools & parts
Tools
- Quick detailer and microfiber towel
Parts
- Mirror cap overlays (pre-taped)
Step by step
- 1
Clean▶ 1:21
Wipe the mirror with quick detailer so there's no dust.
- 2
Peel and press▶ 1:25
Remove the 3M backing, press the cover on and hold for 15 seconds.
- 3
Check the fold▶ 1:56
Lock the doors to make sure the mirrors still fold without hitting anything.
Get the parts
DEALCode "JOHN" for 20% off at Hansshow (per the video description)
White buttons are from the video description. “Generic pick” links are my suggestions, not from the video; confirm fitment and part number before buying. Some are affiliate links, so I may earn a commission at no extra cost to you.
John's Tesla Model Y
More photos →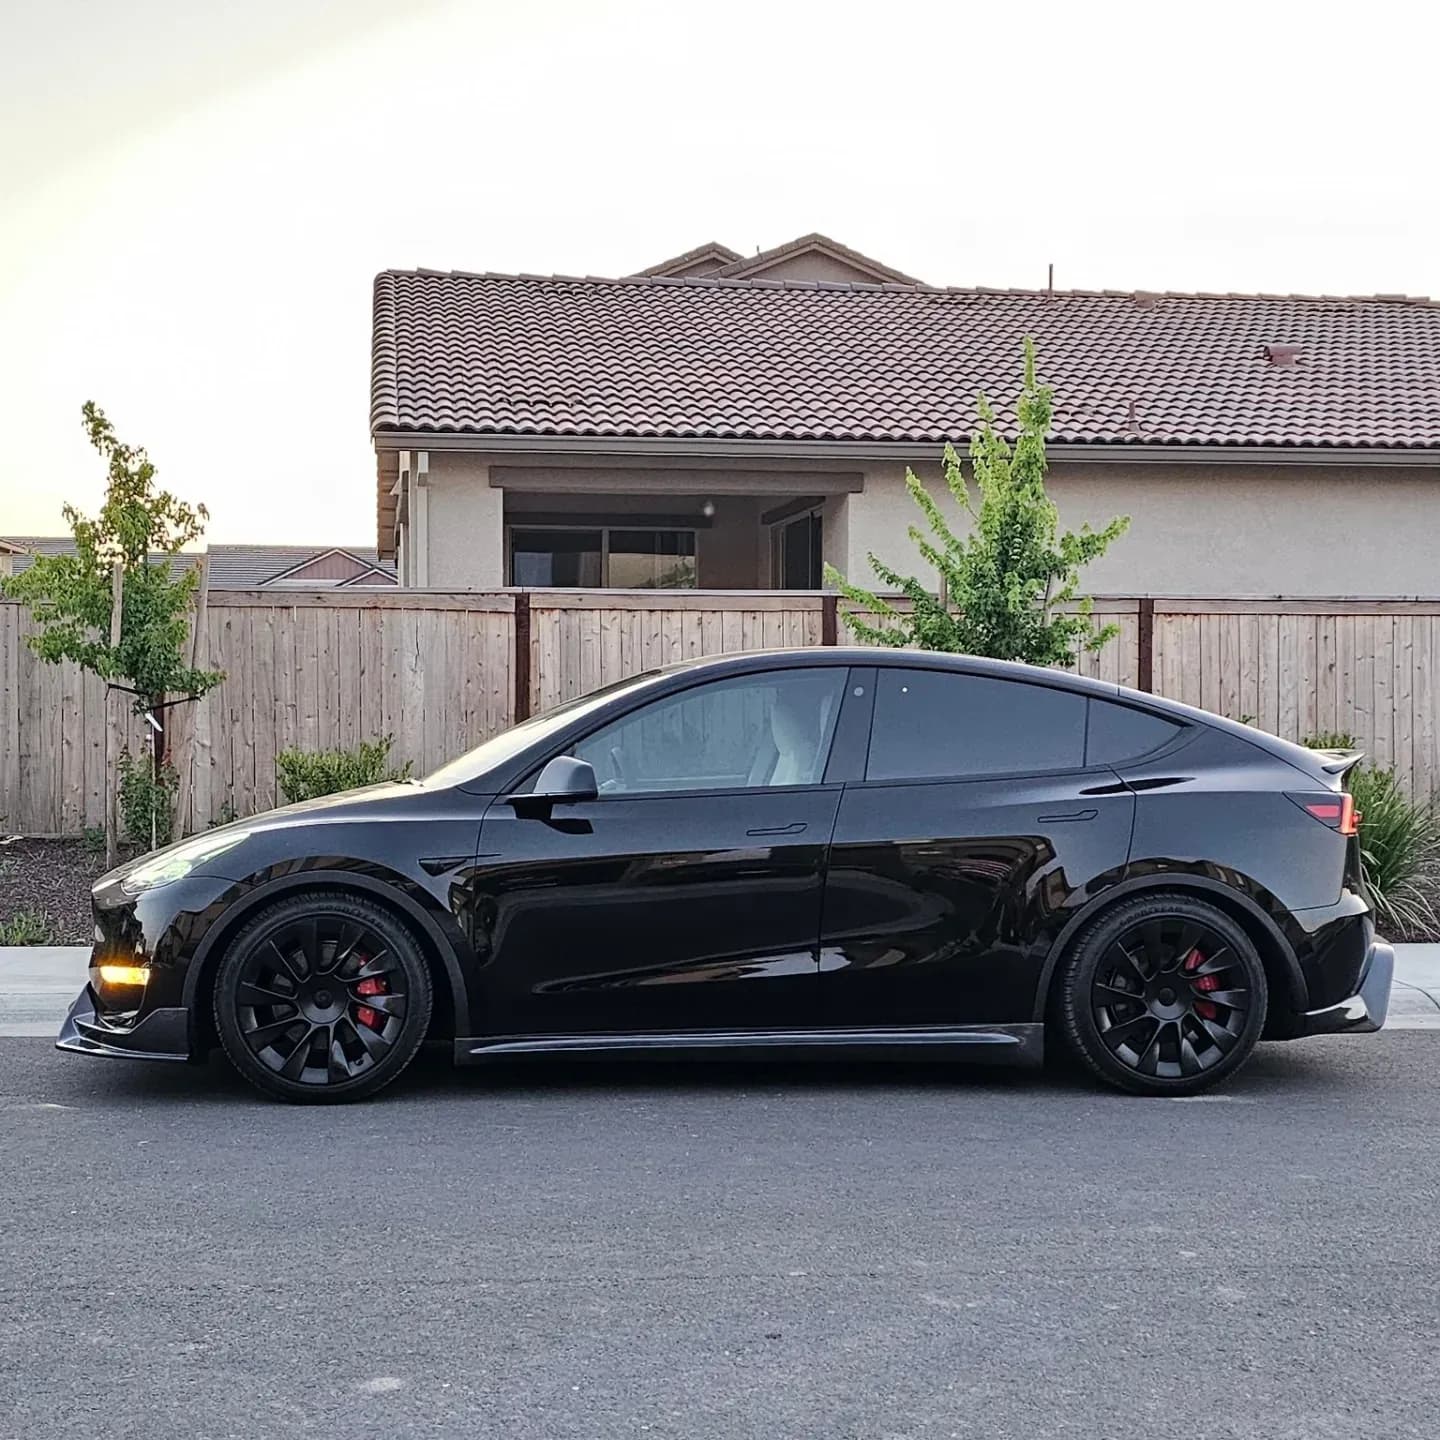
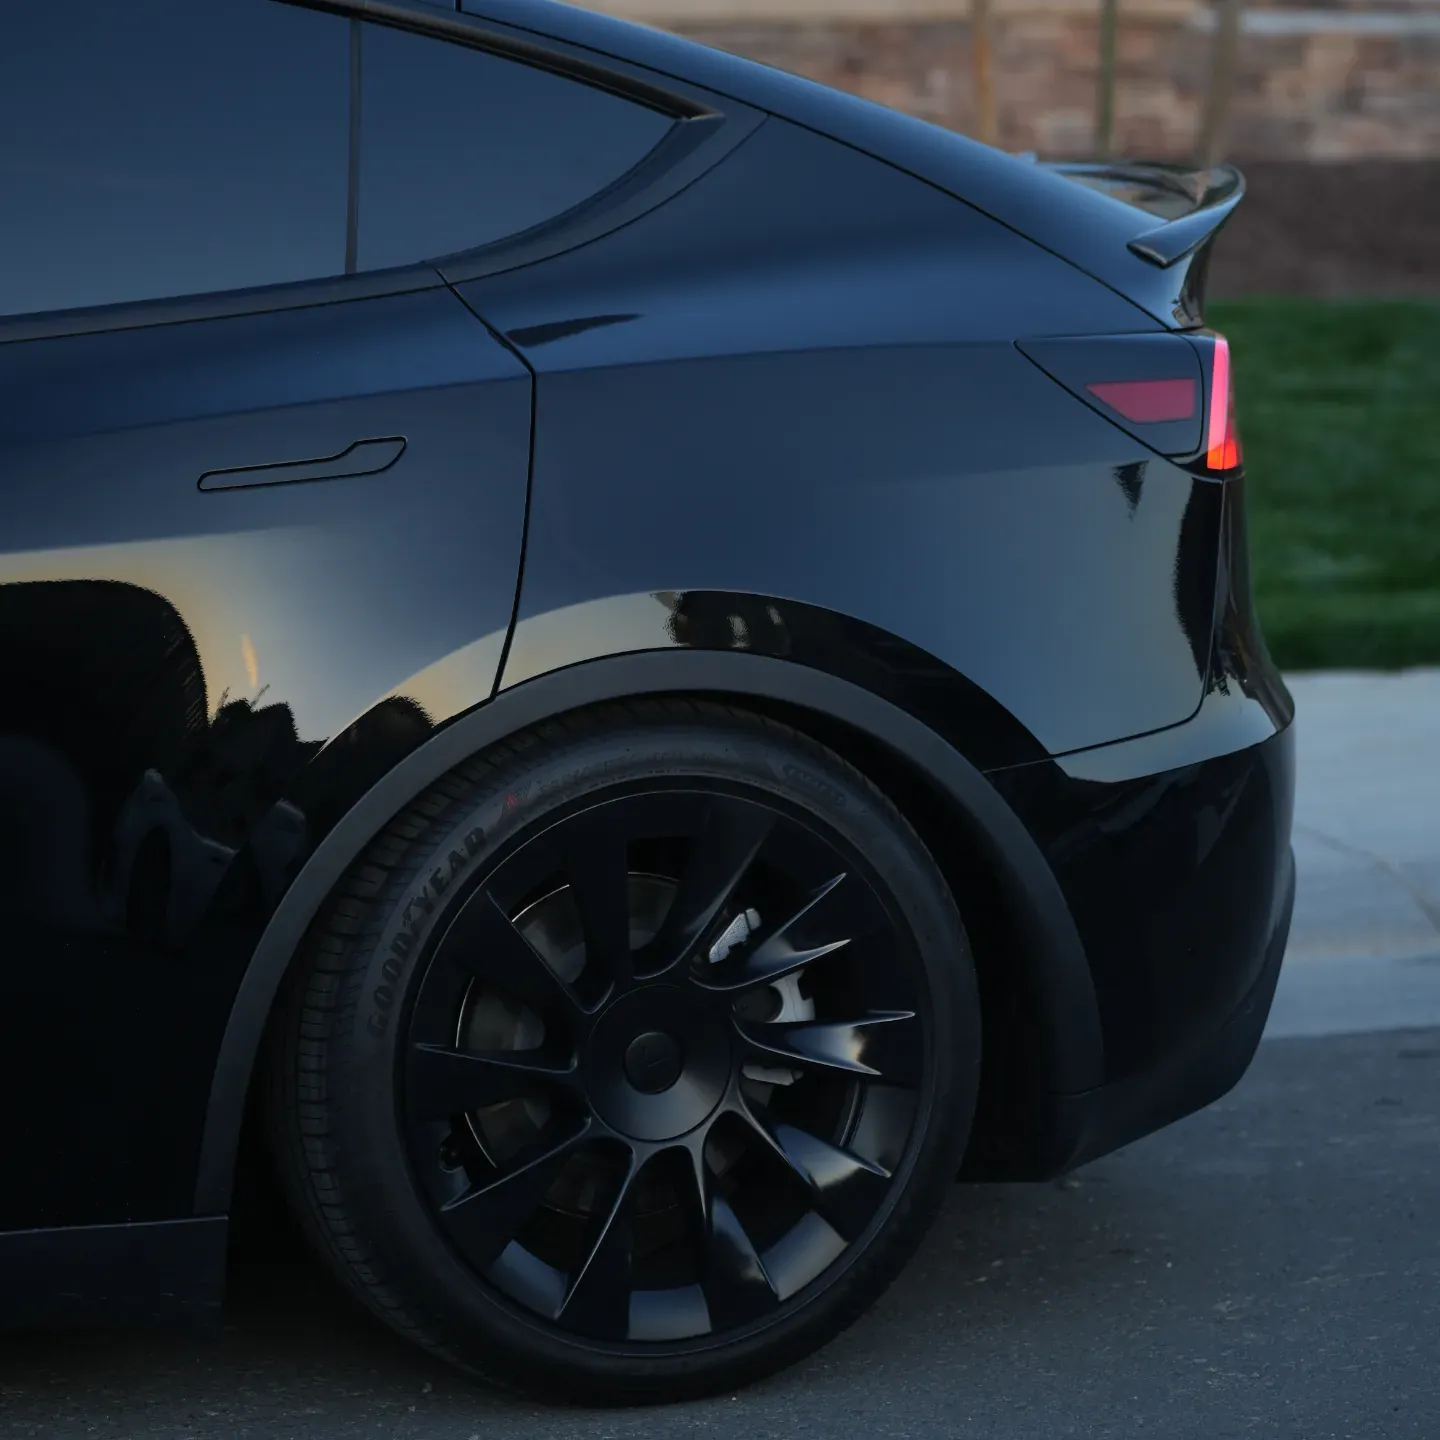
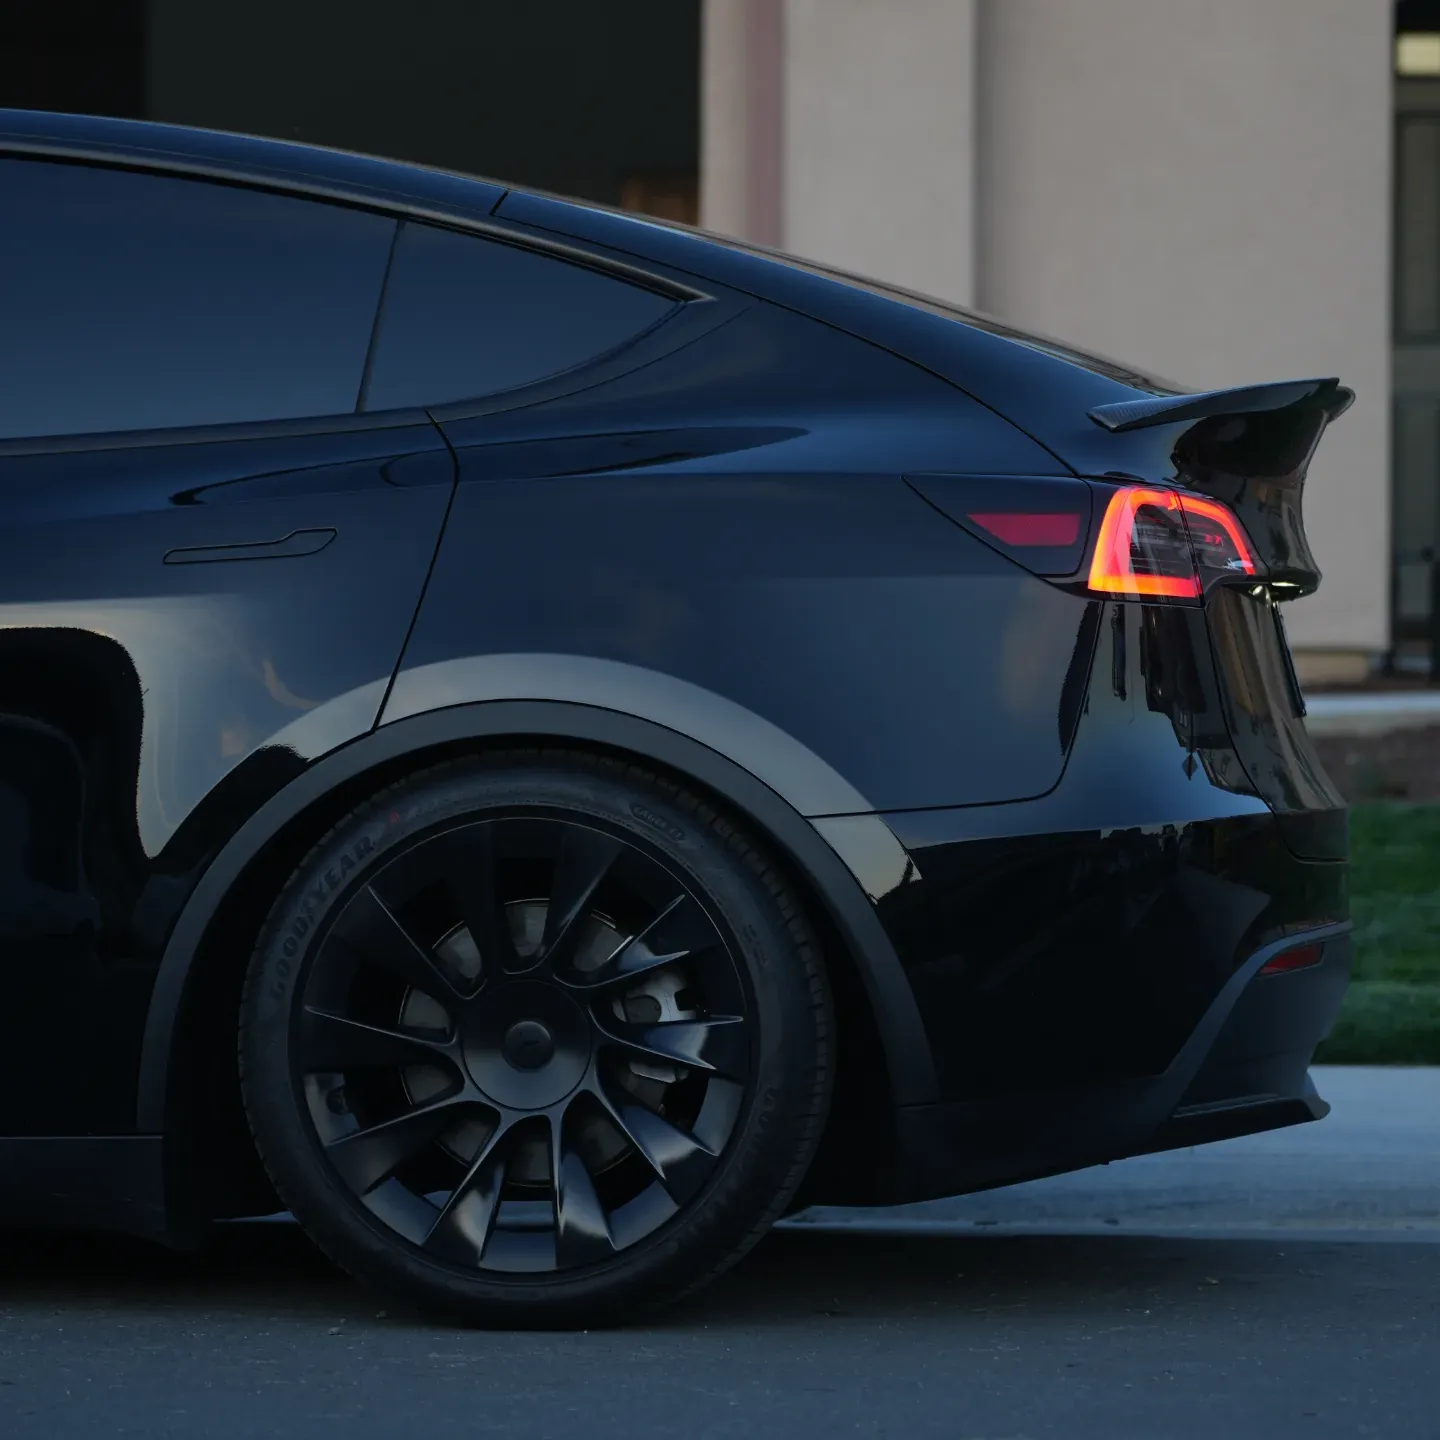
Photos from @ngooyen on Instagram. Follow for more.
Full transcript
Show the full transcript (25 lines) +
0:03What's up guys, it's your boy Dom. We are back again with another video today
0:07We're going to be doing an install on the Tesla. Why we have a Han show product the
0:13Highlands, you know, it's just basically the new
0:16The refreshed of this I just recently came the game. Here's the design now. That's a claim to this design for our dynamic
0:23It's quieter. So it's through the air a little bit better. You can see the little
0:28Thing but it's very easy to install all you have to do is wipe down this and it has a lip
0:36Which I really like so I'm not gonna put the adhesive in yet, but you can kind of see it kind of goes right in and
0:45Hugs it nicely. So even without any adhesive on. This thing is on there good
0:51and
0:52Looks amazing especially on black
0:55Because I have everything pretty much carbon-fibred out on this car
1:00With the adro style front signs in the rear
1:05And something like that now. How do you install something like this securely?
1:09Make sure you wipe down this with a you know some quick detailer
1:13Make sure you get it's not dusty that way the adhesive can really bite onto it
1:18And then I'm on to show that real quick right now
1:21All right to get to the install make sure you wipe this down really good
1:25Make sure there's no dust on it remove the 3M tape. You can have it partially on I'm just gonna
1:35take it all off and
1:38It's just a press fit again, it was really secure or without it. I like to press down for 15 seconds
1:56One two three, so it's been sitting for a bit and now I want to lock the door
2:15You can see it falls
2:17Make sure if I'm hitting anything it doesn't look like it adds anything to the bottom. So you're not gonna really have any issues
2:25You got the extra layer of protection for your original mirrors to do the same for the other side
2:35And that looks good
Machine-transcribed from the full-length video and lightly cleaned (product names fixed). Watch the video for exact wording.