Hansshow Power Frunk Kit: Tesla Model Y Juniper DIY Install
Soft-close, button and app-controlled frunk: struts, suction latch, brain module, ground and emergency release.
Full video (19 min): Model Y Juniper Power Frunk Kit | Simple tools and DIY Friendly
Get the parts
- Hansshow Model Y Juniper Power FrunkBuy ↗
- More Hansshow Juniper accessoriesBuy ↗
- Hansshow websiteBuy ↗
DEALCode "JOHN" for 20% off at Hansshow (per the video description)
White buttons are from the video description. “Generic pick” links are my suggestions, not from the video; confirm fitment and part number before buying. Some are affiliate links, so I may earn a commission at no extra cost to you.
Overview
John's favorite mod for any Tesla. Press a button or use the app and the frunk opens. It soft-closes with a suction latch, so there's no slamming. He has run a Hansshow kit on his own Model Y for almost three years with no issues. The kit includes the brain module, power struts, L/R brackets, suction latch, a speaker, heavy-duty zip ties, a wire-looping tool and an emergency pull release.
Vehicle & fitment
- Product
- Hansshow Model Y Juniper electric power frunk (power struts + auto-suction latch)
- Shown on
- Tesla Model Y Juniper
- Tesla Model Y Juniper (refresh)
Always confirm fitment for your exact year and trim with the seller before buying.
Tools & parts
Tools
- Flat screwdriver (to release strut ball joints)
- 10mm socket
- Wrench
- Something to score alignment marks
Parts
- Hansshow power frunk kit (struts, brackets, brain, latch, speaker, harnesses, zip ties, 3M tape)
Step by step
- 1
Remove the front trim panels▶ 2:53
They're held only by plastic clips, no bolts. Remove them gently, then pull the extra piece and remove the two bolts underneath.
Tip: This is also where the cabin air filter lives, if you want to change it.
- 2
Remove the OEM struts▶ 5:32
Use a flat screwdriver to pry up the small clip on each ball joint so the strut releases. Do both ends.
- 3
Install the L/R brackets▶ 6:20
There's an R and an L bracket (L = driver's side). Unscrew the old ball joint and fit the bracket into the same hole. Refer to Hansshow's installation guide.
Tip: The OEM ball joint wasn't torqued very tight.
- 4
Install the power struts▶ 7:28
Fit them with the wire facing down. Rotate the top to line up with the ball joint, then press it on. Snake the wire so it's hidden from above.
- 5
Swap the latch▶ 8:18
Unplug the latch (pull the red lock tab) and remove its 10mm bolts. Score alignment marks on both sides first. Remove the spring, fit the emergency-pull cable, reinstall the spring, then line the new latch up with your score marks for perfect hood fitment.
- 6
Mount the brain and plug in▶ 10:03
Mount the brain in a dry spot with 3M tape. Connect the suction latch, both struts and the Y-splitters: unplug the OEM plug, insert the new harness, then plug the OEM plug into it.
Warning: Keep the brain away from the wheel well and water channels.
- 7
Ground and power▶ 12:00
Loosen a common ground bolt, put the ground lead under it and retighten. Connect the power wire with the included nut and tighten it with a wrench.
- 8
Don't miss the latch-sensor wire▶ 14:48
One wire connects to the new mechanism so the system knows when the frunk is closed or open. John almost missed it.
- 9
Set speed and test▶ 16:20
Press the module button repeatedly to set speed (five beeps = setting 5, the max on this kit). Test the button and app before reassembly. Then zip-tie and tidy everything.
- 10
Check the emergency release▶ 17:33
If the 12V battery dies, the emergency pull lets you open the frunk to reach the battery.
Wiring notes
- Y-splitters go inline with the OEM plugs.
- Ground to a common chassis ground bolt; power wire secured with the supplied nut.
- Latch-sensor wire tells the brain open/closed.
- Optional speaker (John removed it for the owner).
Get the parts
- Hansshow Model Y Juniper Power FrunkBuy ↗
- More Hansshow Juniper accessoriesBuy ↗
- Hansshow websiteBuy ↗
DEALCode "JOHN" for 20% off at Hansshow (per the video description)
White buttons are from the video description. “Generic pick” links are my suggestions, not from the video; confirm fitment and part number before buying. Some are affiliate links, so I may earn a commission at no extra cost to you.
John's Tesla Model Y
More photos →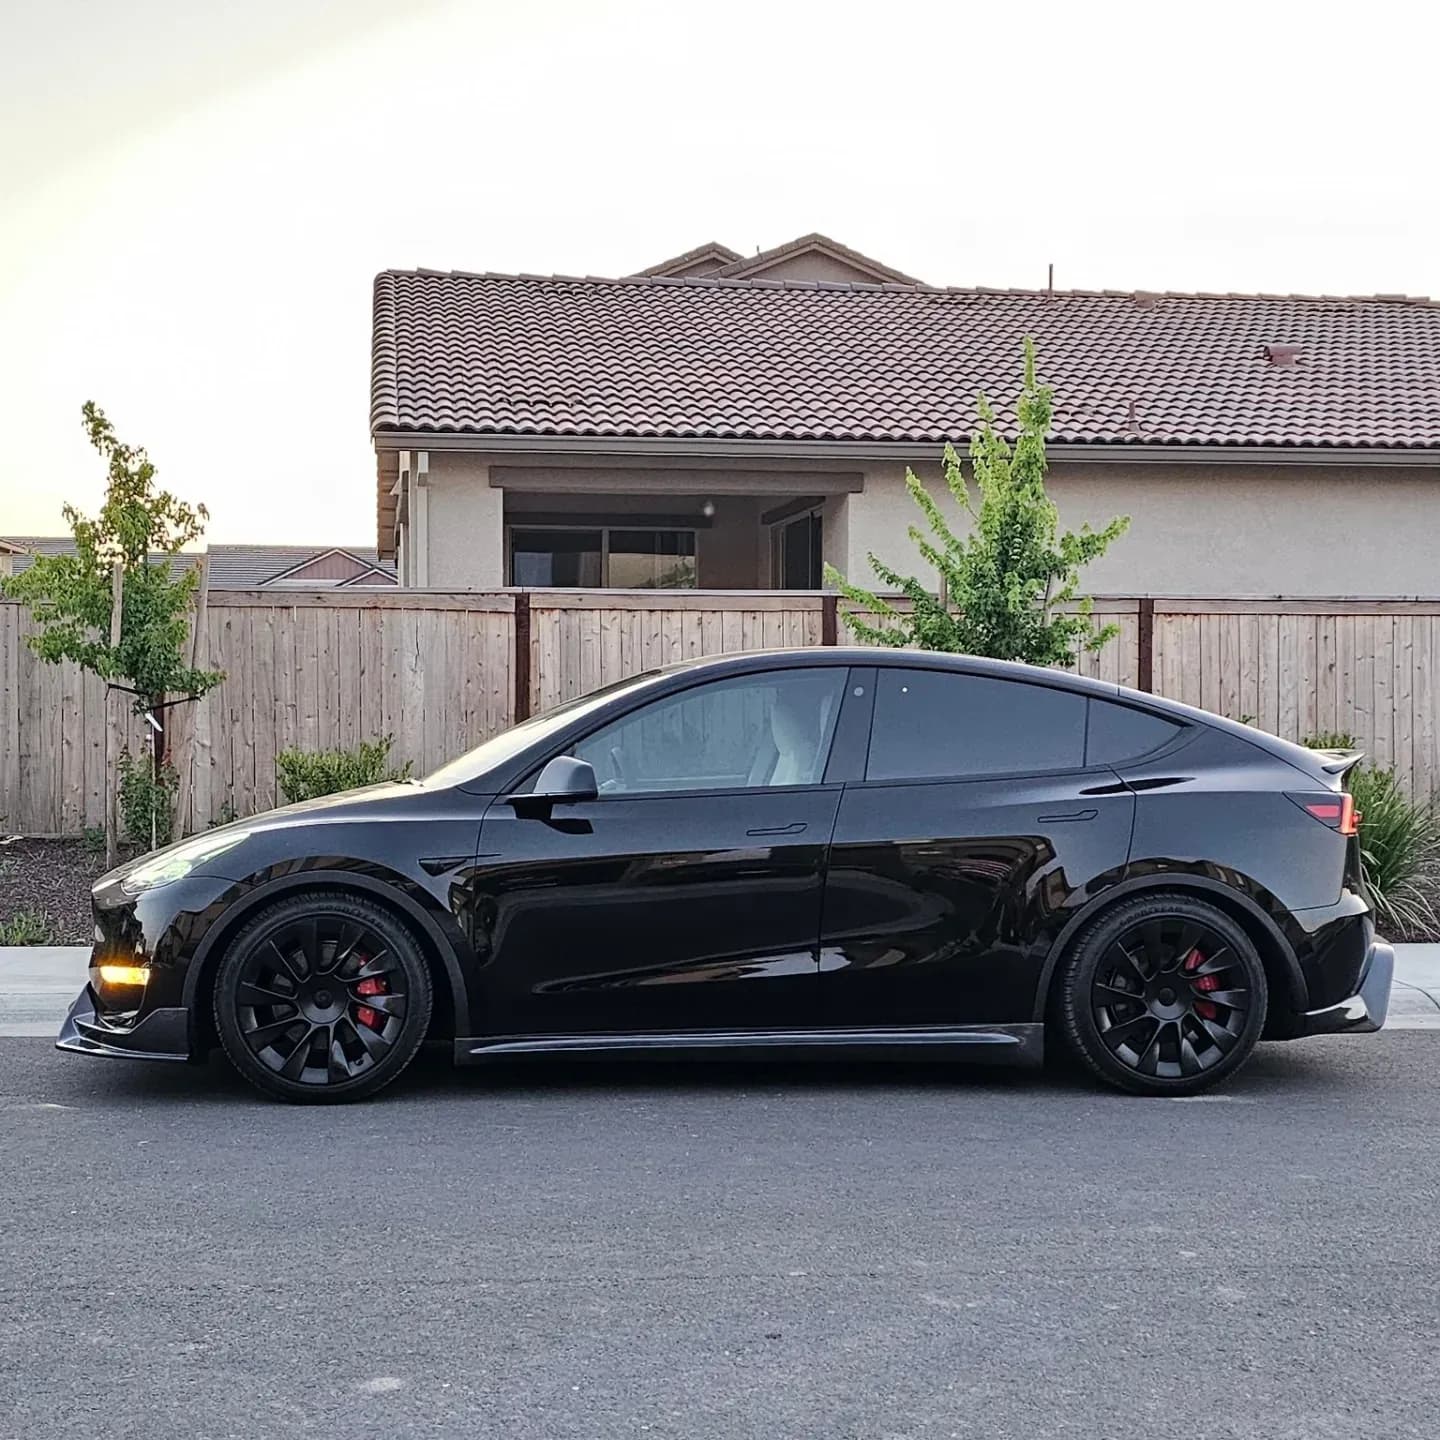
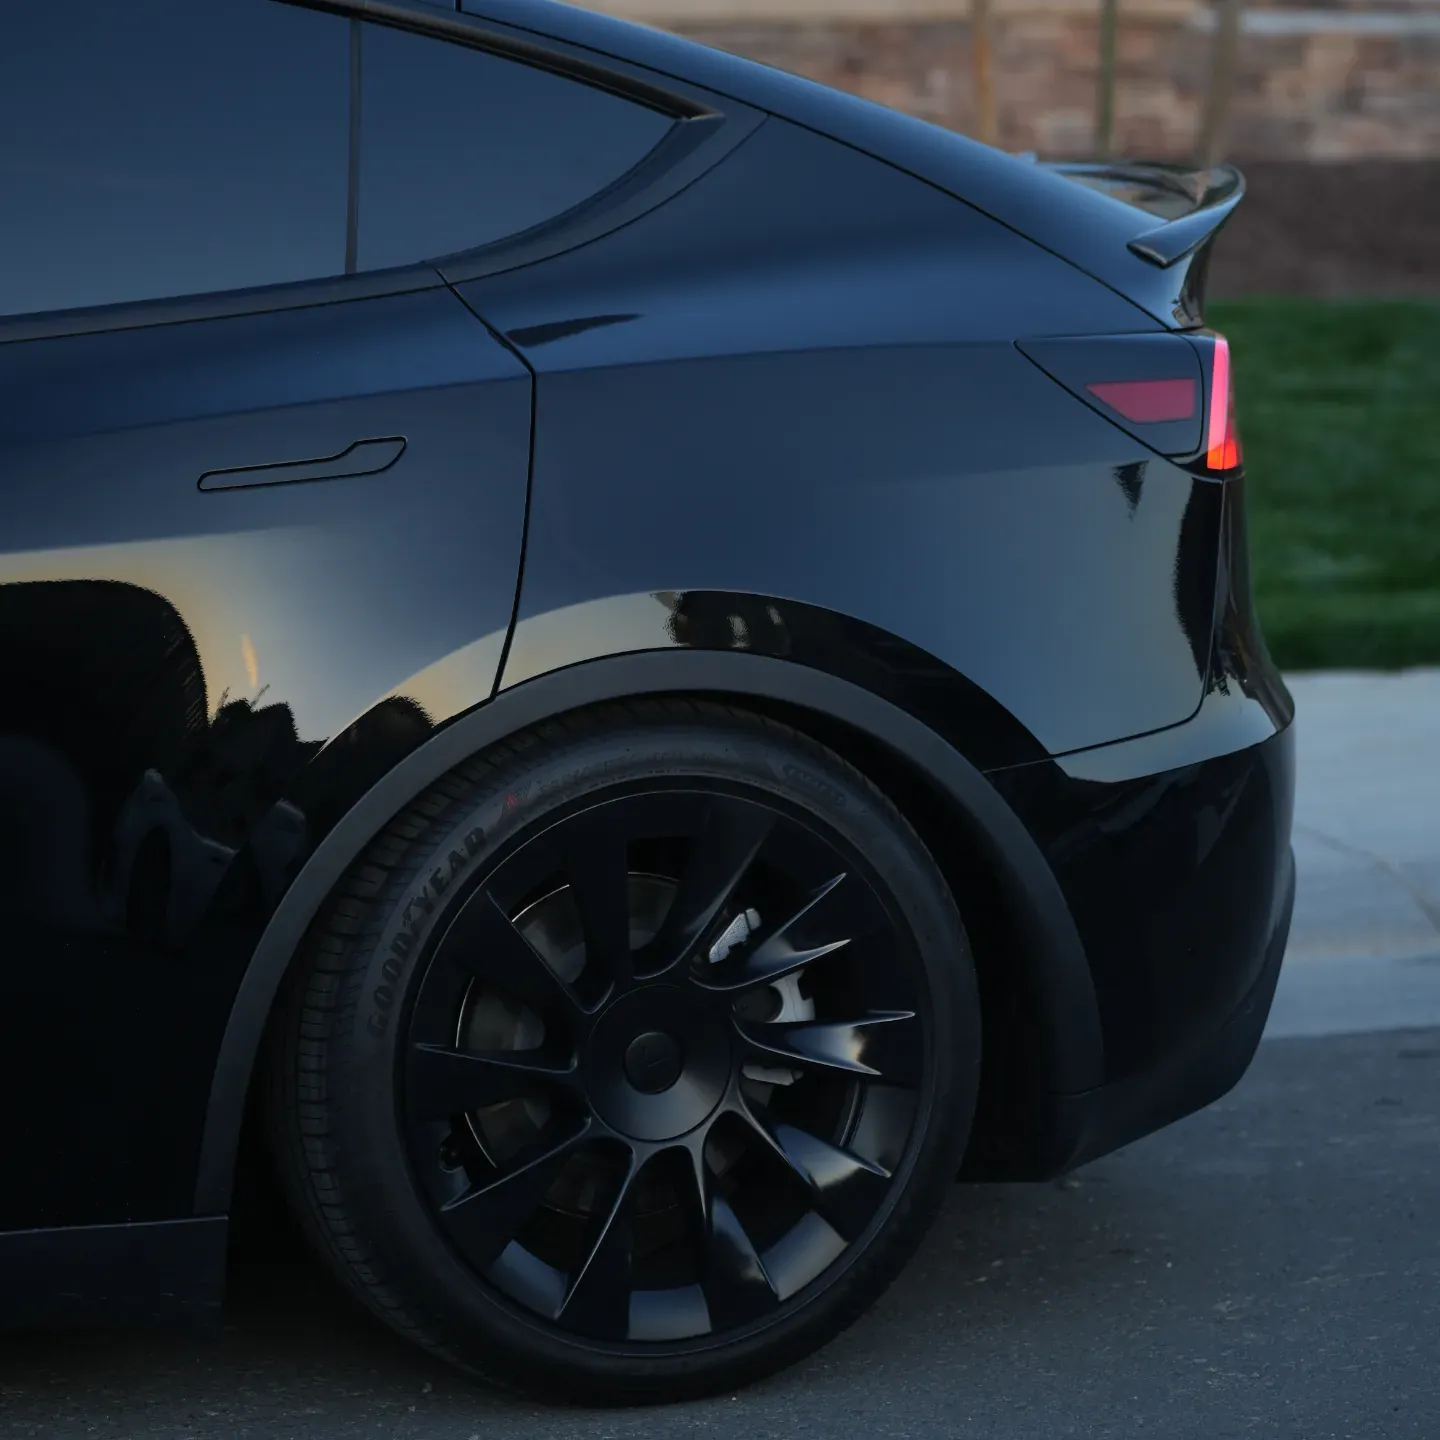
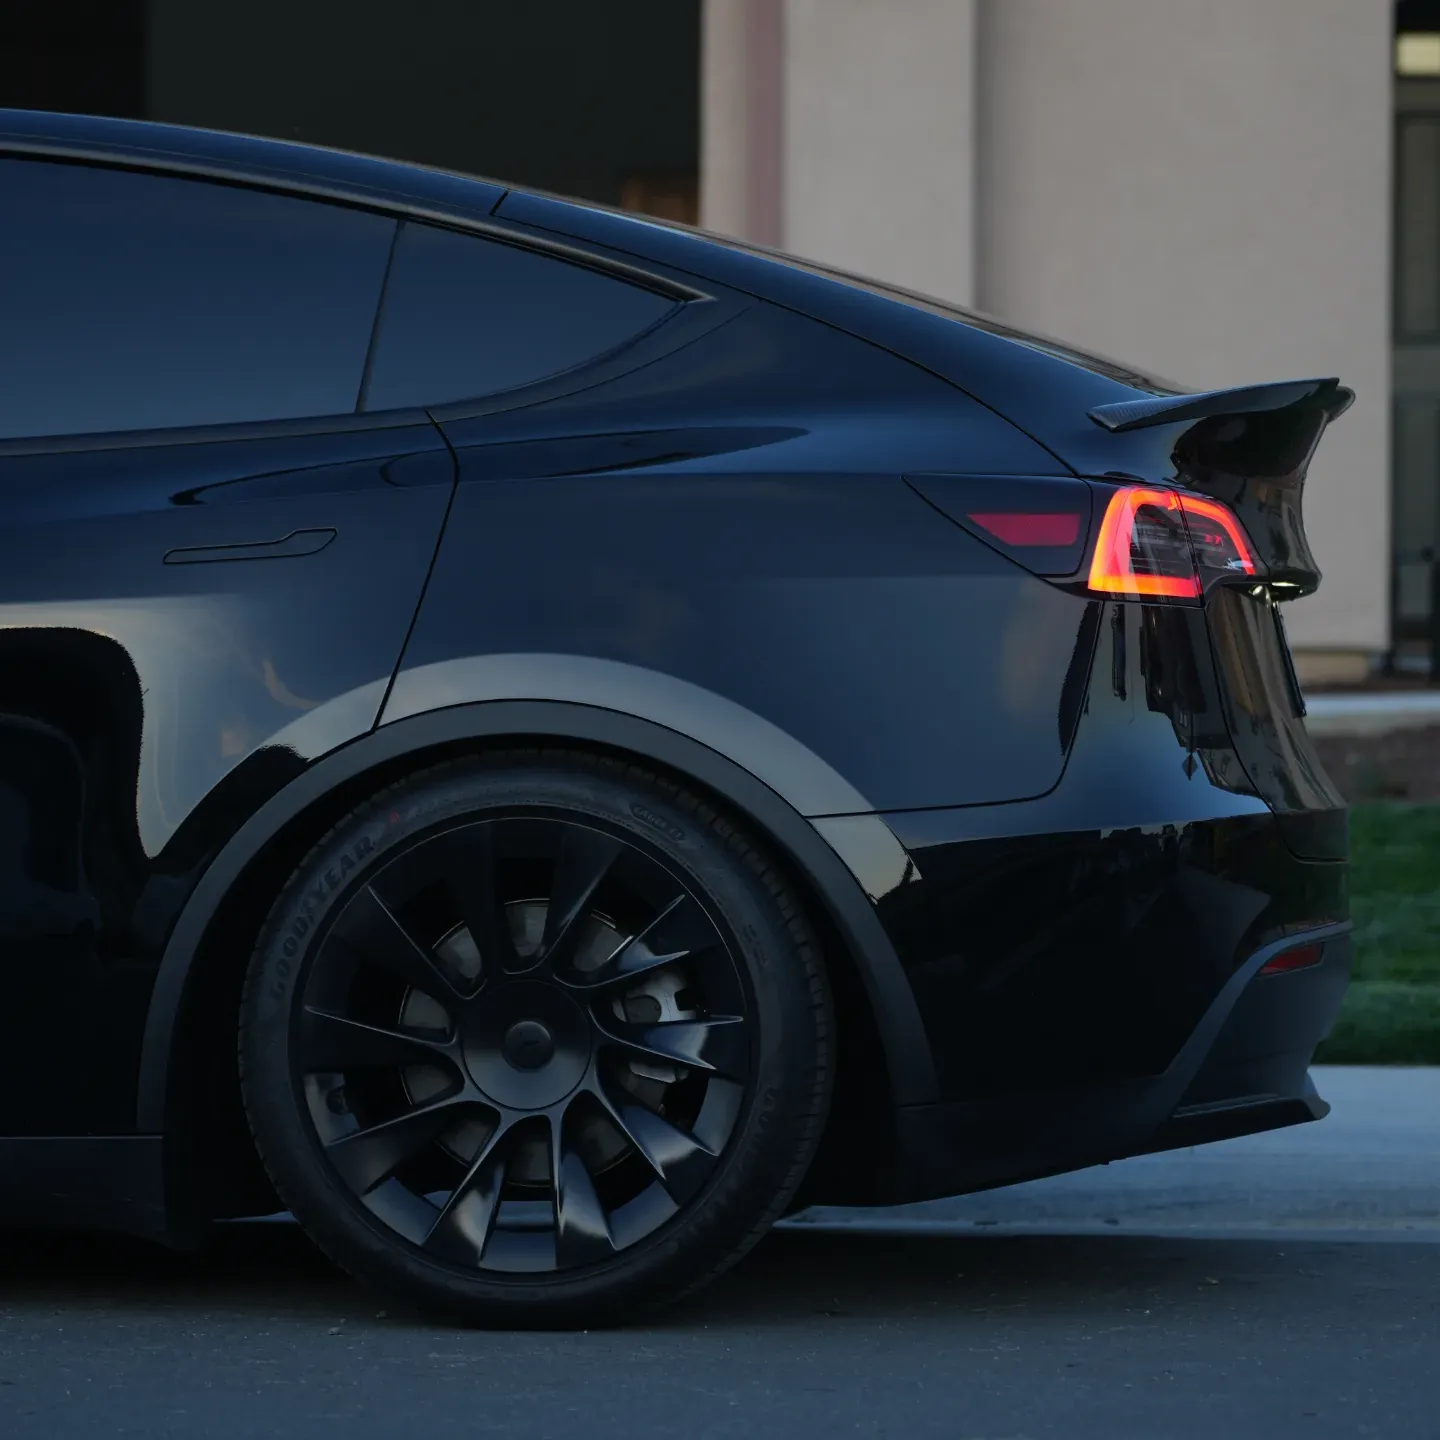
Photos from @ngooyen on Instagram. Follow for more.
Full transcript
Show the full transcript (298 lines) +
0:11All right, so I pulled that spring.
0:32All right, so the number one thing
0:34that my favorite mod for any Tesla is a power frunk.
0:38It makes the space more usable.
0:41The reason why when you press a button it opens
0:44when you close it
0:44you don't have to like slam out of your hands.
0:46So it makes
0:49it just makes it look so like all the high end cars have it
0:52like the Rivians and the cybertruck.
0:55So we're gonna look it up with the Model Y as well.
0:58So Hansshow has been in this space for a long time now.
1:02So we have a lot of experience.
1:07They also have instructions on where to ground things
1:10and let's just go over the kit real quick.
1:15This is gonna help you kind of like loop wires in.
1:18So it's a good tool if you need to get it anywhere.
1:21This is the pretty much the brains.
1:29You got some zip ties
1:30some heavy duties zip ties.
1:33Some notes, a bracket, a sort
1:36this is probably gonna hold the struts
1:40the power struts right here.
1:42Ooh, nice ceiling, Hansshow inside.
1:47And so I have it on my Model Y for the last almost three years
1:52never had an issue.
1:54The earlier ones I had from a different company with my model S.
1:57I did have some issues
1:59but the Hansshow ones have been solid
2:02and here are another armist right here.
2:07I'll stop a little speaker I see.
2:09Pretty straightforward.
2:12This is the latch because now the latch is gonna be able to suck it.
2:16Like you put the thing down
2:18it gets that nice soft clothes and it has a little suction.
2:21And then you have a safety.
2:23So if your car ever runs out of battery or something like that
2:27we're gonna loop this into the toe hook
2:29so you can pull this to open it.
2:34So there's some safety just in case something doesn't happen.
2:42Like something happens, things happen.
2:44So the install is pretty key.
2:48I would say not too bad.
2:51Let's get that out of the way.
2:53And to remove the front, I'm gonna do that real quick.
2:58There are some tents here.
3:06Pretty, let's store it all again.
3:10This is just held with clips.
3:12So I'll just pop it open.
3:15Usually there's some clips on the side.
3:17I don't know if it's gonna be gentle.
3:27It's gonna be gentle.
3:28This car is brand new.
3:30So everything feels very fresh.
3:36But it is only just held by clips.
3:48This is where you have the filter is.
3:51If you're curious
3:54you're have the filter here so you can change it
3:55so they meet it really easy to change your big filter.
3:59And again, it's just plastic clips.
4:01Nothing's bolted down.
4:03Some people prefer to be bolted down so there's no rattles
4:05but it's just faster.
4:09And then if you look in here
4:11you're gonna have two bolts.
4:13And this piece right here
4:16this piece you should pull out too.
4:27This is alWaze a little tricky to pull out.
4:32There you go.
4:33You got your button.
4:35And your drain plug.
4:37And then we just unbolt this.
4:40Watch yourself.
4:48Let's see.
4:50Compared to, they're the same size.
4:54So if you guys, if you were going to
4:57you can like mix and match it.
4:59Okay, so they're the same size.
5:02I'm gonna put this on the left.
5:09Just come out.
5:11Yeah, I don't, I didn't ever remove this.
5:13I'm just going by.
5:15Testless.
5:17And the hard part is kind of done.
5:21It's not, it's pretty easy.
5:24So we just have to get to the struts
5:26and the lashes right here.
5:28We're gonna do some modifications.
5:32All right, so first thing we need to do
5:34is remove the strut.
5:35I removed it already because it's really hard to see down there.
5:38Well, you'll basically have this little ball joint
5:41right here and it's gonna be hooked up
5:43to this little ball right here on this side.
5:47You'll see a little ball.
5:48And on the receiving end, you can kind of see
5:52where the ball would go.
5:53What you would need to do is get a flat screw driver
5:57and pretty much either pry like it is a very little space
6:03but you kind of pry it like this
6:05and it'll lift up this clip making it
6:09so that thing goes up.
6:10Same with this side too.
6:13You just kind of pry it.
6:15And now you'll have a little joint right left.
6:20There's an R and L bracket.
6:22So imagine you're seeing the driver's seat L left.
6:26So this would be the L.
6:28You kind of put it here and then you screw in
6:32there used to be a little ball joint right there.
6:36So where the ball joint used to be on the strut
6:39unscrew it and now you're gonna use this one right here.
6:43So now I'm just putting that bracket into here.
6:46That's very hard to say.
6:48I would refer to the Hansshow's installation.
6:51Excellent installation guy.
6:55And you wanna use that same hole.
6:59Look, I can't even see it myself
7:01but you can see it.
7:03And you wanna screw it now.
7:10Surprisingly though
7:12the OEM one wasn't torched very high.
7:14So I think we're good there.
7:19The way they made the bracket
7:21is for the snug with the body, the chassis.
7:28All right, so we're just gonna solve the strut.
7:30When you install the strut
7:31you've got the wire facing down.
7:33And as you can tell from here
7:34you can actually move the top a little bit right here.
7:37So you wanna have it
7:38so it matches the ball joint up here.
7:41And then the ball joint is like this.
7:45Put it down.
7:48I have it being home, but it's a little Hansshow box.
8:04It's like a squeeze.
8:07All right, so the strut is pulled in.
8:10Probably gonna snake this wire around
8:12just so it's a little bit cleaner.
8:15You don't see it from the top on these.
8:18All right, so this is a latch.
8:20We're gonna have to make some
8:22you can unplug it by just unplugging it
8:25pull this red thing.
8:28This comes out beautiful, 10 millimeter.
8:32Now I actually kind of marked the sides right here
8:34so you can see me kind of scratching it.
8:36I just use this so I can just kind of know
8:38where the alignment is.
8:40You see how there's a little score mark.
8:44I did it with the both sides.
8:53So now you can kind of see where it was.
8:55I'll be able to line it up.
9:00All right, so there's this little spring right here.
9:02I just actually just took it out with my hands.
9:05And what we're talking about earlier
9:08is putting this thing right here.
9:14This is gonna be emergency, so when you
9:16oh, it's locking now.
9:19Yeah, it pulls this part.
9:24It pulls it down for you.
9:25There you go.
9:26Now let's put it up this spring and it's reinstalling.
9:35You kind of line it up with the score marks you did
9:37so then you have that perfect front fitment.
9:42You had before, nice and loosey goosey.
10:03All right, we're just gonna plug things in right here.
10:05Just gonna plug it in.
10:07Make sure it's clipped in real good.
10:09This is the brain
10:10so you can definitely want this in a more dry spot.
10:13We are gonna probably 3M it, put it right here.
10:17The very common spot.
10:21And then what seems to be an absurdly large amount
10:25of harnesses brought a lot.
10:34Well, let's plug in the ones that we know for sure.
10:37This one is gonna, it's the suction.
10:41So, believe that it's right here.
10:56Make sure it's tight, it's clipped in.
11:02And the two struts, each of them have a wire.
11:09There's also a ground that we get to as well.
11:13Yeah, there's just kind of wire.
11:17Most of it's gonna be like a, just these struts.
11:38All right, we're gonna clean it up after struts.
11:55Gonna see it coming together.
12:00just gonna move a popular ground spots right here.
12:04So, I'm just gonna loosen this bolt
12:08and just put this ground right here.
12:15Just loosen it, put it in there
12:19and tighten it.
12:23It's not going nowhere.
12:27There's also a speaker now in the power wire.
12:32So, the speaker is useful so we can adjust the speed
12:34according to how there's a bunch of zip ties.
12:37So, we're gonna make it look real nice.
12:40Speaker, so the owner can just see
12:49if he wants to keep the speaker
12:52and the power wire is not here.
12:58Oh, yeah, you can just screw it right here.
13:04Now I came with a nut, so I'm gonna use this.
13:15Don't get shot by this little boy.
13:24Nice and snug.
13:26Now, it's a little bit too big for it
13:28so I don't know why I didn't have the
13:46you do this with subwoofers too.
13:49My big old sub of the model one.
13:52Give it that direct power.
13:57All right, I'm gonna tighten it with a wrench.
14:01We'll put it.
14:05We're just tying it, a little arduous
14:08but it's honest work.
14:11All right, so we have everything plugged in.
14:13Let me just walk it through to you
14:14because there's so many plugs.
14:16We have the extension from the passenger's strut
14:23so we have kind of like this.
14:25Now, we haven't cleaned up the wiring.
14:26We want to make sure everything works first.
14:28Speakers plugged in, this strut's plugged in.
14:32This part right here, there's like a little wise splitter.
14:36So you unplug this, plug in the new harness
14:39and then plug in the OEM harness to that harness.
14:43Same kind of concept here.
14:44You plug in this, so then you plug into that one.
14:47As well.
14:48There's actually one wire we actually missed here.
14:52Now I'm looking at it.
14:56The power wire's up to going up to the top right there
15:01ground right here, and this should be one wire right here
15:06connecting to the new mechanism.
15:08So it tells you where those clothes are open.
15:12And then we have the button right here.
15:16Okay.
15:18All right, so I tied it everything up.
15:20I'm just going to show you where we mounted things.
15:22That little suction thing right here for the soft clothes
15:26we put double-sided tape that was included
15:28and the really thick zip tie we have right here.
15:32So we have the harness kind of like right here.
15:35Should be good.
15:36It's kind of wedged in here, so there is no wiggle room.
15:41As far as this, we have the extension wire kind of going here
15:45and then we have the brains right here.
15:49We can have it closer to the wheel well
15:52but I feel like I don't want to get too wet.
15:54So we have it kind of right here where the wires
15:58are kind of away from the wheel well.
16:01That way when you're riding in the rain
16:03there's less chance of it kind of getting wet right here.
16:05The water channels are also right here.
16:07So for whatever reason
16:10birth and drip right there would seem to be less likely
16:13since there's a lot of wires right here from the OEM.
16:17And we just zip tied it tidy it up.
16:20And I'm gonna show you, we remove the speaker
16:24but we have it to setting five.
16:26For you to do that, there's a button on here.
16:29You press it five set for like, you hear five beeps.
16:33And now we have this moment of truth.
16:37So you want to check your work before you put everything back in.
16:39You press the button and it closes.
16:43Now you can use the application on your phone
16:46or you can go inside and also on the front.
16:57You see my Model Y right there.
16:59There's this Hansshow one right here.
17:00It does feel a little bit more refined
17:02where it's a smoother, quieter.
17:05You can see my pre-refresh.
17:09I'm gonna open it real quick.
17:09I have it that on the fastest setting.
17:11So this one only goes up to five.
17:13I believe this one I had on the fastest setting
17:15so you can kind of see that.
17:21So that's on the fastest setting.
17:23This one, this is on the fastest setting here.
17:25And you can kind of see it.
17:27I just press the button for it to close.
17:33Now we have all the safety stuff too.
17:36This is important for to your batteries dead.
17:40You can make this and it'll allow you to open your front
17:46and get to the battery which is super cool.
17:51Actually not a close list.
17:52It looks like this.
17:54That's how you do it.
17:57There you go.
17:59So you can pop that.
18:00You can see that's in a little extra security.
18:02I'm gonna open the front again from the inside.
18:04But you can do it on your phone.
18:11That's sick.
18:13All right, so we wrapped up then.
18:14So I just wanna show you with everything wrapped up.
18:16So let's just do it.
18:22Love it fully sealed here.
18:25Again, everything's so beautiful.
18:28You can press the button or use your phone.
18:30I'm gonna press the button since we're over here.
18:32Very nice, very nice.
Machine-transcribed from the full-length video and lightly cleaned (product names fixed). Watch the video for exact wording.