Tesloid Aero Rooftop Cargo Box: Tesla Model Y Install & Real-World Test
Rest the slim box on the crossbars, clamp it with the four hooks, seal unused holes, fit the straps, then peel the film.
Full video (12 min): Most EV Efficient Rooftop Cargo Box Install & Honest Review - Tesloid 2026 (Worth It?)
Get the parts
White buttons are from the video description. “Generic pick” links are my suggestions, not from the video; confirm fitment and part number before buying. Some are affiliate links, so I may earn a commission at no extra cost to you.
Overview
A slim, aerodynamic box that John could load onto the roof by himself. After two to three weeks of use it was only a smidge louder than the bare crossbars, with a small range penalty. With seven people in the car it still swallowed carry-on bags.
Vehicle & fitment
- Product
- Tesloid Model Y rooftop cargo box: aero shape, waterproof/UV-resistant, comes mostly assembled
- Shown on
- Tesla Model Y 7-seater with crossbars
- Tesla Model Y (per the description)
- Needs roof crossbars (shown on the factory-style crossbars)
Always confirm fitment for your exact year and trim with the seller before buying.
Tools & parts
Tools
- None beyond the included hardware (no drilling)
Parts
- Cargo box with clamps/hooks
- Rubber pads
- Interior straps
- Hole-seal decals
Step by step
- 1
Unbox and unlock▶ 1:33
Unlock the lid. There are two protective layers. Leave the inner PPF-style film on until it's installed.
- 2
Position it▶ 2:54
Set it on the crossbars and position it so the rear hatch clears. There's plenty of room.
- 3
Clamp to the crossbars▶ 3:06
Rest it on the crossbar, put the rubber piece on top, run the strap portion toward the car through the holes, and clamp. There are two clamps per bar. Leave them loose until it's centered, then tighten.
- 4
Seal unused holes▶ 5:01
Use the included decals to cover mounting holes you're not using. It helps with wind noise and keeps the elements out.
- 5
Peel the film▶ 5:42
Peel the protective film all the way around to reveal the real finish.
- 6
Fit the interior straps▶ 6:02
Face them upward, tuck them through the holes on each side and pull taut. Tuck the loose ends so they don't flap.
Get the parts
White buttons are from the video description. “Generic pick” links are my suggestions, not from the video; confirm fitment and part number before buying. Some are affiliate links, so I may earn a commission at no extra cost to you.
John's Tesla Model Y
More photos →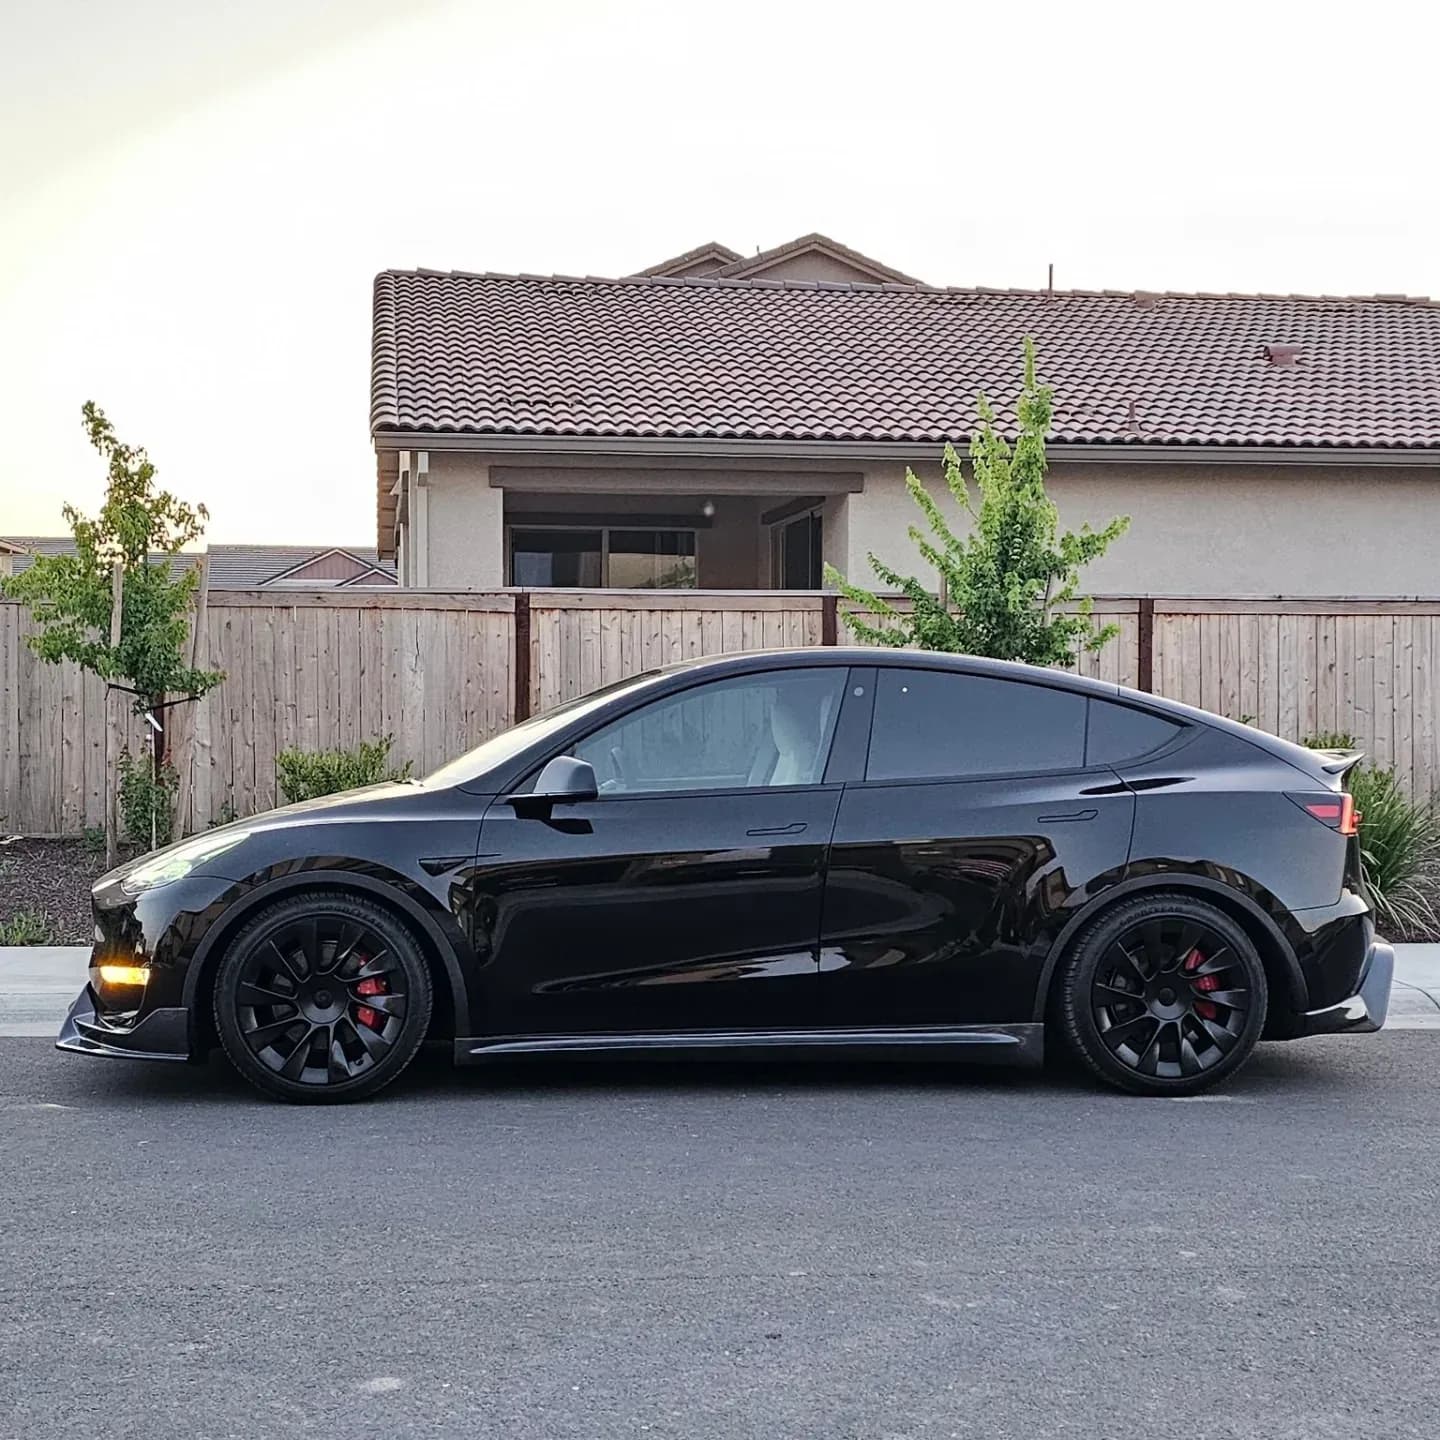
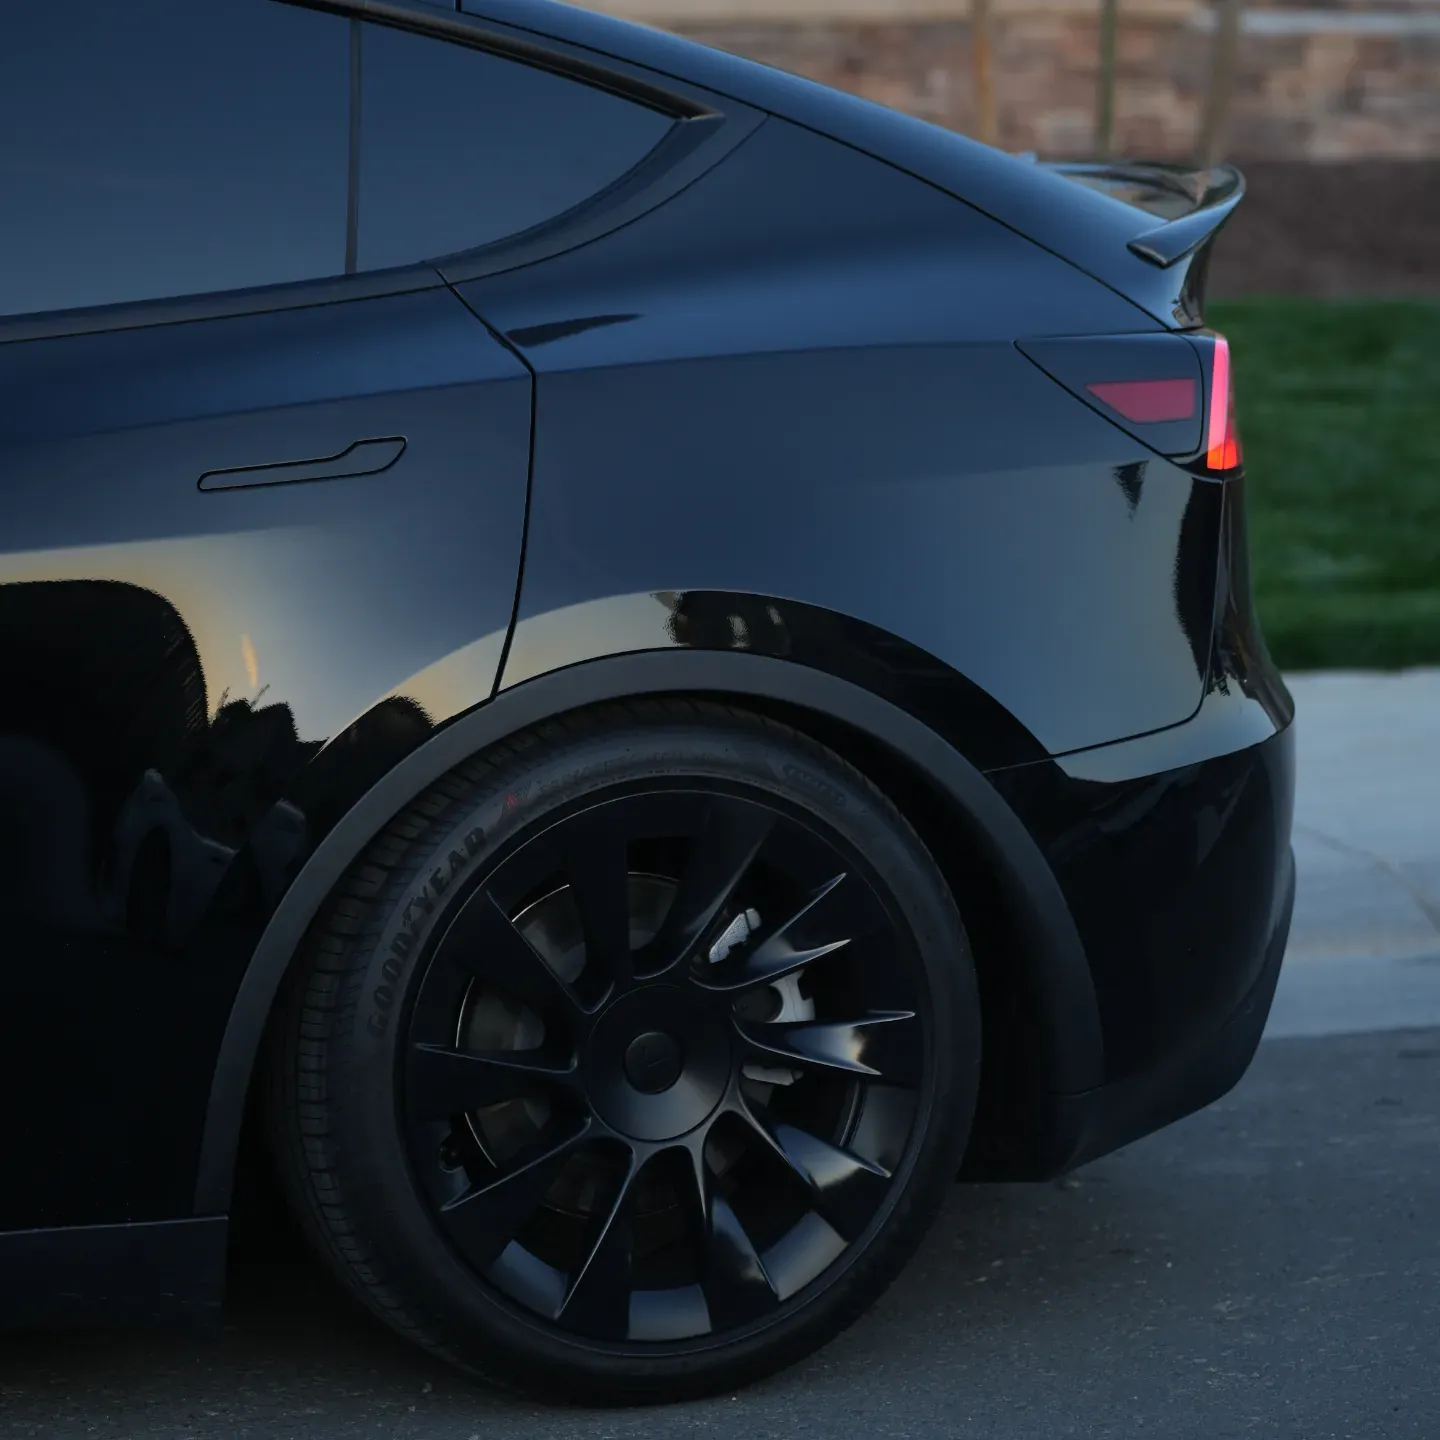
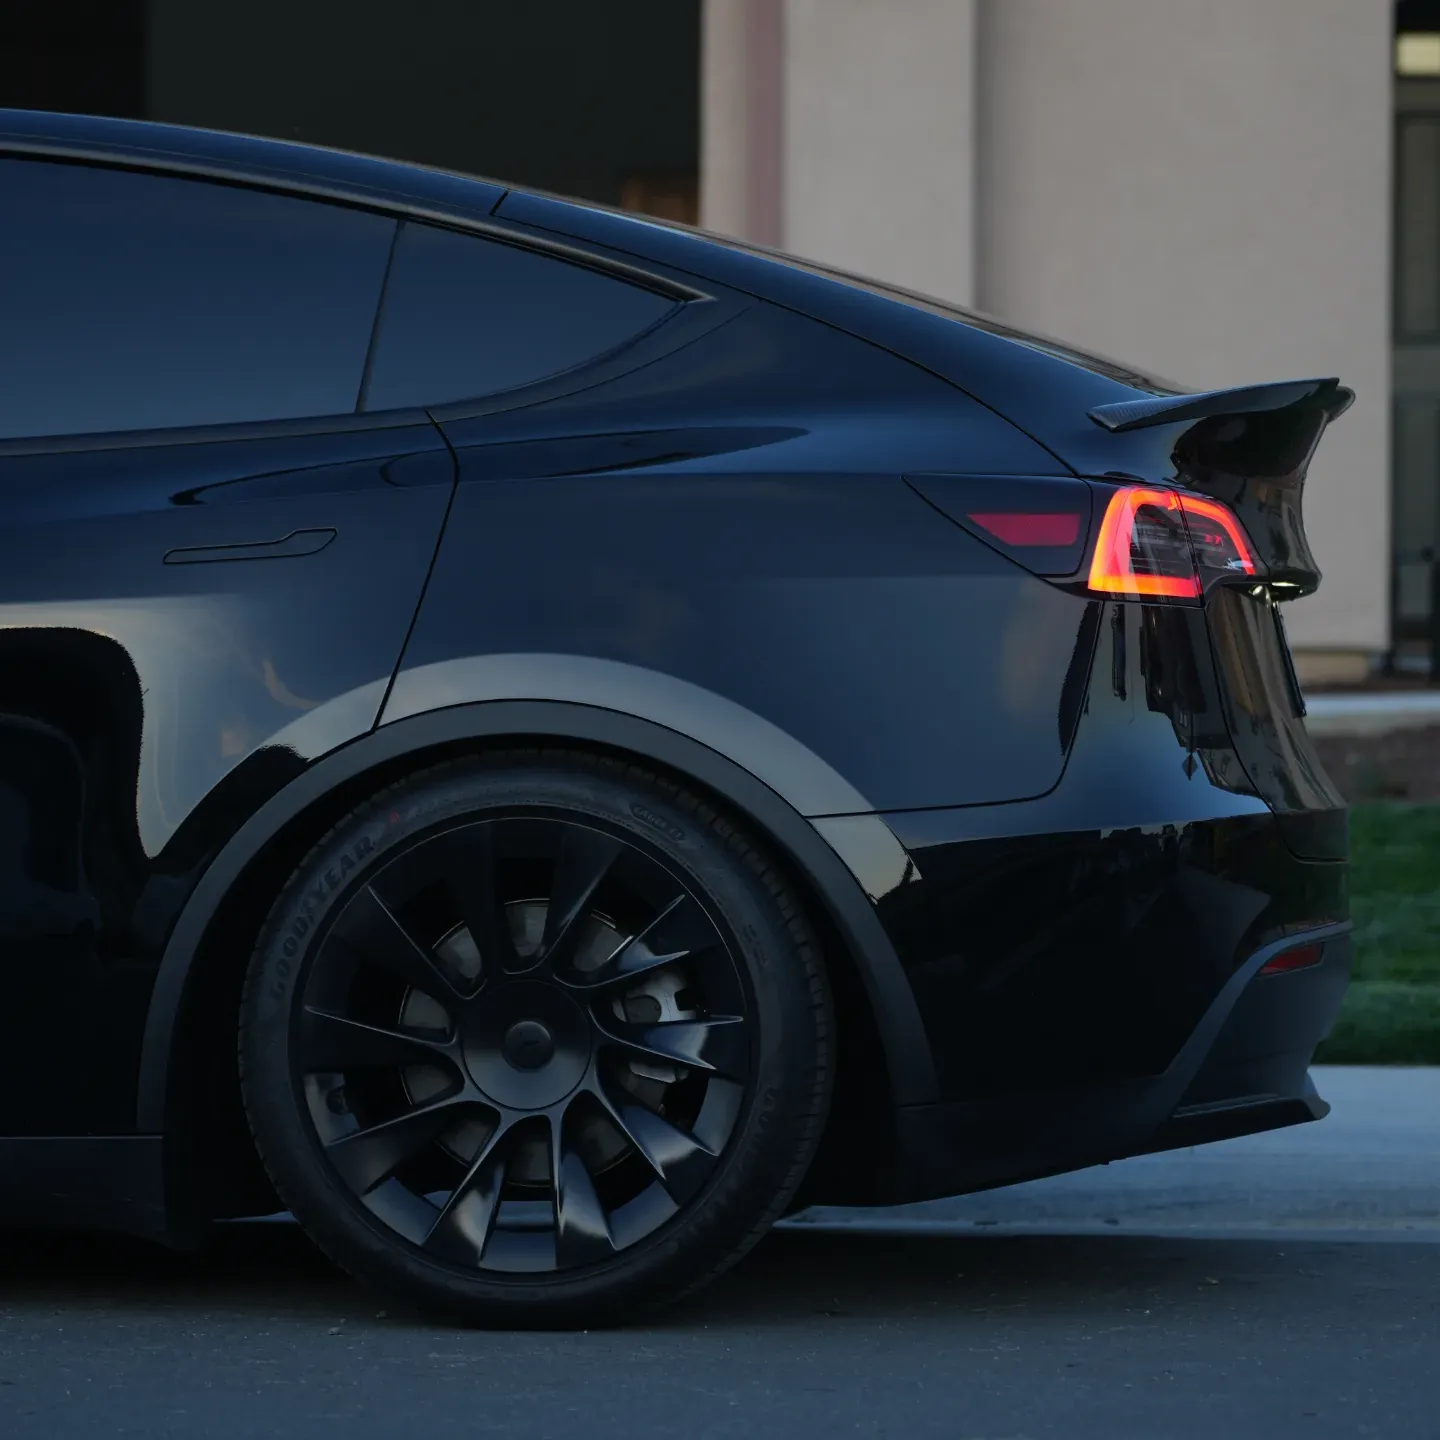
Photos from @ngooyen on Instagram. Follow for more.
Full transcript
Show the full transcript (100 lines) +
0:23What's up guys it's your boy John back again here with another video today
0:28We're gonna look at something really cool on the roof right it's gonna be a cargo box now
0:34This one's from test Lloyd. Check all the specs. I wanted something slim sleek
0:40Erodynamic kind of matches the whole ethos of the model Y
0:47Slick very efficient and they want to be too big, but this thing looks
0:53Wide but a whole lot of stuff snowboarding skiing things that you want to keep
1:00Okay, like you don't want wet things in your trunk. You got this right here. So I
1:06Got this shit's pretty fast from test Lloyd. So they're really on.
1:23Yeah, let's just get into it. It's root. It's wrapped really well and it's a very easy to install. So
1:29Let me unwrap it and then unpack it for y'all
1:33So after you unlock it
1:44There you have it. You have the box itself. It's made pretty nicely and
1:49There's actually two layers of protection peel both layers off your rooftop cargo comes with two protective layers
1:56Which is the first one we just showed and then there's another like more plastic wrap
2:02PPF style and
2:04it's just makes it so
2:06This is not the true finish. I'm gonna install it then peel it just so everything looks
2:32That either
2:34So kind of loaded on myself by myself
2:41Get a nice to the point I want it, and then you just put those little hooks. That's all it takes
2:54Now the pain on where we want it sitting that we want to keep in mind of the back hatch
3:02Plenty of room
3:06All right, so the process is this is going to be hitting the cross bar right here
3:12You can a latch it not latch but have it kind of resting on this little
3:16area
3:18then we're gonna have this little plastic rubber piece
3:22That sits on top and we're gonna have the strap with the strap portion
3:27pointing inside the car so towards the car and
3:31Then we're going to have it right now into like this
3:34Let me show you the holes
3:38How you can line it up?
3:41Here
3:43So it's the sit like this put this through here have the little strap
3:52a
4:08Before making the adjustments to you know center it
4:12so forth
4:14So this is how it looks so far with the
4:29But you can kind of see you can still I haven't tighten it down, but let's give you a look it works
4:36Opening it works on both sides
4:38There you go, so
4:42Kind of see the work I have right there. So I have to clamps in, and got one two
4:49one two and
4:52They're not tying down all the way because I need to make some adjustments make it look all perfect, and then I'll show you the
4:59before and after
5:01What thing did decal
5:04Stickers you can now close these holes up so these holes that you aren't you aren't using but maybe it was able to
5:11Different type of car you can seal them up like how I sealed it up right here
5:15you kind of see so you just
5:19See if you can hold you see the holes and
5:21This will just
5:23Just help with
5:25When noise and just sealing it from the elements. It's as easy as peeling stick
5:42All right once you got that out on the decals now you can show the true finish
5:48So you just peel this all the way around
5:52Not need to use two hands, but
5:54All right, so let's do the straps next
6:02So you want this to face to the upwards?
6:10Tuck it into this hole and you tuck it on the other side hold to once that's done
6:22Get nice and taut
6:26Hopefully
6:27It all lines nicely and
6:30You tuck it into
6:33This hole on the inside and then you put this on the outside
6:41Just like that, but then you just tighten it looks like something
7:28And tuck it in so they're not lapping when I'm driving or anything
7:33but that that stuff is
7:37Pretty much optional
7:39And there you go now you can hold. Hold stuff. You got your straps and
7:45Everything on the inside is done
7:49close this bad boy. I took the wrap off
7:53some little pieces from these little
7:57Rivet spots
8:01Lock it and it's looking
8:10Purdy
8:26All right, since the installation of the roof rack. I've been testing it for these last two three weeks
8:32And I would say it's been quiet
8:35The noise isn't that bad. It's actually sounds as loud as, as the
8:41Whole roof rack so I would say it sounds like a smidge louder with the rack over just the crossbars right here
8:48So that's very good. You can kind of keep this on
8:51And it's pretty efficient. I haven't lost too much range. There is a slight penalty, but
8:58It's not as big as I thought it would be because I guess it's that aerodynamic
9:01Shape that's keeping it still pretty
9:04Slippery now
9:06because it's thin and not as tall some people think that you can't store stuff
9:11So I actually that I have the seven of Cedar model y and I just wanted to show you what I was able to do
9:18So seven people in the car and I needed storage
9:22So we have carry-on bags that I was able to fit and of, of course, you have Frank
9:27and then the space behind the third row, but
9:32Stuff like this
9:36slides right in and you would you would think that you know
9:41Something like this. I'm gonna put all of the stuff in the trunk and just close it real quick or the roof
9:48Box, so these things they got something they got some size to them, but
9:59Shouldn't be a problem
10:05Carry on potentially. I just don't have it like stepping into the car
10:30I can close this so it all fits very well, but yeah
10:44That concludes it if you guys were interested in this very aerodynamic roof box that has that nice eb
10:51Slippery aerodynamic look check out test Lloyd. That's where I got it from super fast shipping and it's from
10:58I'm from North America. So it was actually in North America. It ships me. Really quick and
11:03It is a big packaging, but everything came pretty much fully assembled. I just needed to install it itself
11:09So that's always a huge plus and thank you guys for watching. I'll catch you guys in the next one
Machine-transcribed from the full-length video and lightly cleaned (product names fixed). Watch the video for exact wording.