Best gear
Best of.
Reviewed installs from my full-length videos, plus CarPlay head-unit comparisons for high-demand cars so you can find what fits.
As an Amazon Associate I earn from qualifying purchases. Some links are affiliate links.
Top pickCarPlay head units
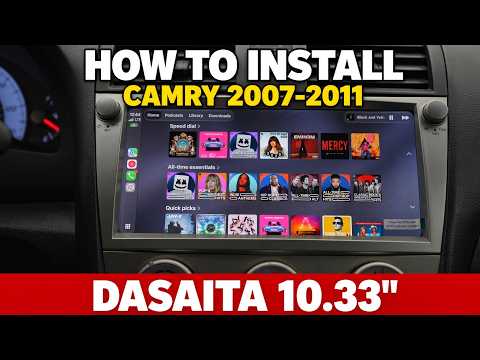
Dasaita 10.33" Wireless CarPlay Stereo: Toyota Camry 2007–2011 Full Install
Remove the factory radio, plug in the Dasaita harness, wire every accessory, and set up steering-wheel controls.
Top pickCarPlay head units
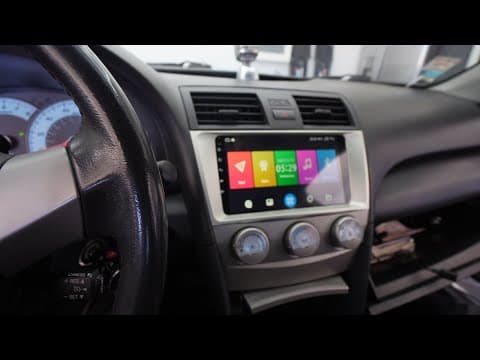
iDoing 9" Full Install (Accessories + Steering Controls): Camry 2006–2011
Full Camry tear-down: shift/console trim, four 10mm bolts, plug the three white OEM harnesses into the iDoing, route USB/GPS/mic/Wi-Fi, then program steering-wheel keys.
Top pickCarPlay head units
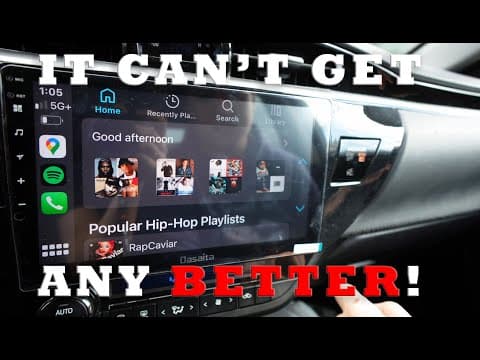
Dasaita 10.2" Android 11 CarPlay Head Unit: Toyota Corolla 2014–2016 Beginner Install
John swaps a base Corolla's radio for a Dasaita 10.2" Android 11 unit: two 10 mm bolts, plug-and-play harnesses, CAN box, Wi-Fi antenna, reverse camera, the factory USB adapter, and some filing for the fit.
Top pickCarPlay head units
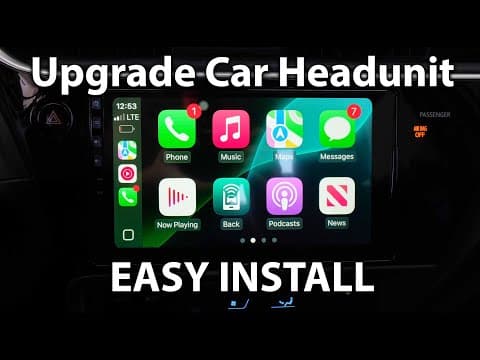
iDoing 9" Android CarPlay Head Unit (Button Version): 2017–2018 Corolla Install
Pop the trim, pull four 10mm bolts, unplug the stock radio, clip the iDoing in and plug its harnesses into the factory ones. Then set up steering wheel controls.
Top pickCarPlay head units
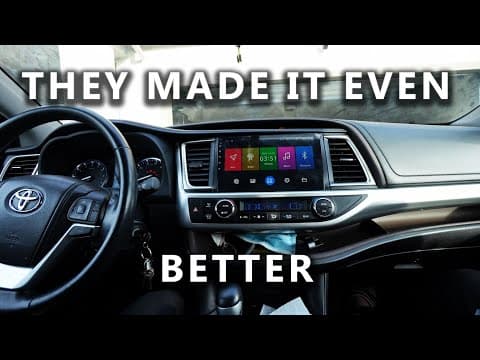
iDoing 10.2" CarPlay Head Unit: Toyota Highlander 2013–2018 Beginner-Friendly Install
Pry off the dash trim and vents, pull the factory radio (four 10mm bolts), plug in iDoing's pre-built harness, CAN bus and FM booster, test the reverse camera, then route the USBs and reassemble.
Top pickCarPlay head units
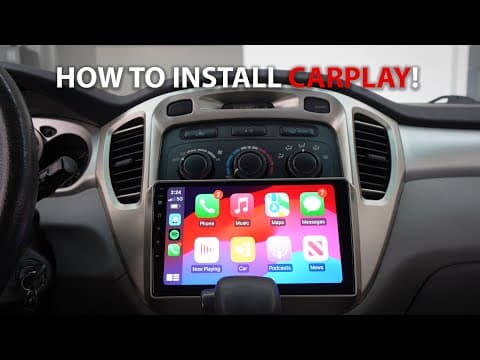
Dasaita 9" Wireless CarPlay Stereo: Toyota Highlander 2000–2006 Full Install
Pop the bezel, remove six 10mm bolts, transfer the vents and climate controls, plug in the labeled harness (10-pin power + 6-pin rear speakers), and pair CarPlay.
Top pickCarPlay head units
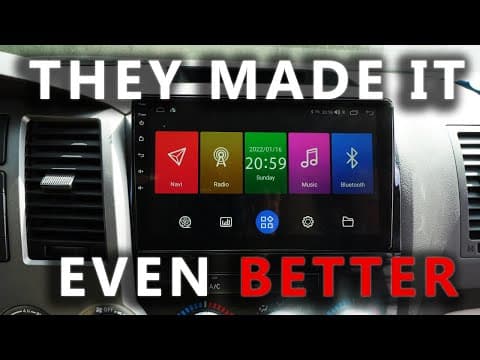
Toyota Tundra 2007–2013 / Sequoia: iDoing Wireless CarPlay & Android Auto Head Unit Install
Upgrade an older Android unit in a Tundra to the iDoing 10.2": what each factory plug does, a power test, Bluetooth and wireless Android Auto, steering-wheel mapping, Wi-Fi and GPS antennas.
Top pickCarPlay head units
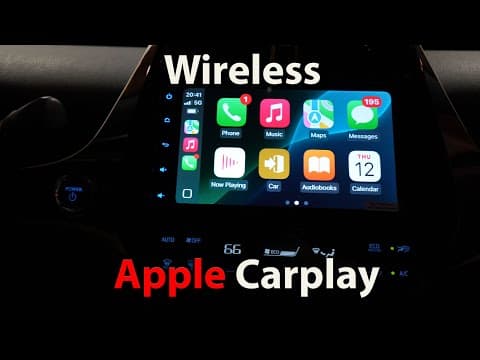
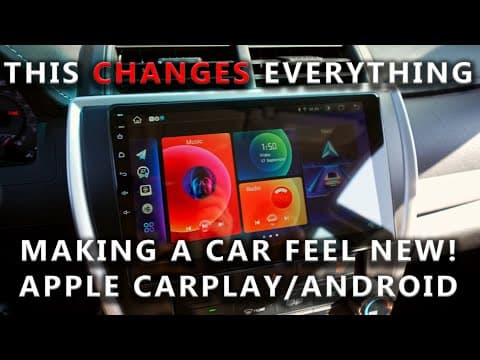
Dasaita Universal Toyota Head Unit: Prius CarPlay Install & Fixes
Pop the panels, remove four 10mm bolts, plug in the labeled Dasaita harness, connect CAM IN for the backup camera, move the brackets over and bolt it back in.
Top pickCarPlay head units
Toyota Camry 2015–2017 CarPlay & Android Auto: Roadnavi Head Unit Full Install
Unbox the Roadnavi unit, pull the Camry's trim, two 10mm bolts, the shifter cubby and two more 10s, then plug the factory 10-pin, 6-pin, antenna and USB into the Roadnavi CAN bus harness and test.
Top pickCarPlay head units
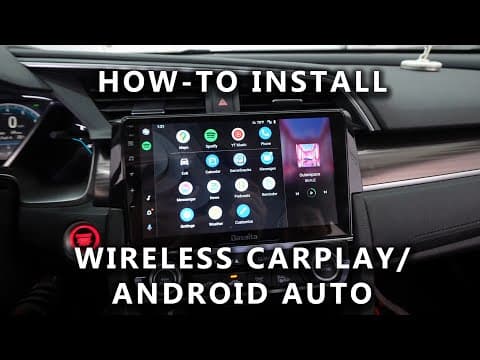
Honda Civic 2016–2021 Wireless CarPlay Head Unit: Full Dasaita Install with Side & Rear Cameras
Pop the 10th-gen Civic's dash trim by hand, pull the radio with two screws, plug in the Dasaita harness and keep both the LaneWatch side camera and the backup camera.
Top pickCarPlay head units
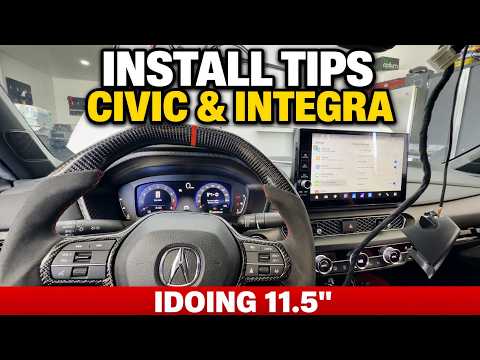
iDoing 11.5" Android 13 Head Unit: Civic 2022+ / Integra 2023+ Install, Tips & Troubleshooting
Pull the dash, plug in the iDoing harness and USB audio decoder, fix the reverse-camera trigger and swapped track buttons, and set up 360 cameras.
Top pickCarPlay head units
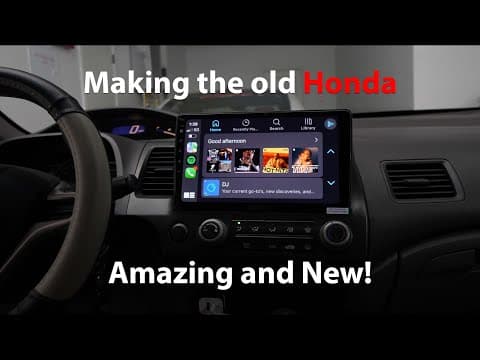
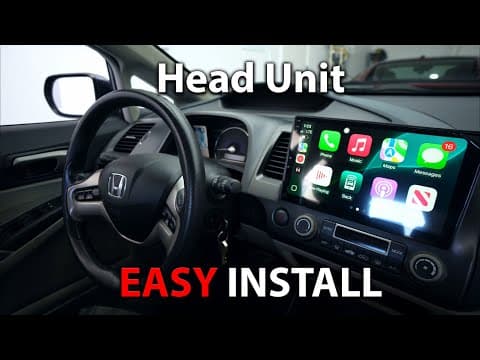
Dasaita Wireless CarPlay Stereo: Honda Civic 2006–2011 Full Install
Shift to first for clearance, remove two awkward 8mm bolts, transfer HVAC/hazard modules, plug the colored Dasaita harness, then pair Bluetooth (PIN 0000) and load accessories.
Top pickCarPlay head units
iDoing Android 12 Head Unit: CarPlay/Android Auto on the 8th-Gen Honda Civic
Plug-and-play iDoing install: remove the dash, move the HVAC controls over, wire USB/Wi-Fi/GPS, and set up steering controls.
Top pickCarPlay head units
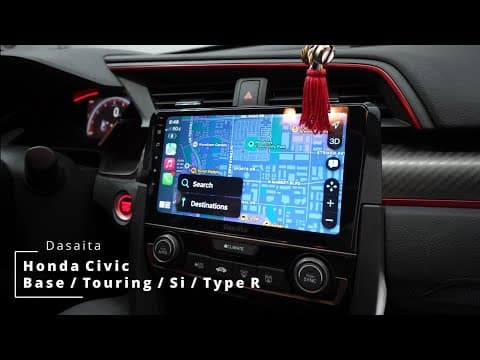
Civic Type R, Si & Touring Android Head Unit: Wireless CarPlay With Working Premium Audio (Dasaita + CANBUS Harness)
John fits a Dasaita Android head unit to a 10th-gen Civic Type R and finally gets sound on the upgraded-audio trims: the CANBUS harness for Si / Touring / Type R, a USB connector fix, and the LaneWatch camera setting.
Top pickCarPlay head units
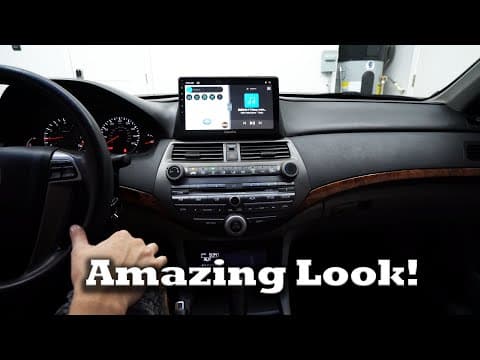
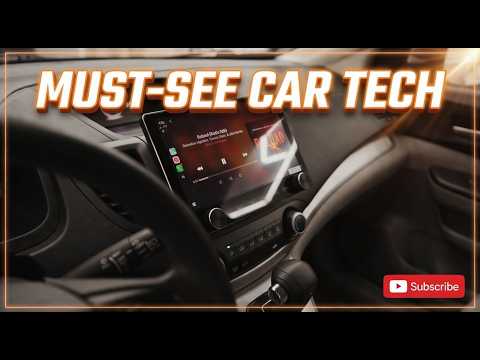
Dasaita CarPlay Head Unit: Honda Accord 2008–2012 Full Step-by-Step Install (Keeps the OEM Radio)
Pull the console, cubby, trim and factory radio, relocate the top info display, then wire Dasaita's harnesses in between the factory plugs: extension, AUX audio, main power and steering controls. Includes John's fixes for no sound and dead steering controls.
Top pickCarPlay head units
Dasaita 10.2" Android 13 Head Unit with Knobs: Honda CR-V 2012–2016 Install
Pop the vents, remove two screws, swap the hazard button into the new trim, plug in the Honda harness, and get wireless CarPlay via Z-Link.

Top pickCarPlay head units
Joying 8.8" Single-DIN Wireless CarPlay Unit: Honda S2000 Install
Pop the S2000's radio door, mount the Joying single-DIN chassis on the factory radio bracket with short screws, color-match the harness, attach the 8.8" floating screen, and set up wireless CarPlay.
Top pickCarPlay head units
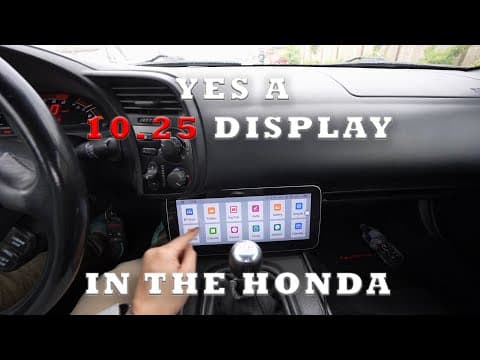
iDoing 10.25" Universal Touchscreen: Wireless CarPlay & Android Auto in the Honda S2000 AP2
A big 10.25" iDoing universal Android screen on the S2000 dash: mounted with 3M tape, it covers the radio surround and adds wired and wireless CarPlay and Android Auto.
Top pickCarPlay head units
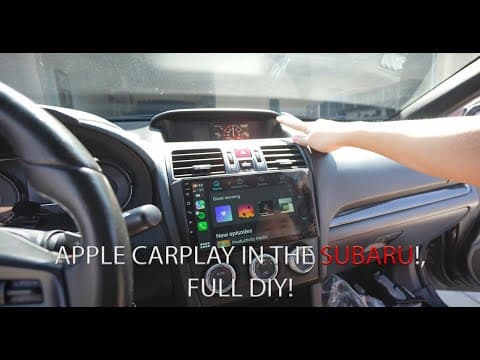
iDoing CarPlay Head Unit: Subaru WRX 2015–2022 Full Install
Pry off the brittle dash trim, pull the factory radio, move the vents and climate controls over, plug in the 28-pin harness and test CarPlay.
Top pickCarPlay head units
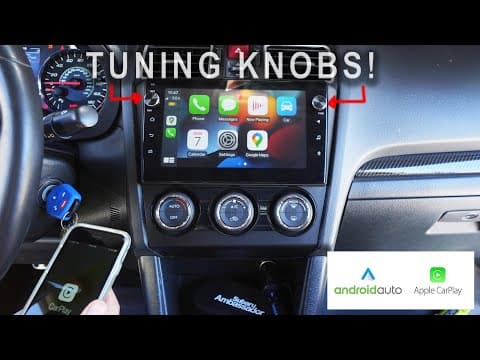
Subaru WRX / STI 2015–2021 Head Unit With Real Knobs: Full Install + Wireless CarPlay
John's favorite WRX head unit so far: physical volume and tuning knobs, a glass screen and wireless CarPlay. Remove the 10 mm bolts, glove box damper and airbag-side trim, swap the trim and vents, plug in and test.
Top pickCarPlay head units
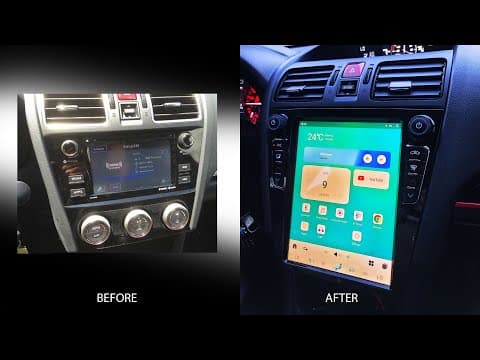
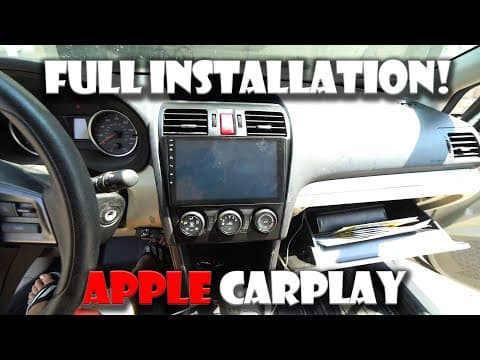
Aucar Tesla-Style Head Unit: Subaru WRX / STI 2015–2022 Install & Review
Pull the glovebox damper and center trim, unbolt the factory unit, plug in the 28-pin, 10-pin and antenna harnesses, and wire the reverse camera through the CCD-IN lead.
Top pickCarPlay head units
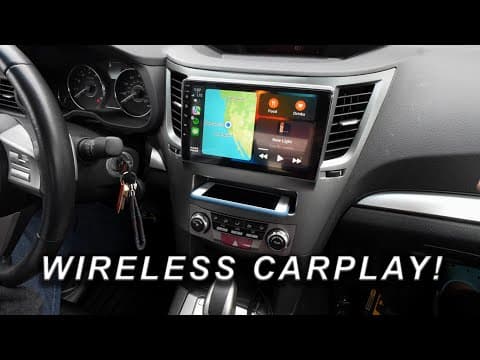
Subaru Outback & Legacy 2009–2014: $359 iDoing CarPlay / Android Auto Head Unit Install
Pop the silver trim off a 2009–2014 Outback/Legacy, unbolt the factory radio, move the brackets and vents over, plug in the iDoing harness and set up wireless CarPlay.
Top pickCarPlay head units
Roadanvi CarPlay & Android Auto Head Unit: Subaru Crosstrek Step-by-Step Install
Free the analog climate cables behind the glove box and under the driver side, pry out the radio surround, swap in the Roadanvi harness, program the steering controls, then transfer the hazard button, vents and climate panel.
Top pickCarPlay head units
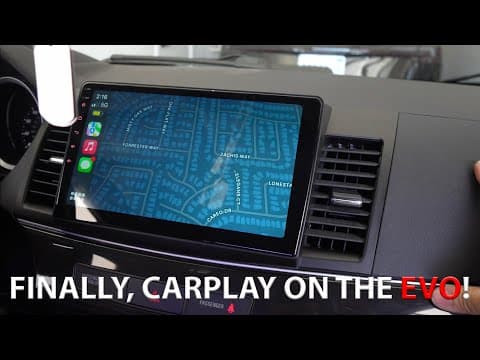
iDoing Android Head Unit: Mitsubishi Lancer Evolution X (2010–2016) Install
Pop the clip-on trim, pull the old radio, plug in the iDoing harness and CAN bus, move the vents and hazard panel, then tap the reverse wire for the backup camera.
Top pickCarPlay head units
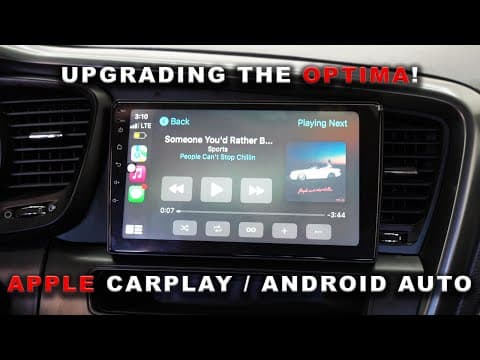
Kia Optima 2011–2015 Apple CarPlay Install: iDoing 9" Head Unit in About 10 Minutes
Pop the one-piece trim off a 2013 Optima, remove the vent and radio screws, unplug the factory unit and plug in an iDoing 9" Android head unit with GPS and wireless CarPlay.
Top pickCarPlay head units
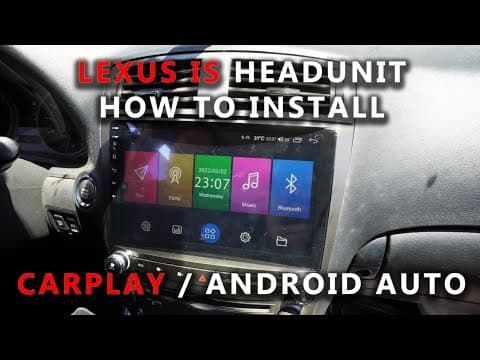
Lexus IS 350 / IS 250 2006–2012: iDoing Wireless CarPlay & Android Auto Head Unit Install
Pull the IS trim and four 10mm bolts, swap the bracket, plug in the iDoing harness, CAN bus and OBD2 reverse lead, and keep the factory CD player, climate display and backup camera.
Top pickCarPlay head units
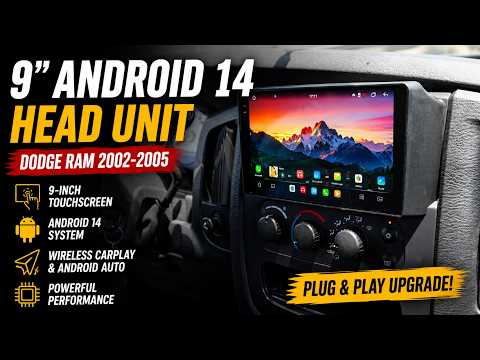
iDoing Android 14 Head Unit: Dodge Ram 2002–2005 Full Install
Pull the bezel, swap the factory single-DIN shell for the iDoing frame (drill out the plastic rivets), remote-mount the brains, and set up wireless CarPlay.
Top pickCarPlay head units
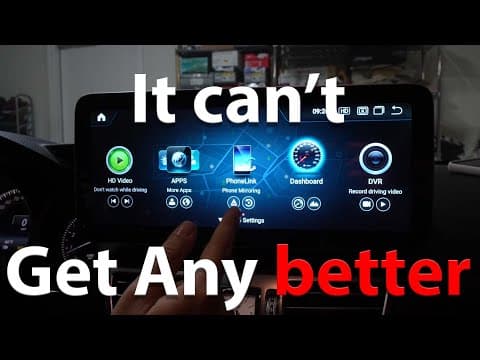
Dasaita 12.3" Android Stereo: 2013–2015 Mercedes E-Class (W212 NTG 4.5)
Retain the OEM radio: daisy-chain the Dasaita harness (move the pink fiber optics), mount the 12.3" screen, set factory code 190627, then fix audio via AUX + external amp and OEM camera mode.
Top pickCarPlay head units
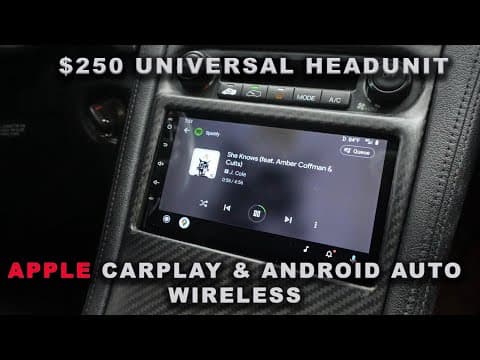
EONON R04 $250 Universal Double-DIN Install: Wireless CarPlay & Android Auto in a 1995 Acura
John swaps an older aftermarket radio for a $250 EONON 7" Android 11 double-DIN: five color-matched wires, a backup camera on AV-IN, wireless Android Auto, then a tour of the apps and settings.
Top pickTesla Model Y accessories
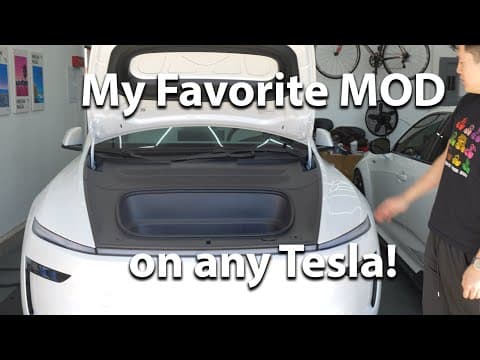
Hansshow Power Frunk Kit: Tesla Model Y Juniper DIY Install
Soft-close, button and app-controlled frunk: struts, suction latch, brain module, ground and emergency release.
Top pickTesla Model Y accessories
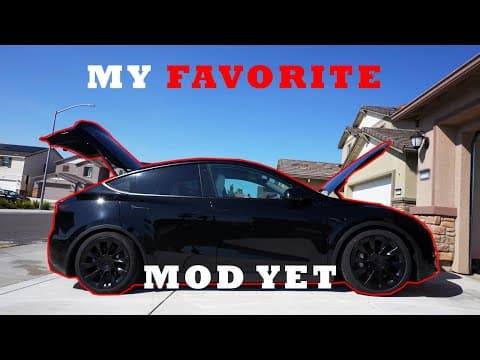
Hansshow Power Frunk: Tesla Model Y (2023) DIY Install
John installs the Hansshow power frunk on a 2023 Model Y: new struts and brackets, a soft-close latch motor, a plug-in harness and a speed setting. No more fingerprints or dents on the hood.
Top pickTesla Model Y accessories
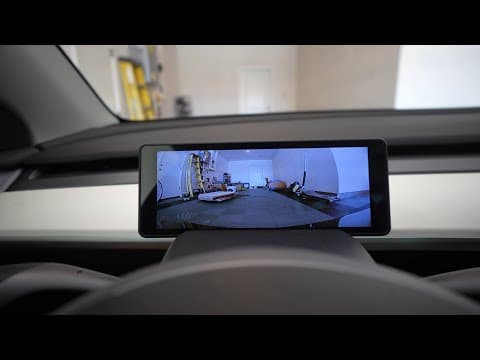
Hansshow H6 Instrument Cluster + Front Camera: Tesla Model 3 / Y Install
Plug-and-play dash cluster with a front camera: wire the harness for your AMD or Intel car, then fish the camera through the front grille.

Top pickTesla Model Y accessories
Hansshow Full-Width Cyber Tail Lights: Tesla Model Y DIY Install
Pull both factory tail lights and the trunk-lid trim, plug in the labeled left/right harnesses, snake the wires up to the light bar, and fit the full-length center piece with a helper.
Top pickTesla Model Y accessories
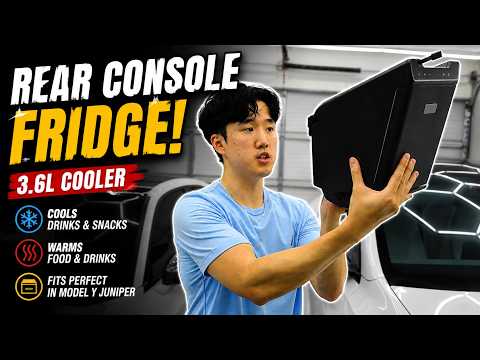
TESSTUDIO Rear Center Fridge: Tesla Model Y Juniper Install & Review
Hook the 3.6L fridge onto the second-row lip, plug it into USB and it chills cans in 5–10 minutes. It has a heat mode too.

Top pickTesla Model Y accessories
Tesloid Aero Rooftop Cargo Box: Tesla Model Y Install & Real-World Test
Rest the slim box on the crossbars, clamp it with the four hooks, seal unused holes, fit the straps, then peel the film.
Top pickTesla Model Y accessories
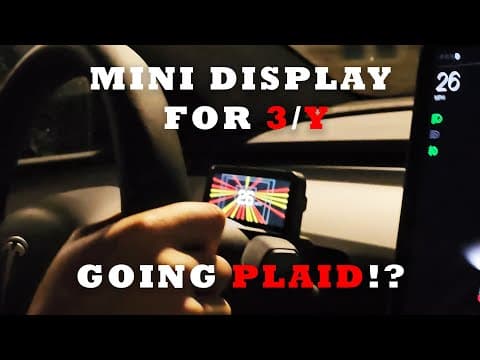
EVBASE Mini Dash Display: Tesla Model 3 / Y Instrument Cluster Install
John installs EVBASE's small behind-the-wheel display on a Model Y: trim off on the passenger side, one harness to the blue plug in the passenger footwell, and it keeps the AC vents clear.

Top pickTesla Model Y accessories
Hansshow Wireless Gear Shift Stalk: Model Y Juniper / Model 3 Highland Install
Stick the rechargeable stalk behind the wheel, then plug its receiver into an open port under the console trim. A one-minute install.
Top pickTesla Model Y accessories
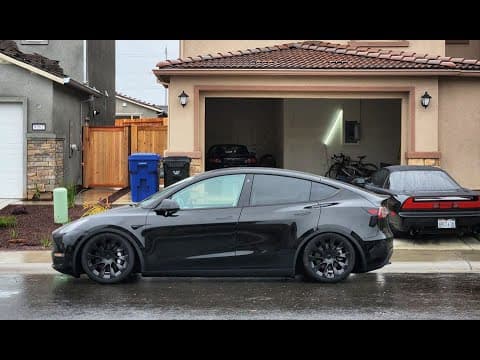
Maxpeedingrods Coilovers & Rear Camber Arms: Slammed Tesla Model Y DIY
John lowers a Model Y on $590 Maxpeedingrods 24-way coilovers plus adjustable rear camber arms, with the torque specs from the description and his ride impressions.
Top pickTesla Model Y accessories
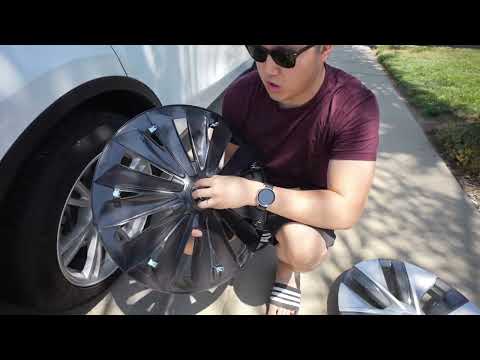
EVBASE 19" Aero Wheel Caps: Tesla Model Y (Gemini Wheels) Install
Pull off the stock caps, line the new cap's cutout up with the valve stem and press it on. The EVBASE clips lock it in with no rattles.

Top pickTesla Model Y accessories
EVBASE Real Carbon Door Handle & Side Camera Covers: Model Y Juniper
Wipe, peel, stick and hold for 15 seconds. Two quick peel-and-stick carbon upgrades.
Top pickTesla Model Y accessories
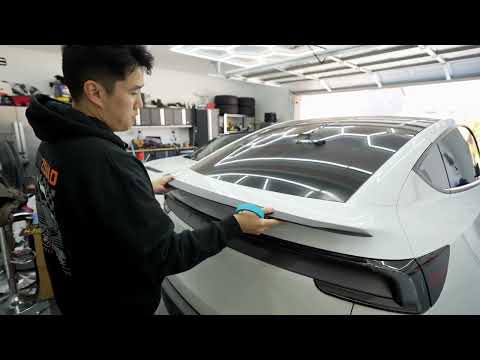
EVBASE Matte Carbon Trunk Spoiler: Tesla Model Y Juniper Install
Scuff-clean the trunk lip, mark alignment with masking tape, then press the pre-cut double-sided tape on, working the corners.
Top pickTesla Model Y accessories
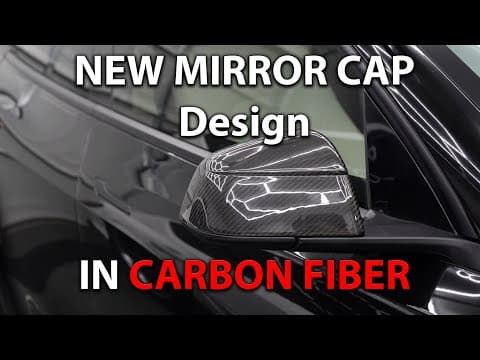
Hansshow Juniper-Style Carbon Mirror Caps: Tesla Model Y / 3 Install
Wipe the mirror, peel the 3M tape, press the Juniper-inspired overlay on and hold for 15 seconds.
Top pickTesla Model Y accessories
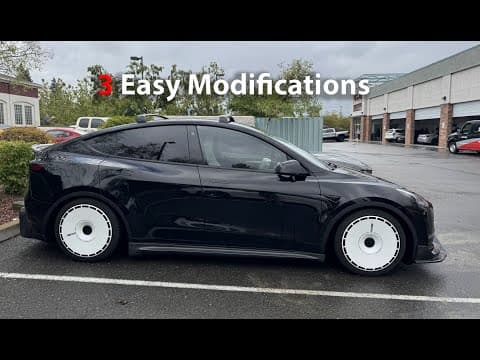
3 Easy Tesla Mods: Hansshow RGB Door Sills, RGB Air Freshener Cup Holder & Carbon Plate Frame
Three quick Hansshow installs on the Model Y: stick-on RGB door sills, a plug-in cup holder with an air freshener and USB ports, and a real carbon license plate frame.
Top pickCybertruck accessories
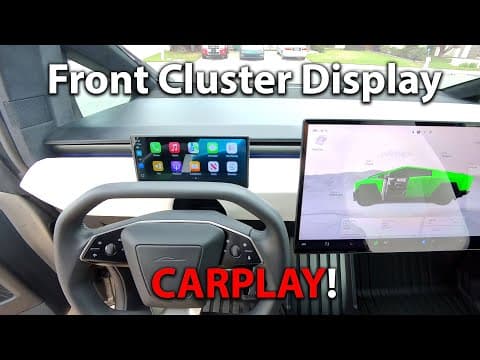
Hansshow 9" Dash Screen / Instrument Cluster with CarPlay: Cybertruck
A behind-the-wheel 9" display that runs CarPlay and Waze. The harness runs down the dash sides and under the floor liner to a control box and OBD.
Top pickCybertruck accessories
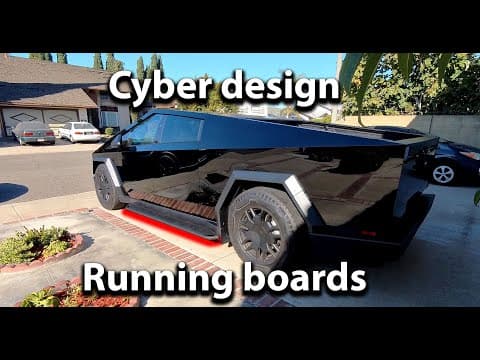
Hansshow Running Boards / Side Steps: Cybertruck Full Install
Remove the four center underbody bolts, fit spacers and the brackets (L1–L4) with 10mm and 13mm hardware, then hang the board and adjust it flush.
Top pickCybertruck accessories
HALOBLK HALODISC 2 Wheel Covers: Tesla Cybertruck Install + Efficiency Test
Swap the Cybertruck's factory wheel covers for HALOBLK HALODISC 2: pull the OEM covers, tape-protect the rims, install the center lock, mount and lock each disc, then compare Wh/mi.
Top pickCybertruck accessories
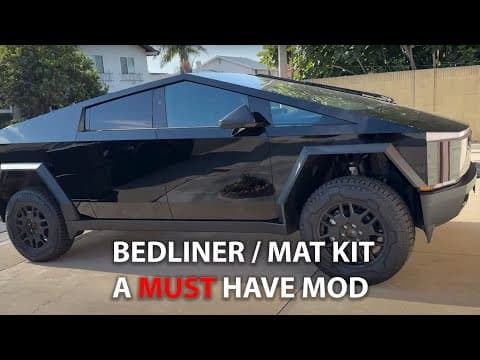
EVBASE 3D Frunk, Bed & Sub-Trunk Cargo Liners: Cybertruck Install
Drop in the bed mat (four hook notches), frunk liner and false-floor / sub-trunk cover. No tools — just flatten the panels and seat them flush.
Top pickCybertruck accessories
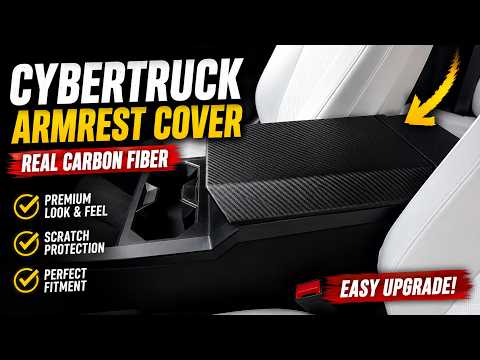
EVBASE Real Carbon Armrest & Rear Vent Covers: Tesla Cybertruck Install
Tool-free: the matte carbon overlays snap over the center console lid and the rear AC-vent/screen surround. The adhesive is optional.
Top pickCybertruck accessories
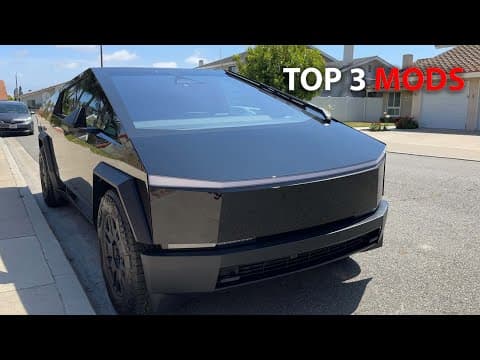
3 Quick Cybertruck Mods: EVBASE Console Organizer, Carbon Plate Frames & Frunk Sill Protector
Budget EVBASE add-ons for the Cybertruck: a center console divider that matches the Foundation Series one, real carbon front and rear plate frames, and a Velcro-mounted frunk sill protector.

Top pickCivic Type R / Integra Type S mods
Acuity 4-Way Adjustable Performance Shifter: Civic 11th Gen / Integra Install
Strip the center console, unbolt the OEM shifter (four bolts), drop in the Acuity unit at middle settings, and reconnect every plug, especially the keyless one.

Top pickCivic Type R / Integra Type S mods
PRL High Volume Intake: Civic Type R FL5 / Integra Type S DE5
Swap the OEM airbox for the PRL HVI, reuse the OEM bottom mount and seals, route the MAF harness, then compare induction sound vs stock and the Sprint/Spoon filter.
Top pickCivic Type R / Integra Type S mods
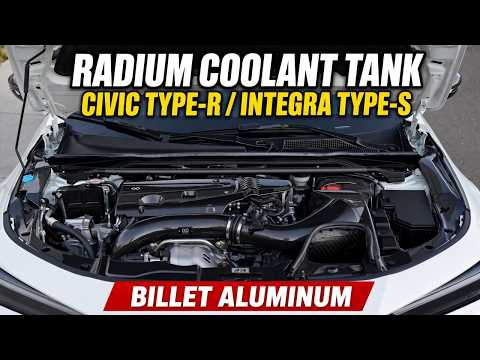
Radium Billet Coolant Tank: Civic Type R / Integra Type S Install
Replace the crack-prone plastic expansion tank with Radium's billet aluminum kit using the factory mounts and lines.
Top pickCivic Type R / Integra Type S mods
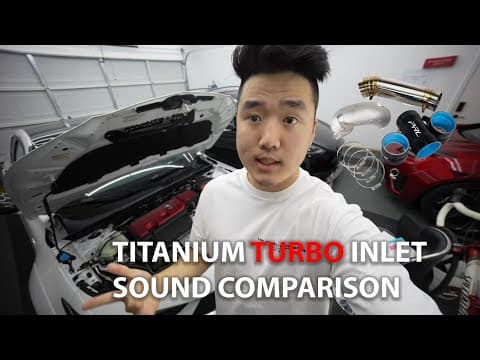
PRL Titanium Turbo Inlet Pipe: Civic Type R FL5 / Integra Type S DE5
Unbolt the OEM inlet (10mm and 12mm), fit the titanium pipe and PRL clamps, tidy the vacuum/bracket lines on the FL5/DE5 mounts, and snug everything down.
Top pickCivic Type R / Integra Type S mods
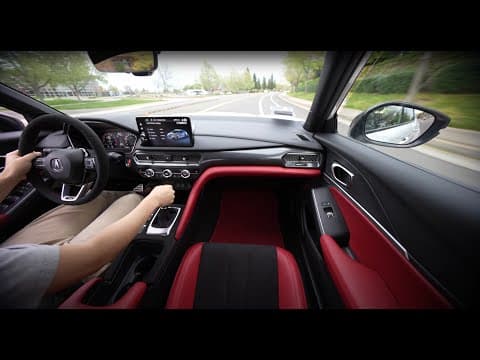
Acuity Shifter Base Bushings: Civic Type R FL5 / Integra Type S DE5
Strip the center console like a knob swap, pop out the four OEM rubber base bushings, press in the stiffer Acuity pair (top + bottom) and re-torque gently.
Top pickCivic Type R / Integra Type S mods
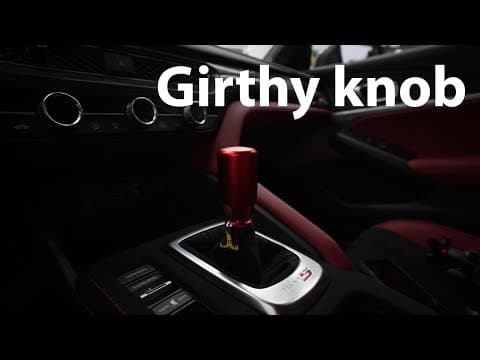
Acuity Shift Knob: Integra Type S DE5 / Civic Type R FL5 Install
Pop the OEM collar, loosen the 13mm nut, swap to the Acuity adapter and weighted aluminum knob. Bigger grip, shorter throw feel, red anodized finish.

Top pickCivic Type R / Integra Type S mods
Boomba Recirculating Bypass Valve (BPV): Civic Type R FL5 / Integra Type S DE5
Loosen the inlet hose, unplug the wastegate connector, remove three 10mm bolts on the OEM plastic BPV, and bolt on the billet Boomba valve the same orientation.

Top pickCivic Type R / Integra Type S mods
JOGON Dry Carbon Front Strut Tower Brace: Integra Type S / Civic Type R (FL5/DE5)
Pull three 14mm nuts per tower, drop on the CNC mounting plates, join the carbon bar with the Allen bolts and torque.

Top pickCivic Type R / Integra Type S mods
Sprint / Spoon Drop-In Filter: Integra Type S DE5 / Civic Type R FL5
Unplug the MAF, pull the rubber nipples and two top clips, drop in the Sprint filter (same element Spoon rebadges), and enjoy louder turbo spool and recirculation sounds.
Top pickCivic Type R / Integra Type S mods
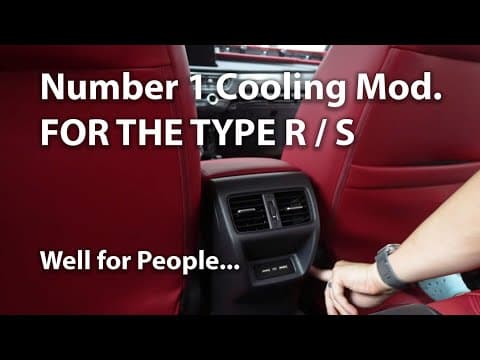
Rear A/C Vent Install: Acura Integra Type S (DE5) / Civic Type R (FL5)
Add rear passenger vents and USB ports using an AliExpress kit and OEM Honda console parts. Full teardown and reinstall.
Top pickCivic Type R / Integra Type S mods
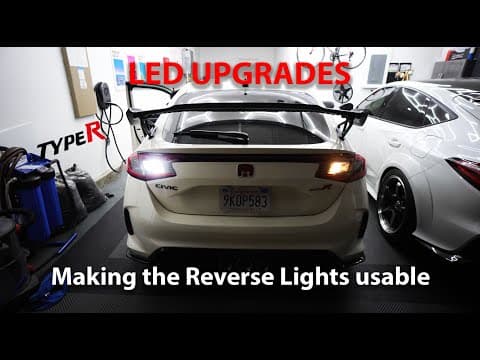
LASFIT LED Reverse & Turn Signal Bulbs: 2023+ Civic Type R FL5
Swap the dim halogen reverse, rear turn and trunk bulbs for CANbus-ready LEDs with no hyperflash. It takes a few minutes per side.
Top pickIntegra Type S carbon & exterior
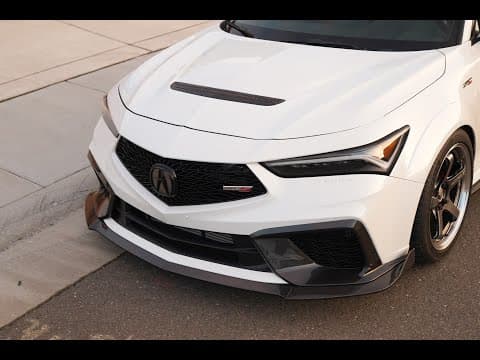
JOGON V2 Dry Carbon Front Lip: Integra Type S Install (Bumper Stays On)
Assemble the 3-piece lip, enlarge three clip holes per side, clean with isopropyl, and pop it onto the OEM clips with 3M tape.
Top pickIntegra Type S carbon & exterior
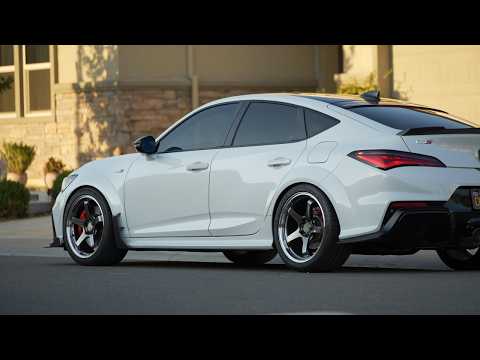
JOGON Dry Carbon Side Skirts: Integra Type S (2023–2026) Install
Join the 4-piece skirts, add foam where they touch paint, then fasten with the supplied screws, the OEM bottom Phillips and a pop clip.
Top pickIntegra Type S carbon & exterior
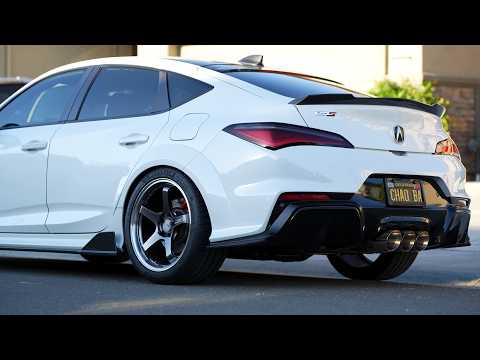
JOGON Real Carbon Rear Spats (DAG035A): Integra Type S Install
Eight Phillips screws and about 10 minutes: the V2 rear bumper side splitters bolt to the OEM mounting points.
Top pickIntegra Type S carbon & exterior
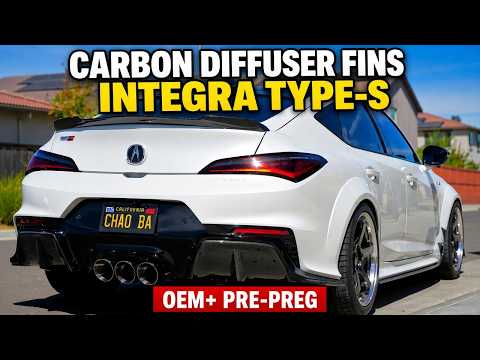
JOGON Carbon Rear Diffuser Fin Extensions: Integra Type S (2023–2026)
A 10-minute bolt-on: pop one clip, clean, stick on the pre-preg carbon fins and press for 15 seconds.
Top pickIntegra Type S carbon & exterior
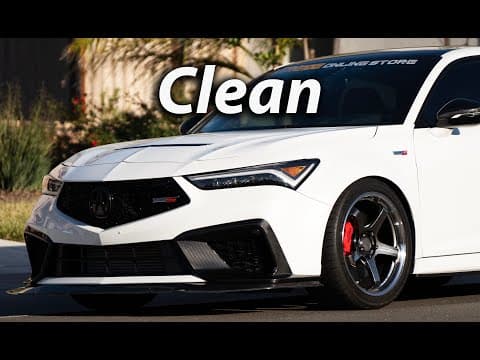
Extreme Online Store Carbon Front Lip Splitter: Integra Type S Install
A 3-piece, winglet-free splitter that goes on with the supplied 3M tape and alcohol prep. The bumper stays on.
Top pickIntegra Type S carbon & exterior
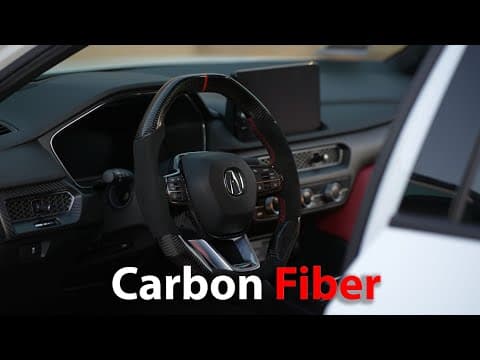
Carismo Carbon Fiber Steering Wheel: Integra Type S / Civic Type R Install
Disconnect the battery, release the airbag, pull the wheel with a 10mm, transfer the switches, trim and springs to the Carismo wheel, and reinstall in reverse.
Top pickIntegra Type S carbon & exterior
JOGON Carbon Fiber Window Sill Covers: Acura Integra Peel & Stick
Clean off dust and pollen, mind the seals, then peel and stick the 3M-backed carbon covers over the door sill trim and C-pillar.

Top pickIntegra Type S carbon & exterior
Suma Performance Wide-Angle Side Mirrors: Integra / Civic 11th Gen Install
Pop off the OEM mirror glass, move the white wiring clips to the Suma glass and snap it back on for blue-tint, heated, convex mirrors.

Top pickIntegra Type S carbon & exterior
Pigenius Custom-Fit Windshield Sun Shade: Acura Integra 2023+
Slide the custom-fit reflective shade into the windshield edges and flip the visors down. It protects the dash from heat and UV.
Top pickSubaru WRX / STI head units
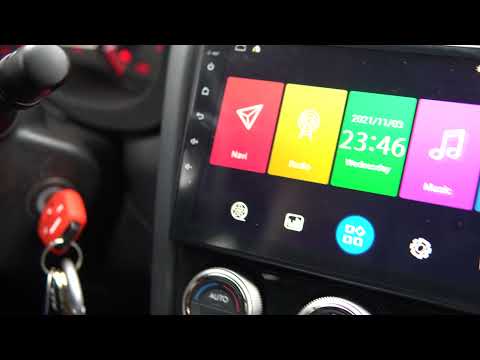
iDoing 9" CarPlay Head Unit for the Subaru WRX / STI: Old vs. New Version, Install & Review
John unboxes the 2021 iDoing unit for the WRX/STI, compares it with the 2017–2018 version (plug-in OEM-style connectors, 4G antennas, better heat sink), installs it in a 2017 WRX, and tours CarPlay, Android Auto and the settings.
Top pickDash cams
FITCAMX 4K OEM-Style Dash Cam: Acura Integra Install
Drop the mirror and overhead sunglass tray, plug the FITCAMX harness into the overhead power plug, fish the camera lead, and clip the matching cover back on.
Top pickDash cams
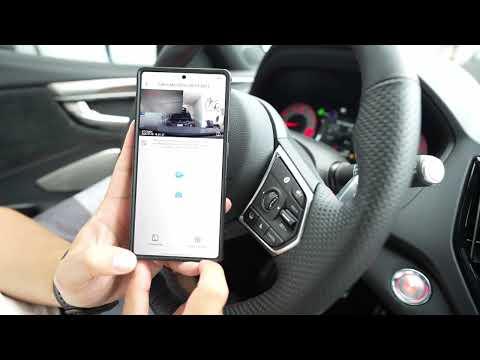
FITCAMX 4K OEM-Style Dash Cam: Acura RDX (2019–2026) Install
Pry off the overhead trim, plug the FITCAMX harness into the OEM plug, snap on the new cover and route the optional rear cam. No splicing.
Top pickDash cams
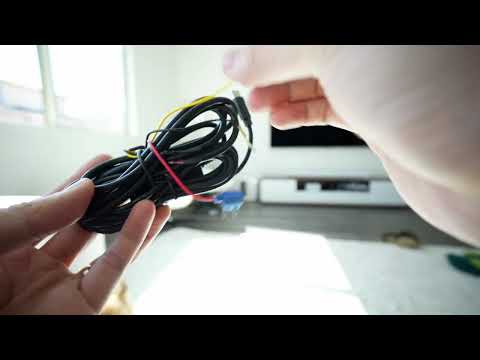
Dasaita 4K Front + Rear Dash Cam: Unboxing and Install (Acura NSX)
Unbox the Dasaita 4K Wi-Fi dash cam, mount it with the included 3M pad, power it from the 12V accessory socket over USB-C and tuck the cable along the trim.

Top pickRivian R1S / R1T accessories
EVBASE Running Boards: Rivian R1S Install
Drop the OEM underbody trim, bolt three brackets per side to the chassis, sandwich the boards on, and torque all 24 fasteners.
Top pickRivian R1S / R1T accessories
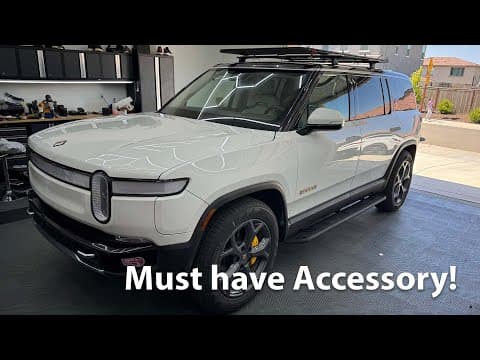
EVBASE Rooftop Cargo Carrier Platform: Rivian R1S / R1T Install
Assemble the labeled perimeter and crossbars (12mm + Allen), then clamp the platform onto the Rivian cargo crossbars with the long threaded hardware. Two people recommended.
Top pickRivian R1S / R1T accessories
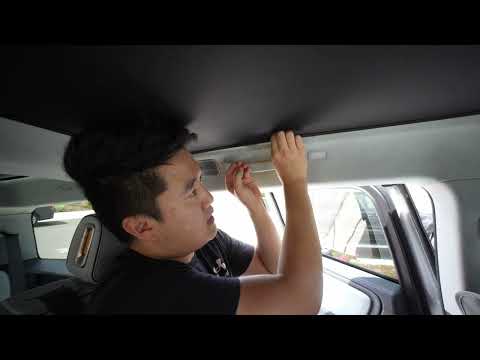
EVBASE Roof Sunshade: Rivian R1S Install
Push the shade up under the glass roof (round edge forward), tuck front and back, then add four clips per side to take up the slack.
Top pickRivian R1S / R1T accessories
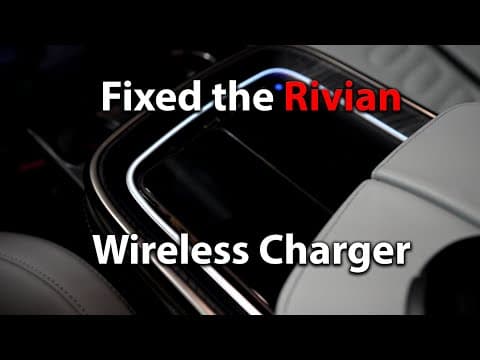
Hansshow 15W Wireless Charger with Ambient Light: Rivian R1S / R1T Swap
Pull the grommet, release three tabs, unplug the OEM pad and plug in the Hansshow one. It grips better, charges faster and adds USB ports.
Black Friday · 41 units
Black Friday CarPlay head unit roundup
Verified prices for popular CarPlay / Android Auto head units John lists for high-demand cars — Amazon first, with Dasaita and iDoing store prices as of Oct 2026.
Comparison · 2 units
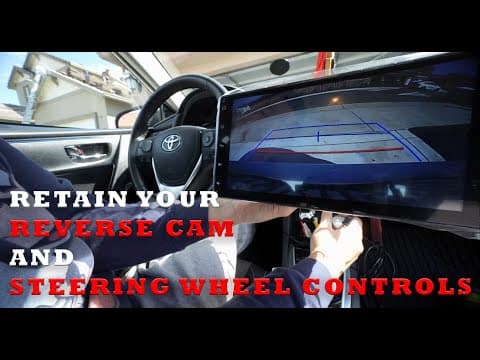
Best CarPlay head unit for the Toyota Corolla 2019–2023
Compare Dasaita and iDoing 12.3" wireless CarPlay head units for the 2019–2023 Toyota Corolla, with fitment notes and Amazon / Dasaita / iDoing / eBay links.
Comparison · 2 units
Best CarPlay head unit for the Toyota Camry 2015–2017
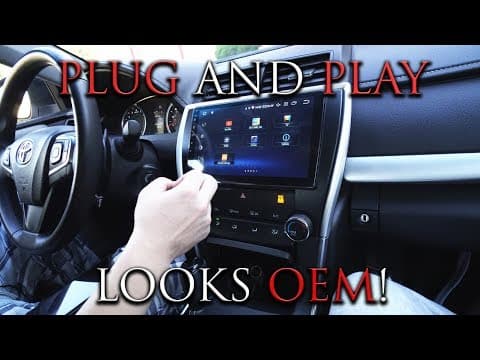
Compare Dasaita and iDoing 10.2" CarPlay head units for the 2015–2017 Toyota Camry, with fitment notes and Amazon / store / eBay links.
Comparison · 2 units
Best CarPlay head unit for the Honda Civic 2012–2015
Compare Dasaita and iDoing 9" wireless CarPlay head units for the 9th-gen Honda Civic (2012–2015), with store and eBay links.
Comparison · 2 units
Best CarPlay head unit for the Toyota Tacoma 2016–2022
Compare iDoing 10.2" and Dasaita 9" CarPlay head units for the 2016–2022 Toyota Tacoma, with store and eBay links.
Comparison · 2 units
Best CarPlay head unit for the Honda Accord 2018–2022
Compare Dasaita and iDoing 12.3" wireless CarPlay head units for the 10th-gen Honda Accord (2018–2022), with Amazon / store / eBay links.
Comparison · 2 units
Best CarPlay head unit for the Toyota Tacoma 2005–2015
Compare Dasaita G13 and Vivid13 10.2" CarPlay head units for the 2005–2015 Toyota Tacoma, with Amazon, AliExpress, Dasaita and eBay links.
Comparison · 2 units
Best CarPlay head unit for the Ford F-150 2009–2014
Compare iDoing 9" and 12.1" Android CarPlay head units for the 12th-gen Ford F-150 (2009–2014), with iDoing and eBay links.
Comparison · 2 units
Best CarPlay head unit for the Toyota Tundra 2014–2021
Compare Dasaita standard and Vivid13 10.2" CarPlay head units for the 2014–2021 Toyota Tundra, with Amazon, Dasaita and eBay links.
Comparison · 2 units
Best CarPlay head unit for the Ford Mustang 2015–2021
Compare iDoing 9" and 11.5" Android CarPlay head units for the S550 Ford Mustang (2015–2021), with iDoing and eBay links.
Comparison · 2 units
Best CarPlay head unit for the Toyota RAV4 2013–2018
Compare Dasaita 10.33" and 10.2" CarPlay head units for the 2013–2018 Toyota RAV4, with Amazon, Dasaita and eBay links.
Comparison · 2 units
Best CarPlay head unit for the Honda CR-V 2017–2022
Compare Dasaita 10.33" and iDoing 9" wireless CarPlay head units for the 2017–2022 Honda CR-V, with Amazon / store / eBay links and verified prices.

Comparison · 2 units
Best CarPlay head unit for the Honda Accord 2013–2017
Compare Dasaita and iDoing 10.2" wireless CarPlay head units for the 9th-gen Honda Accord (2013–2017), with Amazon / store / eBay links and verified prices.
Comparison · 2 units
Best CarPlay head unit for the Toyota Highlander 2015–2019
Compare Dasaita standard and Vivid13 10.2" CarPlay head units for the 2015–2019 Toyota Highlander, with Amazon, Dasaita and eBay links and verified prices.
Comparison · 2 units
Best CarPlay head unit for the Toyota 4Runner 2010–2024
Compare Dasaita 10.25" and 9" CarPlay head units for the 5th-gen Toyota 4Runner (2010–2024), with Amazon / Dasaita / eBay links and verified prices.
Comparison · 2 units
Best CarPlay head unit for the Chevy Silverado / GMC Sierra 2014–2019
Compare Dasaita 11.6" and iDoing 13.1" CarPlay head units for the 2014–2019 Chevrolet Silverado and GMC Sierra, with Amazon / store / eBay links and verified prices.
Comparison · 2 units
Best CarPlay head unit for the Toyota Tacoma 2024–2026
Compare Dasaita 14" and iDoing 14.6" Android CarPlay head units for the 4th-gen Toyota Tacoma (2024–2026), with Amazon / store / eBay links and verified prices.
Comparison · 2 units
Best CarPlay head unit for the Toyota Camry 2018–2020
Compare Dasaita 10.33" and iDoing 9" CarPlay head units for the 2018–2020 Toyota Camry, with store and eBay links and verified prices.
Comparison · 2 units
Best CarPlay head unit for the Toyota Tundra 2007–2013
Compare Dasaita and iDoing 10.2" CarPlay head units for the 2007–2013 Toyota Tundra (and related Sequoia years on the listings), with store / eBay links and verified prices.
Comparison · 3 units
Best CarPlay head unit for the Nissan Rogue 2014–2020
Compare iDoing 10.2" and Dasaita 10.33" / 10.2" CarPlay head units for the 2014–2020 Nissan Rogue (X-Trail / Qashqai listings), with store / eBay links and verified prices.
Comparison · 2 units
Best CarPlay head unit for the Subaru Outback / Legacy 2010–2014
Compare Dasaita and iDoing 9" CarPlay head units for the 4th-gen Subaru Outback / Legacy (2010–2014), with store / eBay links and verified prices.
Reviewed · 29 units
The best CarPlay head units I've installed, by car brand
Wireless CarPlay / Android Auto head units John Nguyen has installed on camera, grouped by Toyota, Honda, Subaru and more, with full install videos and buy links.
Reviewed · 14 units
The best Tesla Model Y accessories I've actually installed
Tesla Model Y (incl. Juniper) accessories John Nguyen installed and reviewed on video: power frunk, rear fridge, cargo box, tail light, H6 cluster and more, with buy links.
Reviewed · 6 units
The best Cybertruck accessories I've installed
Tesla Cybertruck accessories John Nguyen installed on video: Hansshow instrument cluster and running boards, HALOBLK HaloDisc wheel covers, EVBASE liners and carbon trim.
Reviewed · 11 units
The best Civic Type R & Integra Type S mods I've installed
Performance and driver mods for the Civic Type R FL5 / FK8 and Integra Type S that John Nguyen installed on video: PRL intake, Acuity shifter, Radium coolant tank and more.
Reviewed · 9 units
The best Integra Type S carbon & exterior mods I've installed
Carbon fiber and exterior parts for the 2023–2026 Acura Integra Type S that John Nguyen installed on video: JOGON lip, side skirts, rear spats, diffuser fins, EOS splitter and more.
Reviewed · 4 units
The best CarPlay head units for the Subaru WRX & STI
Wireless CarPlay / Android Auto head units for the 2015–2021 Subaru WRX and STI that John Nguyen installed on his own WRX, with full install videos and buy links.
Reviewed · 3 units
The best OEM-style dash cams I've installed
Hidden, OEM-style 4K dash cams John Nguyen installed on video in the Acura RDX, Integra and NSX: FITCAMX and Dasaita, with no-splice installs and buy links.
Reviewed · 4 units
The best Rivian R1S & R1T accessories I've installed
Rivian R1S / R1T accessories John Nguyen installed on video: EVBASE running boards, roof rack cargo carrier, roof sunshade and Hansshow wireless charger, with buy links.