Acuity 4-Way Adjustable Performance Shifter: Civic 11th Gen / Integra Install
Strip the center console, unbolt the OEM shifter (four bolts), drop in the Acuity unit at middle settings, and reconnect every plug, especially the keyless one.
Full video (17 min): No Slop! Acuity full shifter replacement | Civic & Integra Type R S
Get the parts
White buttons are from the video description. “Generic pick” links are my suggestions, not from the video; confirm fitment and part number before buying. Some are affiliate links, so I may earn a commission at no extra cost to you.
Overview
A full shifter replacement that John installed at the middle settings. Compared with the Acuity Stage 2 kit he had before, it feels sharper and more mechanical with a tactile bump, and it returns to center precisely.
Vehicle & fitment
- Product
- Acuity 4-way adjustable shifter (gear throw, gate spacing, knob position, centering springs). Reuses OEM harness clips. Laser-etched settings and torque specs.
- Shown on
- Acura Integra Type S
- LHD 11th gen Civic and 5th gen Integra (per the product link)
- Video lists Civic Si, Touring, Type R, Integra Type S and A-Spec
Always confirm fitment for your exact year and trim with the seller before buying.
Tools & parts
Tools
- 13mm socket (12mm for an aftermarket knob nut)
- Trim tools
- Screwdrivers
- Socket set
Parts
- Acuity shifter, springs, height rod, washer
Step by step
- 1
Remove the knob and collar▶ 3:20
Rotate the collar clockwise while pushing down, loosen the nut, and lift it off.
- 2
Pull the shifter trim and console▶ 4:19
Pull the trim toward the rear, unplug the harnesses, remove the screws (including the one in the cubby), and pull the cupholder piece straight out to reveal more screws.
- 3
Unbolt the OEM shifter▶ 7:32
Remove the four bolts and the clip, twist the cable ends free, and lift it out.
Tip: With the console out, it's a good time to add a rear vent if you have kids.
- 4
Install the Acuity unit▶ 8:19
Lock it into position B for now (it shifts A–C with a firm press). Reattach both cables and their retaining clips, then screw in the small mount.
- 5
Set the height▶ 9:43
John used setting 3, close to the OEM height.
- 6
Reconnect every plug▶ 10:22
Bolt everything down and reconnect all the plugs.
Warning: Forget the one plug and you'll get keyless errors. It's the plug people most often miss.
Wiring notes
- Reconnect the keyless plug, wireless charger and USB plugs during reassembly
Get the parts
White buttons are from the video description. “Generic pick” links are my suggestions, not from the video; confirm fitment and part number before buying. Some are affiliate links, so I may earn a commission at no extra cost to you.
John's Acura Integra Type S
More photos →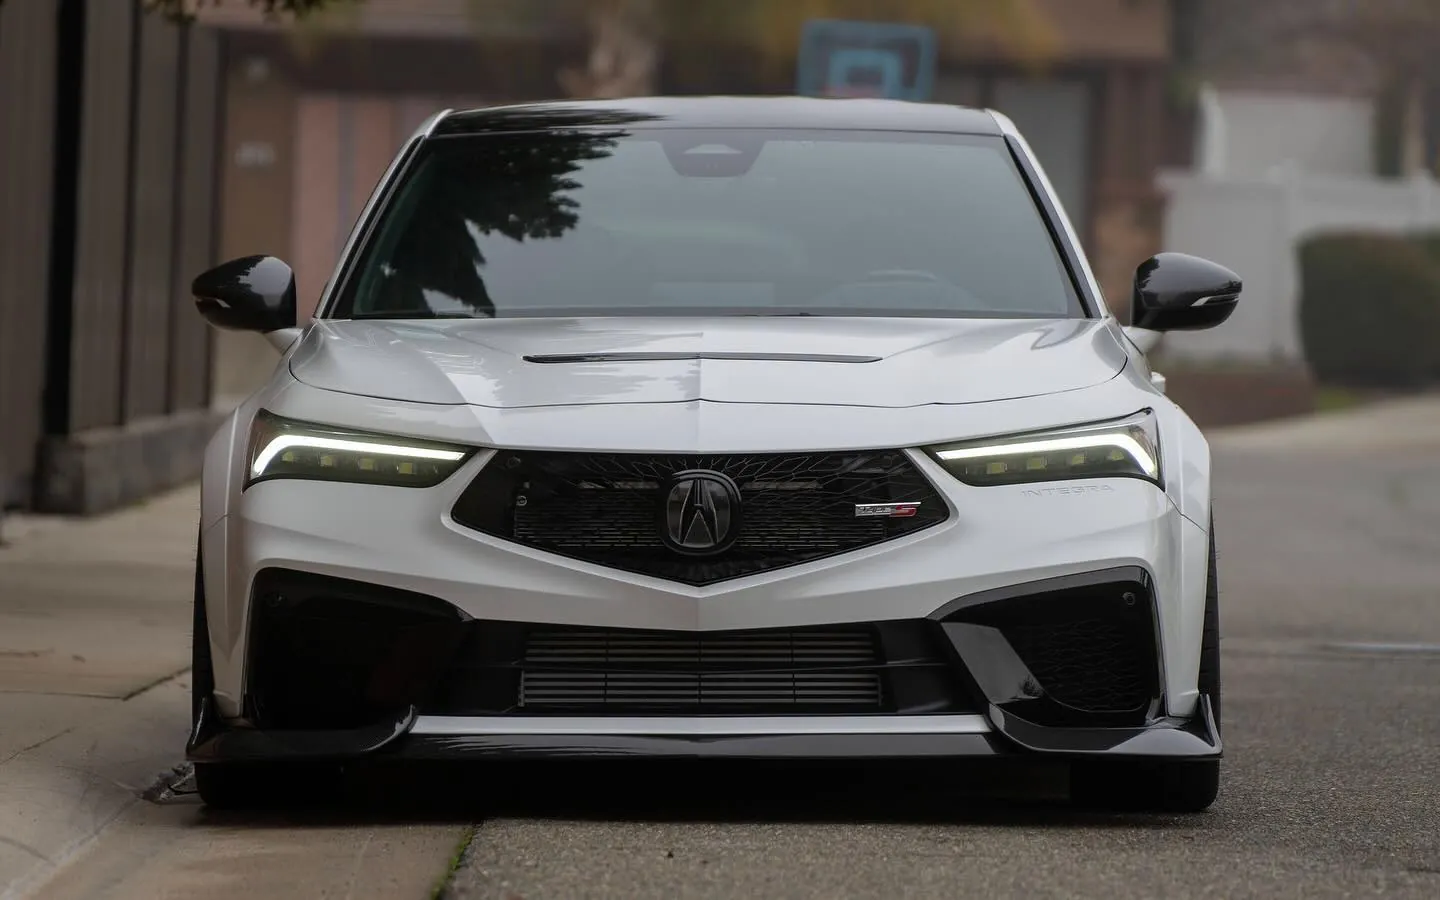
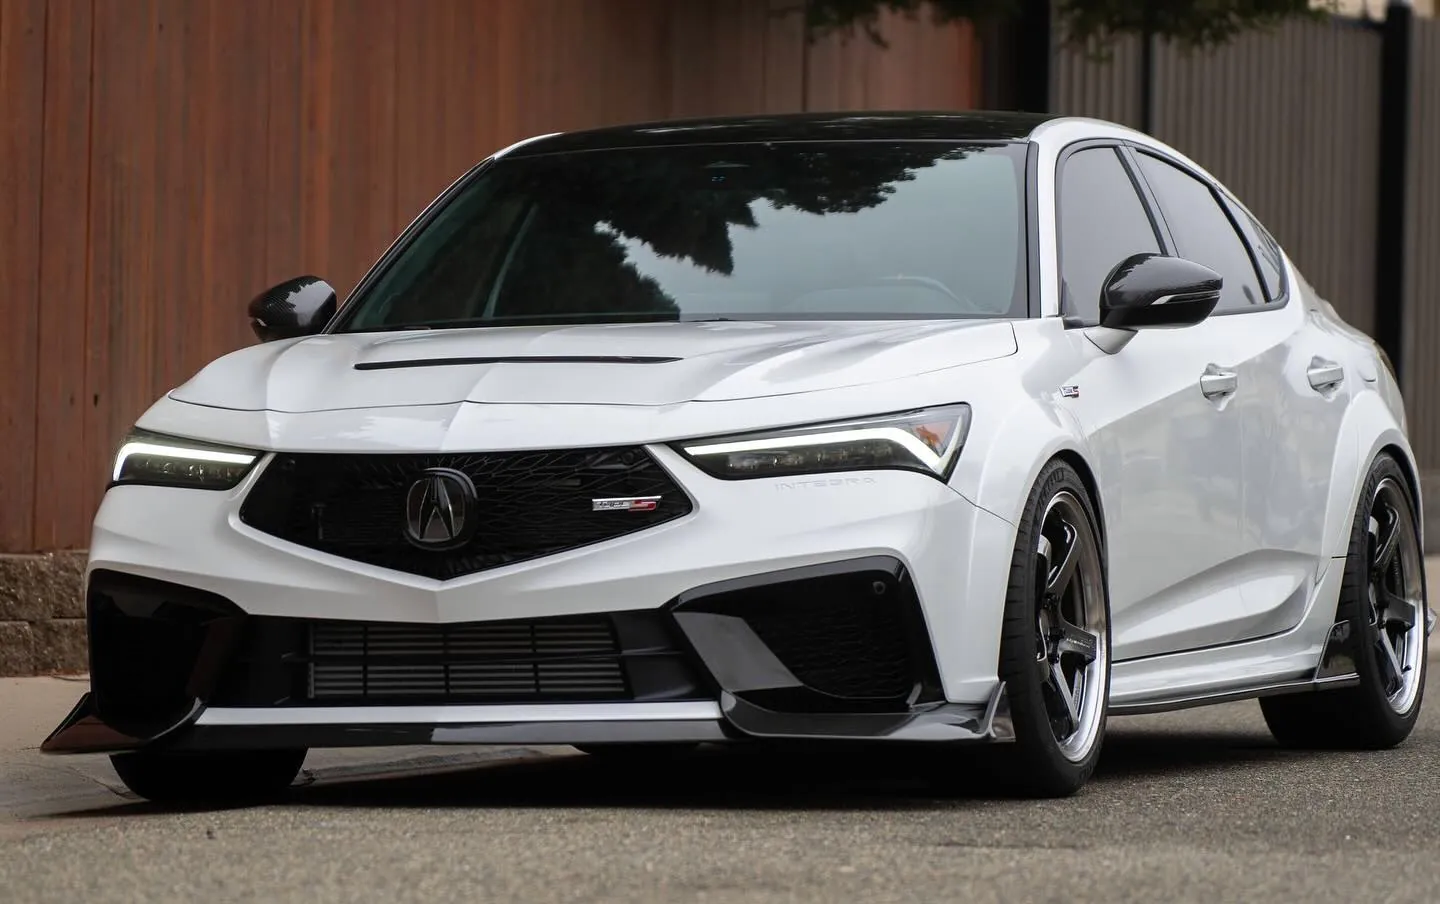
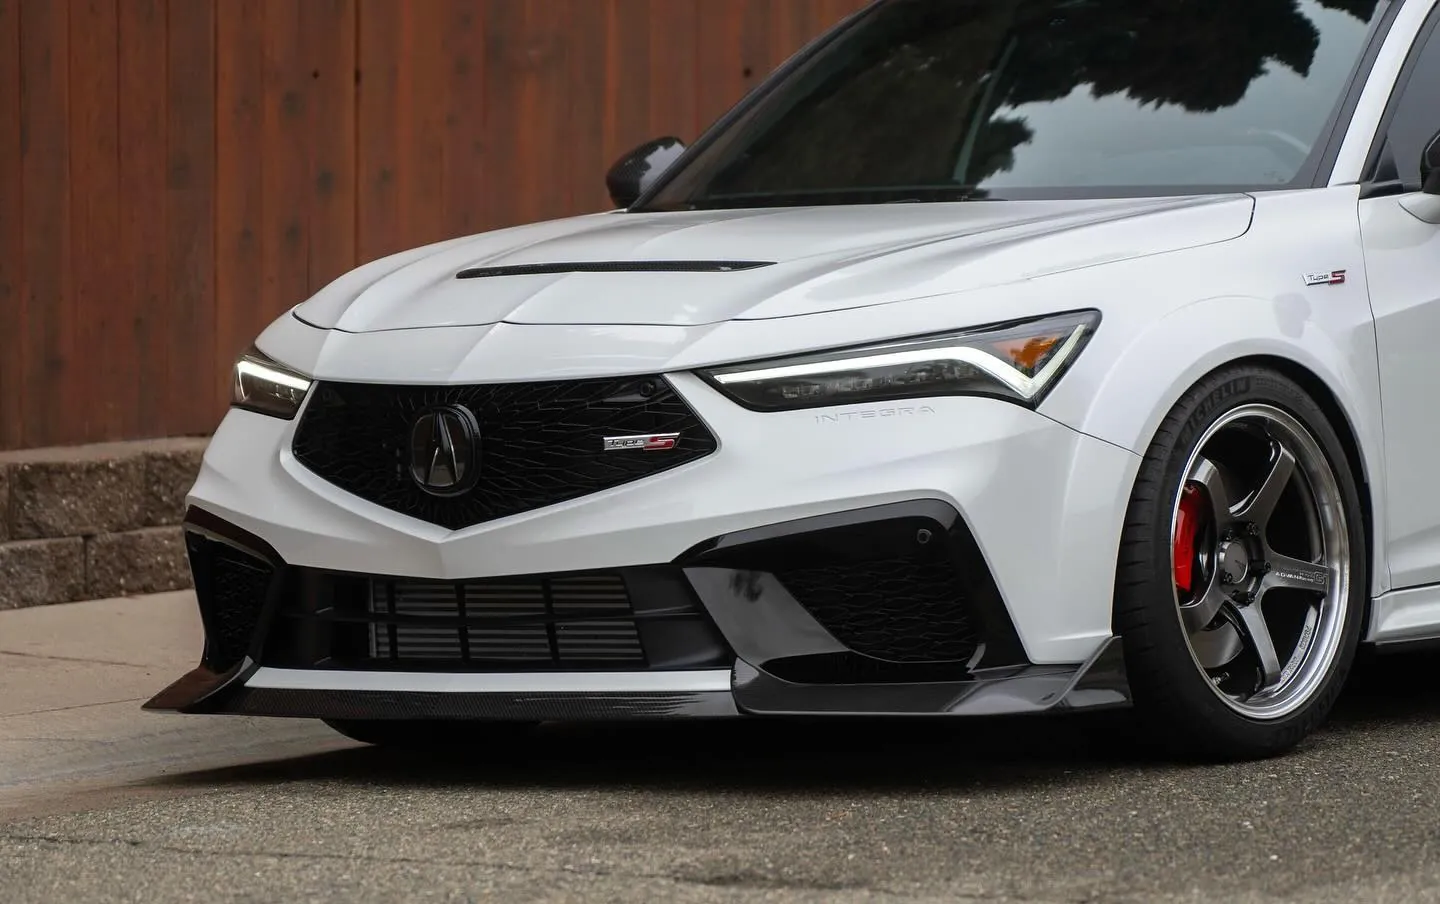
Photos from @ngooyen on Instagram. Follow for more.
Full transcript
Show the full transcript (105 lines) +
0:27What's up guys? It's your boy Jal. We are back again here with another video with the Acura Integra Type S
0:32And today we're gonna be doing a shifter after you. It's gonna be the cutie four-way shifter beautifully designed. It's with a box, it's incredible.
0:41All right, can I unwrap it just so I can present it better for you?
0:47But it's a beautiful box and it's compatible with your Civic 11 gen
0:55SI, Touring, Type R, Integra Type S, and A-Spec. So this thing has a bunch of
1:01compatibility with everything. Now what's really nice about this is it has
1:07let me just tell you, shoot off the box. It's an adjustable four-way shifter that
1:12that can adjust the gear throw, the gate spacing, the knob position, and it's just super snappy
1:20also adjusts, if you buy different springs, the centering action as well. It's stiff, it's all
1:26metal, it's precise, and it's self-lubricating and will pretty much last the life of the
1:32the vehicle. Here it is right here. It's just a really beautiful piece. It retains your O-EM stock
1:38harness clips so you can still clip it here. You got
1:41the two cables so if you're a right left-hand drive like where I am you'll be able to ship
1:46and you can see all beautiful. Serial, laser-etch shows everything in terms of these notches so
1:56you know where to kind of level it. All of the stuff is right in the middle settings
2:01which is what I'm going to install it as, just middle settings. it's not too long, not too short
2:08just right for me and then yeah it's just so beautiful. There's also Torx specs that's
2:14already laser engraved so. It's like directions just right on there if you want to make it narrower
2:20then you put it down if you want to make it wider put it up and here is basically the spring that
2:26it's in the middle, the middle tension spring but there's also a lower lower one and a higher one
2:32if you want it to be how fast you want it to go back and also within the box there is the
2:41rod, the rod that basically it adjusts the you can adjust the height here so it goes right here
2:52you can adjust the height and then the washer and where it mounts to the
2:58the OEM aluminum mount so yeah it's going to be a pretty simple install.
3:06I'll remove the center console which I'll cut to because I already had their stage two kit
3:10and then we'll kind of fill in the stage one kit or the full replacement kit right here.
3:20All right so to remove this dash it's pretty easy first you want to pop this little collar down
3:27on the OEM one you want to rotate it I would say clockwise and then kind of like this so you're
3:32rotating clockwise while pushing down and you'll still you'll feel a little notch where you can
3:38actually push it in all the way then there's going to be a little nut here this is how the nut looks
3:43like because this is an aftermarket one this is a 13mm you kind of want to just put it on it right here
3:50kind of like this well this is my 12 because it's an aftermarket and you just want to
3:57to let the loose see it upside down so I guess righty tighty and then you're
4:02basically applying force here and this whole thing just comes out
4:08now because we we're going to be putting this somewhere safe you can put it on your seat
4:13so you don't want to put in your cup holders we're removing the whole bad boy anyways now for
4:19this piece right here it's also pretty easy as well what you got to do is you just pull
4:26towards you towards the back of the rear so you just pull it and the whole thing comes out
4:32of of course it's not going to be that easy but I already pulled it and all the tabs
4:36are facing backwards there is this little notch
5:11for the harness and you can also unplug these bad boys as well
5:21that's one way to remove it
5:24and then there's some screws down here that you can pull out and also if there's going to be
5:32a screw in the cubby hole right here so we remove that little plastic tray on the bottom
5:43oh it's actually pretty tight a little there you go and then you also have oh it's because it's
5:50it has this part kind of sunk in and it's just going to reveal two more screws and you can pop
5:55that bad boy out right there so after you remove that one screw and then you popped it up and
6:30pulled it out it's going to reveal two new screws right here so we're just going to take
6:34care of that real quick all right and there's this cupholder piece there's two tabs holding it you
6:52just kind of want to pull it from here and pull straight out after that it will reveal screws
6:59and this whole thing can come out so that's pretty awesome now this is a good time if you guys
7:14were trying to do it is you can put rear vents could be helpful if you have kids
7:32all right so i'm just i loosened everything but just remove these four bolts and then i'll show you
7:36how there's a clip you need to remove this whole thing just comes out you twist this to get this
8:19kind of like how you twist it too after you get that done you want to lock it into
8:27basically b for now but you can shift it from a to c with a firm press
8:48don't forget to install this part it's the same as the other one you want to unscrew it and then
8:57pop it back in try to do it without getting the camera's way once you have that in don't
9:06forget to put this clip in there too just like the way you did it when you removed it
9:12I'm gonna get in camera because it's actually a real big pain here it is the clips in there
9:17this clip's purpose is so you can't pop it out so it's not a huge part of it
9:25but it's uh now you can't pop it out because the clip holds it on together
9:31you also screw in this little mount right here this little mounting screw and this
9:37pretty much has a little back end and holds it all together and it feels real good I guess
9:43this is the time where you can actually kind of shift it now have it on three which kind of
9:55lines up with the OEM I think but actually I think it's a little bit higher I measured the
10:02threads all right make sure you bolt everything let me zoom out so you guys can get a good look
10:22make sure you clip this one back in and make sure you clip in this one because if you don't
10:27let me see get that little angle with your little dart
10:31boom because if you don't clip this one back in you're gonna say you're gonna have
10:35keyless errors so make sure you plug that back in of course these two are gonna be for your this
10:43right here and all this goes through your wireless charger usb's and whatnot but yeah
10:49these are the ones that people generally forget so don't forget this one and this one again
10:55this does have the mounts for it so I'm able to mount it which is nice
11:03all right it's gonna be my first impression of the acuity shifter first the second great
11:10third I'm on the sport plus mode by the way car is at four bars so I've read that it's gonna
11:17pop far as nice and warm and the temperature today is 88 here in California I'm on a bear with the
11:31heat and turn the air down so you guys can hear me a little better uh initial slow driving impression
11:43is great just so it doesn't pop so much now right off theera from oem to stage two
12:00that was also already great the biggest thing was the the spring retention so the centering
12:05back to zero uh the center so the way it kind of springs back to the the middle and then it was a
12:10lot shorter now this one going from that to this I had everything in the middle settings
12:17I think the the biggest thing is it's more mechanical in the sense of there is less it feels
12:31like more metallic more metal if you ever go from like a the keyboard or a PC uh you know you go to
12:41those mechanical keyboards you can definitely uh if you have the bump or the clicky or you know
12:46bunch of stuff but the gist of it is you can really feel the tactile bump and there's actually some
12:54audible sound too see if I can get that for you guys there's
13:08is a there's a bump and you can it's so mechanical that you can kind of hear it okay maybe you can't
13:17hear it maybe I'm just feeling it and vibrating through my body and that was a six fifth fourth
13:35third to second if you want a shifter that's already so good you are seeking perfection this is it
13:50there is nothing that can top this I can feel like and if you want to make it shorter you can
13:56but this is so much fun to roll uh road to the gears this is it all right that concludes
14:43the drive that was amazing so the biggest thing I notice is it's sharper so more responsive and
14:52definitely the return to zero is like I have to say we or just the center is just
14:59you see look at that precision boom boom note look at that yeah of course it's
15:07kind of wiggle because it's a design might not wiggle but like it's going to go left and right but
15:12that is great and that is amazing so if you guys were interested in this product I'll leave a link
15:20down below but the, the acuity is just the product is insane if if you asked me the product is
15:27insane it does what it's supposed to do it's sharp it's responsive it's adjustable so if you
15:32want this to sit higher you can um you can go up you can go much higher uh I like it kind of like this
15:40uh this is just a stock height because that's just what I'm familiar with it could go lower let's see
15:45if I go lower I don't know if I I feel like a lower I think that three is my size medium
15:50medium you know I am everything is just right just right off the gate so I don't have to touch
15:54anything or do anything but anyways thank you guys for watching I'll catch you guys in the next one
15:59peace
Machine-transcribed from the full-length video and lightly cleaned (product names fixed). Watch the video for exact wording.