iDoing 11.5" Android 13 Head Unit: Civic 2022+ / Integra 2023+ Install, Tips & Troubleshooting
Pull the dash, plug in the iDoing harness and USB audio decoder, fix the reverse-camera trigger and swapped track buttons, and set up 360 cameras.
Full video (14 min): 360 Headunit 11.5" Civic / Integra Head Unit Install | Tips, Tricks & Troubleshooting (2022–2027)
Get the parts
White buttons are from the video description. “Generic pick” links are my suggestions, not from the video; confirm fitment and part number before buying. Some are affiliate links, so I may earn a commission at no extra cost to you.
Overview
An unboxing and install of the iDoing 11.5" unit with the optional 360-camera kit (front, side-mirror and rear cameras for a bird's-eye view). The CAN bus box keeps steering-wheel controls and car systems working without splicing. The tricky parts were audio routing through the USB audio decoder, the reverse camera not triggering, and the next/previous buttons being swapped.
Vehicle & fitment
- Product
- iDoing 11.5" 2.5D IPS QLED, Android 13, 6GB/128GB, wireless CarPlay/Android Auto, GPS + GLONASS, 36-band EQ, OEM/AHD camera support
- Shown on
- Acura Integra (shown) / Honda Civic 11th gen with the 9" factory screen
- Honda Civic 2022–2026 (per the description)
- Integra 2024+ (per the description)
- John notes the 7" factory-screen cars are easier (unplug the top and install); the 9" is more work
Always confirm fitment for your exact year and trim with the seller before buying.
Tools & parts
Tools
- 13mm socket (12mm for John's aftermarket shift knob nut)
- Plastic trim tool (optional, hands work for most clips)
- Phillips screwdriver
Parts
- iDoing head unit + main harness/splitter
- CAN bus box
- USB audio decoder
- Antennas (cellular, Wi-Fi, Bluetooth), mic, extra USB
- Optional 360 camera kit (front, mirrors, rear) with housings, grommets and drill bit
Step by step
- 1
Remove the shift knob and collar▶ 6:01
Rotate the collar clockwise while pushing down until it drops. Then loosen the nut under the knob and lift the whole assembly out.
- 2
Pull the shifter trim▶ 6:59
Pull it toward the rear of the car. You may need to rotate it past a notch. Unclip the harness retainer and unplug the connectors.
- 3
Remove the lower screws▶ 8:05
There are screws down low, one in the cubby, and two more revealed after removing the plastic tray.
- 4
Pry off the center panel▶ 9:14
Keep the door open and work your way around the clips. Unplug the hazard and climate buttons.
- 5
Remove the screen screws▶ 9:49
Two Phillips screws up top and two more (one black) below. Then the old unit comes out and you can test-fit.
- 6
Plug in the main harness▶ 10:42
The main harness goes through a splitter: OEM cable into the splitter, splitter into the new unit. It handles power, audio and everything else.
- 7
Route audio through the USB decoder▶ 11:13
Audio comes through the USB data port into the little USB audio decoder, then a coaxial cable to the SPDIF port on the head unit. John's DIP switches: 1 and 2 up, 3 and 4 down, which forces USB mode.
- 8
Fix the reverse camera trigger▶ 12:18
His reverse camera didn't trigger. The fix was running a long green wire from the mirror tap.
- 9
Swap next/previous if needed▶ 13:14
His track buttons were reversed. Fix: Protocol settings → up/down song swapping.
- 10
Camera settings▶ 13:36
In vehicle settings choose camera original or aftermarket 360. John's worked on aftermarket 360.
Wiring notes
- Main harness via splitter: OEM cable → splitter → head unit
- USB data → USB audio decoder → coaxial → SPDIF on the head unit (DIP 1,2 up / 3,4 down)
- Reverse trigger: green wire from the mirror tap
- CAN bus box keeps steering-wheel and car controls, no splicing
Get the parts
White buttons are from the video description. “Generic pick” links are my suggestions, not from the video; confirm fitment and part number before buying. Some are affiliate links, so I may earn a commission at no extra cost to you.
John's Acura Integra Type S
More photos →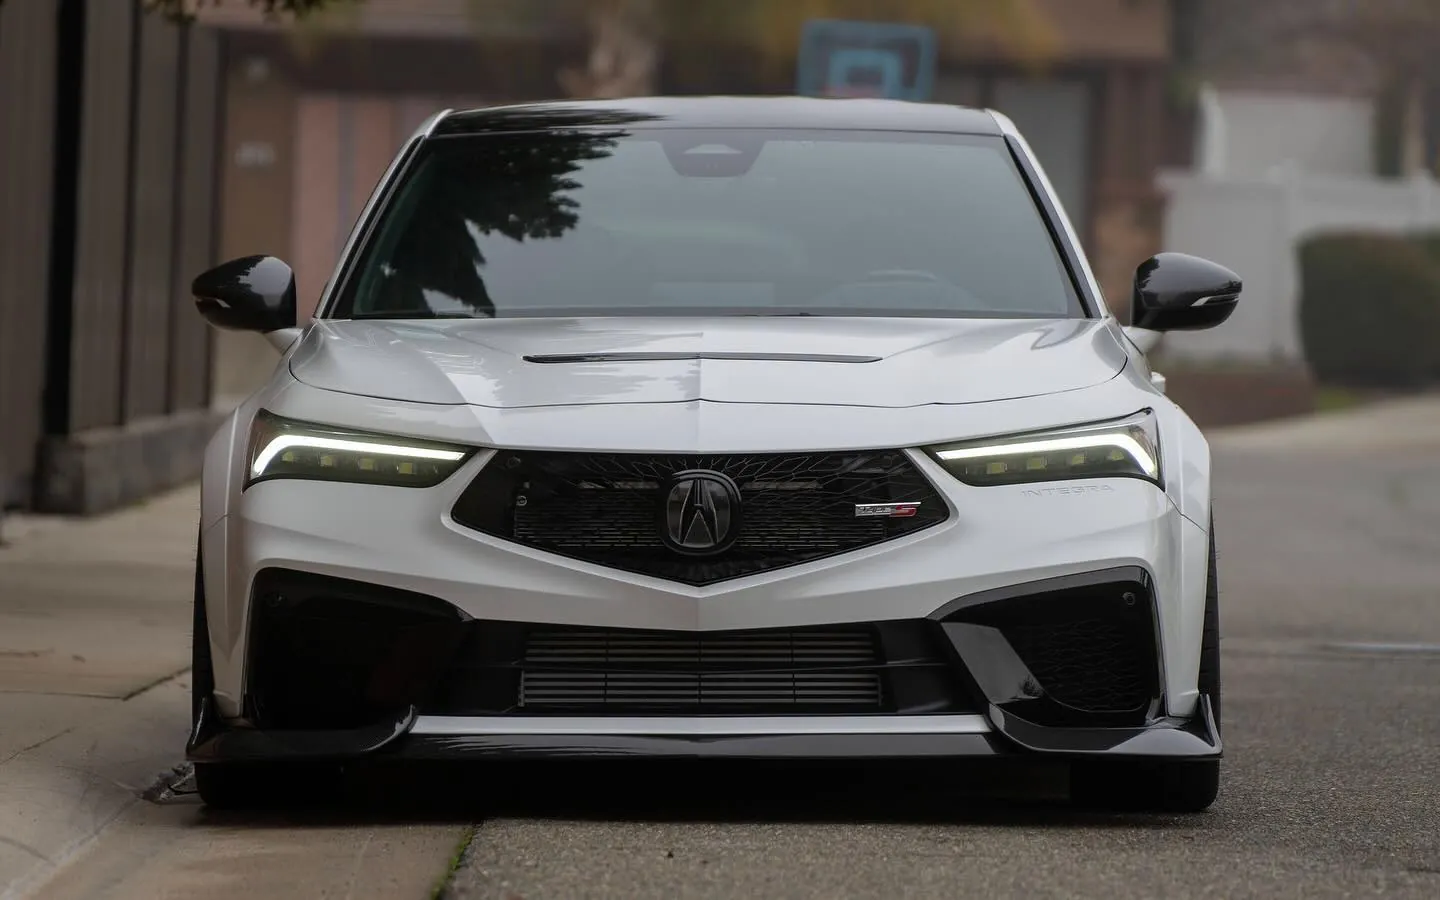
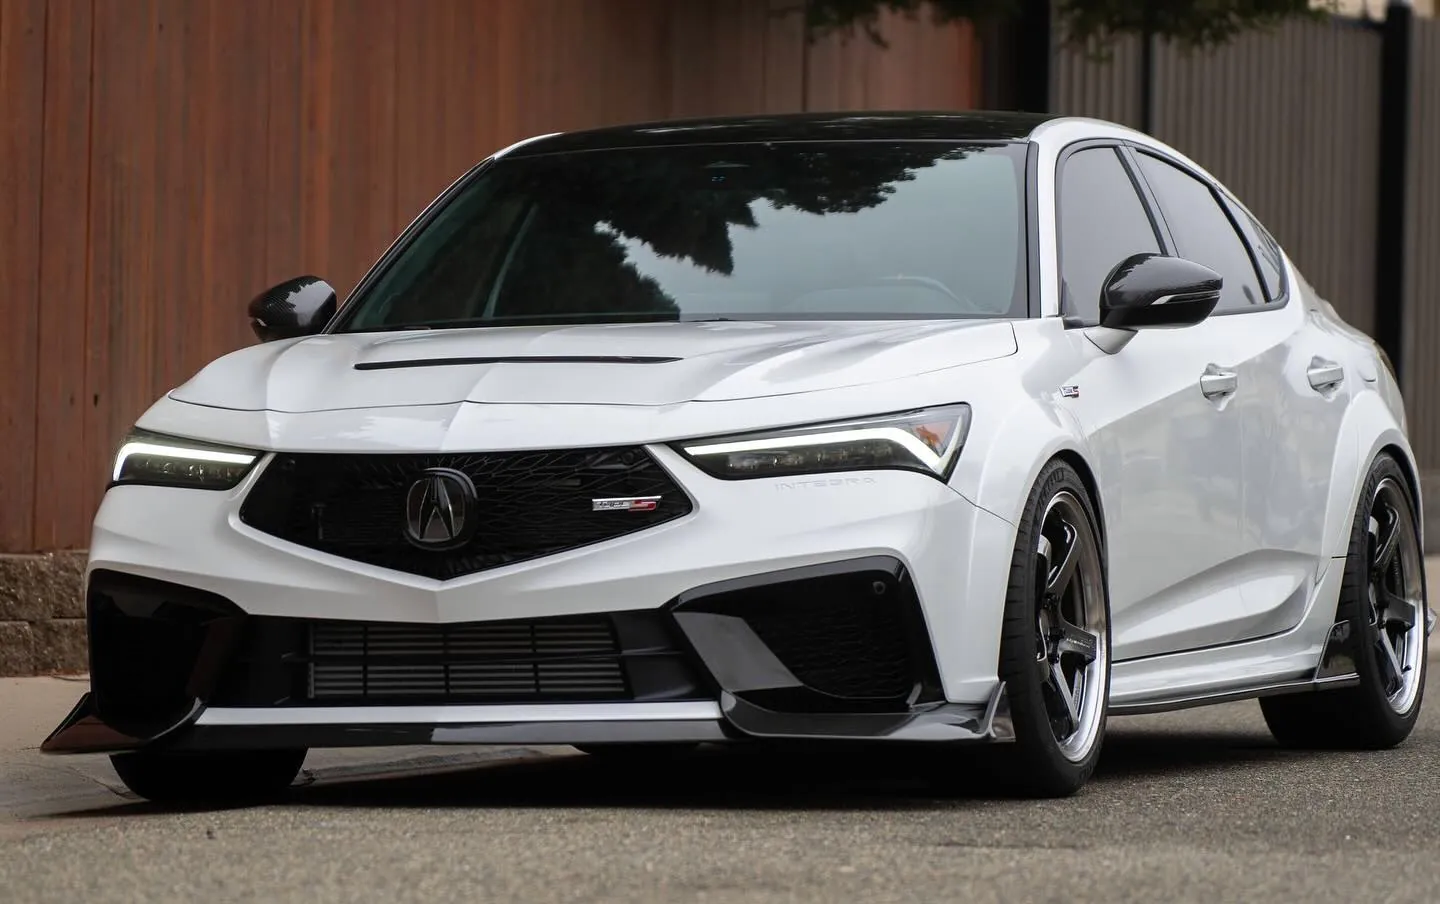
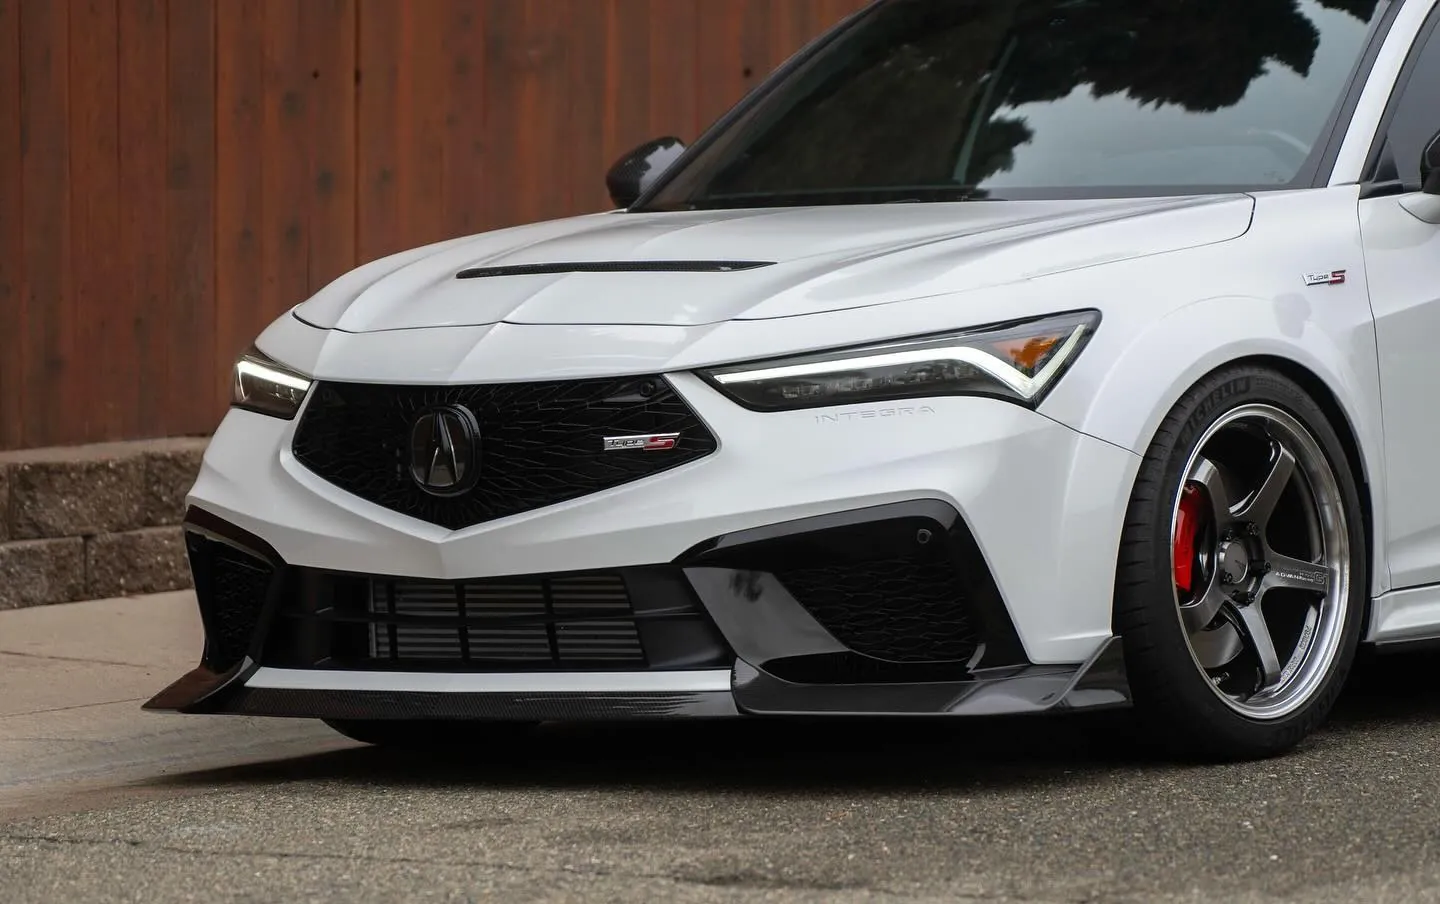
Photos from @ngooyen on Instagram. Follow for more.
Full transcript
Show the full transcript (166 lines) +
0:02Just like this
0:07Remove this main area
0:14What's up guys it's your boy John we are back again here with another video today
0:26We're gonna do something super cool if you have an Acura Integra Honda Civic included
0:32Or even the CR-V., we're gonna have a head unit change so you can kind of see
0:38With
0:44One with the 7-inch and then there's a 9-inch which is that what I have the 9-inch is a little
0:48A little bit more difficult, but if you have the 7-inch all you have to do is unplug the top and it's really easy and install
0:54So that's good here for those who have the base model or the the non-light bows or
1:023d at EOS system
1:04Let me show you the package itself
1:07So we have the eye-doing box right here. Eye-doing is one of my favorite brands
1:11So I always grab it towards them
1:14they have a
1:16Printed copy of how to install and what each thing does so you'll you'll have an external speaker which is kind of
1:23different, power cables us extra usb and
1:29Even video setups and when I say video setups, what does that actually entail? Let me tell you you get I
1:39Want 360 cameras on this
1:43So you get
1:45360 cameras, so the rear camera the I'm gonna be can install mirrors on
1:51Cameras on the side mirrors and the front bumper and you can actually get a bird's eye view of your car
1:58So that's super sick
2:01stock, there's only that rear camera. So if you have
2:04nice wheels
2:07Or you just don't want to curb your wheels you want to check that out that way
2:11You don't bust your front lip
2:14And you don't curb your wheels just helps out every kind of driver assistance is good
2:20So I can show you guys how the cameras kind of look
2:26Alright, so the cameras look similar just like this and
2:30There's different housings depending on
2:33What you get so this is like an extra accessories if you guys are interested
2:38You got the ones kind of clearly for the side mirrors and then you have a front cam and a reverse cam right there
2:47You even get the tools for the housing so you can see there's like rubber garments and
2:54It's just really well thought out. You even get the drill bit to drill
3:00Of course the wiring, you want to snake it through the the door
3:03the the the the front bumper
3:05So there's that
3:07Now what else comes inside the box if you have us so you once you get one, what a system like this you will get extra usb
3:16That's super cool. These are antennas if you plan on having cellular
3:22Wi-Fi and Bluetooth
3:25And then this is kind of like what I like about I doing is they come with all this can bus
3:33Information so your sterile controls and all your systems will still work
3:39Because well this thing kind of translates everything so it works with your car and you don't have to like
3:45splice into anything
3:48It's literally a plug-and-play setup, so I like that and then this is just saying
3:58Look car you want inter-oem system switch the audio source to aux usb coax options
4:08Here is some extra cables and microphones and
4:13the main piece
4:16Which is gonna be
4:18Definitely the upgrade piece. You'll see
4:21You know fit and finish it's always really nice on a piece like this because the plastics are high quality
4:28the finish
4:29it's just
4:31really nice and
4:33Also the display hello, but the display is gonna be a, way higher resolution than the oem head unit
4:42You can kind of see
4:44What's in the back and this is more of?
4:50Look at that. I like it. I like it a lot
4:55So hopefully the install is pretty simple, but yeah, that's the first look at the I doing head unit for the
5:03Integra and the civics. I love the physical keys these aren't not physical and
5:11Integrate really nicely
5:16Alright, so this is the interior. There's gonna be a lot of things you need to remove
5:20You got to remove this
5:22this this
5:25This top part this is held by clips and
5:29For the main area the center console remove
5:32I'll cut to a clip where I show a detail of
5:35me remove everything because
5:38The head unit is actually right here. This is just a display
5:44So you need to get all the way down there
5:47To get extract all the good information
5:50so you're gonna have to
5:53pop this out and
5:55It's a lot of work. So
5:58When you cut to a clipper or you remove the whole thing
6:01Alright so to remove this dash
6:03It's pretty easy first you want to pop this little collar down on the OEM one
6:09You want to rotate it? I would say clockwise and then kind of like this
6:13So you were rotating clockwise while pushing down and you'll still you'll still a little notch where you can actually push it
6:20down the way
6:21Then there's gonna be a little nut here
6:23This is how the nut looks like because this is an aftermarket one
6:26This is a 13mm. You kind of want to put it on it right here
6:31Kind of like this
6:34This is my 12 because it's an aftermarket and you just want to
6:38Lefty loosey it
6:41upside down, so I guess righty tighty and then you're basically applying force here
6:45And this whole thing just comes out
6:49Now because we're gonna be putting this somewhere safe and put it on your seat
6:54So you don't want to put on your cup holders. We're removing the whole bad boy. Anyways
6:59Now for this piece right here. It's also pretty easy as well
7:04What you got to do is you just pull towards you towards the back of the rear
7:09So you just pull it and the whole thing comes out
7:13Of course, it's not gonna be that easy, but I already pulled it and all the tabs are facing backwards
7:20There is this little notch right here, so when you pull you might have to kind of rotate it like this
7:27I think pull upwards. Let's see if the tabs out
7:31great now for this I use just use my hand, but you can use a
7:35You can use a plastic trim remover if you need to have a little thes little bit more leverage and
7:41What I do is I just pull
7:43Pull it up and there's gonna be a retaining harness for like a clip for the harness
7:53And you can also unplug these bad boys as well
8:02That's one way to remove it
8:05All right, then
8:08There's gonna be some screws down here that you can pull out and also there's gonna be a screw in the cubby hole right here
8:16So we removed that little plastic tray on the bottom. Oh, it's actually pretty tight
8:27Little there you go, and then you also have both because it has this part kind of sunk in
8:34And it's just gonna reveal two more screws. You can pop that bad boy out right there
9:08So after you remove that one screw and then you popped it up and pulled it pulled it out
9:14Alright, so after you remove this main area to take this part off
9:19It's actually very easy just held by clips. I recommend keeping that door open
9:24but you pretty much just work your way in and
9:28You just pry so I started right here
9:31pry pry and then I use my fingers to do the rest now, of course, there are some buttons
9:38Like the hazard buttons and the climate control make sure you unplug those and then you'll have all
9:44All the room you need to do the wiring oh
9:49Forgot so you remove the two screws up top. They're held by Phillips and
9:54Also, there are another two screw right here after you do that. So you see the two are here with the black
10:01One two, it's allowed focus, but
10:06That little black screw right there after you do that
10:10This will be able to come out and then we can test fit our new one. What's up guys?
10:23It's your boy John. We are back again in here with another video
10:27Now I just want to talk about wiring in the installation. So I
10:32Do have it kind of like a full install video. I was gonna do but maybe I won't so
10:38Here's a video of the most technical part that I had a troubleshoot
10:42Now when it came to the wiring it was simple enough. You need this YL
10:480 0 2 3 at B or 8 this one right here. This is the main harness. This pretty much
10:56Everything so you put the OEM unit you get the
11:02splitter you plug in the OEM
11:05Regular cable into the splitter and this goes into the new Andrew head unit and it pretty much powers
11:12audios
11:13Everything when it comes to when you do the audio comes through this USB right here
11:18So you'll have a USB. This is your data port and then you'll have that port
11:25Basically into this little can bus
11:28Not can bus. It's a USB audio decoder thing
11:32so my settings are
11:35One and two are up three and four are down and that forces us particular mode
11:40You can see right here. So that makes it so when you're in USB mode
11:46right here
11:47it plays audio and so
11:51it uses the
11:53OG us so if you look that here, so if you look at that you see that your little USB right there
11:59I'm using that port and I'm kicking the
12:03USB data signal
12:05Into a little coaxial that co-axial goes up and it goes to the top of the head unit and it plays it through that
12:12SBDIF port
12:15So that's the audio. So you got power audio
12:18And then the only thing I issue was that reverse camera not triggering
12:23So now it nulls which is good and that's using the mirror tap
12:28So you got to get a really long wire get that green wire and kind of snake it over
12:34But uh, that looks like a rat's nest right now, but with those
12:40Ingredients installed besides like removing the panels and stuff that stuff is like these those panels just held by clips
12:47You just pull this one
12:49The OEM head unit has two screws on top yet to pull this panel off. This is just clips two bolts here
12:57Remove this thing two boats here, and then it's just a matter of just fishing
13:03Yeah, this as a pioneer of this it's very I just had to kind of figure this out as far as your
13:11I had one more other thing that I had to do
13:14Of course, I changed it to Fahrenheit and there's a lot of settings
13:18But my previous and next buttons were swapped
13:21If you go to the protocol settings and you go to up and down song swapping
13:26That's what you need to get it. So next is like right is next left is
13:33Previous that's something I had to do as well
13:36As far as my other settings to get the camera is working on this to be could be different if you're, not going for the 360 camera
13:42But in vehicles settings you can have camera original or have it to the X after market 360
13:50I'm just gonna leave like that because everything but it worked on after market 360 to so those are my settings for that
13:58But yeah, thank you guys for watching
14:00I'm pretty much leave comments below if you guys had issues with your install or you need additional help and I'll be able to help you
Machine-transcribed from the full-length video and lightly cleaned (product names fixed). Watch the video for exact wording.