Radium Billet Coolant Tank: Civic Type R / Integra Type S Install
Replace the crack-prone plastic expansion tank with Radium's billet aluminum kit using the factory mounts and lines.
Full video (8 min): Radium Coolant Tank Kit for Civic Type-R & Integra Type-S | Billet Aluminum Upgrade
Get the parts
White buttons are from the video description. “Generic pick” links are my suggestions, not from the video; confirm fitment and part number before buying. Some are affiliate links, so I may earn a commission at no extra cost to you.
Overview
The OEM plastic tank tends to leak around the plastic weld seam. John's low-mileage car already showed "foaming at the mouth" there. The Radium kit needs a little assembly first, then swaps in using the factory lines and mounting points.
Vehicle & fitment
- Product
- Radium Engineering coolant tank kit: CNC billet aluminum, anodized, same volume as OEM, swirl de-aeration, uses the OEM 1.3 bar cap
- Shown on
- Acura Integra Type S (DE5) / Civic Type R
- 2017+ Honda Civic Type R (FK8, FL5) and 2024+ Acura Integra Type S (per the description)
Always confirm fitment for your exact year and trim with the seller before buying.
Tools & parts
Tools
- 10mm socket
- 14mm socket + torque wrench (engine mount bracket)
- Zip ties
- Rags for spilled coolant
Parts
- Radium coolant tank kit (bracket, fittings, hoses, hardware)
- Coolant to top up
Step by step
- 1
Assemble the tank▶ 1:33
There's some assembly. Getting everything torqued to spec is the most time-consuming part.
- 2
Identify the lines▶ 3:13
There's a big hose underneath, one to the radiator on the side, and a low-pressure overflow by the cap. Radium supplies a line so the overflow can dump lower and keep the bay clean.
- 3
Remove the brackets▶ 4:35
Remove the brackets holding the tank: one 10mm plus two more 10mm bolts. Slip the old tank out and the new one in.
- 4
Reconnect and torque▶ 5:06
Reconnect the coolant lines and zip-tie them where you want. John had removed the engine mount bracket and torqued the 14mm bolts to 70 ft-lb. A 10mm holds the Radium tank at the bottom.
Tip: The low-pressure overflow line needs no clamp.
- 5
Fill and check▶ 6:31
Fill to a little over half and drive about 10 minutes. Check for leaks and watch temps. His were normal.
Get the parts
White buttons are from the video description. “Generic pick” links are my suggestions, not from the video; confirm fitment and part number before buying. Some are affiliate links, so I may earn a commission at no extra cost to you.
John's Acura Integra Type S
More photos →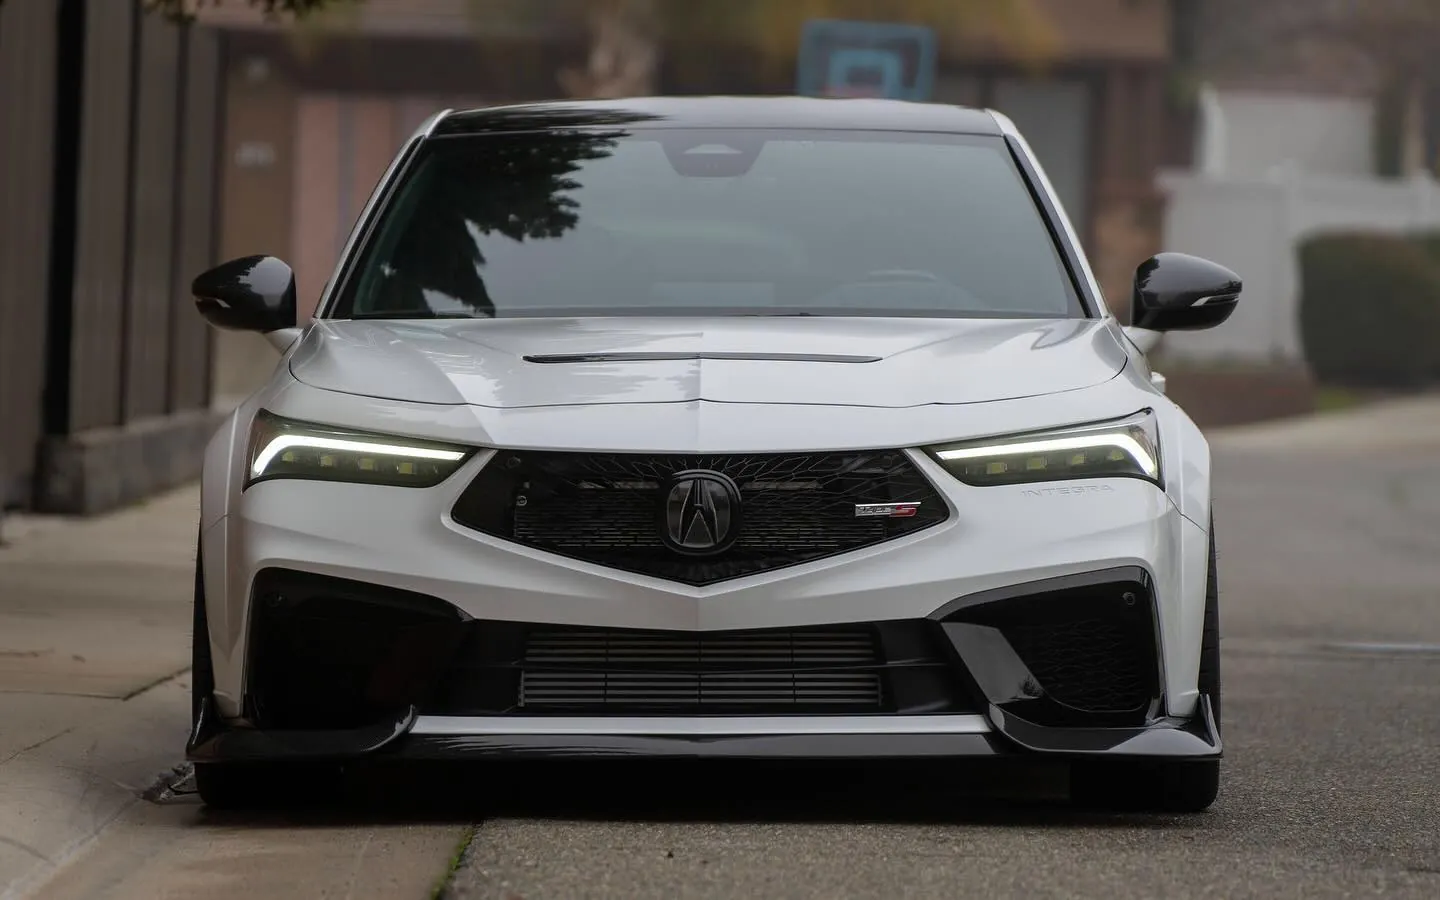
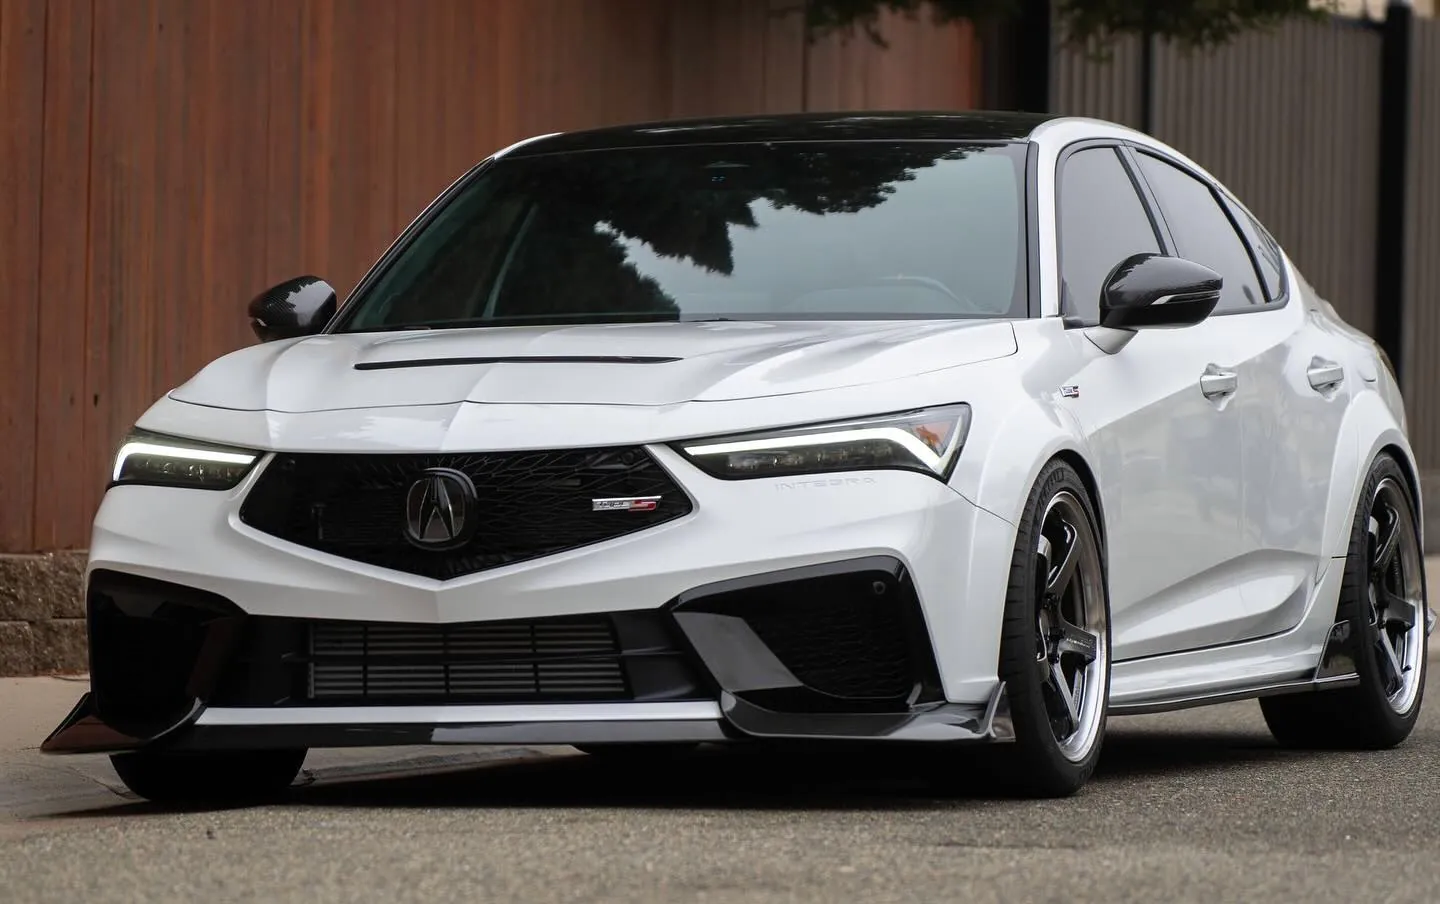
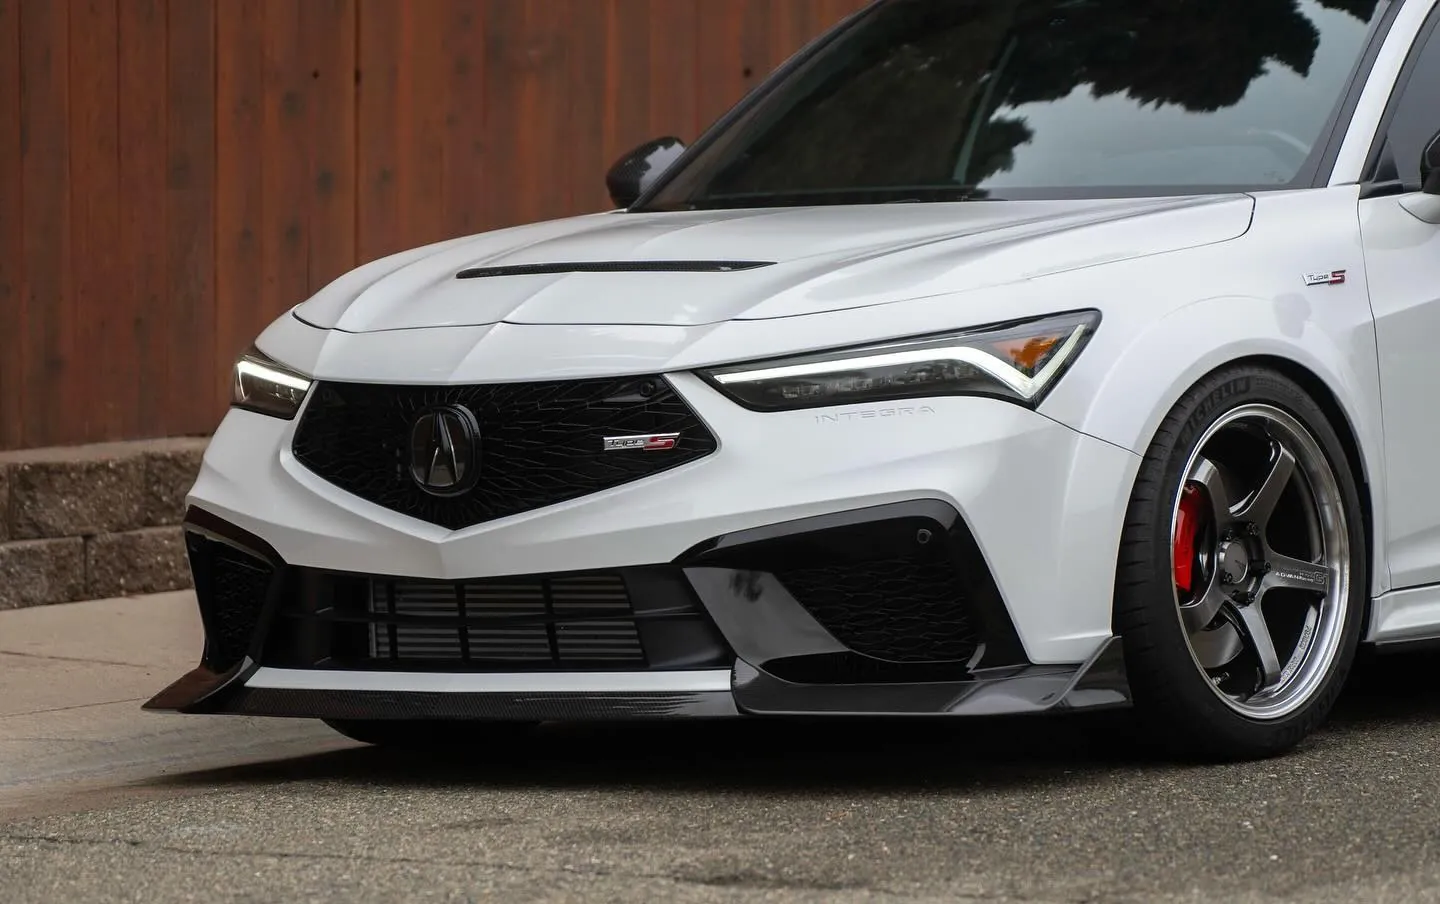
Photos from @ngooyen on Instagram. Follow for more.
Full transcript
Show the full transcript (54 lines) +
0:00All right, so when you first get this project right here, what's up guys? It's your boy John
0:15we are back again here with another video. Today we've taken a look at the Integra Type
0:19S and the FL5 Type R. So what's a very common issue with these cars is their tank
0:26eventually the OEM one does crack because it's plastic. Now I have something to solve that
0:31issue called the Radium Engineering expansion coolant tank. So this works with a 2017 Type R
0:41the FL, so that's an FK8, FL5, DE5 Type S, let's take your Type I here and let's
0:50us just take a quick unboxing. So right off the bat, we already know, at least I do
0:57is that the Radium products are extremely well packaged and made.
1:04You can kind of see it's wrapped so nicely. So let me unwrap everything and show you guys
1:09what's inside the box. All right, so when you first get this product right here, you can see
1:17it's one of those like, wow, it's a very beautiful part. You can see all the thread pitch
1:25right here. This is probably the top part, has all the the goods, the etching.
1:33So one thing about this product here is, there is some assembly, we kind of have to put it
1:40together. But you can tell what, see what I mean by, I think it's the best looking one
1:46just the shape. It's like, there's no like weld and the stuff like that. So I just think it
1:51looks aesthetically beautiful. So you're gonna have to put together, this is probably the most
1:58time-consuming part, to put it in your car isn't too bad. It's kind of getting all these things
2:04torqued down to spec and having it nice and beautiful. So cut to the installation and I'll
2:15have it assembled, at least just the part. I'll show you how to install the part into
2:19the car itself. All right, welcome to my engine bay. It's pretty modified, but
2:34what we need to change is this one right here. So what happens with these OEM ones around this
2:39like plastic weld area, where it basically sandwiches it? They tend to leak over time. This car is kind of
2:50a garage queen. So it's always inside, put 2000 miles a year. So it's still in good condition
2:57but you'll see like foaming at the mouth, I like to say, right there. And just a comparison.
3:05You can see how this goes right here. So I've never changed an expansion coolant tape
3:13but these are pretty straightforward. First you have the line that goes to your
3:19rad. So you can see right there. And there's one big tube underneath as well. So you got one, two
3:28or one, two right there. So the big one that goes underneath right here. And then you
3:35have the one on the on the side, which is this one right here. There's also another one by the
3:43cap. And that just dumps here. It's not under pressure, but you can see right here, it will just dump. So
3:51this one, radium also provides a line that you can kind of shoot out right here too
3:57or a little bit lower. So it doesn't get your engine bay all dirty. So yeah
4:05let's remove this bad boy. All right. So the next thing you have to do is remove this
4:35bracket and this bracket. So this is where the radiator is mounted to. So you got 10 and you
4:40got two 10s right here too. And yeah, slip it out. Put it back in.
5:01All right. So I have everything wrapped up. The coolant lines are all in. a
5:06You can zip tie it. Now I did take out this engine mount, the T 60 bracket.
5:11So for the 14 millimeters, it says 70 foot pounds. I'm just going to do that. But yeah
5:22there you go. It's nice and stalled. You can zip tie to tuck it the way you want.
5:27I'm going to clean up the engine bay, all my oils. I'll tell you this bracket is 10 right here
5:33holding the radium on the bottom. Kind of pan the butt. But yeah, let me clean it up and
5:39then I'll show you some nice beauty shots and fill it up and all that.
5:44Some extra parts I have are some of the bolts that originally held the brackets and the OEM
5:54rad, not coolant expansion tank. So I'm not going to use those anymore.
6:00All right. So that concludes it. We have the radium coolant tank just took around
6:06like a 10 minute drive. Everything looks good. The leaks, the leaks, the main one right there on
6:16the bottom, the leak in this one. And then this one, again, no clamp needed, low pressure.
6:23So you don't need to crank that one at all. And then see if you guys can see that.
6:31So what they recommend is half, over half of it. So that's where it is right now.
6:41It's a little bit over half
6:42and I drove it hard and it's fine. Temperatures are normal. But yeah, sweet.
6:57If you guys are interested, I'll leave a link down below. But I just love the way it looks.
7:02The engine bay looks ridiculous.
7:08I'll catch you guys in the next one. Peace.
Machine-transcribed from the full-length video and lightly cleaned (product names fixed). Watch the video for exact wording.