JOGON Dry Carbon Side Skirts: Integra Type S (2023–2026) Install
Join the 4-piece skirts, add foam where they touch paint, then fasten with the supplied screws, the OEM bottom Phillips and a pop clip.
Full video (8 min): Acura Integra Type-S 2023-2026 Real Carbon Fiber Side Skirts | JOGON Dry Carbon Review
Get the parts
White buttons are from the video description. “Generic pick” links are my suggestions, not from the video; confirm fitment and part number before buying. Some are affiliate links, so I may earn a commission at no extra cost to you.
Overview
Part of John's full JOGON kit (front, side, rear). The skirts are carbon all the way through, even the hidden parts. Two pieces per side join with the supplied hardware. He adds foam padding where the skirt meets the paint to close a small gap that appears when it's screwed down.
Vehicle & fitment
- Product
- JOGON real dry carbon (autoclave pre-preg) side skirts / rocker extensions, 4-piece set with pass-through vents
- Shown on
- Acura Integra Type S (DE5)
- Integra Type S 2023, 2024, 2025 and 2026 (per the description)
Always confirm fitment for your exact year and trim with the seller before buying.
Tools & parts
Tools
- Phillips screwdriver
- Clip/pop-clip removal tool
- Cleaner and towel
Parts
- JOGON side skirts (4 pieces) + supplied joining hardware and screws
- Thin foam padding (John's addition) or 3M tape
Step by step
- 1
Join the pieces▶ 1:20
Use the supplied hardware at the two little circles to join each side into one long piece.
- 2
Pad and clean the contact area▶ 2:45
John added thin foam where the skirt presses against the paint. Wipe the area first so there's no dust.
- 3
Remove the OEM fasteners▶ 3:24
Remove the one screw and the two clips. Pop out the push clip with a clip tool.
- 4
Mount it▶ 3:36
John screwed the supplied screws into the clips so they had something to bite into. Reuse the OEM bottom Phillips screw that lines up with the skirt's hole, plus the pop clip. Line everything up and button it down.
- 5
Close the gap▶ 4:49
Screwing it down naturally pushes it out a bit and leaves a small gap. The foam closes it. 3M tape is another option.
Get the parts
White buttons are from the video description. “Generic pick” links are my suggestions, not from the video; confirm fitment and part number before buying. Some are affiliate links, so I may earn a commission at no extra cost to you.
John's Acura Integra Type S
More photos →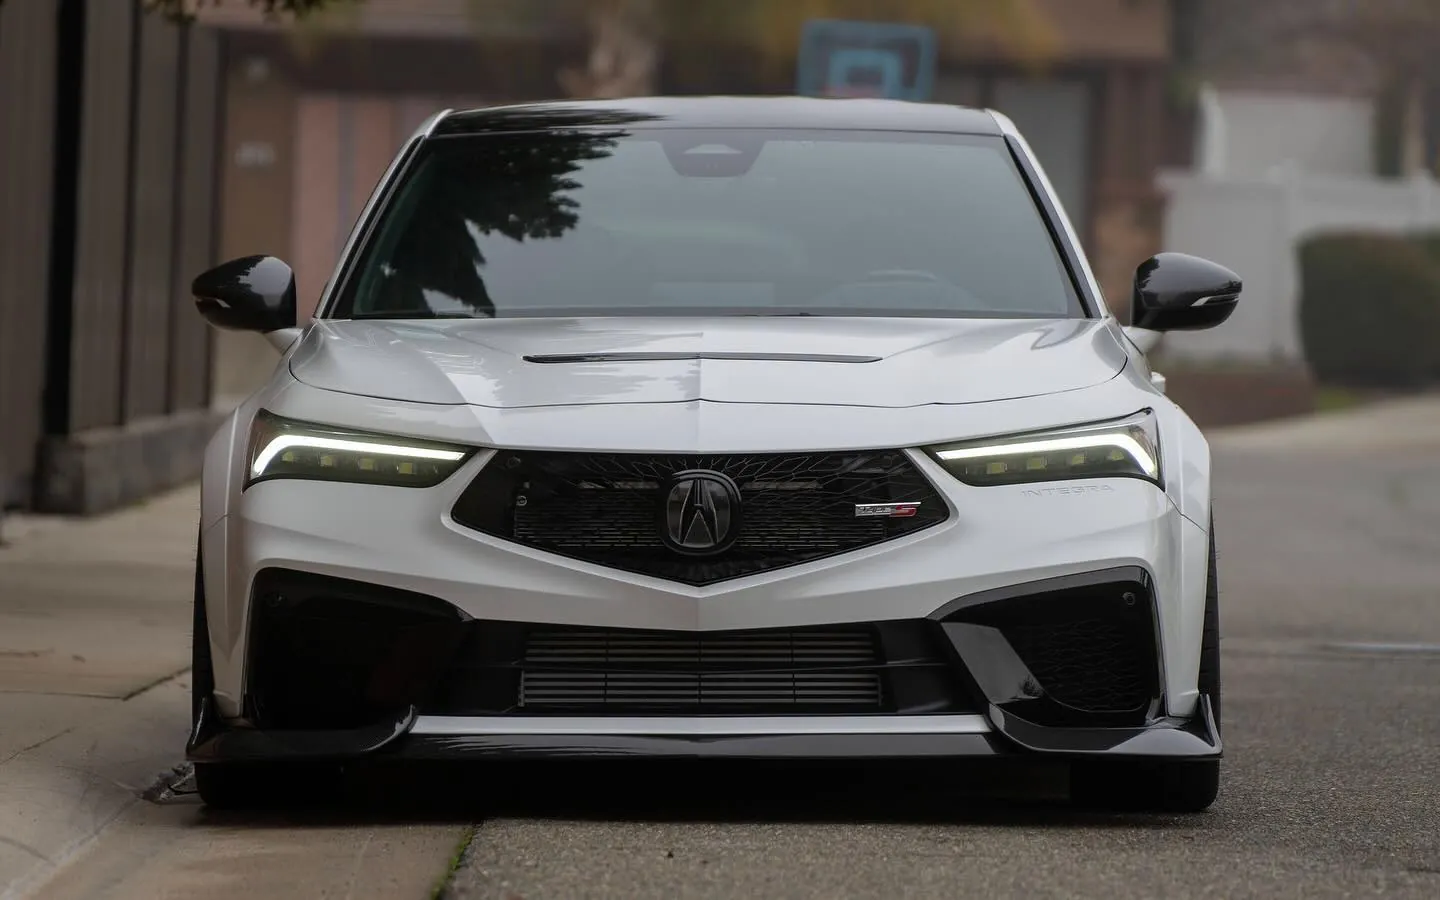
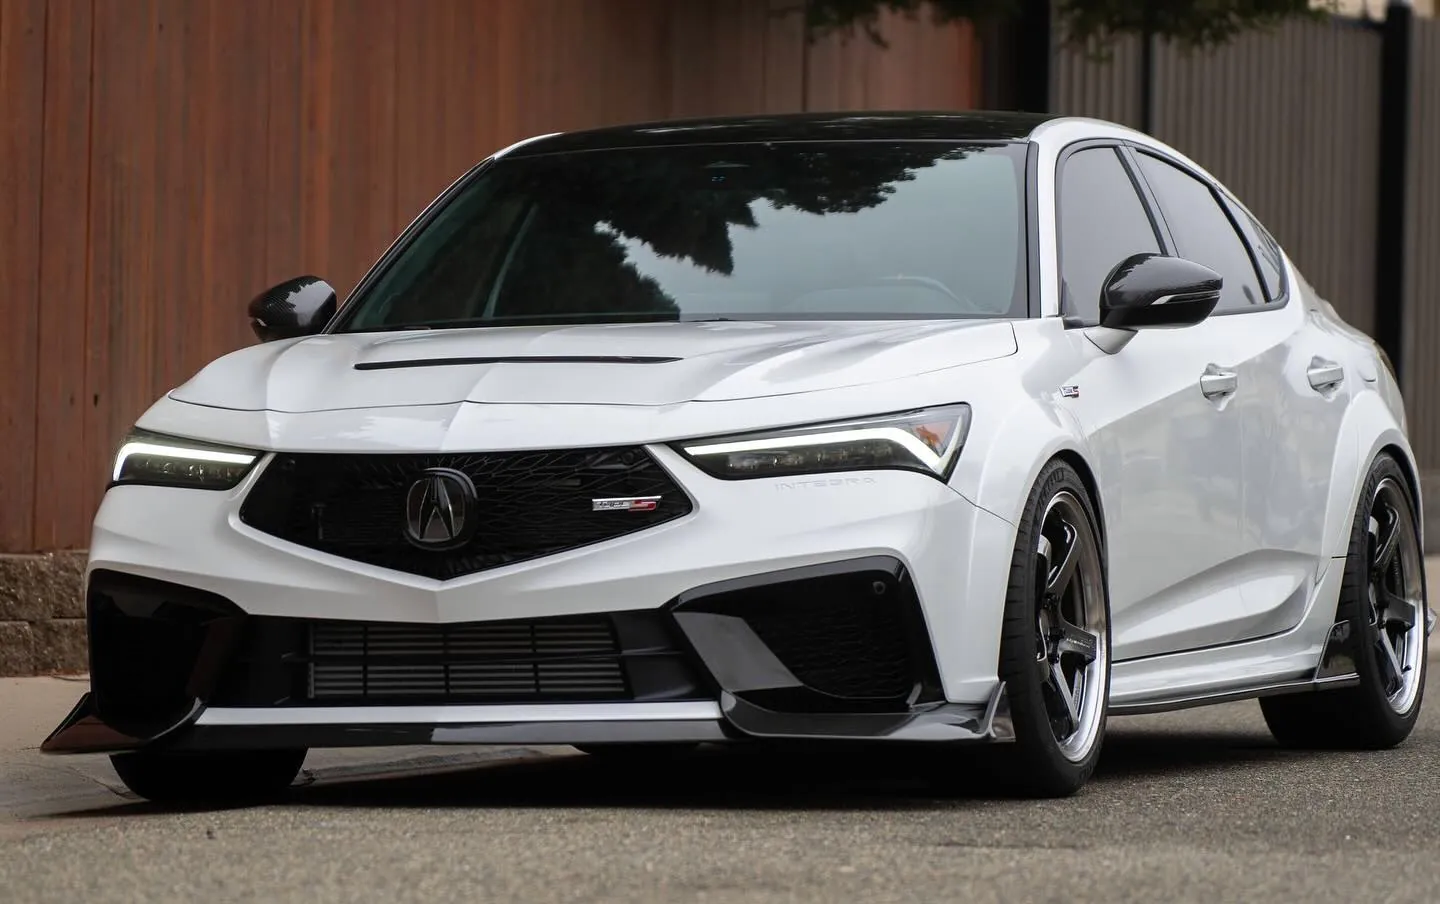
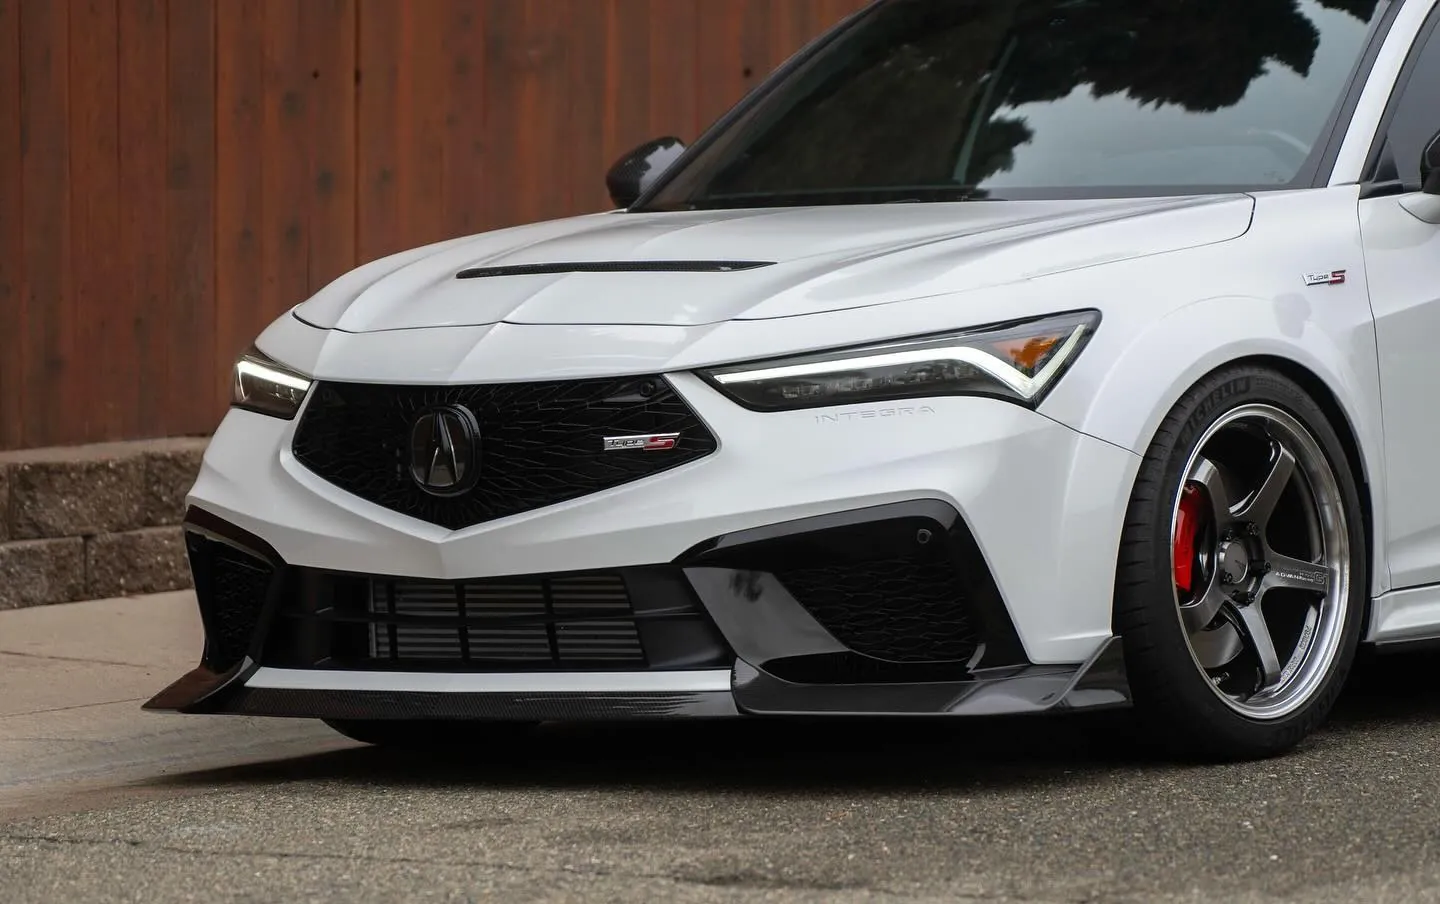
Photos from @ngooyen on Instagram. Follow for more.
Full transcript
Show the full transcript (45 lines) +
0:00What's up guys? It's your boy John. We are back again here with another video. Today
0:50kind of mimics, gives it the air flow. It makes it a lot wider. You can see the vents of the car.
0:57So if you look at the HRC concept, it's kind of what it's based off of. Then you have this nice
1:20self-explan. Tori installed the hardware you get to connect these pieces. You have two little
1:25circles right here. Two little circles here. You can just mount them to secure them to be one
1:33long piece, which is great. And let me just show you the closer look at these pieces because
1:41they're very beautiful. All right, so
1:45nope, like fiberglass or anything. It's carbon fiber through and through. So even the parts you
1:52don't see is carbon fiber, which is really nice. It's super strong and it's so lightweight of weight.
2:14One piece. Nice long, long piece. All right, so we have the skirt right here and I have the OEM
2:32look right here. Now, those who have been on my channel know that I used to have a side skirt
2:38right here. I still had it. I just want to try the Jogun and have the full Jogun kit
2:45and just mock up. Another thing I added right here is I added
2:50some padding where the side skirt will touch the paint. So I have a little kind of like a rubber
2:57foam. Not rubber, but it's a foam. I'm going to see here. So when it's pressed upon here, it's
3:05going to be okay. So make sure you wipe this area too. Make sure there's no dust.
3:12Kind to get the gist of how it's going to look. So I'm going to mount-it. I'm going to need two hands
3:24obviously. All right, so how do you install these side skirts? Well, you remove the one screw
3:36here. There's two clips. Now, this is what I'm going to do. You don't have to do it. I'm going
3:41to actually have the screws that are supplied and I'm going to have it screwed into these
3:46clips too. That way it has something to bite to. Then you have one of the OEM screws screws in the bottom
3:53right here that will match up with this hole. I don't know what these four are in this one.
4:00There's a pop clip to do. You kind of use these tools right here to pop this clip out.
4:08All right, with that push clipped in, it's kind of being held by just the pressure
4:14of the push clip and I'm just going to line everything up and
4:20button it down. All right. Just like that, it's installed. You got six bolts and then you have two
4:29here are screws. So that's eight, nine, ten, and a clip. So it reuses the bottom
4:43Phillips head. The other one, the very bottom of the side skirt, then that pop clip. So three fasteners
4:49there. You can see how it looks here. And when I bolt this thing down, it does
5:00slightly gives a small gap right here. That's why me putting that little foam piece right here
5:06to really wrap. See how snug it is right here. It kind of cleans up any
5:12gap. Helps with any of the gaps. So I guess I would recommend anybody do that too. You can
5:18kind of see right here too. So it just helps clean it up because remember when you're screwing
5:22it right here, it's going to naturally want to move out a little bit. You could 3M
5:27put 3M tape right there too. So that's another suggestion if you wanted to.
5:32But you can kind of see right there. You can kind of see the vent right here. So the vents, there is one down
5:44here. You can see my flashlight and there's one up here as well. I'm going to do both sides and then get
5:56out. All right. So that concludes it. The Joe Ginn lip kit. Got the front. Got the side.
6:08And you got the rear. It's bad as well. Now what I do like is everything flows. So
6:16coherently. I mean, it's sure because it's. So it was thought out to be very similar.
6:24The winglet, on the front lip, that kicks it over there
6:28kind of expands the same lines as you can see right here. But then after that, it flows straight
6:35and no winglet on the back. So I do kind of like that design. It's different from my other one.
6:45And you got the pass through vents right there, which is kind of cool. So I'm just going to wrap it
6:58up and show some glamour shots, but fitting has been great. Install was pretty easy.
Machine-transcribed from the full-length video and lightly cleaned (product names fixed). Watch the video for exact wording.