Rear A/C Vent Install: Acura Integra Type S (DE5) / Civic Type R (FL5)
Add rear passenger vents and USB ports using an AliExpress kit and OEM Honda console parts. Full teardown and reinstall.
Full video (20 min): Installing a Rear Vent on the Integra TYPE S DE5 / Civic TYPE R FL5 | FULL INSTALLATION
Get the parts
- Rear vent kit (AliExpress)Buy ↗
- Rear vent kit: backup link if the first doesn't work (AliExpress)Buy ↗
- DremelBuy ↗
- Aluminum foil duct tapeBuy ↗
- A/C sealBuy ↗
- Honda Console Box 83433-T43-J31ZAGeneric pickSearch on Amazon ↗
- Honda Bracket 83419-T24-T00Generic pickSearch on Amazon ↗
- Honda bracket hardware 90140-TR0-A01 (×2)Generic pickSearch on Amazon ↗
- Optional Honda Console Mat 83470-T43-J31Generic pickSearch on Amazon ↗
White buttons are from the video description. “Generic pick” links are my suggestions, not from the video; confirm fitment and part number before buying. Some are affiliate links, so I may earn a commission at no extra cost to you.
Overview
A $60k-class Acura with no rear vents. John adds them for his rear passengers, including a car seat. The kit comes with the vent piece, a duct tube and a diverter that clamps on. On the Type S the deep cubby hits the floor, so you either shave the OEM piece or buy the newer, higher console box. John ended up buying the box because shaving "started to look too ghetto." He rates fitment 8/10, with strong airflow.
Vehicle & fitment
- Product
- Rear vent kit with duct, diverter and USB-A ports (about $200 per John)
- Shown on
- 2024 Acura Integra Type S (DE5)
- Acura Integra Type S DE5
- Civic Type R FL5 (shallower cubby, so the box swap isn't needed)
Always confirm fitment for your exact year and trim with the seller before buying.
Tools & parts
Tools
- Dremel (for shaving/trimming)
- Plastic trim remover
- 13mm (OEM) / 12mm (aftermarket) for the shift knob nut
- 8mm wrench for the bracket
- Screwdrivers
- Aluminum foil duct tape, A/C seal
Parts
- Rear vent kit: vent piece, duct tube, diverter, clamp, USB-A ports
- Honda Console Box 83433-T43-J31ZA
- Bracket 83419-T24-T00 + hardware 90140-TR0-A01 (×2; you can use your own bolts)
- Optional console mat 83470-T43-J31
Video chapters
- 0:00Introduction
- 3:17Shaving the piece
- 5:06Uninstalling the center console
- 9:23Installing the duct & vent
- 17:19Testing flow & conclusion
Step by step
- 1
Check the kit▶ 1:49
Two main pieces, plus a tube and a little diverter that sits in place and gets clamped. The kit John used has USB-A ports (USB-C versions exist for a bit more).
- 2
Type S vs Type R cubby▶ 2:46
The Type S cubby is deep and almost hits the floor. The Type R's stops higher, so the tube can pass through. On a Type S you'll have to cut the cubby or buy the roughly $30 newer box.
Tip: Type R owners can skip this step.
- 3
Shave the vent piece▶ 3:17
Use the OEM piece as your reference (it's much thinner) and Dremel the new piece down on both sides. Trim the little fins too.
- 4
Remove the shift knob and boot▶ 5:06
Push the collar down while rotating it clockwise until it drops. Loosen the nut under it (13mm OEM, 12mm on John's aftermarket knob) and the assembly lifts out.
Tip: Set it on a seat, not the cupholders.
- 5
Remove the shifter trim▶ 6:04
Pull it toward the rear. The tabs face backwards, so rotate slightly and lift. Unclip the harness retainer and unplug the connectors.
- 6
Remove the console screws▶ 7:13
Remove the screws down low and the one in the cubby (lift out the tray first). Pop the sunken part to reveal two more screws, then pull the cup-holder piece straight out (two tabs) to reveal two more.
- 7
Swap the A/C vent piece▶ 9:32
Remove the vent piece that feeds the floor vents under the seats: two clips on top and two on the bottom. Fit the new piece from the kit.
Warning: The kit's seal is thick and makes the piece hard to fit. A thinner seal helps.
- 8
Swap to the new console box▶ 10:46
The newer box sits higher, so it clears the vent. Transfer the bracket, the keyless-access piece and the armrest. The bolts are slightly different, so you may only reach two holes and need longer screws.
Warning: Don't forget to transfer the keyless-access piece.
- 9
Install the bracket▶ 16:01
Install the bracket with the two 8mm bolts. Then plug the USB ports into the 12V cigarette-lighter adapter and route the lead down the side.
- 10
Reassemble in reverse▶ 16:17
Reinstall everything in reverse order.
- 11
Test airflow and USB▶ 17:18
Air always flows when the vents are open, and the pressure is strong. Feet vents still work as normal. Test the USB ports.
Wiring notes
- USB ports power from the 12V cigarette-lighter adapter.
- Reconnect the shifter-trim harness and the keyless-access piece.
Get the parts
- Rear vent kit (AliExpress)Buy ↗
- Rear vent kit: backup link if the first doesn't work (AliExpress)Buy ↗
- DremelBuy ↗
- Aluminum foil duct tapeBuy ↗
- A/C sealBuy ↗
- Honda Console Box 83433-T43-J31ZAGeneric pickSearch on Amazon ↗
- Honda Bracket 83419-T24-T00Generic pickSearch on Amazon ↗
- Honda bracket hardware 90140-TR0-A01 (×2)Generic pickSearch on Amazon ↗
- Optional Honda Console Mat 83470-T43-J31Generic pickSearch on Amazon ↗
White buttons are from the video description. “Generic pick” links are my suggestions, not from the video; confirm fitment and part number before buying. Some are affiliate links, so I may earn a commission at no extra cost to you.
John's Acura Integra Type S
More photos →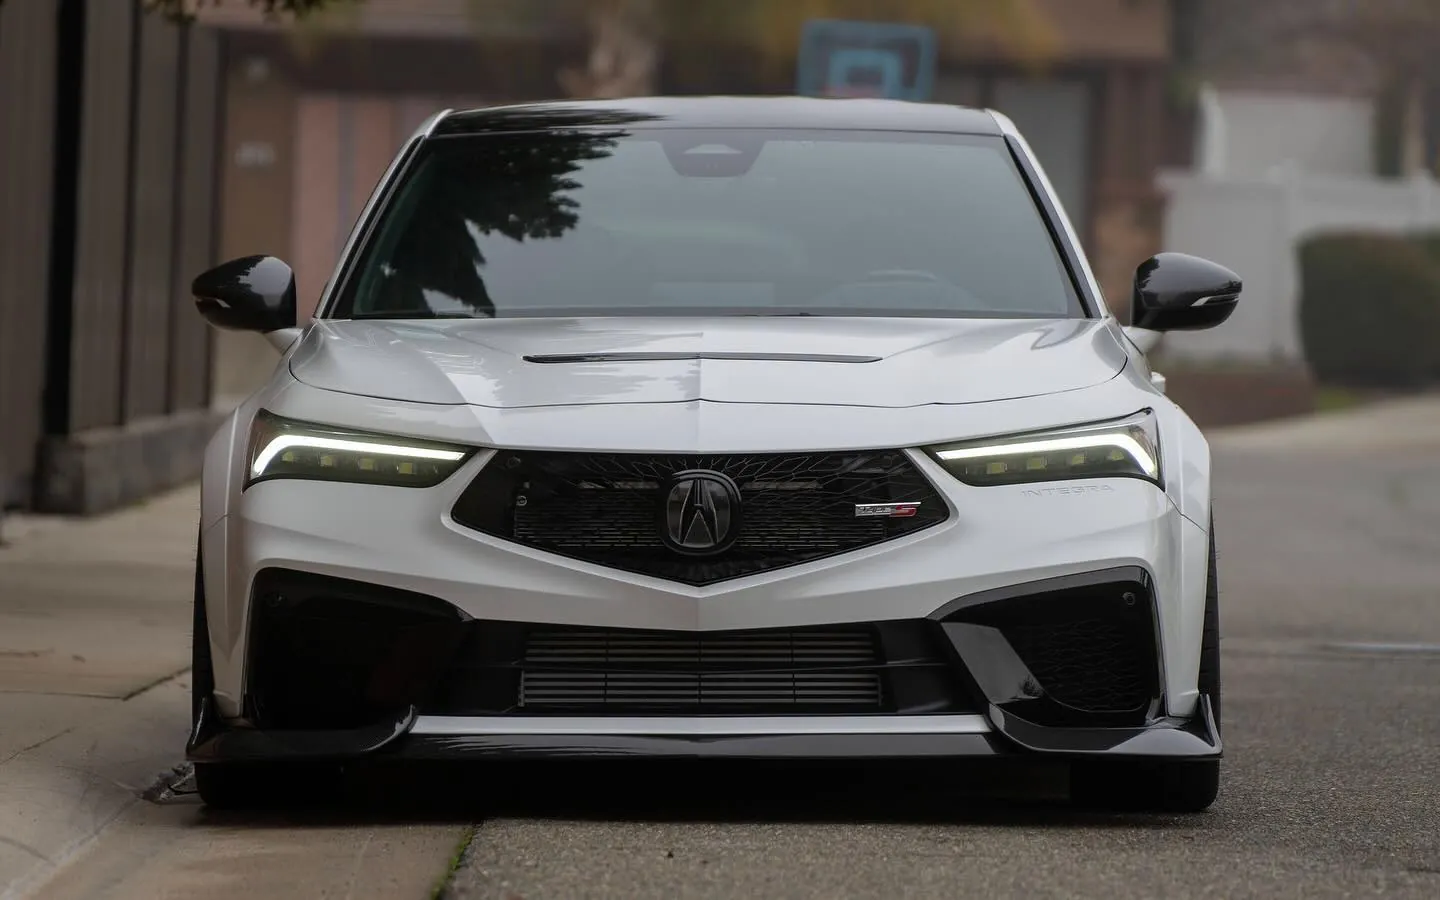
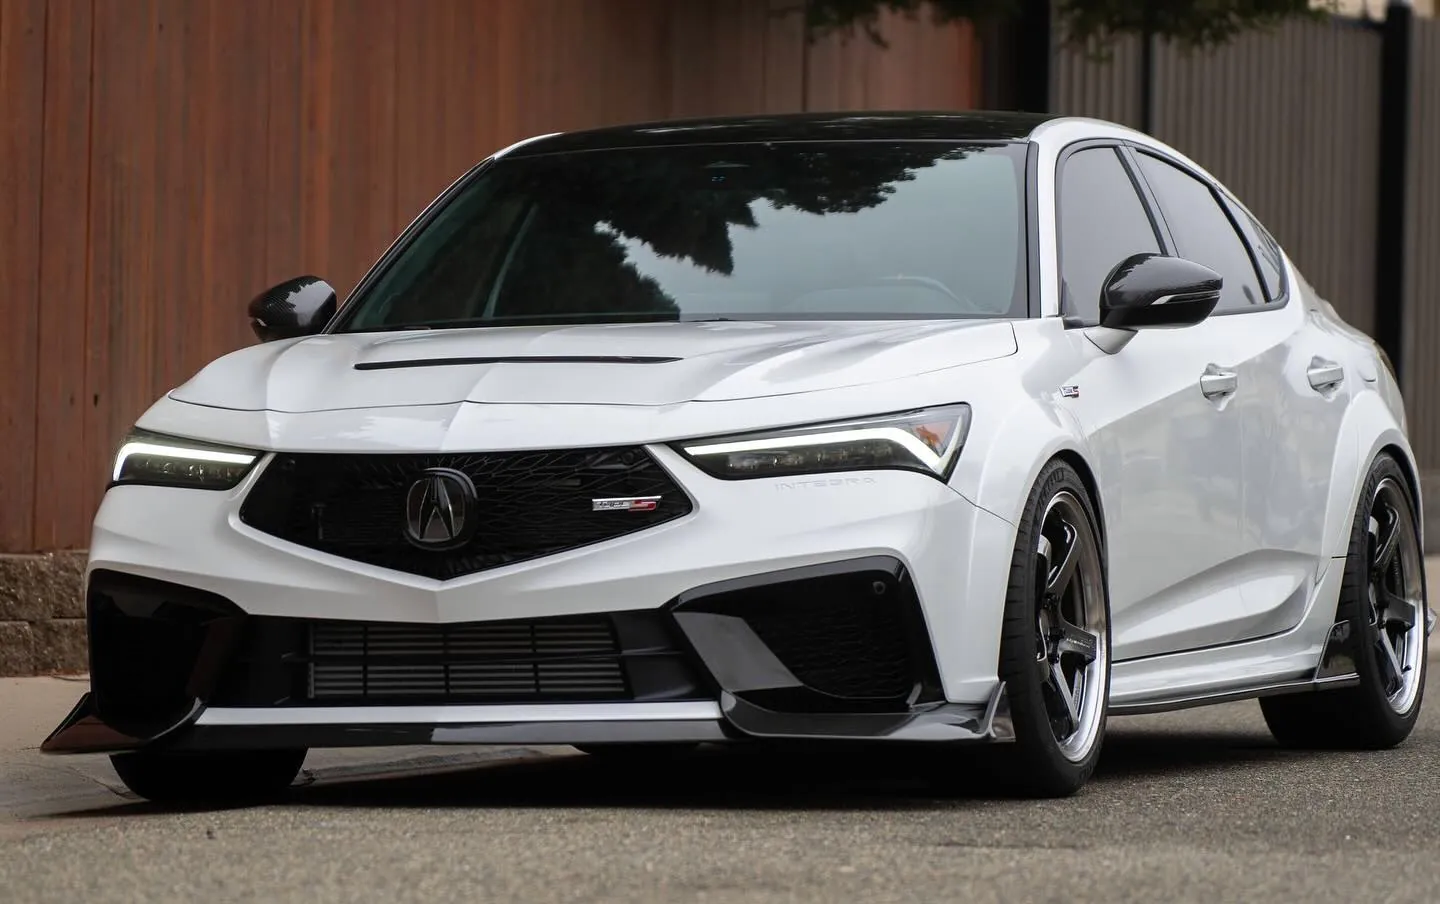
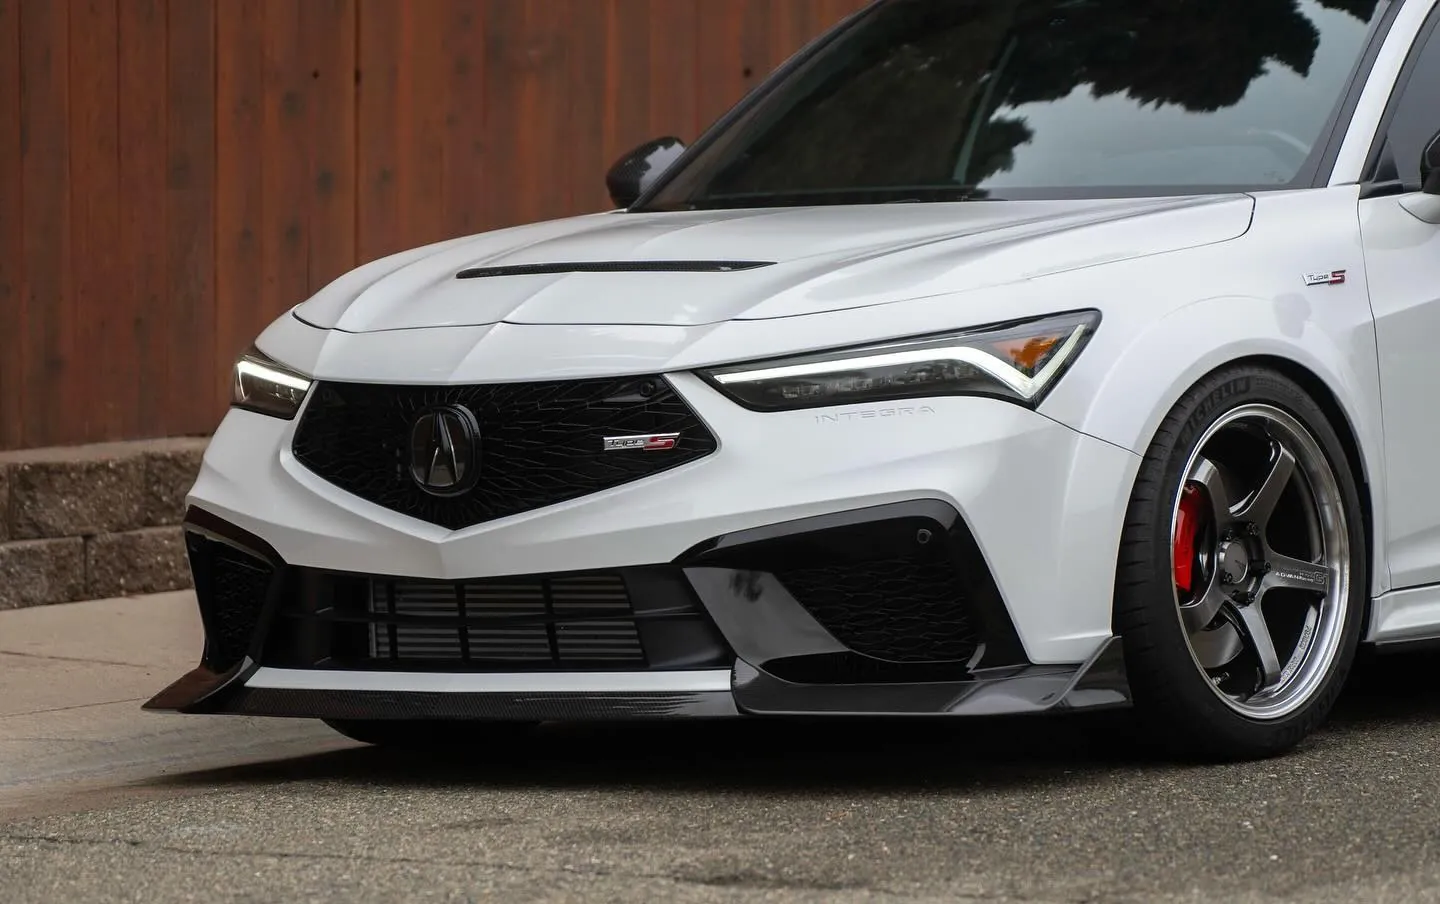
Photos from @ngooyen on Instagram. Follow for more.
Full transcript
Show the full transcript (205 lines) +
0:00What's up guys it's your boy John we are back again here with another video today
0:04We're going to be doing something super weird and kind of cool. We're going to do a rear vent mod on the Integra Type S
0:12Now this is an Acura it's a luxury. It's like 60 grand, but there's no rear events and
0:20If you want this car to be the best car that it could possibly be
0:26then
0:28You want that to have rear vent just for your passengers
0:32I know my my wife usually sit back here with the vent taking care of the baby with the vent soon
0:38Soon to be face forward seats, so I'm usually pushing the vents so it shoots in the back
0:45That's not optimal much and I want this car to be the best it can be so
0:50I'm going to put you guys down a little quick. We have a quick
0:55little
0:57mod
0:58We this is the OEM one and I'm going to be upgrading it to this so I'm going to leave the link down below if you're interested in
1:09in the same kid I have right here. It says Honda on it of course this Acura is really a Honda and I have
1:17USB type A's you can get in USB type C super it's a little bit more I don't mind the type A's and that's what the kit came for
1:25I would prefer C but it came with this so and it was about
1:30200 bucks so for 200 bucks 200 bucks
1:35Honestly, I E out and I spent 200 bucks eating out this this thing that much
1:42So we got the two pieces right
1:44There let me tilt a down a little bit so maybe you guys can see both pieces
1:49Come with a tube a
1:51Little like diverter thing
1:54It kind of sits like this and this tube right here
2:08And then clamp it like that so that's the process now I have this piece already removed because
2:17You guys have to know that in order to get this to fit right I highly recommend you to pop this back
2:26And let me show you something for my type our boys you guys don't have to do this step but
2:38in here
2:40You can let me see if I can even show you guys some dope
2:46The car seat so I already removed this it's just held by clips you see the type S
2:54The cubby hole is pretty deep it actually hits pretty much the ground
2:58The type R it stops like right here. So the tube that I was showing earlier it can go through here
3:04You're gonna have to cut this bad boy if you have the type S or by the $30 box and then you're gonna have the mess with like the arm rest
3:13Use this OEM piece right here as your reference
3:18Okay, look at this
3:21Way thinner
3:23So we want to shave this bad boy a little drum right here
3:28That's shaved
3:39Let's do both sides now if you're if you need to like this, I'll leave a link down below
3:43So you can pick one off and it comes to your house fairly quickly
3:47And if you're also interested in his kit all the way down below took about a week to get together for you
3:53From overseas
3:57I also want to trend these little fins right here
4:00So there you go trend the little fins just a
4:30Now, let's see the arm rest opens up does it really hit it
4:41All right, and let's do the tubing. It shouldn't be too hard
4:45I'm gonna show a video clip of me uninstalling the shift knob and all that stuff and then cut to where the tube starts because
4:55You're gonna have to roll the shift knob stuff and I'd had a really clear video in my last video of
5:01me doing the shift bushing, so
5:04Let's cut to that checker. All right, so to remove this dash
5:09It's pretty easy. First you want to pop this little collar down on the OEM one you want to rotate it
5:16I would say clockwise and then I can't like this so you were rotating clockwise while pushing down and you'll see
5:23You'll feel a little notch where you can actually push it down all the way
5:27Then there's gonna be a little nut here
5:29This is how the nut looks like because this is an aftermarket one. This is a 13mm
5:33You kind of want to just put it on it right here
5:37Kind of like this. Well, that's okay. This is my 12 because it's aftermarket and you just want to
5:44lefty loose see it
5:46Upside down
5:47It's like it's ready tidy and then you're you're basically applying force here and this whole thing just comes out
5:54Now because we're gonna be putting this somewhere safe and put it on your seat
5:59You don't want to put in your cup holders remove the whole bad boy anyWaze
6:04Now for this piece right here. It's also pretty easy as well
6:10What you got to do is you just pull towards you towards the back of the rear
6:15So you just pull it and the whole thing comes out
6:18Of course, it's not gonna be that easy
6:20But I already pulled it and all the tabs are facing backwards
6:26There is this little notch right here. So when you pull you might have to kind of rotate it like this
6:32I then pull upwards
6:34Once you get the tabs out
6:36Great now for this I use just use my hand, but you can use a
6:41You can use a classic trim remover if you need to have a little bit more leverage and
6:46What I do is just pull it up and there's gonna be a retaining harness for like a clip for the harness
7:02And you can also unplug these bad boys as well
7:07Okay, that's one way to remove it
7:10All right, then
7:13There's gonna be some screws down here
7:16Then you can pull out and also if there's gonna be a screw in the cubby hole right here
7:21So you remove that little plastic tray on the bottom. Oh, it's actually pretty tight
7:32Little there you go, and then you also have poets because it has this part kind of sunk in
7:39And it's just gonna reveal two more screws and you can pop that bad boy out right there
8:14So after you remove that one screw and then you popped it up and pulled it out
8:18It's gonna reveal two new screws right here. So we're just gonna take care of that real quick
8:22All right, and there's cut this couple to piece. There's two tap holding it
8:39You just kind of want to pull it from here and pull straight out
8:42After that it will reveal two more screws and
8:46It's holding come out
8:48So that's pretty awesome
8:50Now this is a good time if you guys were trying to do it as you can put rear vents
9:05Could be helpful if you have kids
9:07Let's pull things
9:21Come out. All right, so fast for the future we removed all this business. Well, that's kind of
9:30Still around but
9:32You get to the AC vent and this is the new one that I
9:37Comes with the kit
9:42We don't need that right now
9:44This is the floor vents that hook up to the bottom of the seats
9:47You can take this out and this is the piece you need to remove now. There are two top little clips right here
9:55Two then there's two on the bottom
9:59Which I just removed my bare hands while holding a camera and there's these two bottom ones
10:07All right, so here is the new piece
10:10Look the seal isn't like that bad now, but it's gonna get squished. That's why I needed it
10:15Have it like this because this is a pretty thick seal
10:19Where you're gonna have a hard time putting this bad boy in trust me
10:24So if you want a thinner seal
10:27I'll recommend
10:29All right
10:46All right, so a lot of time has passed because
10:50Initially I was trying to I was trying to shave this OEM piece, but it started to look too ghetto for me
10:56So I'm not the whole new box
10:58So you can see I'm he would have to shave so much
11:03Initially I thought it'd be okay, but it's too much work too much time
11:09So we'll get them on the parts
11:11Little bracket right here
11:14Little mat
11:16So this would be like
11:18I think they go into the bottom. This is the actor one
11:22This one is the
11:26Civic one
11:28With a different
11:30Then we have the whole new box
11:34comparing boxes
11:36This one sits a lot higher and that looks a lot deeper because it is
11:41So the new box is gonna so much higher is gonna clear that vent which is exactly what I'm looking for
11:50Then you have the bracket to
11:52Hope melts another bracket the bra the bolts were
11:59Back ordered so
12:01Yeah
12:03So what we had to transfer over here is these this piece
12:10And the new the arm rest now the arm rest
12:15The bolts are slightly different
12:19All right, so to pop this out this
12:23Peace goes up it comes out sorry if I sound could add nasally I
12:28Have a sore throat, but I'm trying to shoot it out for y'all
12:34Because I want to make these videos for you
12:45Make sure you unscrew it
12:51None of the needs to keep in mind so this piece needs to also come with it
13:27This piece helps with the keyless axis
13:31So it's up to and transfer it
13:37Just looking on pair it right here
13:40You can kind of see what I mean by
13:43I read online that it might not fit
13:46so
13:50Let's see if it does it looks like it
13:52Yeah, so it is a little bit different as you can see right here
14:33You can't get it. It's kind of flush
14:36So you're going to have to screw it
14:42This is what I said it on
14:49This one sets deeper
14:53So you're only be able to hit two and then you can get the longer screw
14:58To see if you can alWaze tighten it down the knots
15:05You're not able to hit that. Okay, there's a huge gap and you'll be the screws are coming in
15:10And that's angled. This is pretty good
15:14behaves how I want
15:18This piece
15:20On the bottom
15:22Difference between the civic type R or civic in the Integra
15:27The civic one is a little slightly smaller and it doesn't have a bad lip and that will just kind of go down here
15:40Now I'm not going to
15:42yep
15:43You're still going to need to access it
15:45So I'm not going to put it in now. I'm just telling you that's where it goes
15:49You're going to need bolts to block the bottom
16:01It's all the two then installed the bracket
16:05Some like that
16:08There's two two of the eight millimeters. I'm using a little wrench right here to tighten it
16:15Yeah, it should be pretty good
16:17After that, you just kind of do everything in reverse. I just wanted to mention that
16:23All right, so the 12 volt cigarette lighter
16:27Adaptor is here
16:29A little black button thing secured in there and now you just want to plug in
16:52Pretty good
16:54Put it down the side
16:57Pretty good
17:02Clip right here that kind of holds it in but honestly it's not going to be too picky
17:18All right, so I am in the car
17:21Again, I apologize if I sound a little nasally. I am sick
17:25But I have everything wrapped up back again
17:29And of course
17:31the new stuff I
17:34Tested the USB ports everything is working fine
17:38So the way it works is it's alWaze going to be blowing air
17:44If you have it open, so if you if you lock it here, they're going to have full force up here
17:52And if you open it up, they're going to have air now the air pressure is actually really good
17:59so
18:01plenty of air
18:07Let me
18:09Adjust it up and down
18:11I can feel it I can feel it I can feel it they kind of tapers. I can feel it here. So
18:20Yeah, you're going to be perfectly fine if you do feet it has the feet one if you do
18:26whatever it's exactly how you expect it should be very OEM and
18:33Here's the two bolts up top and I showed you the cover
18:37That part number for the cover which I do have
18:43Right here
18:46You have it nice and tight
18:52Have a nice oh, yeah, let me show you the open function
18:56So how you normally open it anyWaze, it's geared
19:05Does it bring it all?
19:09Yeah, let's head to the back
19:13I'm actually used the charger to charge my camera fitment ain't bad. I would say like 8 out of 10
19:19And you can also trim more
19:22I think the biggest offenders on this side this there's like no really big clip so you can press it down
19:28It has a can have the good fitment
19:30but
19:32Honestly, it doesn't look too bad
19:36session, I don't know it's come to
Machine-transcribed from the full-length video and lightly cleaned (product names fixed). Watch the video for exact wording.