iDoing CarPlay Head Unit: Subaru WRX 2015–2022 Full Install
Pry off the brittle dash trim, pull the factory radio, move the vents and climate controls over, plug in the 28-pin harness and test CarPlay.
Full video (14 min): 2015-2022 Subaru WRX TRANSFORMED with NEW Carplay Radio FULL Install! 🔥 · John's YouTube channel
Get the parts
- Plastic trim removal tool: Generic pickGeneric pickSearch on Amazon ↗
- USB adapter to keep the factory USB ports: Generic pick (not included with the kit)Generic pickSearch on Amazon ↗
- iDoing 9" Android 12 head unit for Subaru WRX / STI / XV / Forester 2016–2022Buy direct ↗
- Head unit for the 2016–2022 WRX (AliExpress)Buy ↗
- Head unit for the 2015 WRX (AliExpress)Buy ↗
- Find iDoing 9 Android 12 head unit Subaru WRX STI on eBayBuy ↗
CodeiDoing coupon code (NGOOYEN) — NGOOYEN
As an Amazon Associate I earn from qualifying purchases. Some links are affiliate links.
Yes — you can install iDoing on the Subaru WRX 2015–2022 with a 14 min DIY job. Pry off the brittle dash trim, pull the factory radio, move the vents and climate controls over, plug in the 28-pin harness and test CarPlay.
Overview
John swaps the old factory radio in a 2015 WRX for an iDoing head unit. The vents, hazard button, display and climate controls move over to the new unit, and iDoing's harness plugs straight in, so there is very little wiring. The car's trim was sun-faded and brittle, so he takes it slow and skips removing the upper display piece. He says the job takes about 20 minutes (30 to 40 for them while filming), and the unit boots instantly.
Vehicle & fitment
- Product
- iDoing 9" Android head unit for the Subaru WRX (listed as Android 12; the About screen in the video shows Android 10): octa-core, 720p display, 4GB RAM / 64GB storage, wireless CarPlay
- Shown on
- 2015 Subaru WRX (a modified car with sun-faded, brittle trim)
- Subaru WRX 2015–2022 (per the video title)
- The iDoing link lists the WRX / STI / XV / Forester 2016–2022; the description has a separate link for the 2015
- 2015 only: expect a "check audio system" message that needs a fuse reset (see the steps)
Always confirm fitment for your exact year and trim with the seller before buying.
Tools & parts
Tools
- Plastic prying tool
- Phillips screwdriver or 10mm socket (this car had Phillips screws because the radio had been out before; it's usually 10mm)
- Power driver (optional)
Parts
- iDoing head unit with the extra harnesses (including camera wiring)
- Wi-Fi antenna, microphone, GPS antenna, USB lead (included)
- Optional: adapter to retain the OEM USB ports
- Optional: reverse camera
Video chapters
- 0:00Introduction to the project
- 1:02Removing the old radio
- 2:27Disassembling the old unit
- 3:32Transferring components
- 5:05Preparing the new head unit
- 6:12Wiring and testing
- 8:46Setting up Apple Carplay
- 9:42Final installation
- 10:54System review and conclusion
Step by step
- 1
Pop the top trim clips▶ 1:03
The trim is held by clips up top. They're very hard to release, so use a prying tool and pull.
Warning: On a car that has sat in the sun, this plastic gets brittle and can break. Go slowly.
- 2
Remove the trim pieces and climate control▶ 1:56
Keep the buttons and the vents. Pull the next piece out the same way to reach the A/C climate control, which comes off easily.
- 3
Unscrew the factory radio▶ 2:27
On this car the screws were Phillips, which means the unit had been removed before. They're usually 10mm.
- 4
Pull the unit and unplug it▶ 3:00
Pull the whole assembly out and unplug it. Be careful not to scrape the dash.
- 5
Remove the vents▶ 3:53
The vent clips are usually flexible, but on a brittle car you want to be extra careful. Pop them off slowly.
- 6
Transfer the climate controls▶ 4:25
Unscrew the four screws on the climate control and move it over to the new head unit.
- 7
Move the vents to the new unit▶ 5:03
Each vent has four tiny clips and pushes out with some force. On the new unit, make sure the vent is straight, seat one side (the bottom) first, then flex it into place instead of pushing it straight down.
- 8
Check the assembled unit▶ 5:54
The new unit now has the vents, the hazard button, the multi-function display and the A/C controls, clipped on top and screwed in.
- 9
Leave the upper display piece in place▶ 6:27
iDoing includes wiring to run a camera from the top to the bottom, but the upper piece takes a lot of force to remove. With brittle plastic they decided not to remove it.
- 10
Plug in and test▶ 7:06
iDoing's harness plugs in directly and controls everything. There's very little wiring but also very little slack. Connect the 28-pin and the plug at the top, then the AM/FM antenna, and give it a test run before reassembly.
- 11
Pair Bluetooth and CarPlay▶ 8:51
Connect to Bluetooth like any car, and CarPlay comes up. John tested it with an iPhone.
- 12
Accessories▶ 9:10
For wireless CarPlay you need the Wi-Fi antenna plugged in. Route the microphone and GPS antenna. The other leads are for a reverse camera (optional), and they skipped the 4G antenna. A USB lead is snaked through so the owner can charge a phone.
- 13
Keeping the OEM USB ports▶ 10:09
The kit doesn't include it, but to keep the factory USB in the center console you need an adapter that plugs into one of the unit's USB leads.
- 14
Push it in and check the gaps▶ 10:26
There are clips at the bottom. Push firmly right there, or you'll get a gap that throws off all the gaps up top.
- 15
2015 only: clear the audio error▶ 11:33
On the 2015 you'll get a "check audio system" message. The fix is to pull a fuse, reset, and plug the fuse back in. John didn't remember which fuse in the video and said he'd reference it in the description or comments.
- 16
Settings tour▶ 12:07
John likes the lantern (button light) settings and kept it red. The About screen shows an octa-core CPU, a 720p display, 4GB of RAM and 64GB of storage. He says it's faster than most OEM systems, apart from the newer Teslas.
Wiring notes
- Plugs straight in: 28-pin harness plus a second plug at the top (USB and satellite radio), and the AM/FM antenna.
- Wi-Fi antenna is needed for wireless CarPlay; mic and GPS antenna routed behind the dash.
- Extra harnesses support a reverse camera; 4G antenna optional.
- OEM USB retention needs a separate adapter.
Get the parts
- Plastic trim removal tool: Generic pickGeneric pickSearch on Amazon ↗
- USB adapter to keep the factory USB ports: Generic pick (not included with the kit)Generic pickSearch on Amazon ↗
- iDoing 9" Android 12 head unit for Subaru WRX / STI / XV / Forester 2016–2022Buy direct ↗
- Head unit for the 2016–2022 WRX (AliExpress)Buy ↗
- Head unit for the 2015 WRX (AliExpress)Buy ↗
- Find iDoing 9 Android 12 head unit Subaru WRX STI on eBayBuy ↗
CodeiDoing coupon code (NGOOYEN) — NGOOYEN
As an Amazon Associate I earn from qualifying purchases. Some links are affiliate links.
FAQ
What vehicle does this install fit?
It is shown for the Subaru WRX 2015–2022. The iDoing link lists the WRX / STI / XV / Forester 2016–2022; the description has a separate link for the 2015 Always confirm your exact year, trim and factory audio with the seller.
How long does the install take?
John's full video is 14 min. Plan on that much time for a careful DIY install, plus extra if you are new to dash work.
What tools do I need?
Tools called out in the guide: Plastic prying tool; Phillips screwdriver or 10mm socket (this car had Phillips screws because the radio had been out before; it's usually 10mm); Power driver (optional).
Does it support wireless CarPlay or Android Auto?
Yes — wireless CarPlay / Android Auto is listed for this unit in the product copy John used.
Where do I get the parts?
Use the buy links on this page for the unit and any harnesses John used. Some links are affiliate links.
Is this beginner-friendly?
The guide breaks the job into 16 steps with timestamps into the video. If you can remove trim panels carefully, you can follow along.
Find your car
Compare every CarPlay head unit I've installed in this car, or find your car in the CarPlay Upgrade Finder.
John's Subaru WRX
More photos →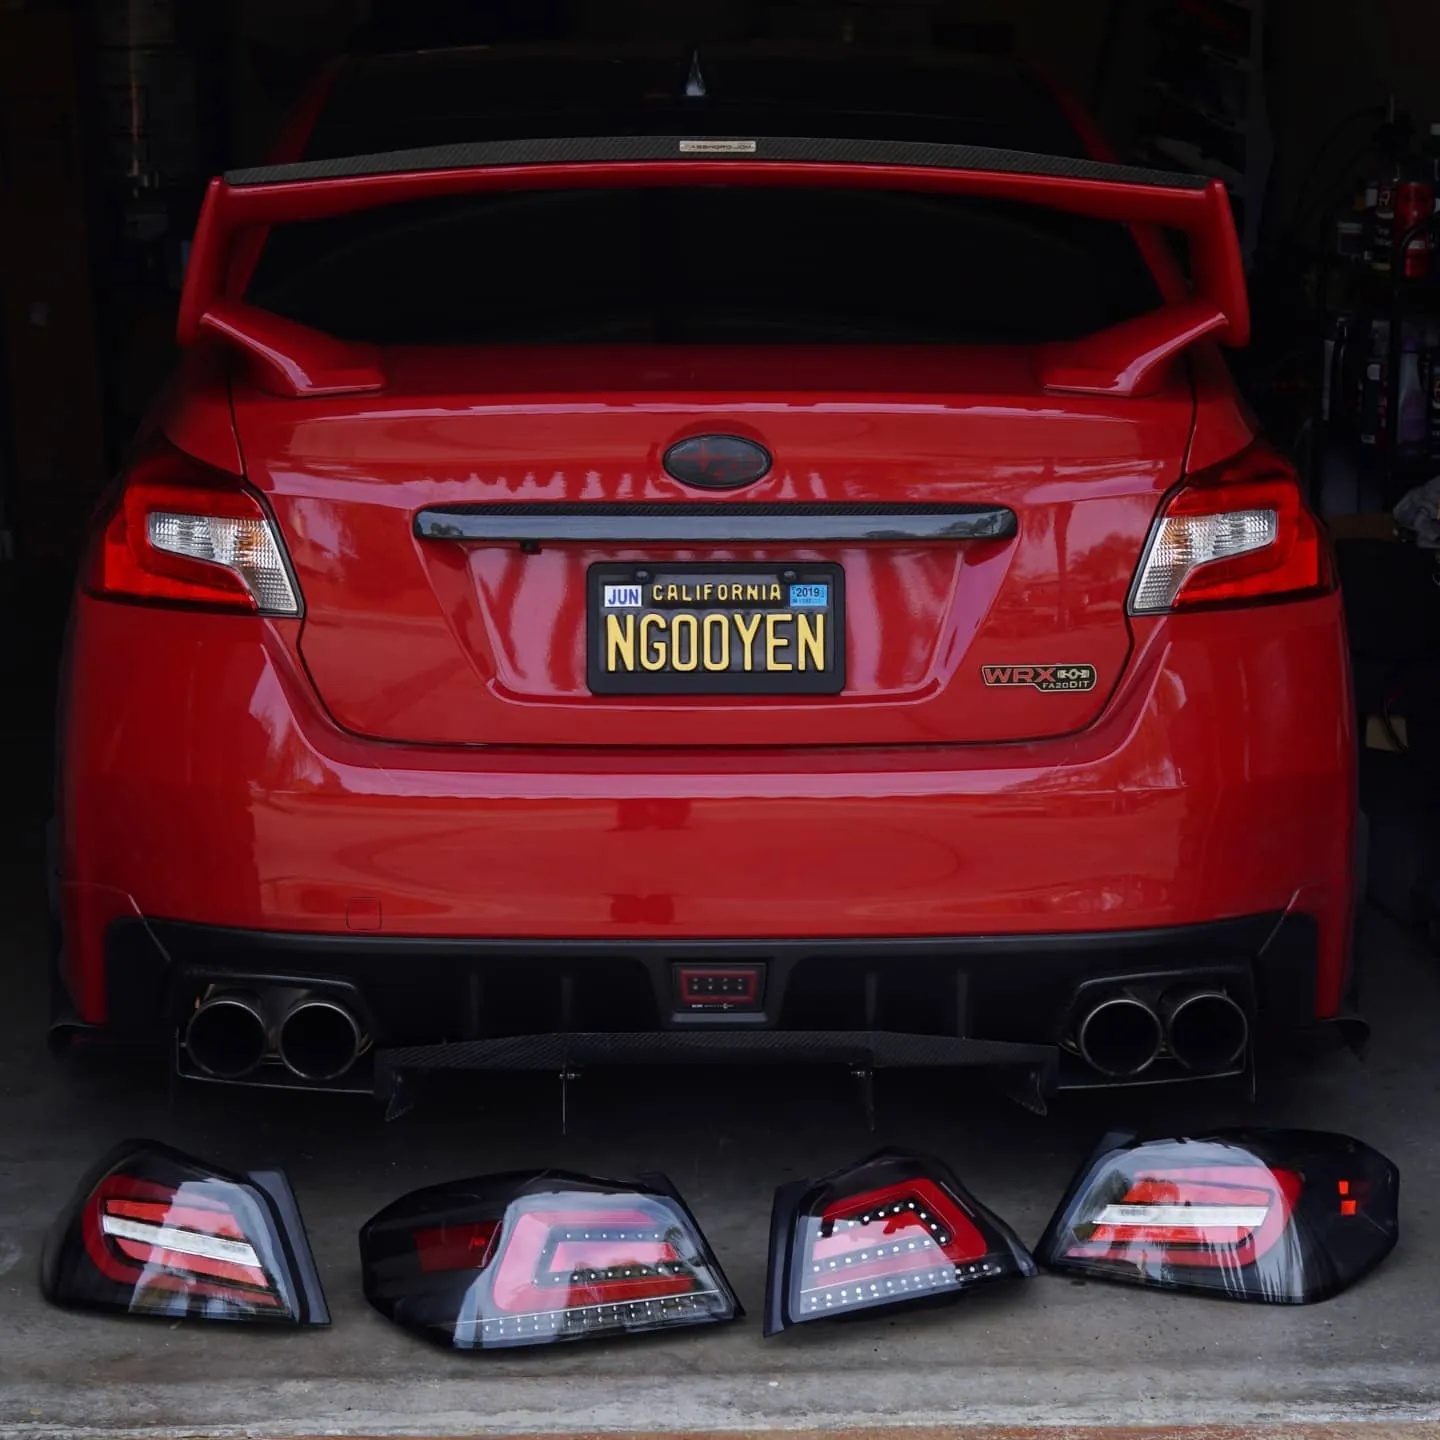
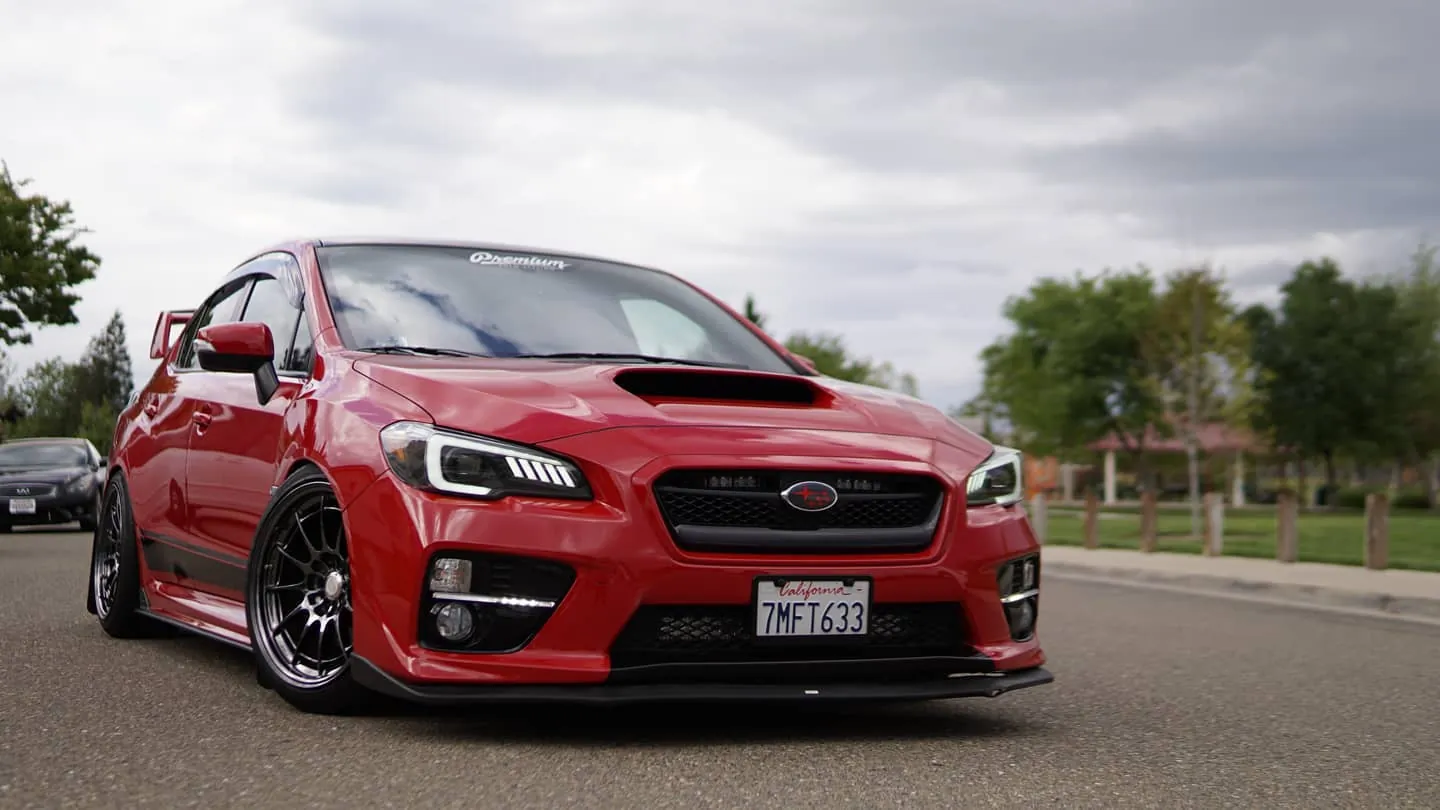
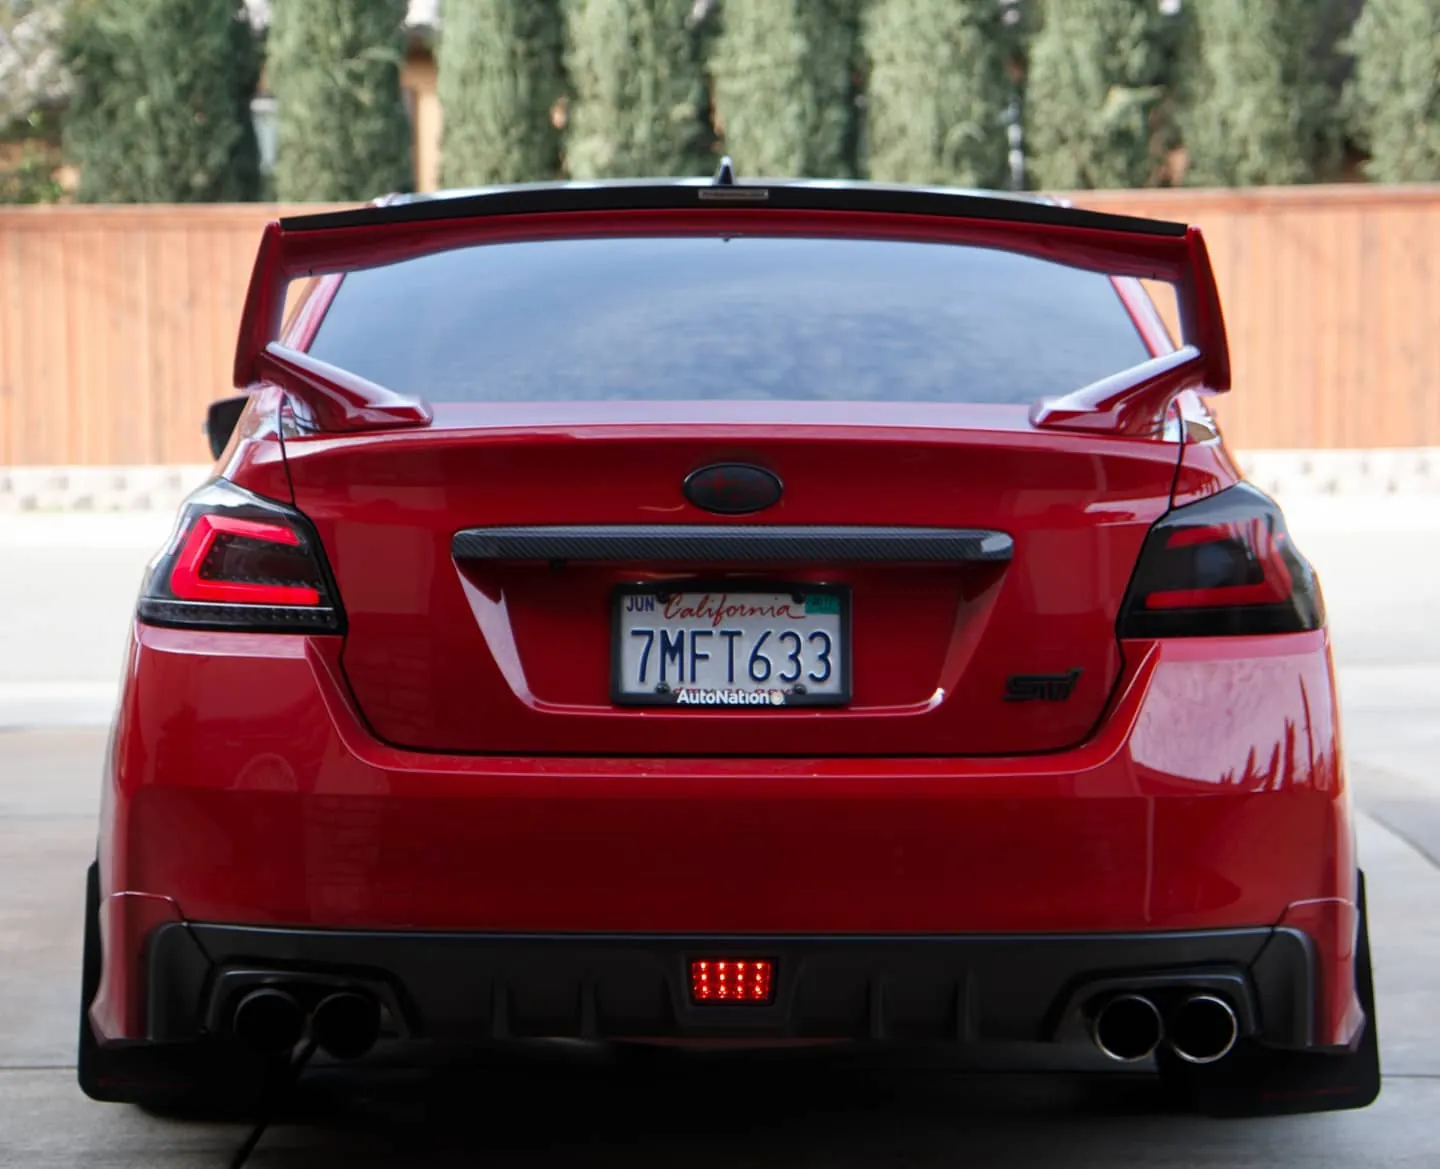
Photos from @ngooyen on Instagram. Follow for more.
Full transcript
Show the full transcript (254 lines) +
0:00Happy Subaru WRX 2015.
0:03Now this one's a little rough, but it is modified,
0:05so we can check it out real quick.
0:07Look at that shape.
0:08Clear coat is peeling, okay?
0:10That's the only thing and the fitment,
0:13you know, the butt fit, man, that's great.
0:16You, you got the dash wheels, you got that rotors.
0:19This dud is on some rotors.
0:23Cool sticker, woo, got the WRX logo right there.
0:28Beautiful NRG wing.
0:31It was huge, little, woo, so bright.
0:36Turn it down for you, looking good.
0:44All right, with the Subaru WRX 2015
0:48with the iDoing head unit.
0:50Should be a very simple install.
0:52My phone fell.
0:53I already kind of unboxed it right here.
0:59Beautiful.
1:03All right, so we're in the Subaru WRX.
1:05We have the 2015 really ugly old radio.
1:10To remove this bad boy, it's actually pretty easy.
1:13There's these clips up top.
1:14Now these clips are actually super hard to take off,
1:20but you have to use a prying tool.
1:22Looks like this one's already been taken off though,
1:23so that's good that's good, but you just pull it.
1:30Oh, well, it's very brittle.
1:38There you go, sorry man.
1:41We'll get you a new head unit.
1:44So you can tell this car bus has been sitting in the sun a lot
1:48because you can tell it's faded here
1:49and the plastic is really brittle.
1:56.
1:56After that, you remove these.
2:00Oh, you've never had that happen before.
2:03I guess it'll let these cars get it.
2:07There you want to keep these buttons and the vents.
2:13Oh my gosh.
2:16Same thing right here and you just pull it out
2:18and then you have the AC climate control.
2:22Easy take off.
2:27Now I think this head unit has been removed before
2:30because they're Phillips and it's usually 10 mils.
2:35So that's kind of unusual that's Phillips, right, Phillips.
2:41All right, so we're just going to screw these power tools.
2:46Oh, and very easy to remove.
2:49This I have to put over here.
2:51Usually you put your super keys right there.
3:00No, pull this whole thing out and unplug.
3:05Just make sure you don't scrape the, oh wow,
3:46you just kind of lift it up
3:48and pull it out.
3:53Judging by the state of the unit,
3:57you want to be super careful.
3:59These are usually pretty flexible,
4:01but because of the, it's how brittle this thing is.
4:05You definitely want to.
4:08So you just pop them off.
4:20They're just trying to be slow, so then it should be safe.
4:25All right, so after you remove those vents,
4:28you do the reverse of put the mech into the new head unit.
4:30Here are the climate controls.
4:33You want to unscrew the four right here
4:36then transfer it over as well.
4:41All right, so we have the vents removed
4:44and we had the climate control removed.
4:46Let's
5:01but yeah, you want to get that.
5:03All right, so I'm sure that I'm
5:07really sure that video goes
5:09this way for you to push it out.
5:11You just legitimately you just push it out that
5:16and it comes out.
5:18Same with this.
5:19You'll see these a little clips right here.
5:20There's four of them, tiny, usually with just force.
5:24Like if you just push on it, it will go out.
5:30Yeah, now we have these vents.
5:33Make sure they're nice and straight.
5:35I like to do one side first.
5:39So do the bottom.
5:41And then don't all the way push it down.
5:45You want to kind of flex it.
5:54All right, so this is the unit.
5:56It has the vents installed.
5:58It has the hazard, the midfield view display.
6:03We have the AC.
6:04It's clipped on on top and then we screwed on here.
6:07So now we need to a plug it in.,
6:12with iDoing it comes with all these extra harnesses,
6:15which is like great,
6:17especially if you want to do the camera.
6:19Also great.
6:21They give you iDoing does give you the wiring
6:24to have the camera from the top to the bottom.
6:27ouse.
6:27The problem that we're facing is this car is kind of old
6:31and the plastic is kind of brittle.
6:34So we were debating if we want to remove this,
6:38which is a really difficult piece to remove.
6:41It's not it's it's simple, but difficult in terms
6:45of you. You need to put a lot of force into it,
6:47pulling it this way.
6:48And imagine if we try to loop some zip ties
6:51or we try to pull it.
6:53We just feel like the plastic will be so brittle
6:56that this little plastic needs to hold a ton of force
7:00when we're trying to pull it out.
7:01So we're gonna not do that to install the head unit.
7:06The iDoings are the one of the few manufacturers
7:09who iDoings are the one of the few manufacturers who just have
7:09the plug.
7:11So you just legitimately just plug it in directly
7:14and that controls everything.
7:17So we're going to just test it, make sure it works.
7:22And then we'll put all these Wi-Fi antennas and yeah,
7:28Wi-Fi, GPS and so forth.
7:33So we will
7:38So the thing great about it is there's very little wiring.
7:42What's not great about it is there's a very little slack.
7:44So you just plug it in.
7:47There are two plugs.
7:49Let's see if we can get it from here.
7:52But there's the 28 pin and I believe it's a 20 pin at the top.
7:57If you can get a view of that.
7:58Those are two that I plugged in.
8:00This one's for USB and the other one is for like a satellite radio.
8:06And that's the only two you really need.
8:11And then you have the AM and FM radio,
8:16which looks like this and that plugs into the back.
8:19So we have three things plugged in.
8:21We're just going to give it a little test run.
8:33Boom, that's an instant turn on.
8:35It didn't do nothing.
8:40Great.
8:41So we got sound, it's working.
8:46We are at where we need to be
8:47so we're going to hook up through this little Bluetooth
8:49and then report back.
8:51So we just connected to the Bluetooth really simple
8:53like any car and now we can use car play.
8:55So if you can get that used car play.
8:58This is an iPhone 13.
9:02Pro Max Ultra.
9:05And it works.
9:08He's picking his words up.
9:10All right, so we have the head unit and this is for us.
9:15You need the Wi-Fi plugged in.
9:17We have the microphone plugged in
9:20and we just have it routed right there.
9:24GPS antenna and that's it.
9:26Everything else is for reverse camera,
9:29which we have up there.
9:31You could use it if you wanted to.
9:33And then you have our C-JX
9:35and we don't need 4G antennas that we don the plan on using.
9:38So it's a pretty simple install.
9:40So after that, you plug in the antenna
9:42and then these two ports 28
9:45and I believe a two, four, six,
9:59snake through here.
10:01And it's right here.
10:03So the user ever wants to charge their phones
10:07or something like that, it's there.
10:09Another thing that I wanna add in the description is
10:11this kit didn't come with it of you wanted to
10:14retain your OEM USBs,
10:16which I believe is in the center console.
10:18You have to buy an adapter
10:20and you plug in the adapter right here
10:23and then you plug it into one of these USBs.
10:26So we're just pushing it in.
10:31There are clips down here
10:33and make sure you push right here.
10:35You see how there's a little gap?
10:37Push it in.
10:43If you don't push in right here hard
10:45you'll have a gap and it'll mess up all the gaps
10:48up here.
10:50So that that actually looks really good.
10:52And yeah, we're done here.
10:54So that's the iDoing head unit.
10:57Maybe we'll get a quick turn on.
11:14You can't believe it instantly boots like that.
11:16We just unplugged it.
11:18And then it's gonna look for iPhone,
11:22connecting, verified,
11:28and it'll play music.
11:30Great.
11:33Now there will be an error right here.
11:36I totally forgot about it.
11:37For the 15 only
11:39you have to unplug a fuse
11:42then reset it, then re-plug the fuse in.
11:44I don't remember what fuse is
11:46so I have to look into the description
11:49or the comments and then I'll reference it.
11:51I haven't done it in like eight years
11:54so it's been a while which fuse the pool
11:56but there is a fix so it doesn't say
11:58check audio system.
12:00Thank you guys for watching this.
12:02WRX head unit.
12:03This is the latest and the greatest.
12:05Let me turn this on real quick.
12:07So I just wanna show you the settings.
12:09What kind of how it looks like
12:11if you guys were interested.
12:12We have all these
12:14functionalities right here.
12:16One of my favorite is the lantern settings.
12:19So keep it red.
12:21And what you guys were probably more interested
12:25is seeing the about device.
12:28So he's using Android 10.
12:31It has a octa core cpu information.
12:38Don't know how much RAM is in it.
12:40Maybe it's gonna be device info.
12:43Oh, don't look at that.
12:45But yeah, it's gonna be a speedy 720 displays.
12:49So these are now using 720 displays
12:52now which is a really nice you just shows
12:55your RAM right there.
12:56You see it?
12:57Oh, so you got 4 gigs of RAM 64 gigs of storage.
13:00Perfect.
13:01It's all in the cpu.
13:03Which for the systems are so much faster than OEMs.
13:10If you move into another 2023 you know
13:15Honda core or Subaru it's not an octa core.
13:18It's not this fast.
13:22My NSX right there, it's super slow OEM.
13:26You press something, it lags for a second.
13:29Then it changes and you can see it transition really slowly.
13:34Even my Tesla kind of slow too..
13:39These are faster.
13:40Now the new AMD Teslas are way faster than this.
13:44But before then, Tesla is like the fastest when it comes to cpu computer times.
13:49Lucid, I was in the 2023.
13:52You would hit a button and it would take three seconds for it to go
13:57and I'm like dude, this is a brand new car.
13:59How could it be this slow?
14:00So this is a very fast unit and I don't have any issues
14:03and it'll be faster than anything besides the newer Teslas.
14:07But yeah, thank you guys for watching.
14:09If you're interested in this iDoing product
14:11we'll leave in the links down below.
14:13It's really easy and slow.
14:14It could take you about 20 minutes to do.
14:16It took us about thirty, forty minutes, but we were recording.
14:21So there's that.
14:23Thank you guys for watching.
14:24I'll catch you guys next one.
Machine-transcribed from the full-length video and lightly cleaned (product names fixed). Watch the video for exact wording.
Next step