Aucar Tesla-Style Head Unit: Subaru WRX / STI 2015–2022 Install & Review
Pull the glovebox damper and center trim, unbolt the factory unit, plug in the 28-pin, 10-pin and antenna harnesses, and wire the reverse camera through the CCD-IN lead.
Full video (20 min): Transforming the 2015-2022 Subaru WRX & STI: Tesla-Style Aftermarket Headunit Install & Review! · John's YouTube channel
Get the parts
- Search Amazon for Aucar CarPlay Subaru WRXSearch on Amazon ↗
- Find Aucar Tesla-style head unit, Subaru WRX 2015–2021 on eBayBuy ↗
As an Amazon Associate I earn from qualifying purchases. Some links are affiliate links.
Pull the glovebox damper and center trim, unbolt the factory unit, plug in the 28-pin, 10-pin and antenna harnesses, and wire the reverse camera through the CCD-IN lead. This 20 min guide covers the Subaru WRX & STI 2015–2022 with tools, parts links and the full video.
Overview
John swaps a previously installed aftermarket unit for an Aucar Tesla-style screen that takes over the whole center stack, climate included. The A/C controls work on screen with animations, steering controls and the reverse camera work too. The reverse camera is the tricky part because there are no instructions, so he walks through it.
Vehicle & fitment
- Product
- Aucar Tesla-style vertical Android 12 head unit for the WRX with an integrated climate panel
- Shown on
- Subaru WRX (2017 shown, a friend's car)
- Subaru WRX & STI 2015–2022 (per the video title)
- 2015 cars need the 2016–2022 Subaru silver-gray trim piece (per the video)
- Climate shows dual-zone controls, but only the STI has dual climate
Always confirm fitment for your exact year and trim with the seller before buying.
Tools & parts
Tools
- 10mm socket and ratchet
- Magnetic pickup tool
- Microfiber towel
Parts
- Aucar head unit with harnesses
- 2016–2022 trim piece if you have a 2015
- Vents (the unit's shell doesn't include them)
Step by step
- 1
Remove the glovebox damper▶ 3:19
Empty the glovebox and pop off the damper on the side to reach a 10mm bolt holding the trim.
- 2
Pull the side trim▶ 3:58
Work your fingers into the gaps and pull it out slowly. No bolts, but watch the wires behind it.
- 3
Reach the hidden 10mm▶ 5:13
Pop the trim by the passenger airbag light by hand to expose a hole with a 10mm bolt. Loosen it and lift it out with a magnet tool so it doesn't fall into the dash.
- 4
Pull the factory unit▶ 6:09
It's held by clips and heavy, so rest it on a towel. Unplug the push-style plugs (one is reverse-mounted, so push the tab from the bottom) and the climate control plug at the bottom.
- 5
Plug in the harnesses▶ 7:47
28-pin carries steering controls and the backup camera. The 10-pin main plug handles power, ACC, CAN, dimmer and front speakers (and sometimes the amp). The XM lead isn't needed; the last one is the AM/FM antenna.
- 6
Test climate▶ 9:24
The temperature matches the factory readout, and fan, auto and mode all work on screen.
- 7
Wire the reverse camera▶ 11:06
The 28-pin carries the camera signal on an orange lead into the back of the unit; plug the extra harness's CCD-IN into the unit's CCDV-IN. Other setups may need the alternate harness included in the box.
Tip: The unit supports a second camera (side or front) on another input.
- 8
Camera app and reverse trigger▶ 13:13
The camera app in the app drawer can show the camera full-time; the reverse trigger switches it on in reverse.
- 9
Finish the trim▶ 14:31
On a 2015 you need the 2016–2022 trim piece from Subaru. The unit's shell has no vents, so order those separately.
Wiring notes
- 28-pin: steering controls and backup camera (orange lead)
- 10-pin main: power, ACC, CAN, dimmer, front speakers
- Purple/green: rear speakers
- Extra harness CCD-IN → unit CCDV-IN for the reverse camera
- XM lead unused; separate AM/FM antenna lead
Get the parts
- Search Amazon for Aucar CarPlay Subaru WRXSearch on Amazon ↗
- Find Aucar Tesla-style head unit, Subaru WRX 2015–2021 on eBayBuy ↗
As an Amazon Associate I earn from qualifying purchases. Some links are affiliate links.
FAQ
What vehicle does this install fit?
It is shown for the Subaru WRX & STI 2015–2022. 2015 cars need the 2016–2022 Subaru silver-gray trim piece (per the video) Always confirm your exact year, trim and factory audio with the seller.
How long does the install take?
John's full video is 20 min. Plan on that much time for a careful DIY install, plus extra if you are new to dash work.
What tools do I need?
Tools called out in the guide: 10mm socket and ratchet; Magnetic pickup tool; Microfiber towel.
Does it support wireless CarPlay or Android Auto?
Check the product listing for wired vs wireless CarPlay / Android Auto before you buy; John shows what worked in the video.
Where do I get the parts?
Use the buy links on this page for the unit and any harnesses John used. Some links are affiliate links.
Is this beginner-friendly?
The guide breaks the job into 9 steps with timestamps into the video. If you can remove trim panels carefully, you can follow along.
Find your car
Compare every CarPlay head unit I've installed in this car, or find your car in the CarPlay Upgrade Finder.
John's Subaru WRX
More photos →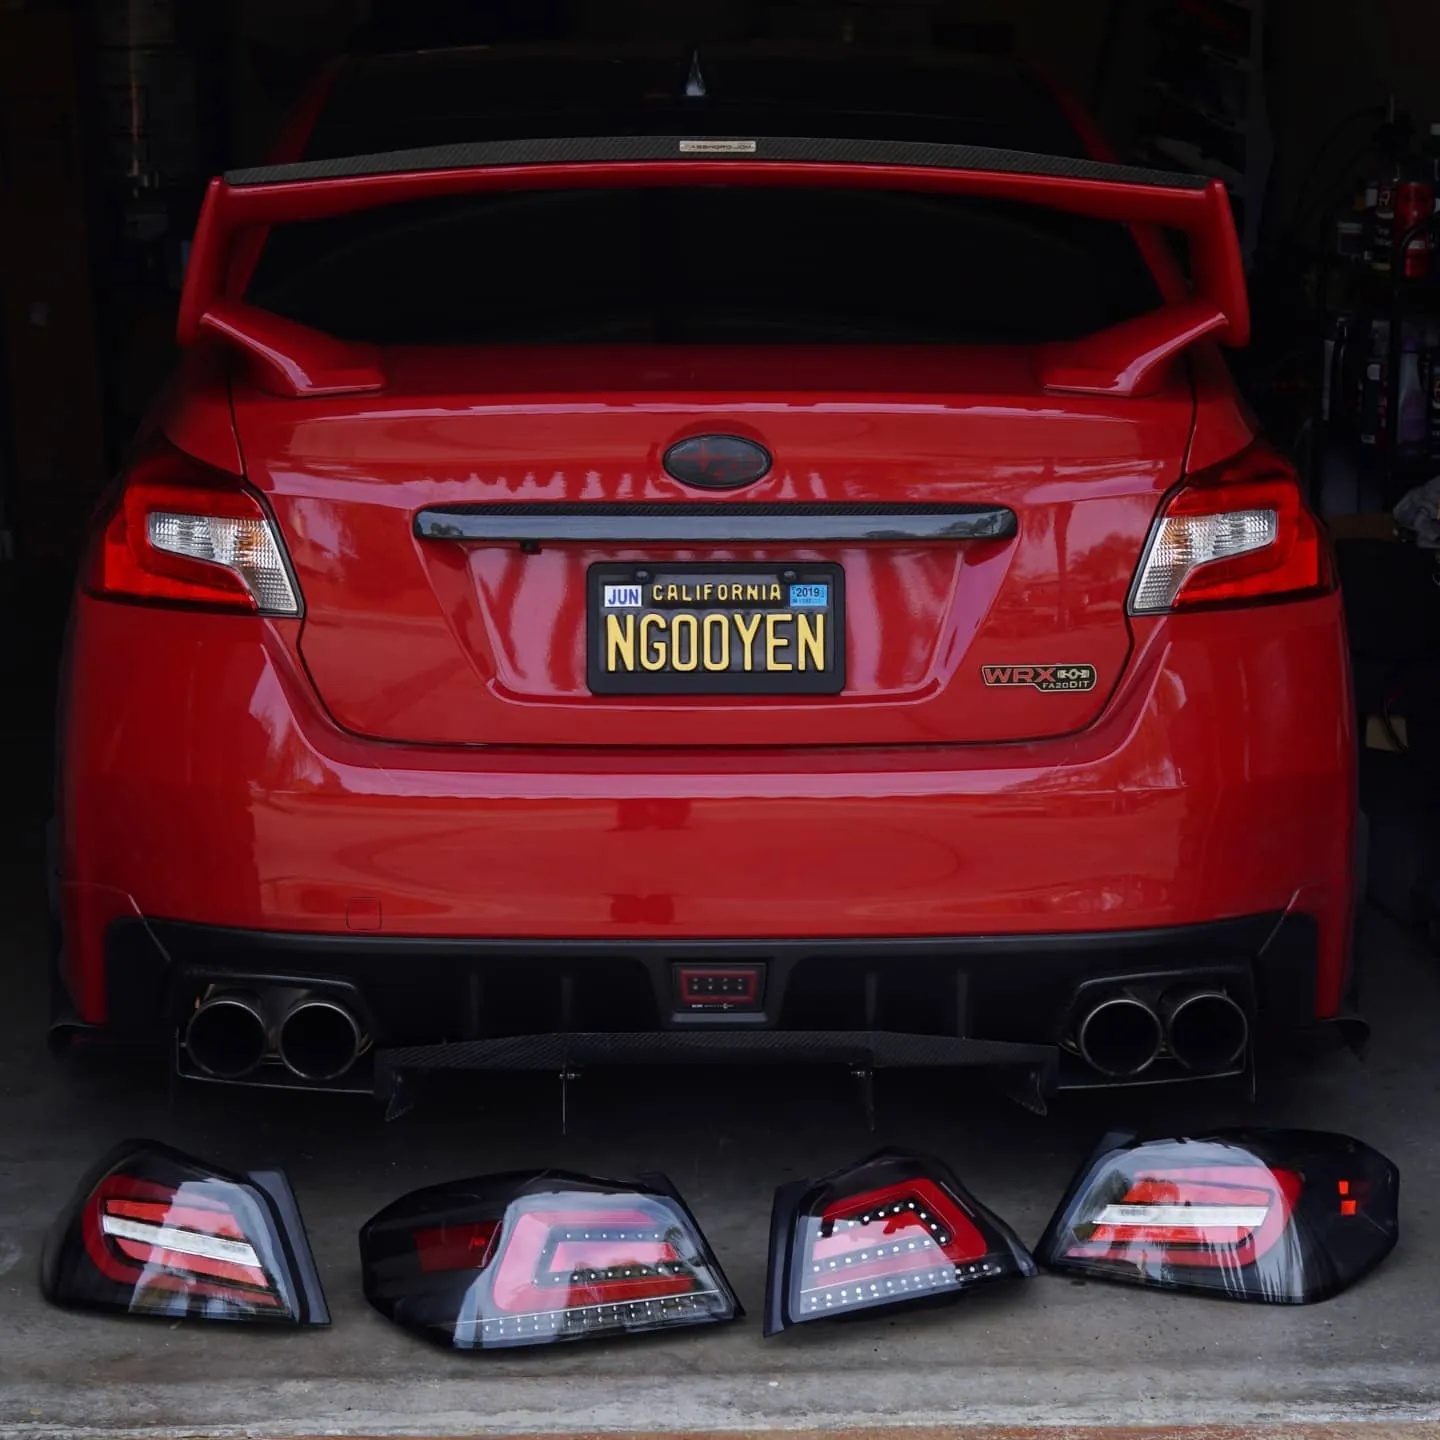
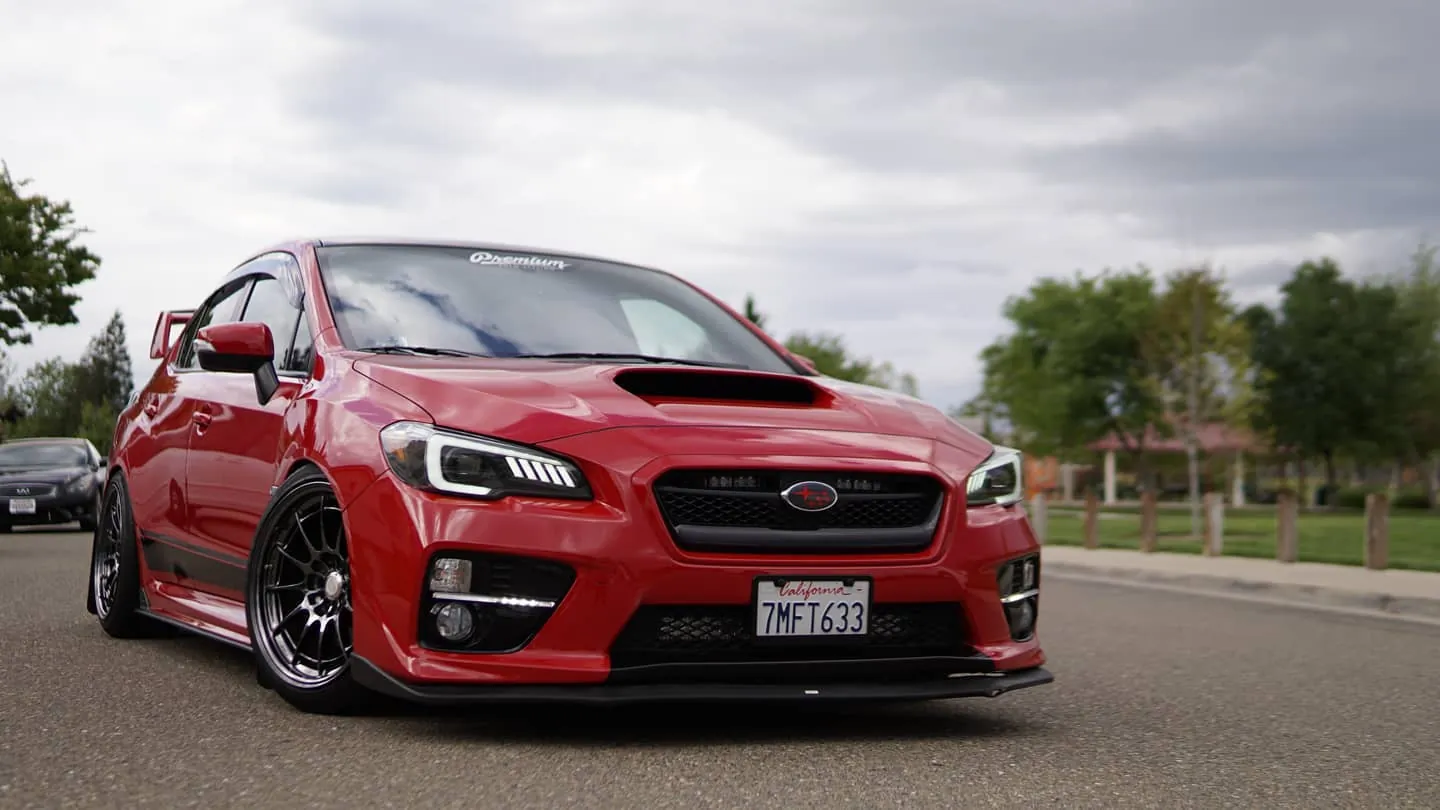
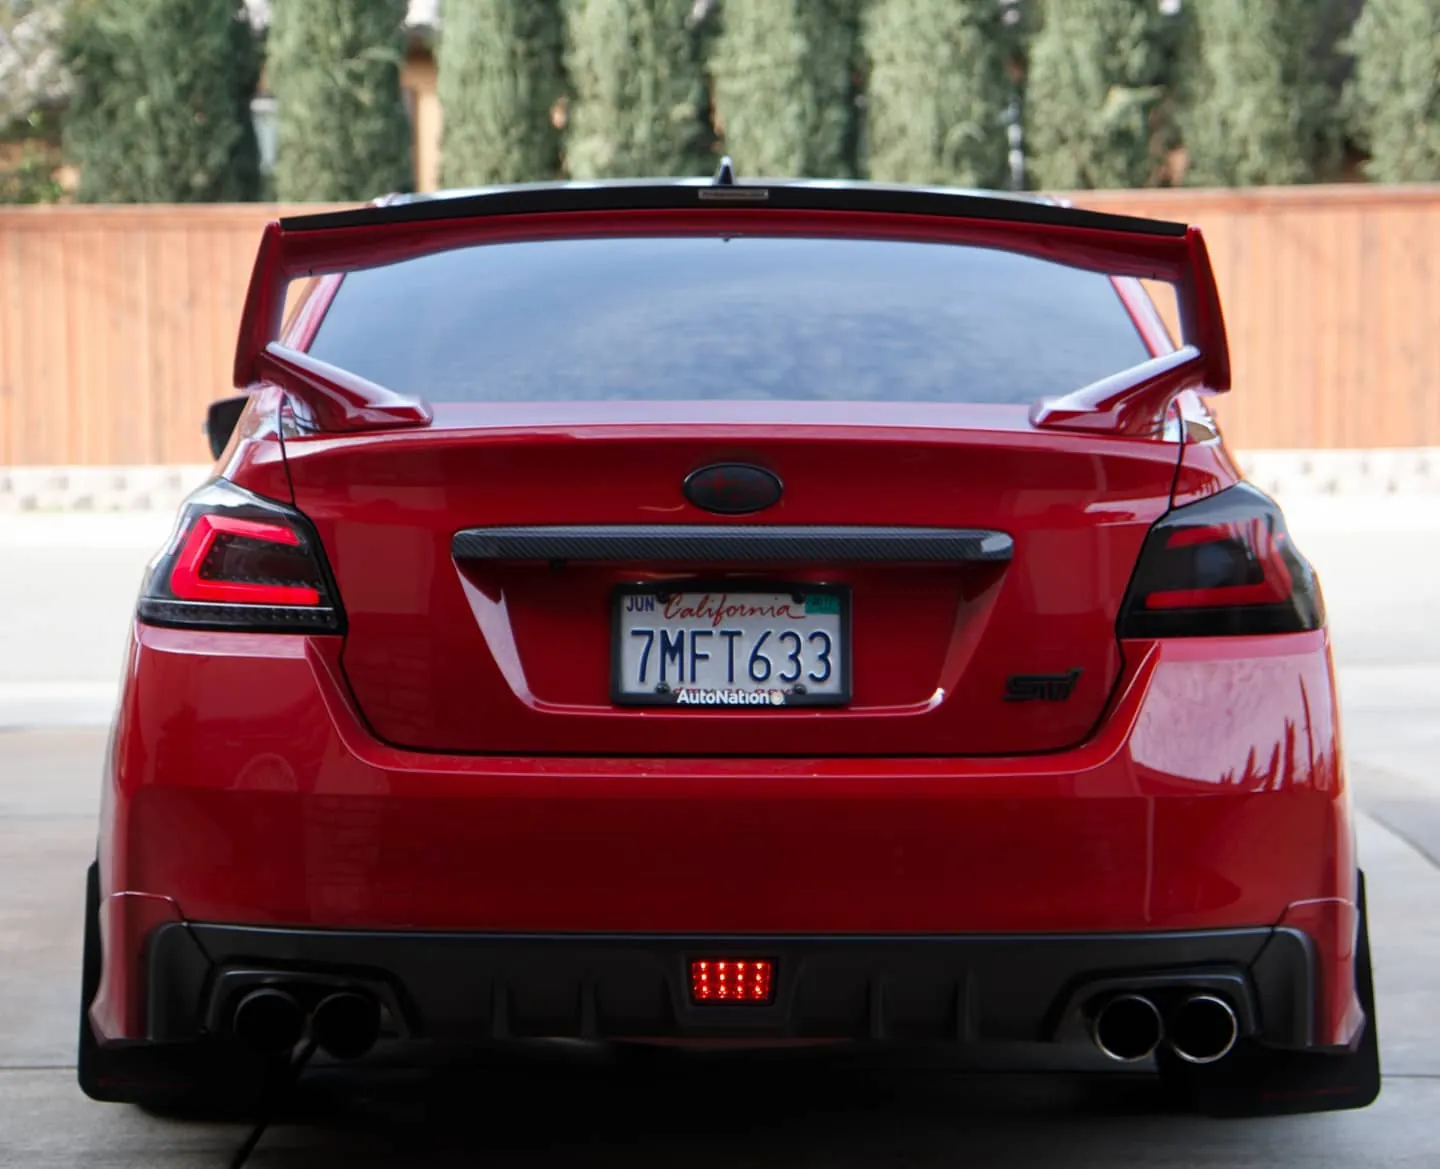
Photos from @ngooyen on Instagram. Follow for more.
Full transcript
Show the full transcript (172 lines) +
0:03Let's
0:42we got some so be sweet halites with the wing with good
0:50everything's the bench F1 style rally armor actually looks really good in the interior
0:59you got that red accent is close to all the way in that's actually really nice
1:05oh and then I need a little protectors in here that OEM oh shoot sweet this is actually
1:15pretty nice the video I did before this with the WRX was I clapped out WRX, he had
1:21things fading he's like this what do you mean this is like
1:24like a little bit run down, oh my dude your car is bunk but this one it's a good
1:31example all right let's get intoner interior so here so I
1:46going on here recirculation we got two volumes I don't know which one's tuning
1:52because they had both have power and it does have a screen protector on it already
1:58which is pretty nice here the back of it it does say WRX with a QR code so I'm
2:05about that saying like hey this should work because it literally has the mold of
2:09WX the shape of a WX and it actually says the W W X now I'm a bit skeptical because I don't know if the AC is going to work but this is the AC plug for the WX which is also really good. Heat sink right here looks nice and you got your hardnesses that you're going to plug and play so
2:39now, now this is a aftermarket head unit that we have previously installed if you're
2:45interested you're interested in that click on this video but we're gonna be replacing this with
2:48this, it's gonna take place of this whole area so these vents are from the
2:55shell and we don't have the vents from the previous unit or the factory unit so we're
3:02gonna have to order that another time so we're just gonna install the head
3:05unit for now because I have time right now to do it and my friend here
3:09to do it to do this over the weekend so stay tuned we're gonna disassemble this and I'm
3:15gonna cut to
3:15to a video of disassembling the OEM one so you guys can be on the same page
3:19everything you have in this glove box you also have to pop out this little on the
3:28side it's a little damper so after you remove the little damper right here which is
3:46this bad it's this bad boy right here you're gonna see a 10 millimeter that's
3:51kind of holding it in so we get the truck but when I put my, alright so we
3:58got to remove this and you can just I just use my hands when you get into the
4:03cracks and then you just slowly pull it there's no bolts careful because there
4:07are wires right here you want to make sure this bad boy is removed
4:13again those harnesses what I do to.
4:15remove these harnesses I flip it over and I get the this one's usually kind of hard
4:22because there's not a lot of clearance I usually just push push the whole.
4:26whole thing out oops I don't know if you can even see the yeah so pop the
4:35harness out I pop the the top part out and just get access to that clip like
4:41there you go so you can pop it back in but we're gonna we're gonna be transferring
4:48this stuff over to the new head unit shell so you can pop it in because it's
5:13literal Phil's drive we have to remove this and then pop this airbag trim with
5:18this trim to get access to the 10 mil so it's gonna remove this puppy right so I
5:26just the trim off I actually, this point right here to use the anchor again I
5:30just use my hand that gives us some access for a little hole right there and you'll
5:36see a tent correct in that little loose with the bolt pretty loose right
5:39there let me see if I can
5:44actually use this magnet tool and then after it's loose try to pull it out with the
5:55magnet tool just so you know it doesn't fall down into the abyss I've done
6:01correctly you're able to remove this bad boy out correctly right the whole thing
6:09should just pull out from here we'll see how that goes it's held by clips can I
6:29use this microfiber towel right here just because it is heavy and there's like
6:33metal like metal clips then you just gotta unplug it from the back when you
6:52the plugs in the back they're pretty simple most of them have just this
6:56push style push style this one was reverse mounted so you have to push from the bottom
7:01but just look for those tabs and they pull out pretty easily but you have to push
7:06on the actual release tabs after that I mean hold whenE unit comes out be careful
7:15well then we have the AC unit in the back on the bottom make sure you get that
7:24client control off each back system and the head unit is off it's a chunker it's
7:34up in the bottom alright fast forward to the future the present actually now if we
7:42look here this is how your head unit look so the first thing I want to do is get
7:47these harnesses and I'll plug it in one by one and I'm just. just describe what it
7:52is generally depending on what car you have so for this one is a 28 pin if you
7:58take a look at a bit and it should carry your serial controls and your
8:02backup camera so if you have issues make sure you have your 28 pin hooked up
8:06this one is a 10 pin 1 2 3 4 5 6 7 8 9 10 10 pin and this is your main pin it
8:17controls power idle accessory can like dimmer switch so turn your headlights
8:24this also controls your front speakers and will also power in this car
8:31sometimes power your amp sometimes super moves it around so
9:01this is a ground wire you're not
9:05gonna be using this one this one is generally for XM radio which we might not
9:10reuse and then this one is for FM AM antenna so plug all the harnesses in
9:18we kind of talked about every single wire that's it alright so we are back
9:24again here we have 61 Fahrenheit which matches the top and if we change
9:29that here oh you see that little animation as a little like what's that
9:35thing little counter where that's actually really nice and they even did that
9:40for the volume button I don't mind it it gives a touch of just kind of like
9:44personality now we have fan speed here oh what is this so we have auto auto dual I does anything this the WRX doesn't have dual climate
9:57control the STI does but
10:01things are working dude you don't even know how crazy this is for me because I've
10:07been a little animation what the heck for me at the WRX and I could never get this
10:15to work I had a Forester model I tried to do everything because you know I was
10:20just limits when I came to head units but it's finally here this is
10:24amazing and I think this is probably the best looking head unit I seen that what
10:29you think of the resolution this looks really clear this is a nice clear I I
10:35would say it it almost looked it looks 1080p this looks like a 1080p display alright so
10:44we have the AC working we just had Bluetooth and Wi-Fi that's pretty much the
10:49install now you can install these extra wires oh can we test it can go into reverse so I�
10:58got to make sure the the reverse signal works it is getting over some it is getting
11:01the reverse trigger but we got to make sure the camera is plugged in so that's
11:06what I'm gonna show you guys right now yes so the wiring let's go over it
11:12because that's important very important we I've actually struggled with the
11:16reverse camera so you're probably gonna struggle with the reverse camera because
11:19of the documentation we have plug number one this is for the radio plugs into the
11:26that part right there radio antenna FM these purple and green wires are the
11:33rear speakers plugs into the main harness this is the main one I was
11:38talking about the so there was a six pin the 10 pin plugs in now ABS 28 pin
11:43does carry the reverse camera so the thing with this unit right here and it
11:50will vary depending on what you have is you have these orange wire and then it
11:57goes into the back of the head unit and then we plug in additional harness and
12:02it'll have a CCDV and you plug it in to nd the CCDV in over here and we
12:12take a the little bit so there you go and that's how you'll get it now if you have
12:17model you might have to use a different harness
12:19harness which it came with but for our setup that's how it is CCDV n CCDV I
12:26don't know why it's plug into a, yellow to a green one it's kind of confusing
12:30there might be another ox in ox video in this car can support this head
12:36unit can support two cameras so if you want a side camera or front camera that's
12:41something you can do it's not something where we have time for today so we're not
12:46going to do it but in the future we might be able to add that hey so there you go
12:52that's the reverse camera ox in ox out we don't have that
12:56plug and for our case we don't plug we don't have anything right there so now
13:04we're gonna just if you could just help me put that back in just gonna have
13:13kind of set it there so in the in this app you can have the reverse camera show at
13:19all times if
13:19you want and that's going to be located in the app drawer and we want to come now
13:25we had that rear camera and we have the side camera here
13:28so it's shown both in this case now I don't know if it's real time but
13:35should be but if we throw in reverse we do have a reverse trigger so then you
13:42have the camera right there as well dear users please be careful with reverse and
13:47do not watch mobile phone so
13:50so yeah don't do that that's bad so it's funny how it shows you that it's kind of
13:55cool the screen is okay quality it's it gets the job done
14:01actually this is actually better actually better than my nsx my nsx the reverse
14:05camera is really bad but yeah you gotta do that
14:09so that concludes it we have all the wiring in now we can plug in additional
14:13things like usb's the wi-fi antennas and stuff but uh i'm just gonna wrap it
14:18up we don't have this trim but uh we're gonna put some vents in it because
14:22I want him to at least be able to a little bit yeah we'll show you the semi done product
14:31all right okay we don't have that piece so if, you're gonna get this head unit and
14:36you have a 2015 you need to buy the trim from Subaru it's a 2016 to 2022 trim piece
14:43you'll see the little silver gray trim we just don't have it with us this is a
14:482017 but we have that piece at home somewhere we can't find it but uh the
14:53yeah there you have you need to have that trim but other than that reverse camera
14:58works steering wheel works everything works ac these things I can't believe it works
15:04it shows one-to-one right here look at that oh look at that look at that can't
15:09reverse okay hold the hold the clutch all the way down
15:13reverse camera works you got some extra lines that we can we can
15:15change the settings so so it won't show that but look at that this is amazing
15:21if you guys were interested in this product I'll leave in the description below where you
15:24can find it but we are just so blown away by the graphics by the looks of it it looks
15:34I don't know I really I'm actually a UI UX designer for front end and I'm really digging
15:39this interface it's clean it's simple it doesn't look cart the cartoony or childish
15:46I'm surprised but let me just go through the settings one more time with you this has to
15:51be a 1080p display because, this head unit itself is very expensive it is uh close to our grand
15:59so we can turn dual out here we can change the uh the settings it actually does change it up there
16:06heated seats that doesn't work ventilated seats doesn't work but the stuff that does work
16:11it does work here which is awesome you can change the mode
16:17I'll do that I can't believe they somehow found a way to do that now I'm not a uh system
16:26developer or anything like that so let's go over the settings
16:36about the navigation device so this is the gt6 car it has sims it's running on android version 12
16:45see to kind of see the hardware it doesn't really show anything turn the hardware I'm
16:49actually gonna put the specs right here right now if you guys were interested in seeing the specs
16:55but not like the processor the RAM and all that I can tell you that the car it feels smooth
17:03it doesn't feel like an OEM head unit because OEM heads are generally pretty slow you would hit
17:08something and it would be like and there would be no animation it would be really slow this is
17:13spears�? very smooth looks like a nice 60 hertz no frame rates dropping like
17:19it's a good experience because it's all the apps ambient light set uh let's see what that is I think when
17:26you turn your headlights on whether it's going to show um these lights it's it's so bright right now I
17:33can't even see oh it's green yeah if you turn it off
17:38uh turn it off I'm not sure if it's RGB is it green on yours it's red right now yeah it's uh it's
17:46swap it's changing it's it's RGB yeah so this is an RGB you can set that right now to turn it whatever
17:52I'm just gonna leave it default for now I'm gonna turn off this so you guys can hear us a little bit
18:10that's self-explanatory car settings you can adjust the amplifier car audio is what
18:16I'd be using a lot uh cam all this great stuff I'm trying to see if there's anything
18:22in particular radio? what radio station do you listen to? even this interface is pretty
18:38F-150 and F-150 lightning oh this this looks cool too so radio is working
18:46you can turn that down
18:50settings system updateers and yeah you know how so there's no xm radio but you can download the app
18:57and then run the through wi-fi or some kind of hot spot but yeah that concludes it what an awesome
19:06head unit um this is what dreams are made of because I've been trying to get the head
19:11unit in my car but uh fortunately it never came it looks really good it makes the car
19:19interior like so much more expensive in high end but uh yeah again if you guys were interested
19:25in this product I'll leave a link down below it's a new brand and audio sounds good it's
19:32reliable as of like, like messing it right now it never hiccups or anything and it works well
19:40only gripe I had,, if there's no instructions but if you guys follow this video
19:45it should help you guys a lot thank you guys for watching I'll catch you guys later
Machine-transcribed from the full-length video and lightly cleaned (product names fixed). Watch the video for exact wording.
Next step