LED Headlight Bulbs for the First-Gen Acura NSX: Replacing an Old HID Kit
Pull the old HID bulbs, ballasts and wiring out of the NSX's pop-up headlights and swap in plug-and-play LED bulbs: 9006 low beams and 9005 high beams. Move the retaining clips over, and flip the plug if an LED doesn't light, since LEDs only work one way round.
Full video (12 min): First Mod for the NSX · John's YouTube channel
Get the parts
- 9005 / 9006 LED bulb combo (link from the video description)Buy ↗
- Phillips screwdriver set: Generic pickGeneric pickBuy ↗
As an Amazon Associate I earn from qualifying purchases. Some links are affiliate links.
Pull the old HID bulbs, ballasts and wiring out of the NSX's pop-up headlights and swap in plug-and-play LED bulbs: 9006 low beams and 9005 high beams. Move the retaining clips over, and flip the plug if an LED doesn't light, since LEDs only work one way round. This 12 min guide covers the Low beams: 9006 bulbs; high beams.
Overview
John's first mod on his pop-up headlight NSX. The previous owner had installed an HID kit. The HIDs were bright, but John didn't like the ballast noise, the warm-up time, or all the red and blue wiring hanging around, so he swaps in plug-and-play LED bulbs from RC Shine: 9006 for the low beams and 9005 for the high beams, no ballast needed. You can do it without removing the headlight covers, but it's a lot more work. If you do remove them, keep the small screws, because the covers have to be realigned afterwards (his car was already missing a few). For each bulb you pull the HID bulb out with its dust cap, release the spring clip, remove the ballast and wiring, then move the retaining clip onto the LED bulb, lock it in and plug it in. LEDs only work with the current one way, so if a bulb doesn't light, flip the plug (or re-pin it). The low beams wouldn't take the original dust boot. The LEDs come on instantly, look more like 5000K than the HIDs' bluer 6000K (which he prefers), have a little fan you can hear, and still give a nice clean cutoff with a slightly wider spread. In hindsight, he says in the description that the HIDs gave a better, more even output.
Vehicle & fitment
- Product
- Plug-and-play 9005 (high) / 9006 (low) LED headlight bulbs with cooling fans, replacing an aftermarket HID kit
- Shown on
- Acura NSX NA1, first generation with pop-up headlights (John's car; the previous owner had fitted an HID kit)
- Low beams: 9006 bulbs; high beams: 9005 bulbs (as John fits them in the video)
- The Amazon link in the description is a 9005 + 9006 LED combo pack
- The kit in the video is from RC Shine and includes both high and low beams
Always confirm fitment for your exact year and trim with the seller before buying.
Tools & parts
Tools
- Phillips screwdriver (headlight cover screws)
- A tray to keep the small cover screws in
Parts
- LED headlight bulbs: 9006 low beam, 9005 high beam (pairs)
- Retaining clips moved over from the old bulbs
Video chapters
- 0:00Introduction and overview
- 1:12Unboxing the LED kit
- 2:15Removing the old HID bulbs
- 4:55Installing the low beams
- 8:27Installing the high beams
- 11:10Final results and testing
Step by step
- 1
Why replace the HIDs▶ 0:47
The aftermarket HIDs are bright but the ballast makes noise, they take time to warm up, and the wiring is messy. LEDs are a simpler setup with no ballast.
- 2
What's in the kit▶ 1:12
RC Shine's kit has both high and low beams and the manual. On this NSX the low beams are 9006 and the high beams are 9005.
- 3
Covers on or off▶ 1:57
You can swap the bulbs without removing the headlight covers, but it's a lot of work. If you remove them, keep every small screw: the covers have to be realigned for a proper fit afterwards.
- 4
Pull the HID bulb▶ 3:21
Pull the HID bulb out with its dust cap, release the little spring clip, and fish the bulb and wires out. Keep the tensioner clamp; you'll reuse it.
Warning: Everything in there is sharp. Watch your hands.
- 5
Remove the ballast▶ 4:22
The ballast came with the HID kit. Pull up and then out, and the extra wiring goes with it.
- 6
Fix: LED doesn't light▶ 5:12
LEDs only work with the current one way. If a bulb doesn't light, rewire it or just flip the plug over. The notch will face the wrong way, but it works.
Tip: If you want it neat, you can move the pin in the connector instead of flipping it.
- 7
Move the retaining clip▶ 5:42
Lift the little O-ring gasket, take out the screw, and fit the clamp onto the LED bulb.
- 8
Install the 9006 low beam▶ 6:14
Squeeze it in, match all the tabs, snap it in, then plug it in. The low beam wouldn't take the original dust boot with the LED fitted.
- 9
Compare with the HIDs▶ 7:41
The LED is on instantly while the HID is still warming up. The HIDs are bluer (about 6000K); the LEDs look closer to 5000K, which John prefers. You can hear the bulb's fan.
- 10
High beams▶ 8:32
Twist the high-beam bulb to unlock it and pull it out. Same as the low beam: move the retainer clip onto the 9005 LED.
- 11
Lock the high beam in▶ 9:39
There's very little clearance. Pull back gently, then twist clockwise until it locks.
- 12
Test and do the other side▶ 10:07
The high beams fire instantly and have a slightly wider spread than stock. Repeat on the other side.
- 13
Beam pattern▶ 11:30
With everything installed, the cutoff is still nice and clean, and there are no more extra wires. On camera they look greenish; in person they look blue.
Wiring notes
- Plug-and-play bulbs, no ballast.
- LEDs are polarity-sensitive: flip the plug or re-pin it if one doesn't light.
- Low beam 9006, high beam 9005.
Get the parts
- 9005 / 9006 LED bulb combo (link from the video description)Buy ↗
- Phillips screwdriver set: Generic pickGeneric pickBuy ↗
As an Amazon Associate I earn from qualifying purchases. Some links are affiliate links.
FAQ
What vehicle does this install fit?
It is shown for the Low beams: 9006 bulbs; high beams: 9005 bulbs (as John fits them in the video). The Amazon link in the description is a 9005 + 9006 LED combo pack Always confirm your exact year, trim and factory audio with the seller.
How long does the install take?
John's full video is 12 min. Plan on that much time for a careful DIY install, plus extra if you are new to dash work.
What tools do I need?
Tools called out in the guide: Phillips screwdriver (headlight cover screws); A tray to keep the small cover screws in.
Where do I get the parts?
Use the buy links on this page for the unit and any harnesses John used. Some links are affiliate links.
Is this beginner-friendly?
The guide breaks the job into 13 steps with timestamps into the video. If you can remove trim panels carefully, you can follow along.
John's Acura NSX
More photos →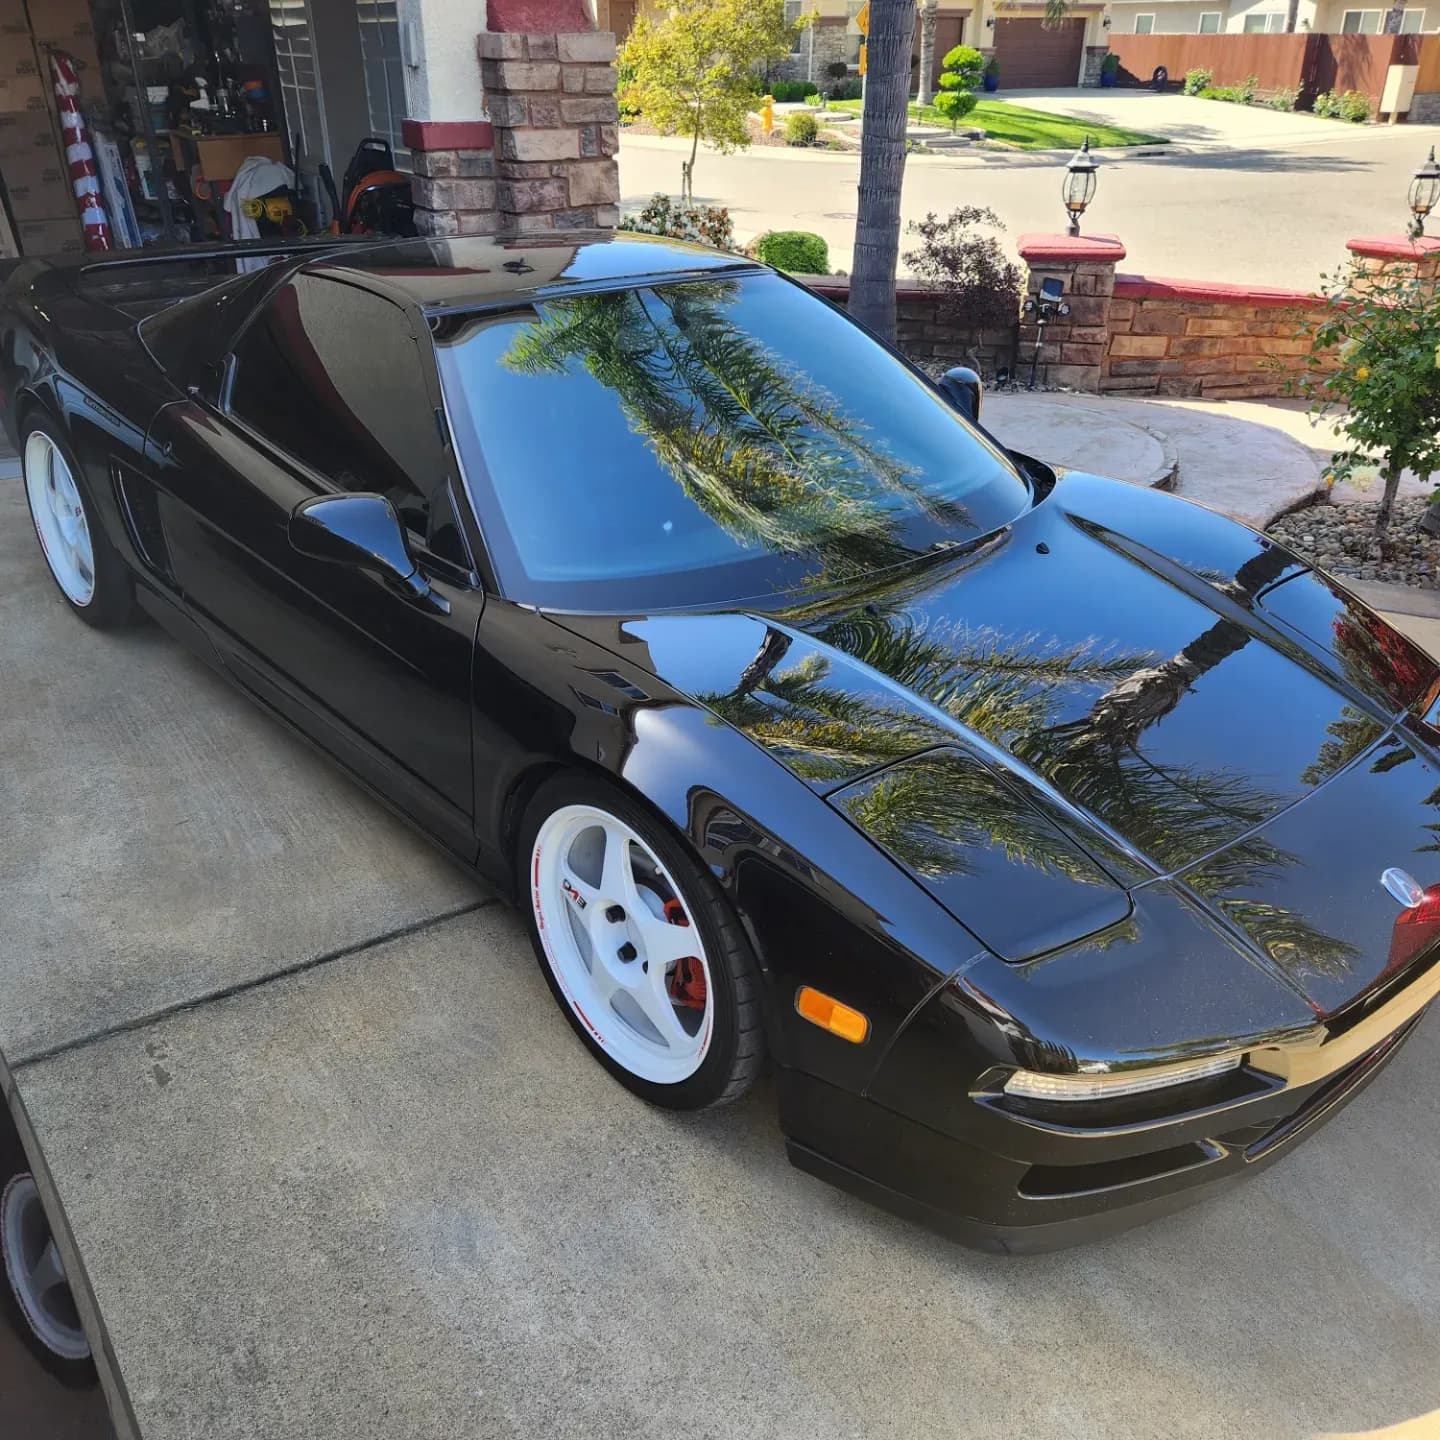
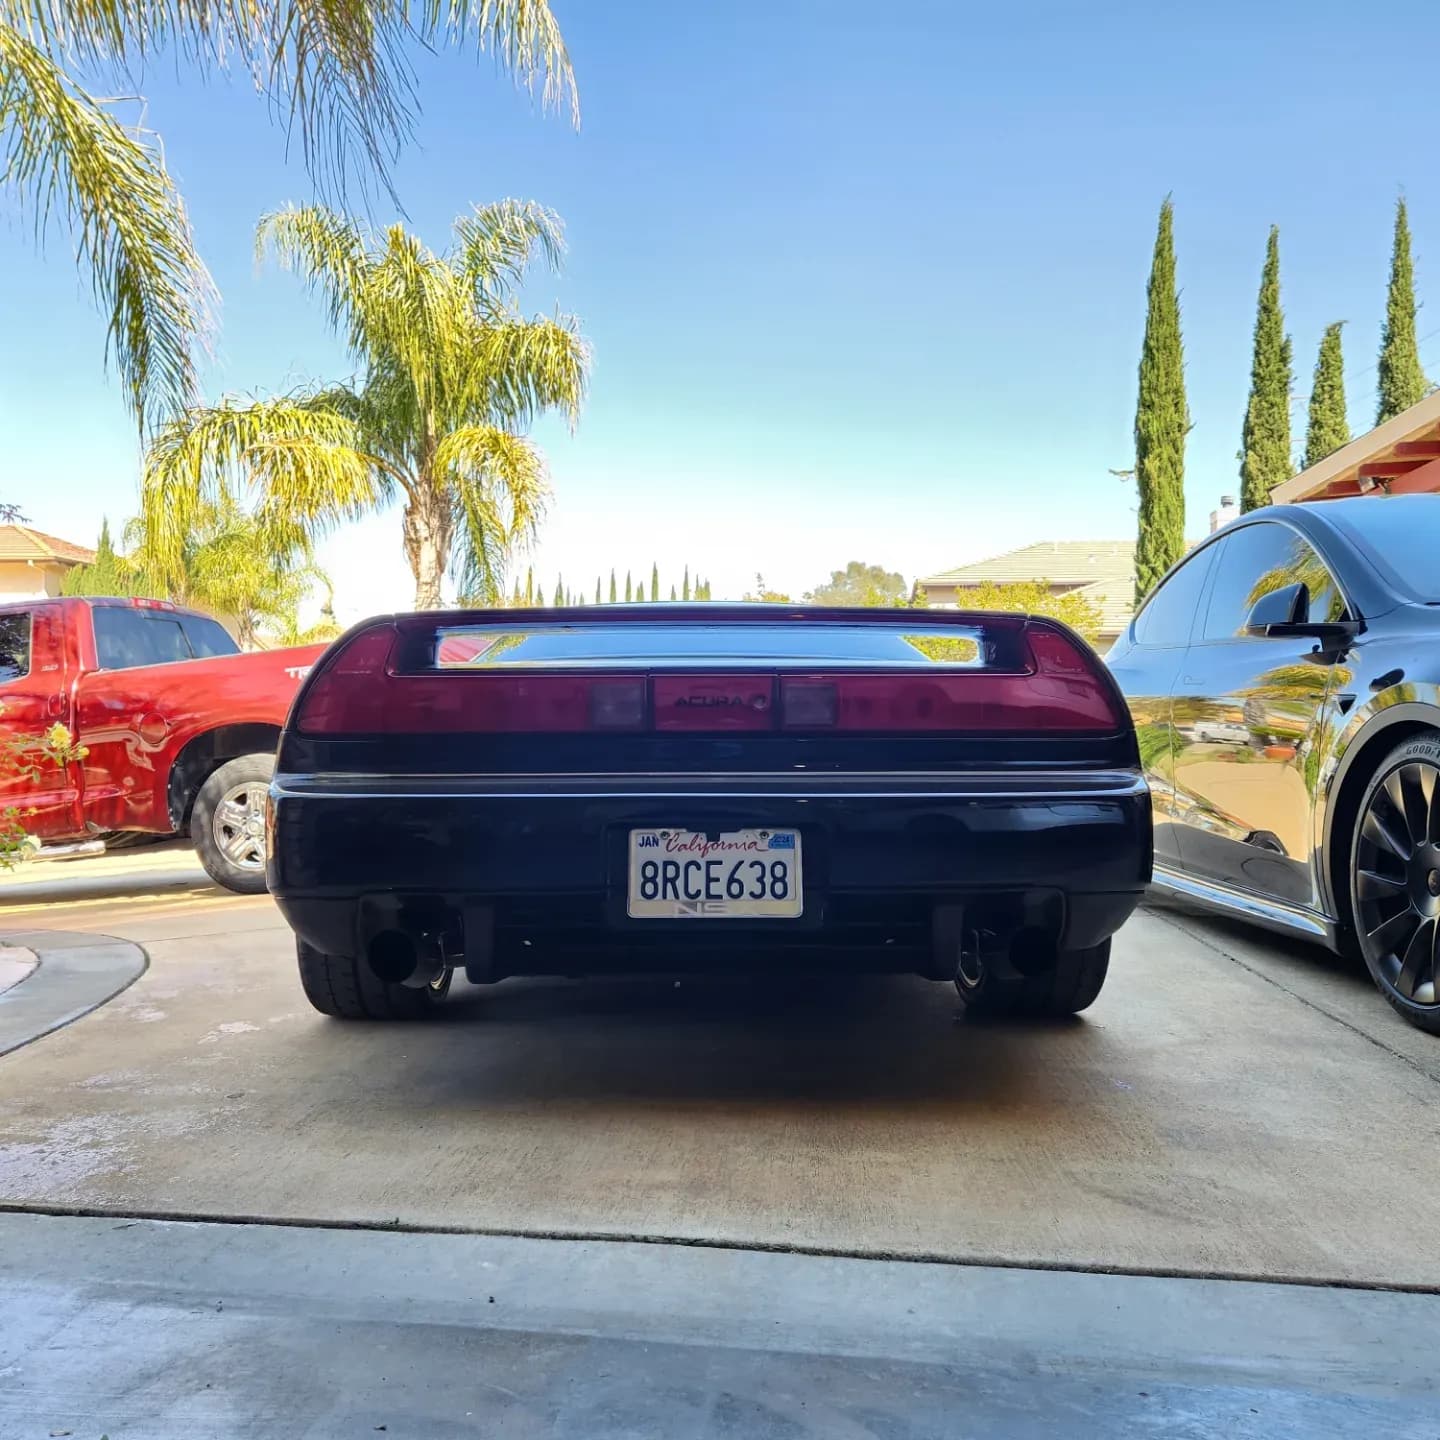
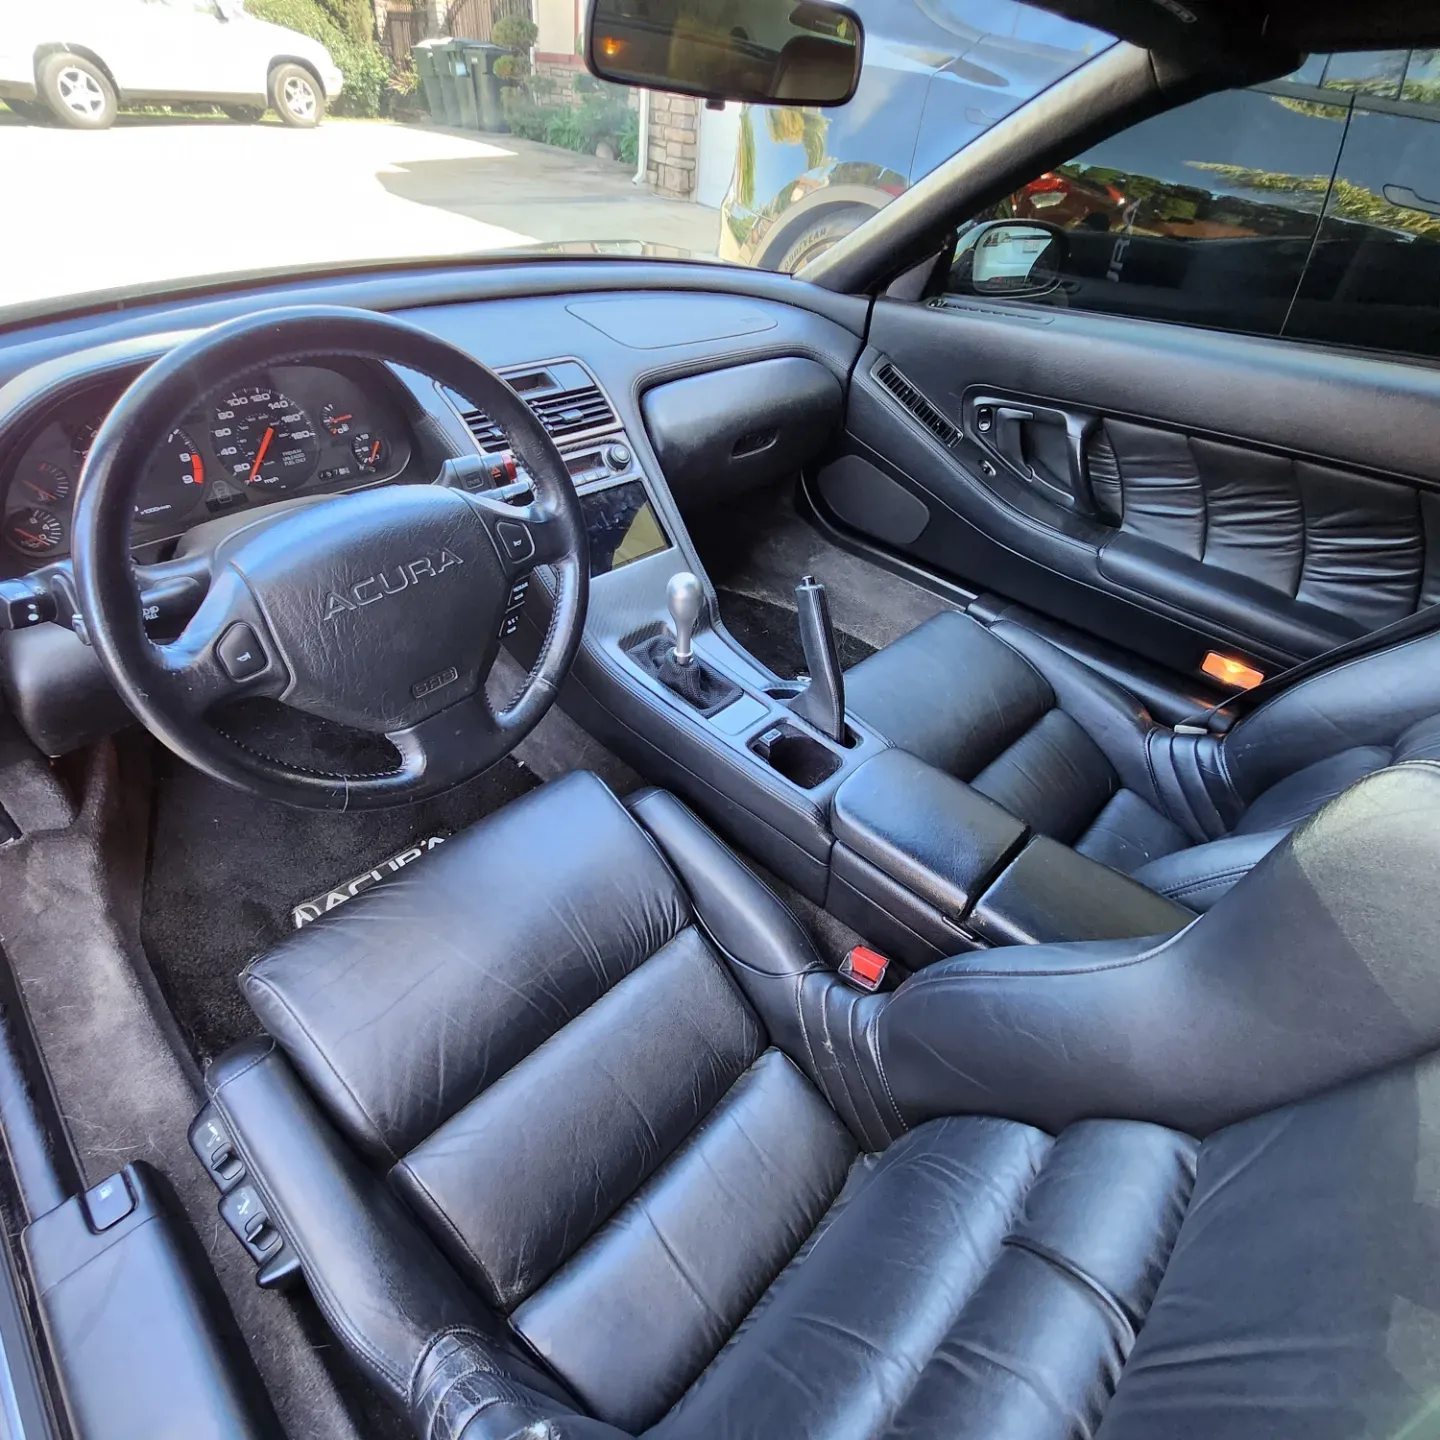
Photos from @ngooyen on Instagram. Follow for more.
Full transcript
Show the full transcript (105 lines) +
0:00I'm back again with the video with the Acura NSX now. I'm going to be installing these LED headlights and
0:08It's a long-term coming factory these guys come with a halogen bulb both in the high beam and low beam
0:14But if you come on here, I'll show you guys how they look like
0:17Whoo pop of headlights so the previous owner did have H IDs in it
0:37Both projectors, so I'm hoping that these LED headlights still have really good cut-offs now...
0:44The stock or the aftermarket H IDs are nice
0:47But I really don't like the sound of that ballast that makes and the warm-up time that it takes to, you know
0:54When you first turn on your headlights, it takes a while ramp up
0:58Now I don't know what brand these H IDs are but let me just say I'll show you guys how it looks like and
1:05Later on and the installation is a very good. That's all I want to change them out for a more simple setup. No ballast needed-
1:12So these are the LED headlights from RC Shine. Let me show you guys what's inside the inside the box
1:21So this kit actually comes with the high beams and low beams. We got the operating manual
1:27We have for the Acura NSX the high beams are I believe
1:34are 905 0 5 so I'll be able to plug
1:41So you can see the product you and you have the LED so the diode
1:45is nice and the yellow and it is of a little
1:57You can do it without removing the covers, but it's a lot of work.
2:01Maybe it has a of because this really, right. And it's really bright and I'll show you guys how to change up the,
2:31It looks pretty ugly because the colors are red and blue and it's really obvious.
2:37Now if I do an LED bulb, I can remove all of this extra shenanigans and it'll be a lot cleaner.
2:44Now I'm going to show you how to remove it.
2:50the caps also have a con because you're going to have to realize that
2:56You're gonna have to realign them realigning means get
3:00the fitment like 100% so make sure you don't lose these of these little screws.
3:05Now previous owner
3:08Seems that also be missing screws too so that's unfortunate, but
3:14That's how it
3:18Now you can see the guts
3:21Now this is where the HID bolt, goes
3:24So we just kind of pull it out with the dust cap now with
3:36So you can't fit this where we're gonna have to wait and see for the the NSX, you have this little of this little ring clip and here is the HID bulb
3:49So let's just kind of wiggle it out
3:51You see how insane it would be if you had to do this without removing the cover, it'd be nuts
3:59Actually, I'm even struggling now
4:01Let's just this wire so I can fish, the bulb out
4:11So here's the ball you're gonna have to actually the use this tensioner clamp
4:20So that's the ballast you don't have to worry about that that was from the HID kid and now
4:26You want to pull up and then pull out out watch out everything super sharp
4:35So yeah, the HIDs are good and nice
4:41But they're just too
4:44Too complex you have all these wires hanging out this ballast now with an LED kit
4:50You don't have anything going on you just have this and you plug it in
4:55All right, so I have I guess I read online that it's gonna be the 9006 in the low beam so
5:01There's that and obviously you can't really fit this retainer thing there
5:08We're gonna have to see how it fits without the little screw thing, but when I plugged it in this way
5:16LEDs are current directional
5:19It actually didn't light up I actually had it to
5:25Put it you can either rewire it or you can just flip it backwards the notch is gonna be in the wrong way, but, but
5:31but that's just how it's going to work. Already not the best look. All right, so
5:42there's a little o the gasket you can pull up and you'll be able to screw right
5:46here. Now we need to take this screw out. That way we can put this clamp in.
5:53There you go, so the whole thing, it pulls out, a little screw on here, and it's being
6:14So we have the LED bulb right here the 9006 and we're going to the low beams
6:37So we have the LED bulb right here the 9006 and we're going to the low beams
6:43Just kind of squeeze it in there
6:49Match all the tabs
6:51And then once it's matched
6:54We want to lock it in here snap
7:02Thing is in and then you want to plug in the bold now again this one
7:09I have to do it upside down. I don't you can re-pin it. This one's already pretty loose
7:14I don't know old-age give you the car but you can take this pin move it, but I'm just gonna keep it like that
7:20What a see how this not just supposed to be on the other end
7:23It's weird bulls man. This is plus sign, but it's going to the ground question mark
7:31All right, and let's make sure it works
7:34To you see how like that one is the song you can see the H
7:45I D's are still warming up
7:47Still warming up the H. I D's are a lot more blue like a 6,000 Kelvin
7:53The LEDs are more like a 5,000 K, which I actually prefer
7:58Can you hear the fan?
8:02Nope, you can't
8:08you can check it from this angle you guys can see the comparison
8:12From the front
8:15I know the lid is not all the way in but you can see the five K
8:23Six
8:26All right, so for you to get a dust boot that fits an LED bulb, you're gonna have the 3d print one
8:32something down below now we'll go to the high beams you just pull it out to twist
8:40it to unlock get this bad boy out of there and same thing with the other one
8:48there's these little clips so you pull there's the boltas are actually pretty bright so
8:58Now you can kind of compare the 9-0-0-5s, the tabbings.
9:00Now you can kind of compare the
9:079005s the tab-ings
9:11So these yeah, they're 9005s. For the high beams
9:15They, they look, they look identical you see these little tabs but just, like the other one we're gonna have to remove it
9:25So
9:30clip on it.
9:31Alright, just like the low beams, the high beams, I just unscrewed it, put the retainer
9:38clip on.
9:39You wanna lock it in and then fine, there's very little clearance but you wanna pull out
9:48like this, like you're pulling your mouth open and then you want to twist clockwise until
9:57it locks in. Now it's not locked locked in yet. There you go. So now it's locked in. Let's
10:07Let's see how it looks, should instantly fire on and then we have the high beams, you can
10:21see the comparison to the stock, the stock is actually pretty bright too,narly,
10:27looming wise, but this looks more moderate and it has a little bit more wider spread.
10:36You can kind of see the brightness right here, and you can kind of see the front too.
10:42If you want to check out of the front, it's matching now.
10:45Got the little projector logo in the front is the halogen in the other side.
10:51It's a little bit hard to see, but I love the instant on feature, and no more of these
10:58ridiculous wires over the, so it's on the block cleaner.
11:04I'm going to do the other side and we're going to wrap it up.
11:10Alright everything is installed so let me show you guys how it looks like.
11:24That instant on is gnarly.
11:30So there it is, let's see if I can get the stop, the beam pattern, right now, honestly
11:46it's very clean. I have the high beams on too, but you still get that nice cut off.
11:54I know they look kind of greenish, but in real life they look blue. In real
12:03Real life
Machine-transcribed from the full-length video and lightly cleaned (product names fixed). Watch the video for exact wording.
Next step


