Matte Carbon Fiber Double-DIN Center Trim for the First-Gen NSX: Swap Walkthrough
John swaps the scuffed factory center-console trim on his 1995 Acura NSX for a matte carbon fiber double-DIN panel: the screws to pull, moving the shift boot, climate sensor and lighter, and how the new panel fits.
Full video (12 min): Double Din Trim for the NSX | Carbon fiber in Matte · John's YouTube channel
Get the parts
- Amazon NSX parts search (link from the description)Search on Amazon ↗
- Clip and trim removal tool set: Generic pickGeneric pickBuy ↗
- Phillips screwdriver set: Generic pickGeneric pickBuy ↗
- Find NSX carbon fiber double-DIN dash panels on eBaySearch on Amazon ↗
As an Amazon Associate I earn from qualifying purchases. Some links are affiliate links.
John swaps the scuffed factory center-console trim on his 1995 Acura NSX for a matte carbon fiber double-DIN panel: the screws to pull, moving the shift boot, climate sensor and lighter, and how the new panel fits. This 12 min guide covers the Matte carbon fiber double-DIN center dash panel (ashtray delete) made for the 1991–2005 NSX with tools, parts.
Overview
John replaces the worn center-console trim in his 1995 NSX with a matte carbon fiber double-DIN panel. The piece is very rigid with no flex, has all the factory mount points and openings for the top vent and climate sensors, and the matte finish matches the satin and matte materials in the NSX cabin. John also prefers matte carbon around a screen because gloss carbon adds reflections and is more distracting. A used factory trim can cost around $800, so a new panel is a reasonable alternative to refinishing yours. To remove the old trim, take out the four screws (plus one more for the center console), pull the shift knob, pop the clip-held trim with a pry tool or your nails, and remove the upper screws. Then carefully pull everything out. The shift boot is stuck to the old panel. Move the climate-control temperature probe, the cigarette lighter and the shift boot (three screws) over to the new panel. One tip from the install: a small spacer piece has to go under one mount, or the screw won't reach. Don't overtighten. The fitment came out like OEM. John is running a floating-style Android head unit for now and plans a radio that fills the double-DIN opening later. The panel came from a specialty NSX shop that isn't an affiliate store, so the buttons below are search links and John's tagged Amazon NSX search.
Vehicle & fitment
- Product
- Matte carbon fiber double-DIN center dash panel for the first-generation NSX (ashtray delete)
- Shown on
- Acura NSX NA1, first generation (John's 1995 car)
- Matte carbon fiber double-DIN center dash panel (ashtray delete) made for the 1991–2005 NSX
- Uses the factory mounting points, so it bolts in like the OEM trim
- Screw locations differ slightly on 1995+ cars (the ones with the extra box); check yours before you start
Always confirm fitment for your exact year and trim with the seller before buying.
Tools & parts
Tools
- Phillips screwdriver
- Plastic pry tool (or your fingernails)
- Compressed air or a cloth to clean behind the trim
Parts
- Matte carbon fiber double-DIN center dash panel for the first-gen NSX
- Factory shift boot, climate temperature probe and cigarette lighter (transferred from the old trim)
Step by step
- 1
The panel▶ 0:28
A matte carbon fiber center trim piece. It's very rigid with no flex, and the back has all the factory mount points plus openings for the top vent and climate sensors.
- 2
Why matte▶ 1:28
A used factory trim can go for about $800. Newer supercars use matte carbon, and gloss carbon around a screen adds reflections. Most NSX interior finishes are matte or satin, so matte matches.
- 3
The old trim▶ 3:06
John's 1995 NSX already has an aftermarket radio (the OEM radio is stored). The old trim has nicks and stress marks from previous owners.
- 4
Remove the screws▶ 3:46
On 1995+ cars (the ones with the extra box), remove four screws first, then one more screw for the center console. Pull the shift knob too.
- 5
Pop the clip-held trim▶ 4:44
The next trim piece is held only by clips. Use a pry tool or your nails and pull straight out.
- 6
Upper screws and pull-out▶ 5:16
Disconnect the plug behind it, remove the two upper screws and the screws inside, then carefully pull everything out. The shift boot will be stuck.
- 7
Transfer the parts▶ 6:16
Move the climate-control temperature probe, the cigarette lighter and the shift boot (three screws) to the new panel. John's car has a Type R style cloth shift boot from a previous owner.
- 8
Spacer tip▶ 8:22
One mount needs the small piece below it to raise it, or the screw won't reach. Install that first, and don't overtighten the screws.
- 9
Coin holder and climate controls▶ 9:00
Remove the coin holder and lighter faceplate for extra clearance so the climate controls stay in their original spot without hitting anything.
- 10
Fitment and plans▶ 9:48
The fit looks like OEM. John runs a floating-style Android head unit for CarPlay and Android Auto for now and plans a radio that fits the opening directly.
Wiring notes
- No new wiring. Reconnect the climate-control temperature probe, the cigarette lighter and any trim plugs you unplugged.
Get the parts
- Amazon NSX parts search (link from the description)Search on Amazon ↗
- Clip and trim removal tool set: Generic pickGeneric pickBuy ↗
- Phillips screwdriver set: Generic pickGeneric pickBuy ↗
- Find NSX carbon fiber double-DIN dash panels on eBaySearch on Amazon ↗
As an Amazon Associate I earn from qualifying purchases. Some links are affiliate links.
FAQ
What vehicle does this install fit?
It is shown for the Matte carbon fiber double-DIN center dash panel (ashtray delete) made for the 1991–2005 NSX. Uses the factory mounting points, so it bolts in like the OEM trim Always confirm your exact year, trim and factory audio with the seller.
How long does the install take?
John's full video is 12 min. Plan on that much time for a careful DIY install, plus extra if you are new to dash work.
What tools do I need?
Tools called out in the guide: Phillips screwdriver; Plastic pry tool (or your fingernails); Compressed air or a cloth to clean behind the trim.
Where do I get the parts?
Use the buy links on this page for the unit and any harnesses John used. Some links are affiliate links.
Is this beginner-friendly?
The guide breaks the job into 10 steps with timestamps into the video. If you can remove trim panels carefully, you can follow along.
John's Acura NSX
More photos →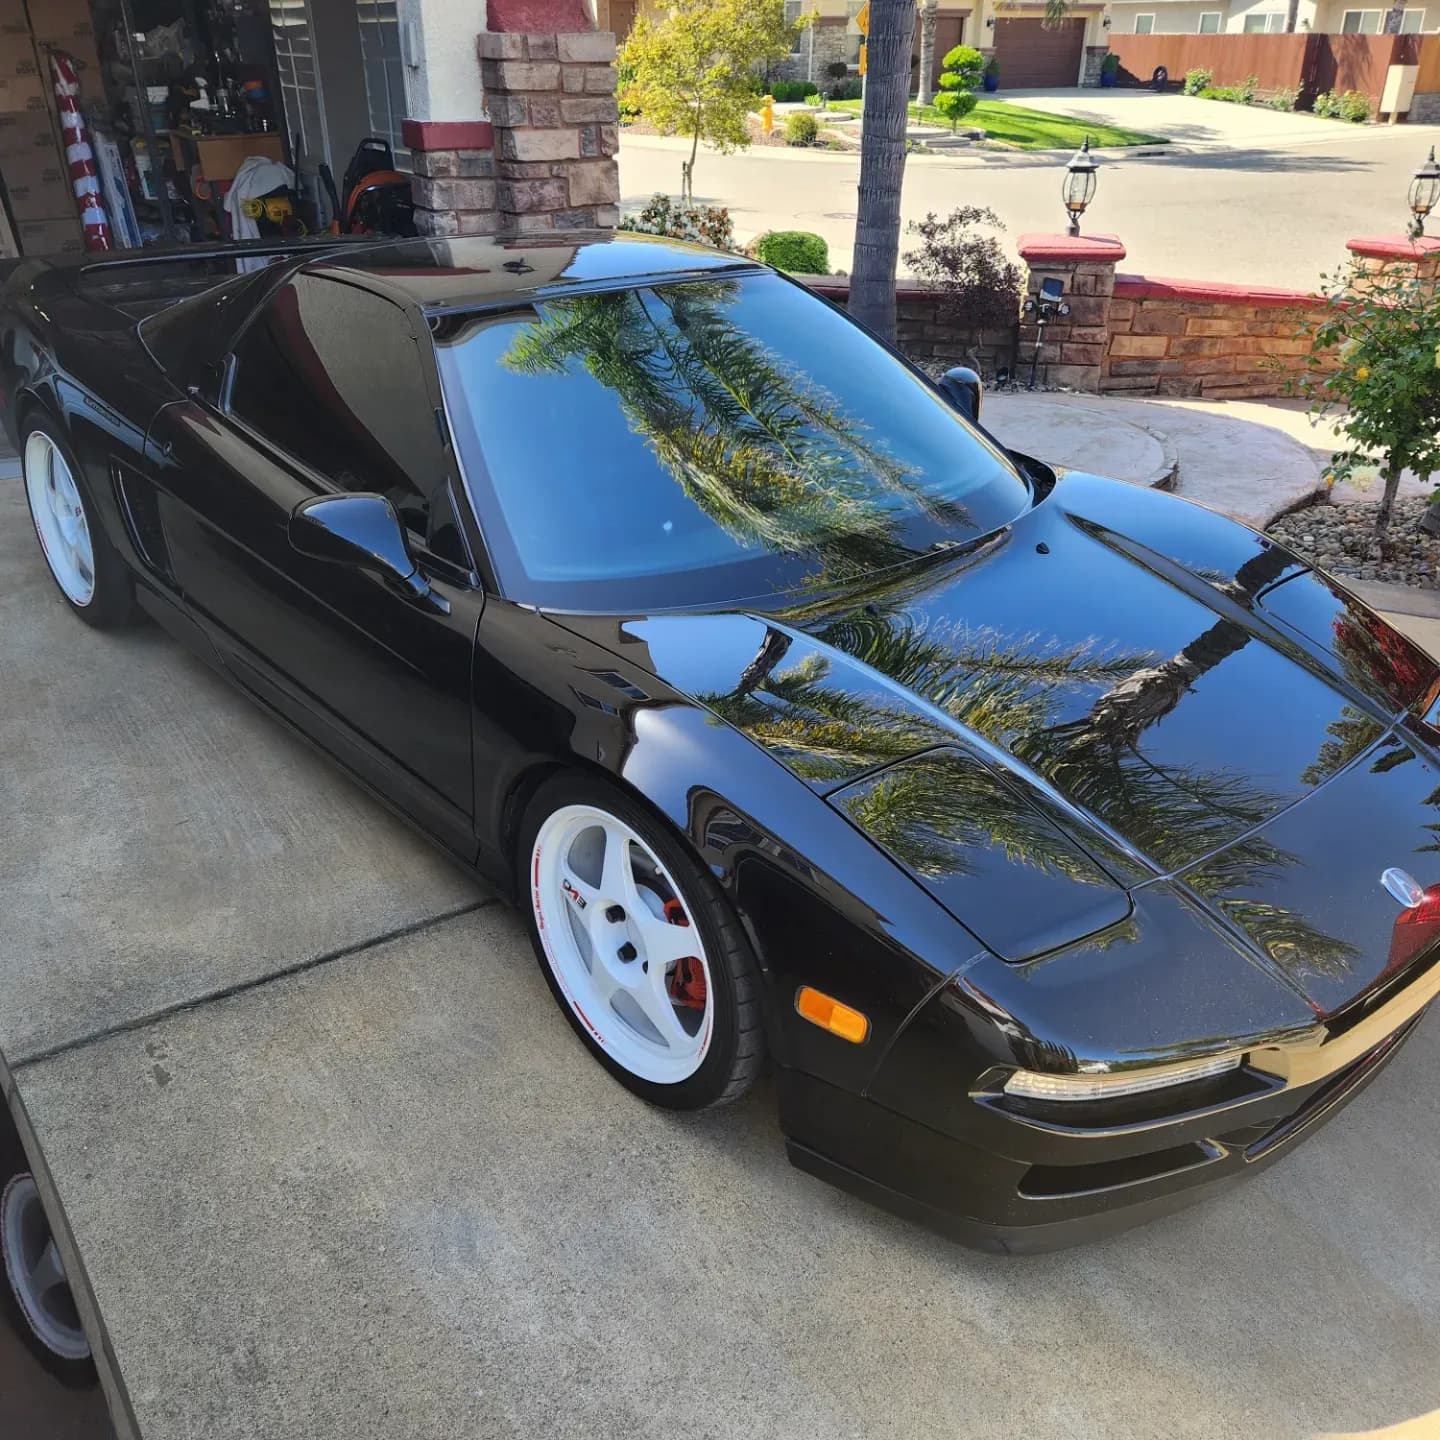
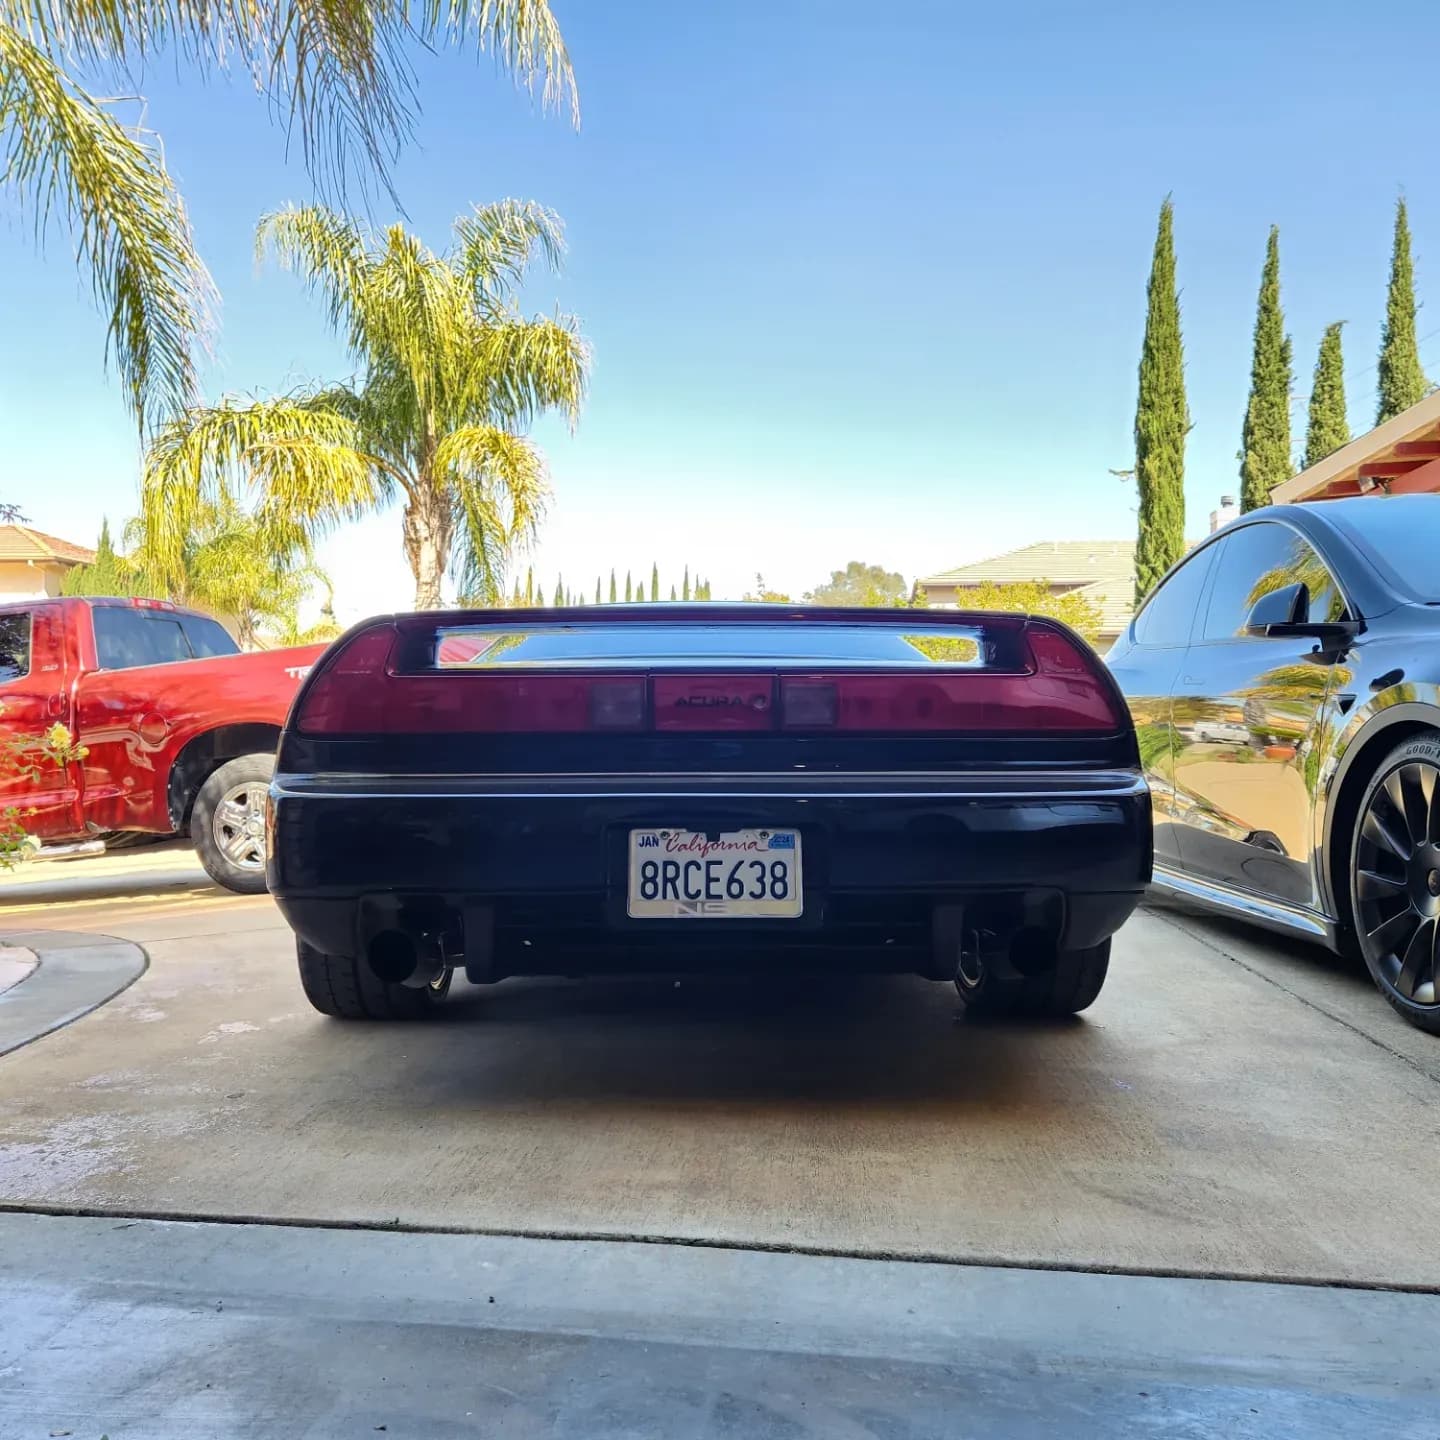
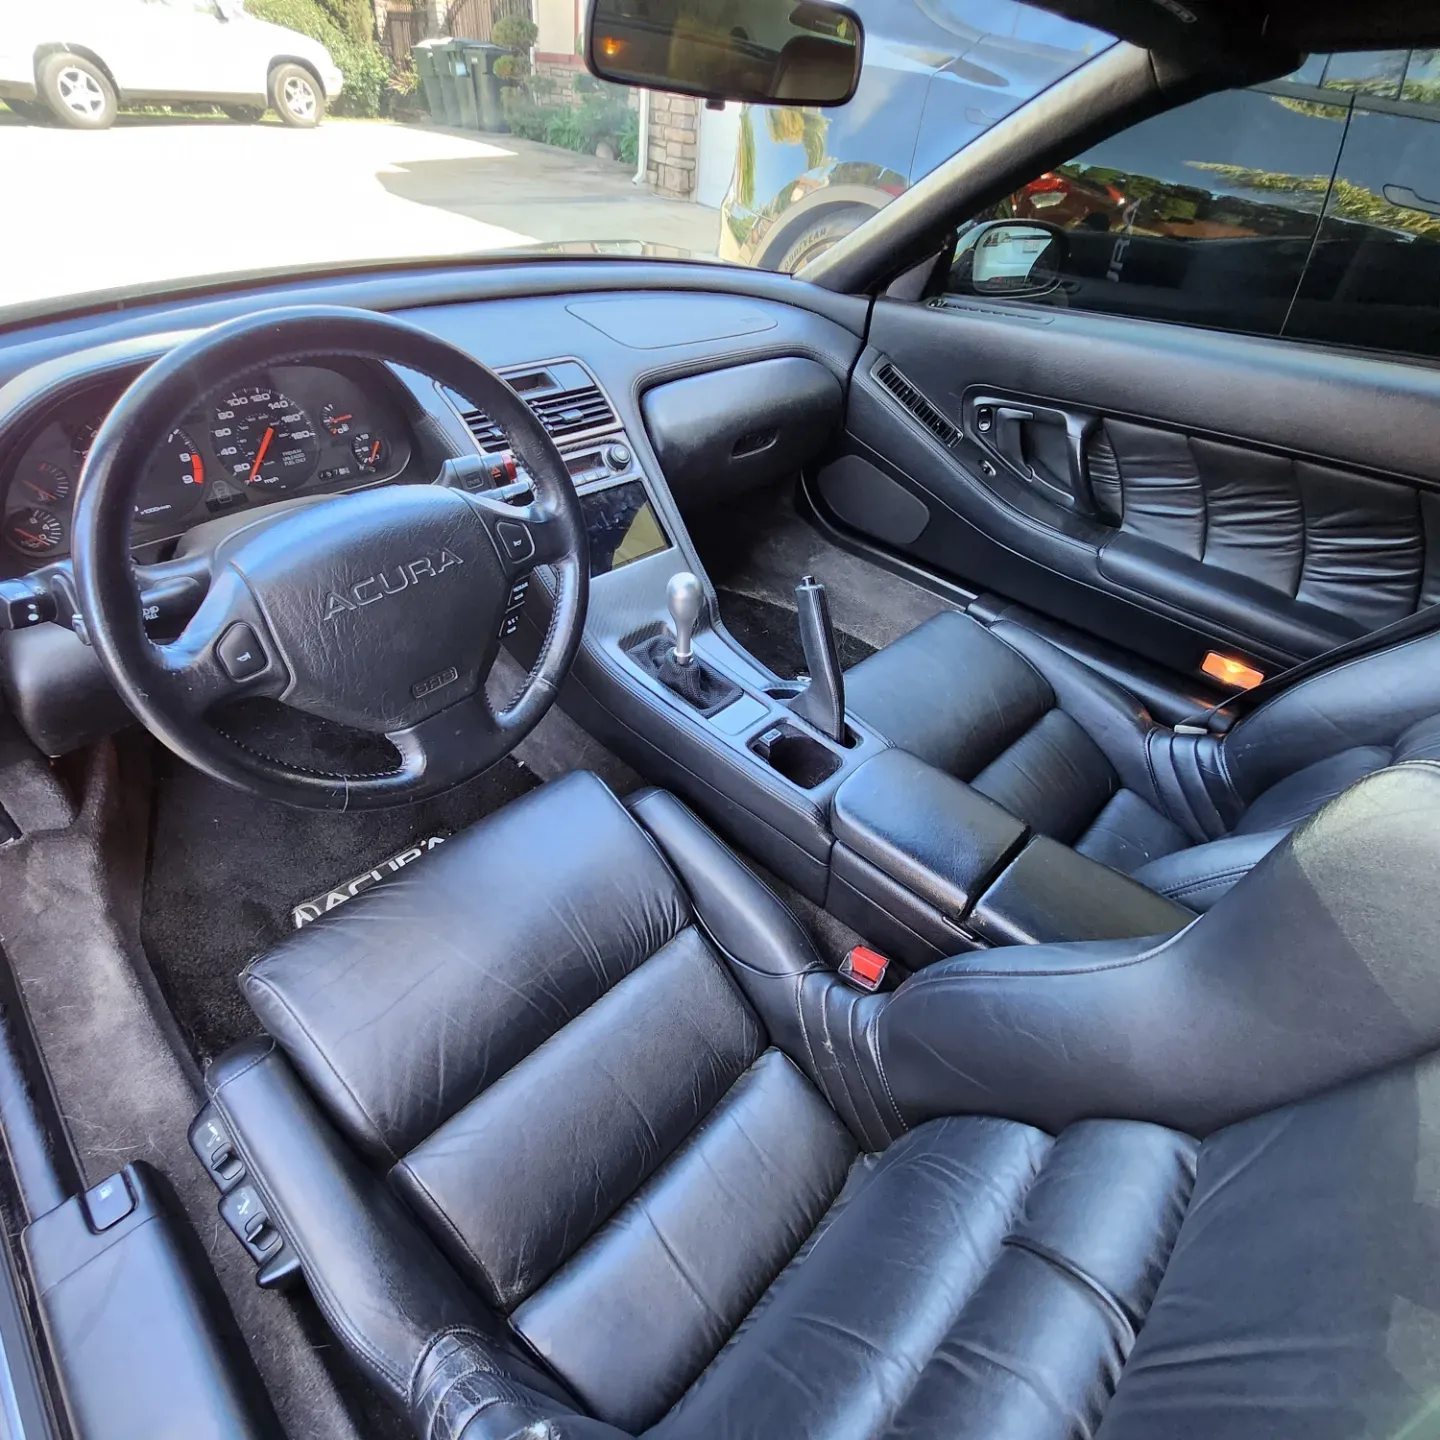
Photos from @ngooyen on Instagram. Follow for more.
Full transcript
Show the full transcript (140 lines) +
0:25It's your boy John. We're back again with another video. So today we got modification coming from the NSX come over here
0:33So we got this from Euro Bout
0:36Shipping was extremely fast. I order it one day the next day. I got it. So it's insanely fast
0:43Now this is for the center console the trim piece and this is made in
0:48in carbon fiber and
0:50Matt no it's great about this is it's super rigid. I'm talking like okay. I'm gonna put the pressure on it and there is
0:58No flex you can hold the hold it by this and it's like it's still
1:01Like still really good reason-wise leanings because of my strength, but
1:06Very durable now. Looking at the inside. You can see the carbon fiber weaves. It looks great
1:13Check out the quality. and it has all the mount points. So you know it's gonna fit nice
1:19Same right here. This is where it adjusts to the top
1:23Event and then you have your climate control sensors right here now I
1:29Just love the way the Mac carbon fiber looks now if you're planning to get a trim for your
1:35Your NSX you have to consider should you modify your original ones your original one can go for like $800 and stuff
1:42So some people rather to spend the extra money and get the a brand new piece that is finished really nice
1:50Matt carbon fiber reminds me of the newer super cars like the McLaren's and stuff like that
1:56They don't really have like glossy
1:59Carbon fiber for me. I feel like when you have a glossy carbon fiber
2:01For me, I feel like when you have a glossy carbon fiber,
2:03it's carbon fiber is more distracting.
2:05And then also, because of the reflections.
2:07And then also, if you,
2:09I made this piece gloss carbon fiber,
2:12I have to make the piece on top, gloss carbon fiber.
2:15You have to kind of make it look match,
2:16like get the match, but most of the materials
2:18and finishes in the NSX is just matte or satin,
2:23so it's a good look.
2:25All
2:30So I always wanted NSX with a target top because as an S2000 owner
2:37I don't love driving top down
2:43So it locks them like that if you guys never know, and then you can close the cover
2:49Make sure everything is snug and then this piece goes down
2:54you buckled this up
2:55So come on into the interior of the Acura nsx
3:06So obviously I already made modifications. I changed out this radio
3:11I actually I actually have the OEM radio inside one of those cabinets
3:14but yes so this whole trim right here over time it just gets nicked and you know it is
3:22from 1985 you can see some stress marks now this isn't me taking it out and these
3:28have been here from the previous owner so you can see some nicks right there some nicks
3:31So you can see some nicks right there
3:36Yeah, I'm just gonna remove... I'm going to put in the Neutron
3:38And I'll just kind of show you as the process of that real quick. I removed the display so it's more like an OEM set up
3:45You can also see the ribbon cable
3:48But to remove the interior first you got a for a 1995 and above or the ones that has the
3:56This box might be 1993s when they had this there are these screws in your remove
4:01After your there's four screws. I can't really show it because of the angle, but you can see the four screws right here
4:08Just remove that bad boy
4:10So you remove these four screws and then there is one screw right here that you need to remove for the center console
4:23I like to recommend this. I highly recommend the shift knob. I highly recommend this shift knob as a nice weight to it
4:33from SOS. I highly recommend the shift knob. That's a nice
4:39weight to it. It's actually very heavy and it just makes your shift feel like a
4:44bolt action rifle. Next off is this trim right here. Now this is just
4:52This is just held by clips, so you're just going to have to use a prying tool or use your nails.
5:02In my case, I'm just using my nails and just pull it straight out.
5:16to disconnect this bad board right here and the suggestions for the.
5:23The clock and screws now you have these two upper screws right here you need to.
5:29remove as well and then there's also screws in here too.
5:30And then there's also screws in here too
5:38Which I already did so we're just gonna pull everything out be careful
5:51Shift boot definitely
5:54stuck, but then I have like the alarm system stuff
6:01This immobilizer system has been really annoying for me
6:05me, but I got it with the car, so I'm sure you pull all these sensors such as this is
6:16for your climate control
6:18that has a temperature probe on it, and then cigarette lighter, good to get rid
6:26there you go so all the screws are in here but yeah we're gonna have to
6:35So um, I
6:37All the screws are in here, but yeah, we're gonna have to remove this
6:43This temperature thing, insert into the new one and the shift boot needs to get transferred over to so
6:52Just gonna unscrew these bad boys
6:55It's pretty self-explanatory
6:57So I'm just gonna screw them and transfer onto the new unit sure you don't lose these screws
7:07It's just one screw a there's two
7:22There's three screws in total for the shift boot
7:26Now I bought this car used and looks like the owner transferred the previous owner or owners
7:30and it's the owner transferred
7:32uh... the previous owner
7:33or owners
7:35uh...
7:36change it to a type r shift boot
7:39so this is a type r
7:41it's made with like this uh... this cloth instead of a
7:45leather
7:46and it has uh...
7:49usually has like a shift pattern
7:51but it doesn't
7:52And then Elsa has this vinyl carbon fiber overlay.
7:57They did this back in the old days.
8:02Interesting so there's let's just transfer it over to the new one the screws don't fall out
8:14Oh this thing is light
8:26Mounting spots are just like
8:29All right, you also have to remove this I was noticing when I was screwing this in right here
8:32was noticing when I was was screwing this in right here you actually needed this
8:35piece below it so they can elevate it more or otherwise it won't be able to
8:39screw all the way down so make sure you screw this before you screw in this.
8:42after you screw things in now you want to be careful don't want to screw it in
8:46too tight so you
8:49Then you should have fitment as, that is similar to this. It's like OEM. I'm glad that they have like the OEM mounting points very similar and just
9:00It's looking good. I removed the two screws and this bad boy popped out
9:04out and you definitely want to give that a cleaning because if
9:08It is dirty dusty
9:11So I'm trying to give a quick blow and maybe a wipe all right, so to get the
9:16coin holder and cigarette lighter area to come out you just have and screw
9:22everything you pretty much see every screw yeah basically use the original area
9:29so that I can mount the AC thing without it hitting anything so that's the
9:32So that's the reason why I took out the faceplate just to give it a little bit more clearance
9:37You can do. Do it without this coin holder, but um I
9:41Just wanted to keep that climate control in its original OEM spot, so, so yeah, I think this fits and works well
9:48And so I placed it down nothing screwed in but the fitment is looking good
9:55I'm eventually gonna have a screen that actually matches the size so stay tuned to that in my channel-
10:00stay tuned for that in my channel. I have a few seven in two double
10:05din seven inches right now of course you have you saw the floating style
10:08that's just the way I've been doing it because the way the
10:12OEM one words thing. I just love car play and Andrew Donna. So that's why I went with that route
10:18But stay tuned for my channel for actually one to actually have that direct fitment and now that floating style
10:23And we're also going to be doing floating style too because that's what
10:27That's just how the trend is nowadays, but whoo carbon Fibre. Let me wrap up this interior
10:31Carbon Fibre let me wrap up this interior man shout out to your boutiques that place is
10:37The shipping's customer service is number one Rick
10:42You do great work and yeah, I'm just really.
10:46Happy with this
10:47This product was a little bit worried about the fitment, but man fitment is looking great
10:48I mean you guys can see it yourself. It speaks for itself
10:55So yeah, let me wrap this up
11:12That concludes it we finished the install it looks great
11:18Very happy with the turnout you guys can see right here if you guys were interested in this product check out
11:25euros boutique
11:26I'll put a link in the description and
11:29Yeah, these items are pretty hot and I'm really impressed by the build quality
11:30items are pretty hot and I'm really impressed by the build quality I
11:34I've seen some other trim pieces that used to be on sale and they were warped and flake and bend
11:42this one is so sturdy it's made out of carbon fiber so it's going to hold its shape really nice
11:49I mean it looks fantastic really excited to see what kind of radios I can fit into that piece right
11:55there double down Pioneer Kenwood android head units it's I'm going to be putting a lot of
12:05That's just what I do
12:07But yeah, thank you guys for watching
12:08Please give a big thumbs up
12:10You know smash that like button for that YouTube algorithm. That helps
12:21Yeah, thank you guys for watching. See you guys in the next one
Machine-transcribed from the full-length video and lightly cleaned (product names fixed). Watch the video for exact wording.
Next step


