Joying 8.8" Single-DIN Wireless CarPlay Unit: Honda S2000 Install
Pop the S2000's radio door, mount the Joying single-DIN chassis on the factory radio bracket with short screws, color-match the harness, attach the 8.8" floating screen, and set up wireless CarPlay.
Full video (17 min): One of the best compact 1DIN Universal radio | Joying Install into a S2000 · John's YouTube channel
Get the parts
- Alternative: Joying 9.5" single-DIN Android 13 head unit with CarPlay & Android Auto JY-UTS17N12 (Amazon; the 8.8" unit in the video is unavailable)Buy ↗
- S2000 radio harness adapter (Amazon)Buy ↗
- Electrical tape: Generic pickGeneric pickSearch on Amazon ↗
- Find Joying single DIN 8.8 inch head unit on eBayBuy ↗
As an Amazon Associate I earn from qualifying purchases. Some links are affiliate links.
Yes — you can install Joying on the Joying universal single-DIN unit with an 8.8" adjustable screen (Amazon link in the description); universal, so expect some fitting work with a 17 min DIY job. Pop the S2000's radio door, mount the Joying single-DIN chassis on the factory radio bracket with short screws, color-match the harness, attach the 8.8" floating screen.
Overview
John and the car's owner install a Joying single-DIN unit with an 8.8" floating screen in an S2000, a car John used to own. The single-DIN chassis suits small sports cars like the S2000 (and a friend's Corvette). The S2000 has a folding radio door with no screws: you jiggle and pop it out, and it feels like you're breaking it but it comes out fine. The mounting points are awkward (only side screws), so they bolted the unit to the factory radio bracket, using screws as short as possible so they don't damage the unit. The owner's harness was matched color to color (purple and green for the rear speakers, yellow constant, red accessory, white front speaker) and taped. They test before final assembly: the screen's ribbon cable has a notch that lines up with the display, and the screen slides up and down on the back for clearance. It booted fast, paired with an iPhone over Bluetooth and ran wireless CarPlay through the Carlink app. One USB was fished out for drives or a phone, with the second saved for a dash cam. The owner found it easier than his previous unit and says wireless CarPlay feels close to OEM.
Vehicle & fitment
- Product
- Joying universal single-DIN Android 10 head unit with an 8.8" adjustable floating screen: wired and wireless Apple CarPlay and Android Auto, DSP, Wi-Fi, GPS, Bluetooth, two USB-A leads and 4G capability
- Shown on
- Honda S2000 (a friend's car)
- Joying universal single-DIN unit with an 8.8" adjustable screen (Amazon link in the description); universal, so expect some fitting work
- The description links an S2000 radio harness adapter for 2000–2009; the owner's own harness here was color-matched and taped
- Mounted on the factory radio bracket; use screws as short as possible so they don't go into the unit
Always confirm fitment for your exact year and trim with the seller before buying.
Tools & parts
Tools
- Screwdriver and short screws for the bracket
- Electrical tape (or solder) for the harness connections
- Patience for the radio door, which pops out with no screws
Parts
- Joying single-DIN chassis and 8.8" adjustable screen with ribbon cable
- Main harness (connects to the factory harness via an adapter)
- Wi-Fi cables, GPS antenna, microphone, two USB-A leads, 4G leads
- Factory S2000 radio bracket (reused)
Video chapters
- 0:00Introduction
- 0:47Unboxing the head unit
- 3:58Removing the factory radio
- 5:49Wiring the new unit
- 7:39Connecting components
- 9:11Testing and CarPlay setup
- 12:11Final installation
- 13:47Post-install review
Step by step
- 1
Why a single DIN▶ 0:00
Small sports cars like the S2000 have a single-DIN opening, so this universal Joying unit with an 8.8" screen fits where a double DIN won't. It runs Android 10 with DSP and wired and wireless CarPlay / Android Auto.
- 2
Unbox▶ 1:53
Inside: Wi-Fi cables, a GPS antenna, the main harness that connects to the factory wiring, a microphone, USB Type-A leads, and extra wires for 4G (rarely used in the US).
- 3
Remove the radio door▶ 3:58
There are no screws. The folding radio door comes out with a jiggle and a pop. It feels like you're breaking it, but it comes out fine.
- 4
Mount it on the factory bracket▶ 4:58
The mounting locations are awkward, with only side screws, so they reused the factory radio bracket and screwed the unit to it.
Warning: Use screws as short as possible so they don't go into the single-DIN unit and damage it.
- 5
Connect the harness▶ 6:25
The owner's harness was matched color to color and taped (soldering is better): purple to purple and green to green for the rear speakers, yellow is constant power, red is accessory, white is a front speaker. Follow the diagrams for the factory and Joying wiring.
- 6
Plug in and test before assembly▶ 7:40
Plug in the main harness (listen for the click) and the antennas, then test Bluetooth, Wi-Fi and USB before installing everything. Leftover factory plugs (XM, backup camera, CD changer) can be ignored.
- 7
Connect the screen▶ 8:55
The ribbon cable has a notch at the top; match it to the notch on the display. The screen can move up and down on its mount for clearance.
- 8
Power on▶ 9:41
Key to accessory and it fires right up with a very fast boot.
- 9
Pair the iPhone▶ 10:15
Search for the unit from the phone's Bluetooth and connect. Wireless CarPlay then starts when you get in the car; wired is there as a backup.
- 10
Route the USB▶ 12:11
Fish one USB lead through the opening so it's accessible for a drive with music or movies. Joying includes two; the second can power a dash cam later.
- 11
Fit it in▶ 13:06
Universal units won't fit perfectly, but with time and effort you get a decent fit. You can move the gear lever for more room; the car is tiny, so it took some wiggling.
- 12
Set up Carlink▶ 13:57
Rearrange the home widgets, open the Carlink app and let it handshake with the iPhone. Verification approved and CarPlay connects.
- 13
Owner's verdict▶ 14:55
Easier than his previous unit, and wireless CarPlay with no reconnect hassles feels close to an OEM system.
Wiring notes
- Color match: purple/purple and green/green = rear speakers; yellow = constant 12V; red = accessory; white = front speaker.
- Main harness to the factory plug via a harness adapter (the description links one for the S2000).
- Ribbon cable from the chassis to the 8.8" screen (match the notch).
- Accessories: Wi-Fi, GPS antenna, microphone, two USB-A, 4G (unused).
Get the parts
- Alternative: Joying 9.5" single-DIN Android 13 head unit with CarPlay & Android Auto JY-UTS17N12 (Amazon; the 8.8" unit in the video is unavailable)Buy ↗
- S2000 radio harness adapter (Amazon)Buy ↗
- Electrical tape: Generic pickGeneric pickSearch on Amazon ↗
- Find Joying single DIN 8.8 inch head unit on eBayBuy ↗
As an Amazon Associate I earn from qualifying purchases. Some links are affiliate links.
FAQ
What vehicle does this install fit?
It is shown for the Joying universal single-DIN unit with an 8.8" adjustable screen (Amazon link in the description); universal, so expect some fitting work. The description links an S2000 radio harness adapter for 2000–2009; the owner's own harness here was color-matched and taped Always confirm your exact year, trim and factory audio with the seller.
How long does the install take?
John's full video is 17 min. Plan on that much time for a careful DIY install, plus extra if you are new to dash work.
What tools do I need?
Tools called out in the guide: Screwdriver and short screws for the bracket; Electrical tape (or solder) for the harness connections; Patience for the radio door, which pops out with no screws.
Does it support wireless CarPlay or Android Auto?
Yes — wireless CarPlay / Android Auto is listed for this unit in the product copy John used.
Where do I get the parts?
Use the buy links on this page for the unit and any harnesses John used. Some links are affiliate links.
Is this beginner-friendly?
The guide breaks the job into 13 steps with timestamps into the video. If you can remove trim panels carefully, you can follow along.
Find your car
Compare every CarPlay head unit I've installed in this car, or find your car in the CarPlay Upgrade Finder.
John's Honda S2000
More photos →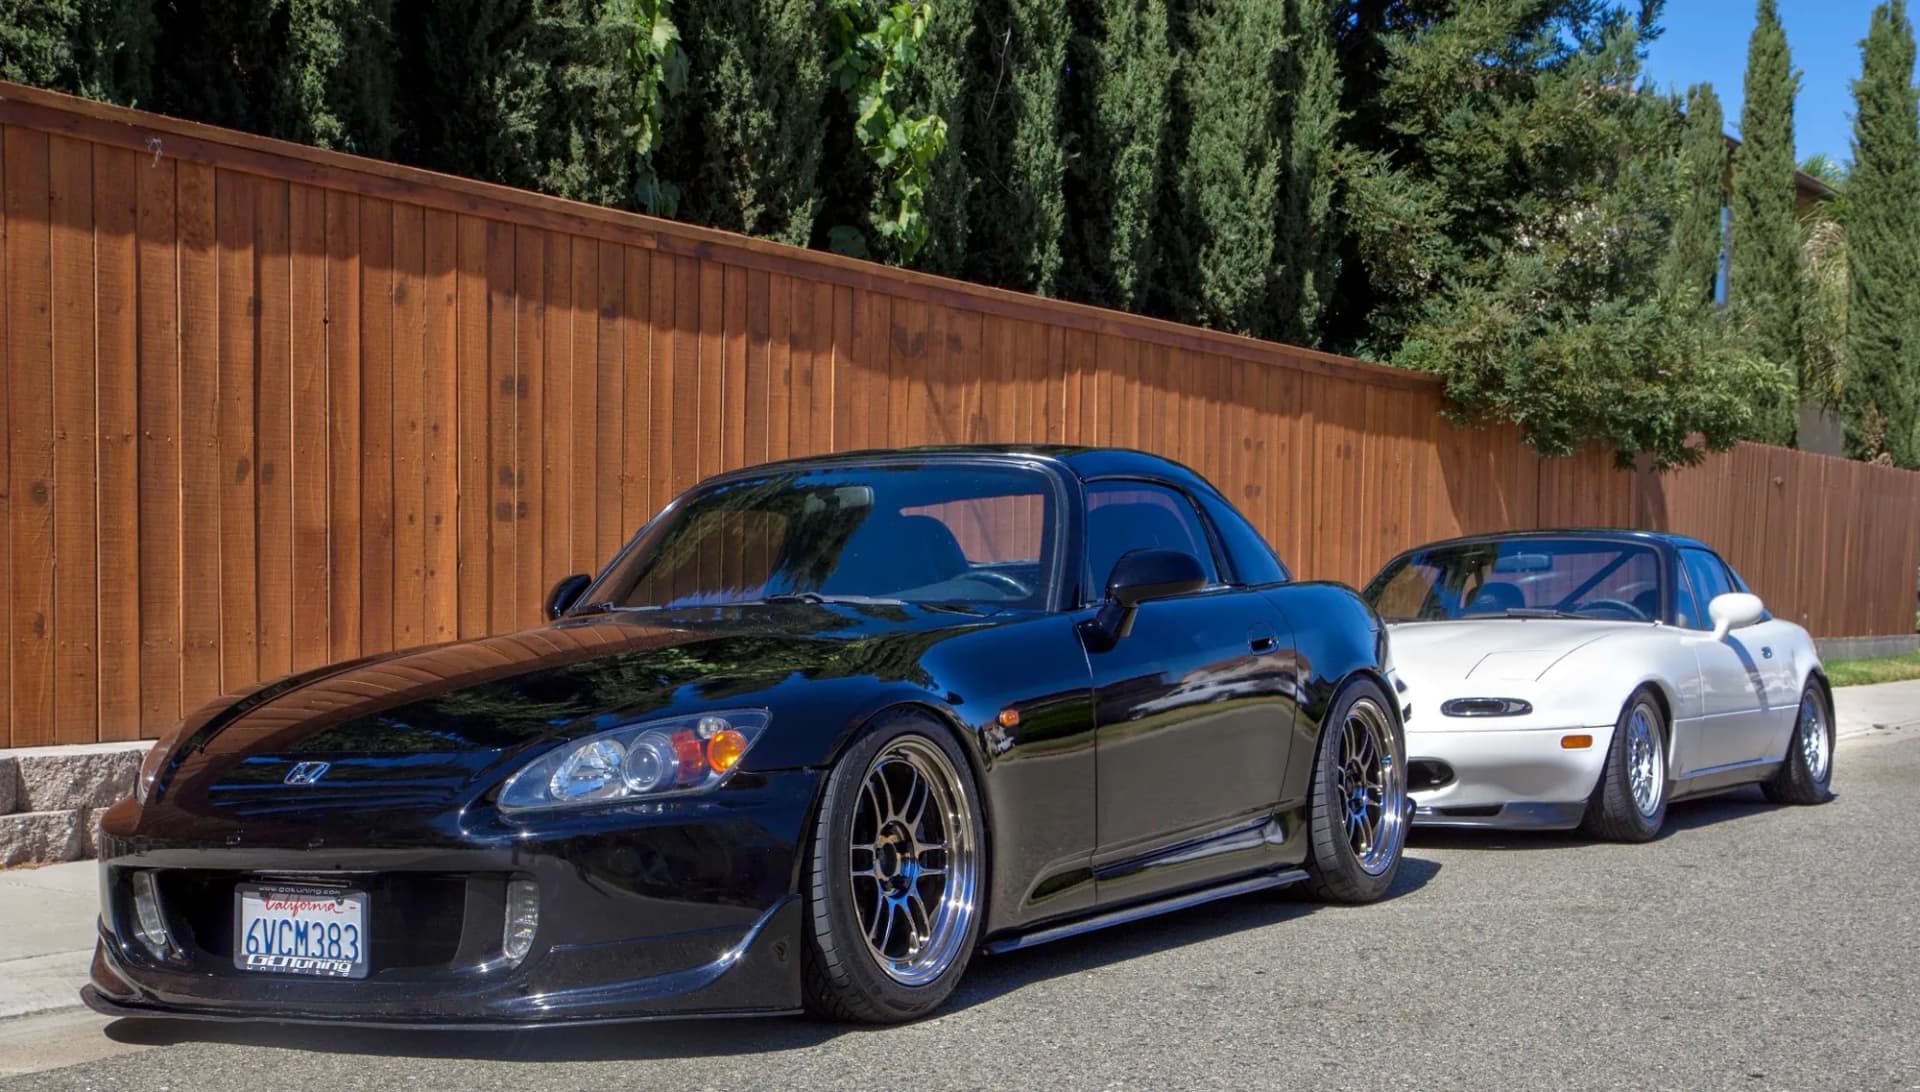
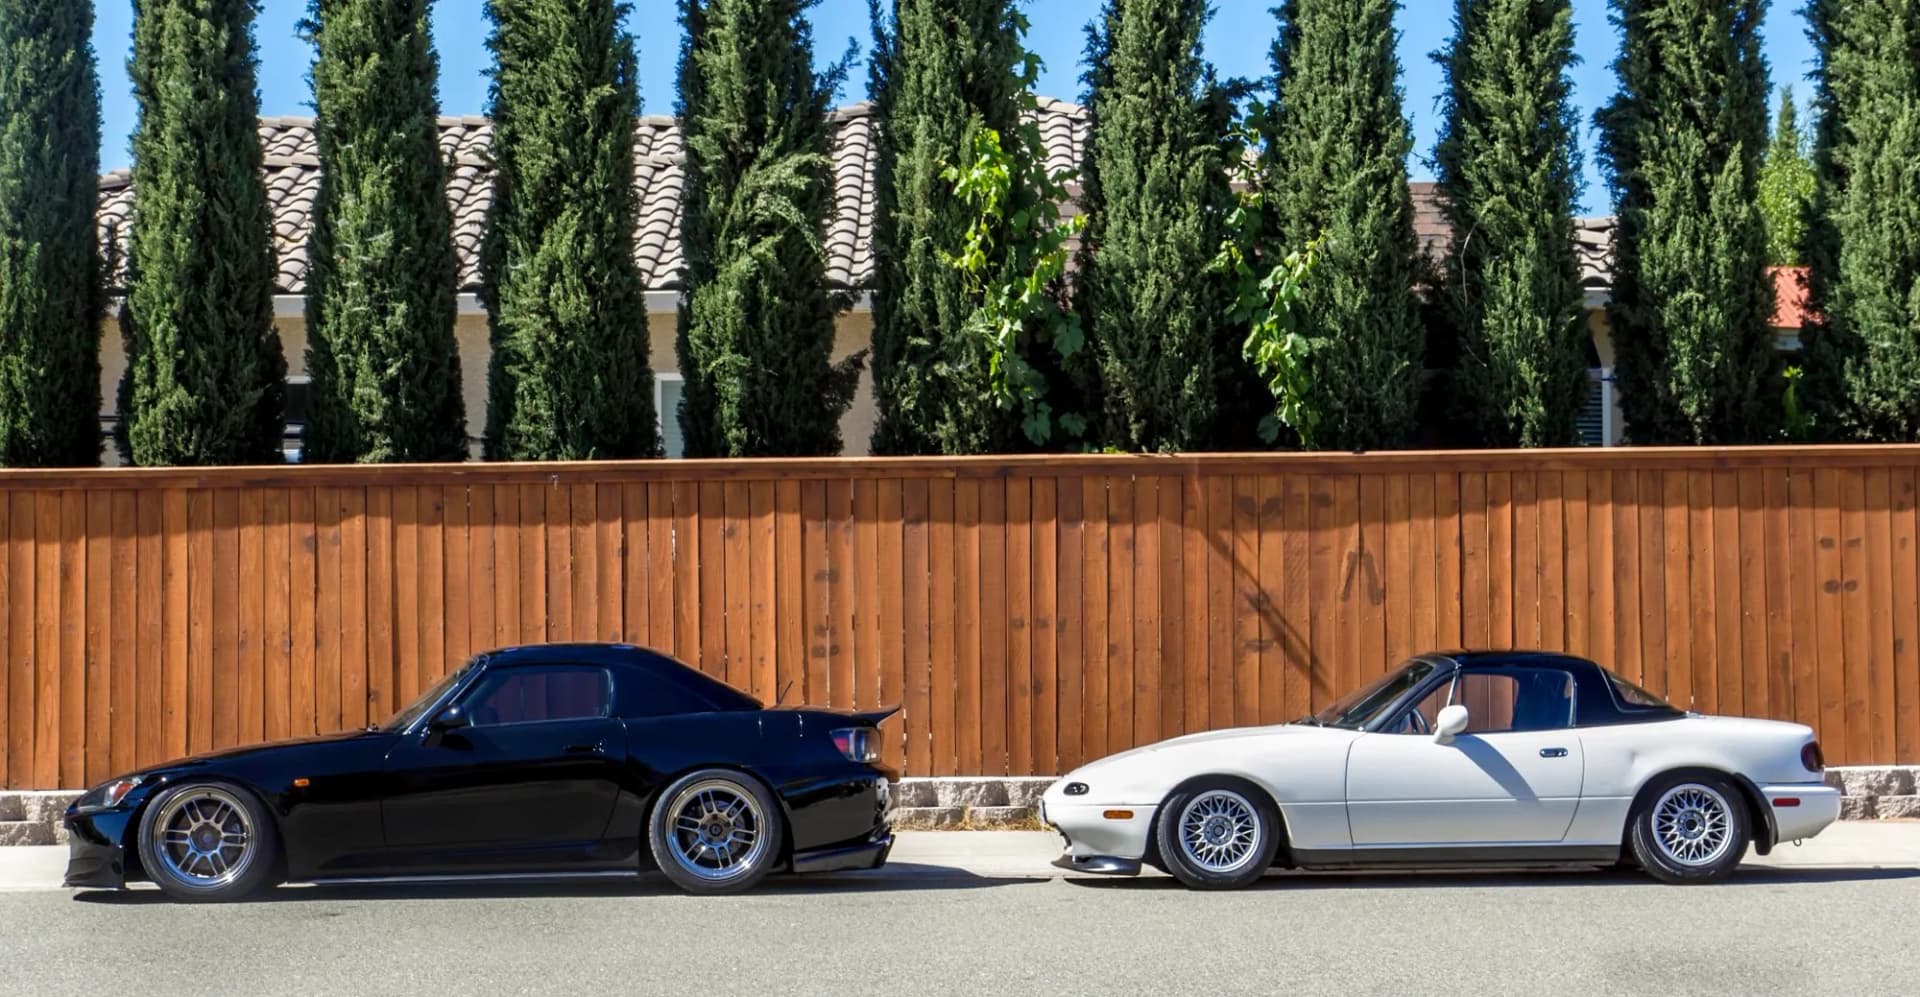
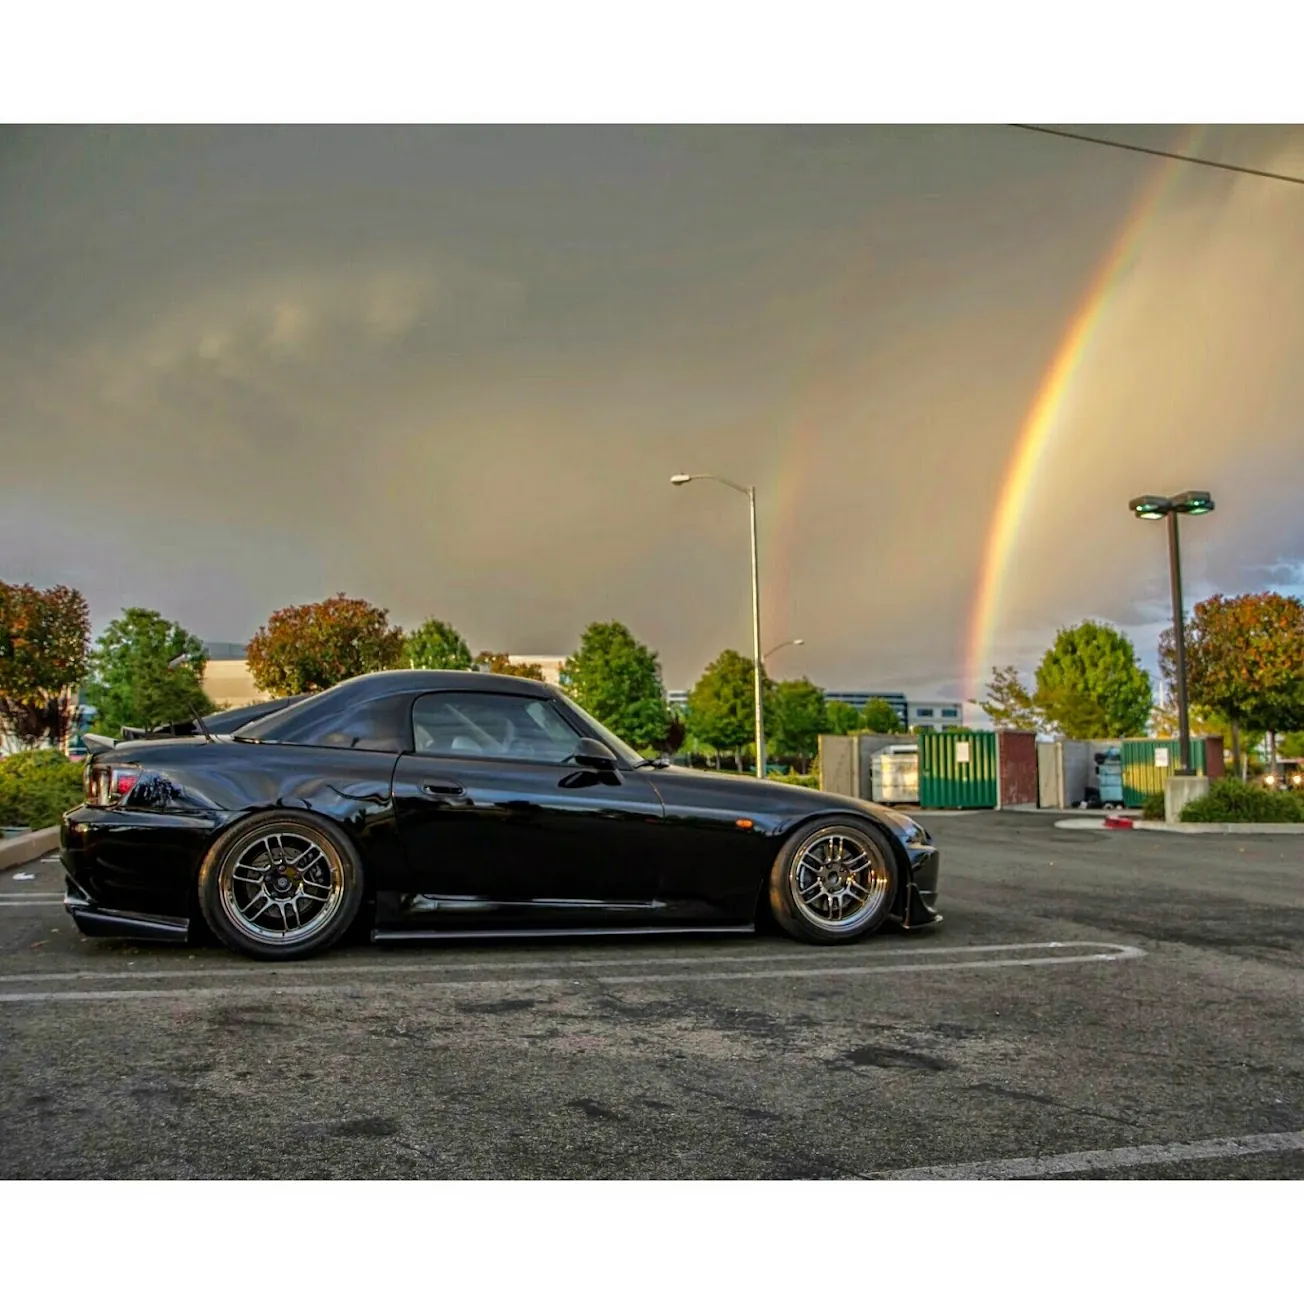
Photos from @ngooyen on Instagram. Follow for more.
Full transcript
Show the full transcript (150 lines) +
0:00Alright, what's up guys? It's your boy John and we have a Joying head unit now
0:05This is a single DIN and this is gonna be fitted in the Honda S2000
0:09Because it's a universal head unit and it's very appealing
0:12I know a lot, sports cars like that single of this single DIN set up because my friend
0:16Who reached out with a Corvette. He was like, you know, I need that single DIN
0:20This car, again, is also single in. So I use
0:24I've got something for you. This is a 10-inch
0:29but 8.8 but Android 10 and it has all the
0:32the bells and whistles when it comes to
0:34DAC and DPS, Android Auto, Apple CarPlay,
0:39wired and wireless and yeah we're going
0:41to be installing it in the S2000 today.
0:43Right so I have my assistant here with me
0:49today. He's going to be helping me
0:50actually he's not an assistant he
0:52actually owns this beautiful us two thousand but he's gonna be doing the
0:55... unboxing the first thing you'll see was there is a
1:10Oh your
1:13OO
1:188.8 right there. Beautiful. Now the reason why we chose this, 8.8 is it
1:53antenna
2:23So these are the wifi, cables, and then we have a GPS antenna that is included in.
2:30your main harness that, connects to the OEM, so
3:00And this is your G beautiful, hit it with a microphone, honky-dory, USB type A
3:33guide and then more stuff right here
3:35extra wires are for 4G now I'm gonna be for our
3:43use case we just use carplay we don't really buy an
3:47SIM card but if that's something you can do it has that capability but I and
3:52I think that's pretty rare for release us in the United States but very cool
3:58Alright, so we already took out the radio door the reason why is
4:28So pretty much on all the S2000s, I don't know if we'll put a picture here, but you have
4:32a radio door which kind of folds over here, and the
4:36the way that you take it off there are actually no screws.
4:38It's all it's all kind of just just place, and it's really awkward, but you have to do like
4:44a little jiggle and like pop the radio door out., it's really hard to describe, but
4:48once you're doing it you're gonna feel like you're breaking the radio
4:50but it will come out it should be perfectly fine and once that's taken out when we decided to mount this single then we noticed that
5:00mounting locations were a little weird in this specific car as you can see they're
5:03only screws like on each side we have four screws so what we decided to do was
5:08just take the OEM bracket that is provided with the original radio and
5:13we decided to just mount the actual radio using the screws over here with B
5:19the bracket as well sorry on the opposite side right over here my that
5:23but we decided that we would have the brackets like this and put the radio
5:28on as well. One thing to note when doing this though is that you don't want to use super
5:33long screws and have them go into the single end unit. You want
5:39to make sure that you use as shallow as possible just to make sure you don't accidentally damage
5:43anything on the inside. But anyways, we're going to do the install now one. Yeah, keep going.
5:49Alright, so here we go. We have the OEM bracket right here and then we have it kind of loosely
5:55placed and it's the only way
6:25one, two, three, four, six, six, eight, 10, so like a 20 pin right here and we have everything
6:35plugged in. We're using black tape because it's how it's how we roll. Don't hate. I know,
6:44I know it's not soldered and he string and stuff like that. This is his his work
6:50not mine. I didn't make this harness but you just at this point all you do is
6:57pretty much mash the colors purple purple green green this is probably the
7:03rear speakers yellow yellow is going to be constant power red is accessory white
7:08is one of the speakers in the front so so, yeah here you go you can take a look
7:16at a, but you want to look at, what you want to do, what you
7:19do is go to the wiring, the wiring of the OEM and then you
7:26can, the wiring for theirs right here.
7:30just follow their errors and after that all you have to do is plug it in so we're
7:40gonna plug it in make sure you hear the nice click now we also have the antennas
7:45right here and then we also have the radio sorry it's not on focus but we
7:51should be able to plug it in. I like toh to plug it in not everything
7:54installed so everything works make sure Bluetooth Wi-Fi USBs and all that
8:01works. So we're going to do that right now. Can you plug in the main harness right here?
8:14They're good. Now with the OEM there's also some
8:18extra harnesses. Now this case could be XM radio, it could be a backup camera,
8:25other accessories, this CD, changing the rear and so forth. We don't
8:38So we're going to plug it into the back, but for our testing purposes there's not enough
8:42slack so we can test it thoroughly.
8:47Solet's plug in the display and kind of debug it, make sure everything works.
8:55Now with these IDE cables there's a notch at the top so you want to match this notch
8:59with the top notch of the display.
9:11we are good.
9:14Now, we can turn the car on.
9:17If you saw the back of this display, you can see that you can actually move the screen
9:21up and down, depending on your mounting spot.
9:24So it gives you more adjustability.
9:26I've moveded mine.
9:28For my NSX, I actually put a 13, 14-inch display and I have pretty much moved this,
9:34these things all the way down so I can make some more clearance.
9:36It's just a matter of, you know, it's universal.
9:41of the key on. Let's put this to accessory. And it fires right up. Wow, great. So you
9:54notice how fast that boot up time was? Incredible, incredible. Now the next thing you want to
9:59tests
10:00sound. So now we had no audio. We're gonna check the Bluetooth because for us, the main thing,
10:08yes, Google Play has Wi-Fi. You can watch YouTube but for us, our Android Auto and Apple CarPlay Play
10:15is the most important. And we're gonna do Apple. Apple Car Play first and check the Bluetooth audio. So
10:23this is an iPhone. We're gonna hook up an iPhone in.
10:25, so we're going to hit the search and then the iPhone 2, boom, we have that in. I think it's connected, right?
10:35and
11:05A lot of people of, the,
11:40very easy to do I bet he's Mr. T right here is very happy because now you
11:49walk into your car you start and go
11:51now you can also it or sometimes maybe
11:54wireless connection isn't good we have the word option there too but wireless is
11:59the future and you just because your phone's usually in the pocket in my
12:02pocket I keep my phone in my pocket and just go I don't like taking it out there
12:08There you go.
12:11All right, so we got this USB and we routed it over here.
12:19So now we fished, basically all I did was fish it through that little hole and it pops
12:24out of that hole and pulled it down.
12:26So
12:30Maybe put a USB drive, put movies, songs, and stuff.
12:34It's accessible right there.
12:35Now, Joying gave us two USB type A's, but we're just going to use one just so it's cleaner.
12:43And if we want to, let's say we get a dash cam or something like that that needs to get
12:49powered by USB, we can actually install the other one too.
12:54But for our purposes right now, we're only going to have one phone plugged in
12:57at all times.
12:58at any so that's all it's gonna take. Now we're just gonna put it back in and I'm
13:05I'm gonna show you that process so these universal head units let me you
13:11can move the gear lever a little bit so you get more room but now these
13:17universal head units have a lot of flexibility in it so yes they might
13:26not fit perfectly perfectly but if you add the time and effort and you kind of
13:30I've messed with it, you're gonna be able to have, you're gonna be able to have a pretty decently fitting head unit relatively speaking and again this car is tiny
13:37So that's why I had to cut it honestly
13:40We had to keep on
13:42Wiggling it
13:43All right, now we just put the screen back in
13:51Sheesh
13:55Joying makes it easy
13:57Boom. Turns on. Bluetooth signal is up and running. Now we can change all these
14:12widgets. Somebody closes the door. Now we can change all these widgets and such.
14:19So we can have things that we use more often. In our case again we're
14:24going to use car link a lot. So we type in that car link. It's just
14:28connecting. It's going to do some hand shaking with the the iPhone. iPhone. And
14:33hooks up directly hopefully verification approved boom all right things look
14:48install how this is how it looks like in an s2000 look at that pretty clean pretty
14:54clean so what you think of the install I'm not not gonna show your face or
14:59anything but you know honestly the install was really easy it was easier than the
15:00Honestly, the install was really easy. It was easier than the previous unit I had in,
15:06and in addition to that just the fact that this hass wireless car plays is kind of
15:11crazy. I don't know if you've ever dealt with a wired connection to an Android head unit,
15:20you probably had a few times where you try to, you know, reconnect over and over again
15:24and just having it connected with bluetooth that
15:29it's kind of, it feels kind of close to how an OEM car would be.
15:30of close to how an
15:35you have it there you go for watching and if you guys were interested in this
15:38product make sure to check the links down below and you know you've stuck this
15:43long the video might as well just like it and show some love in the comments
15:55okay I mean but you know yeah so there it is joining 8.8 inch Android 10 head
16:05unit amazing wireless Apple CarPlay you have Android out to you for your Android
16:10folks I'm an Android guy so yep I'll be using that but just look at that I mean it
16:19it just looks beautiful the display it's bright it's high resolution looks better
16:25than anything Honda's doing right now even like the new type bar and stuff like
16:29that the resolution doesn doesn't look this clean or this the
16:31IPS panels really the colors really pop I mean you look at the maps you look at the
16:37just the icons I don't even know that look at that look at that music icon
16:42nice and bright and I don't know if that's
Machine-transcribed from the full-length video and lightly cleaned (product names fixed). Watch the video for exact wording.
Next step


