S2000 Paint Correction, Headlight Restoration & Ceramic Coating (Part 2)
John compounds and polishes a black S2000, wet-sands and polishes the headlights from 1000 to 2000 grit, then lays down two coats of CarPro CQuartz plus a spray sealant.
Full video (8 min): The before and after will shock you | S2000 Paint Correction, Headlights, and Ceramic Coated! PT 2 · John's YouTube channel
Get the parts
- Meguiar's DA Microfiber Correction Compound (Amazon)Buy ↗
- Polisher tool (Amazon)Buy ↗
- Ceramic coating (Amazon)Buy ↗
As an Amazon Associate I earn from qualifying purchases. Some links are affiliate links.
John compounds and polishes a black S2000, wet-sands and polishes the headlights from 1000 to 2000 grit, then lays down two coats of CarPro CQuartz plus a spray sealant. This 8 min guide covers the Detailing process; not vehicle-specific with tools, parts links and the full video.
Overview
Part 2 of John's S2000 refresh. After a thorough wash (the car was covered in bugs), he compounds and then polishes the whole car with a dual-action polisher, wiping clean between steps. He spends extra time on the usual S2000 problem spots: door handles, hood and trunk. Bird-dropping etching on the hood got a careful 1500-grit touch, and he stopped before making it worse. The headlights get wet-sanded at 1000, 1500 and 2000 grit, then plastic polish. Last come two layers of CarPro CQuartz ceramic coating and, about an hour later, a spray sealant top coat to help against water spots.
Vehicle & fitment
- Product
- Compound, polish and pads, a dual-action polisher and CarPro CQuartz ceramic coating
- Shown on
- Honda S2000 (John's black car)
- Detailing process; not vehicle-specific
Always confirm fitment for your exact year and trim with the seller before buying.
Tools & parts
Tools
- Dual-action polisher (Porter-Cable, per the description)
- Microfiber towels
- 1000, 1500 and 2000 grit sandpaper
- Coating applicator and cloth
- Masking tape (recommended)
Parts
- Correction compound and polish
- Plastic polish for the headlights
- CarPro CQuartz ceramic coating
- Spray sealant top coat
Video chapters
- 0:00Polishing the hood
- 1:25Fixing paint imperfections
- 2:20Restoring the headlights
- 4:01Applying ceramic coating
- 5:08Adding top coat sealant
- 5:47Final car reveal
Step by step
- 1
Compound and polish▶ 0:04
John starts on the hood with a Meguiar's DA microfiber correction compound, which cuts a bit harder, then polishes. Wash first, compound the whole car, polish the whole car, and wipe clean between steps. He did a test section first to see how far it would go.
- 2
Bird-dropping etching▶ 1:30
He tried 1500 grit on the bird marks on the hood but kept it light because it can quickly look worse. They're still visible but much less noticeable.
Warning: Don't overwork etched spots; you can cut through clear coat.
- 3
Headlights▶ 2:20
Wet-sand at 1000 grit, then 1500, then 2000, letting it dry between steps. Finish with a plastic polishing compound. John recommends masking off the paint around the lights, though he didn't.
- 4
Ceramic coat▶ 4:03
Wipe the panel down, put a line of CQuartz on the applicator cloth and work it in. John did two layers.
- 5
Sealant top coat▶ 5:09
About an hour after coating, spray and wipe a sealant. Ceramic alone repels water but can still water-spot; the sealant adds another layer.
- 6
Results▶ 5:48
The reflections in the sun are much sharper, with the hood the biggest improvement. The wheels only got a normal wash with wheel cleaner and a pressure wash; he plans to refinish them.
Get the parts
- Meguiar's DA Microfiber Correction Compound (Amazon)Buy ↗
- Polisher tool (Amazon)Buy ↗
- Ceramic coating (Amazon)Buy ↗
As an Amazon Associate I earn from qualifying purchases. Some links are affiliate links.
FAQ
What vehicle does this install fit?
It is shown for the Detailing process; not vehicle-specific. Always confirm your exact year, trim and factory audio with the seller.
How long does the install take?
John's full video is 8 min. Plan on that much time for a careful DIY install, plus extra if you are new to dash work.
What tools do I need?
Tools called out in the guide: Dual-action polisher (Porter-Cable, per the description); Microfiber towels; 1000, 1500 and 2000 grit sandpaper; Coating applicator and cloth; Masking tape (recommended).
Where do I get the parts?
Use the buy links on this page for the unit and any harnesses John used. Some links are affiliate links.
Is this beginner-friendly?
The guide breaks the job into 6 steps with timestamps into the video. If you can remove trim panels carefully, you can follow along.
John's Honda S2000
More photos →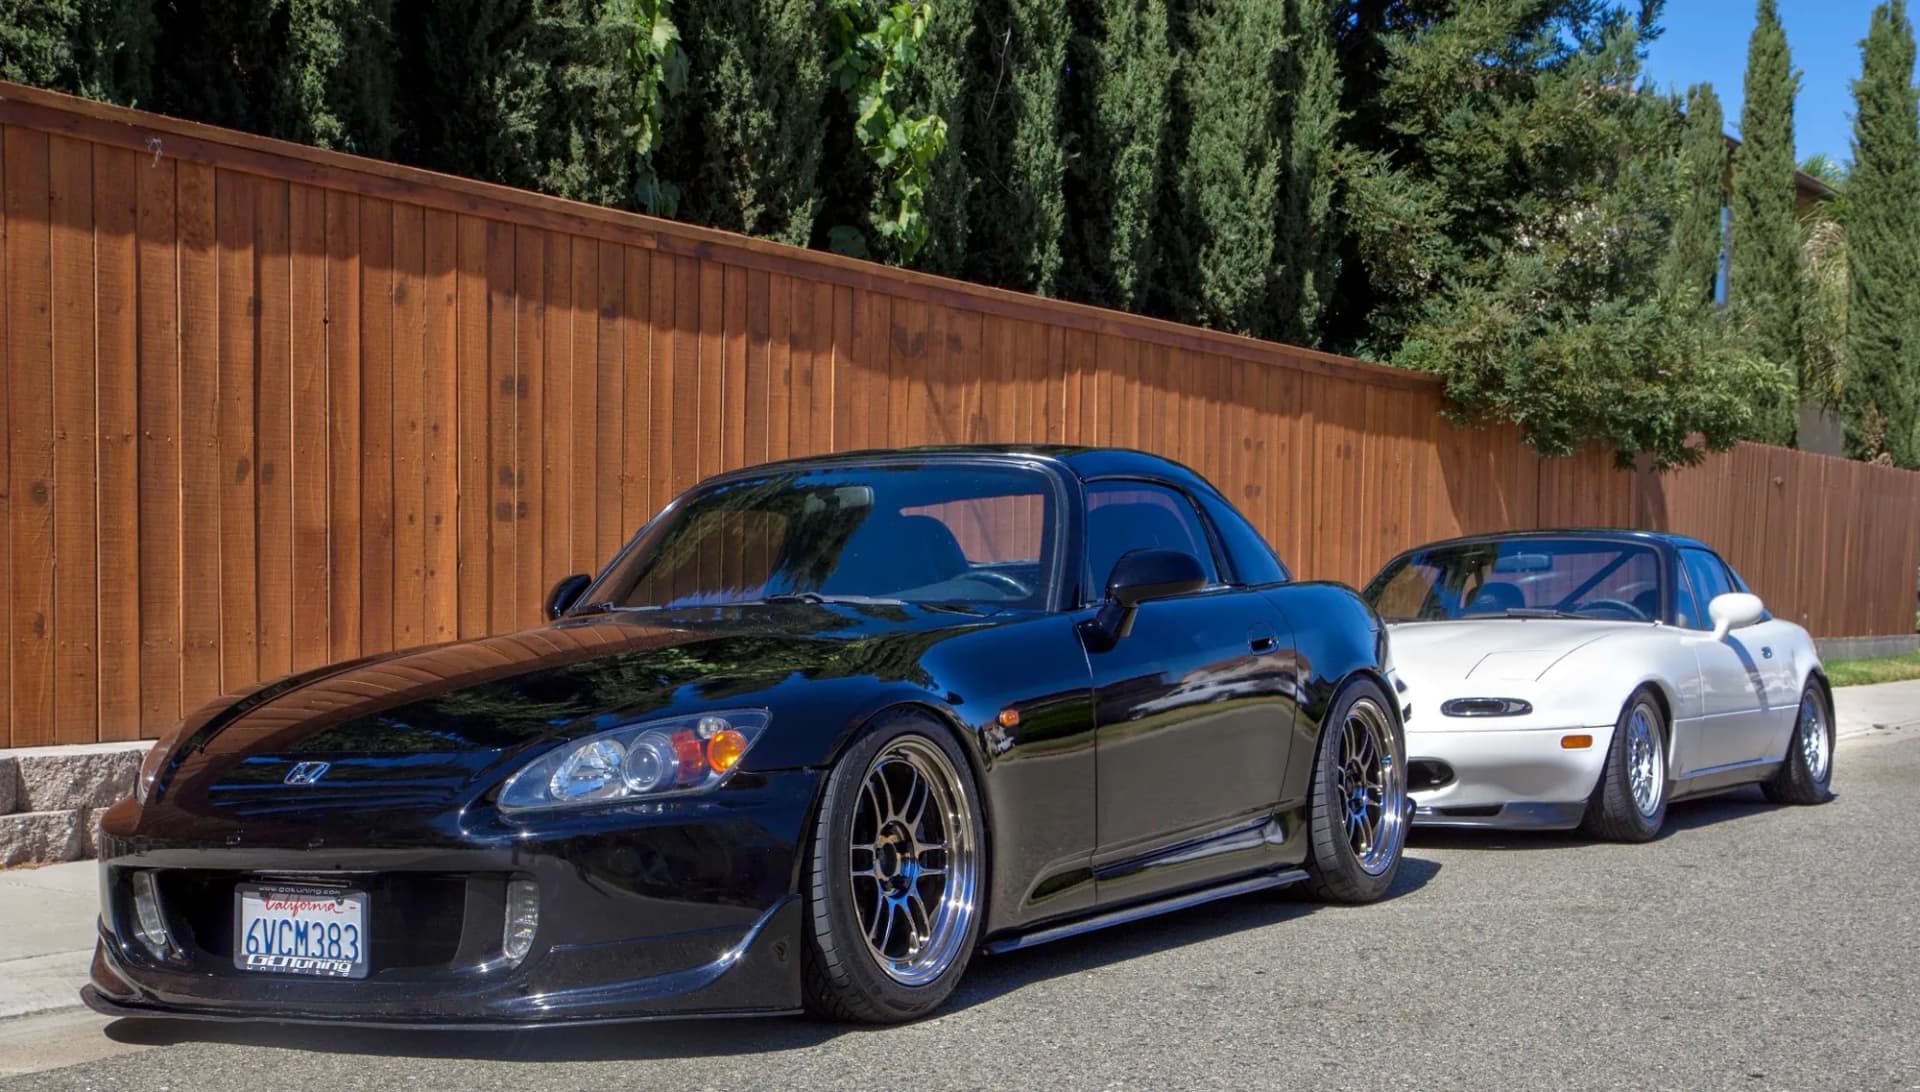
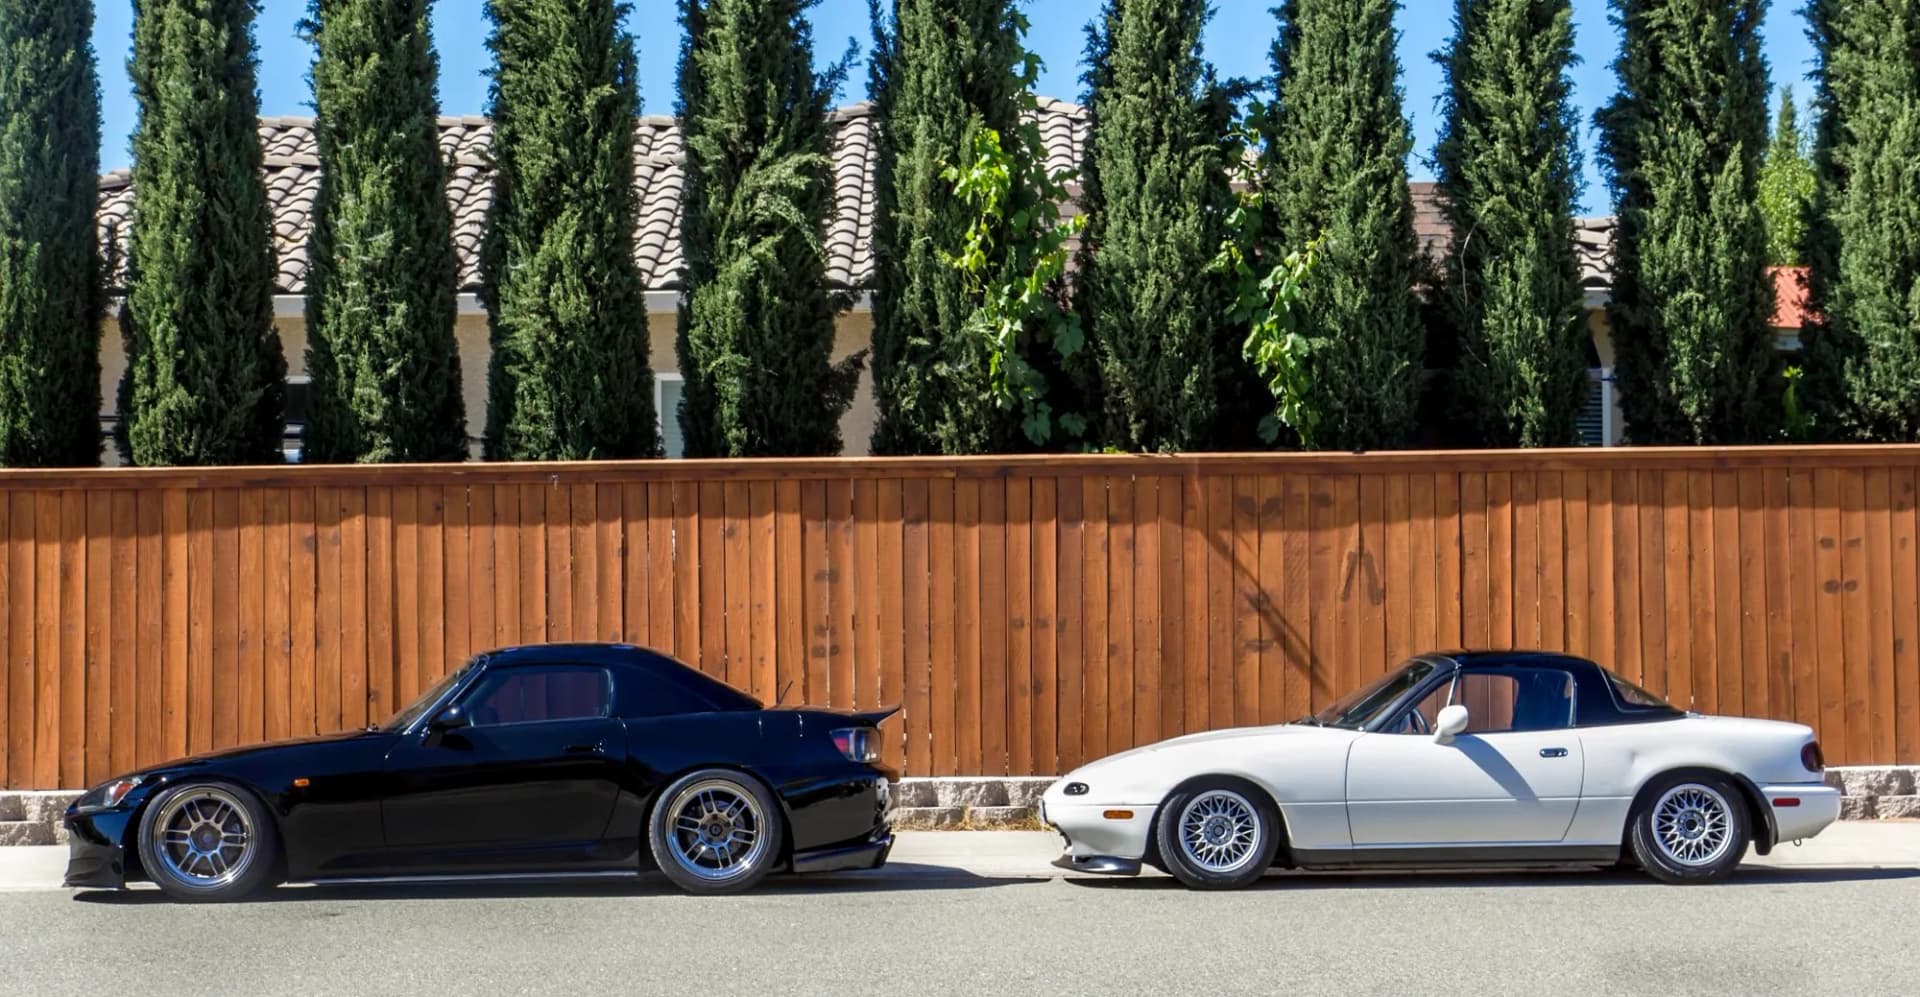
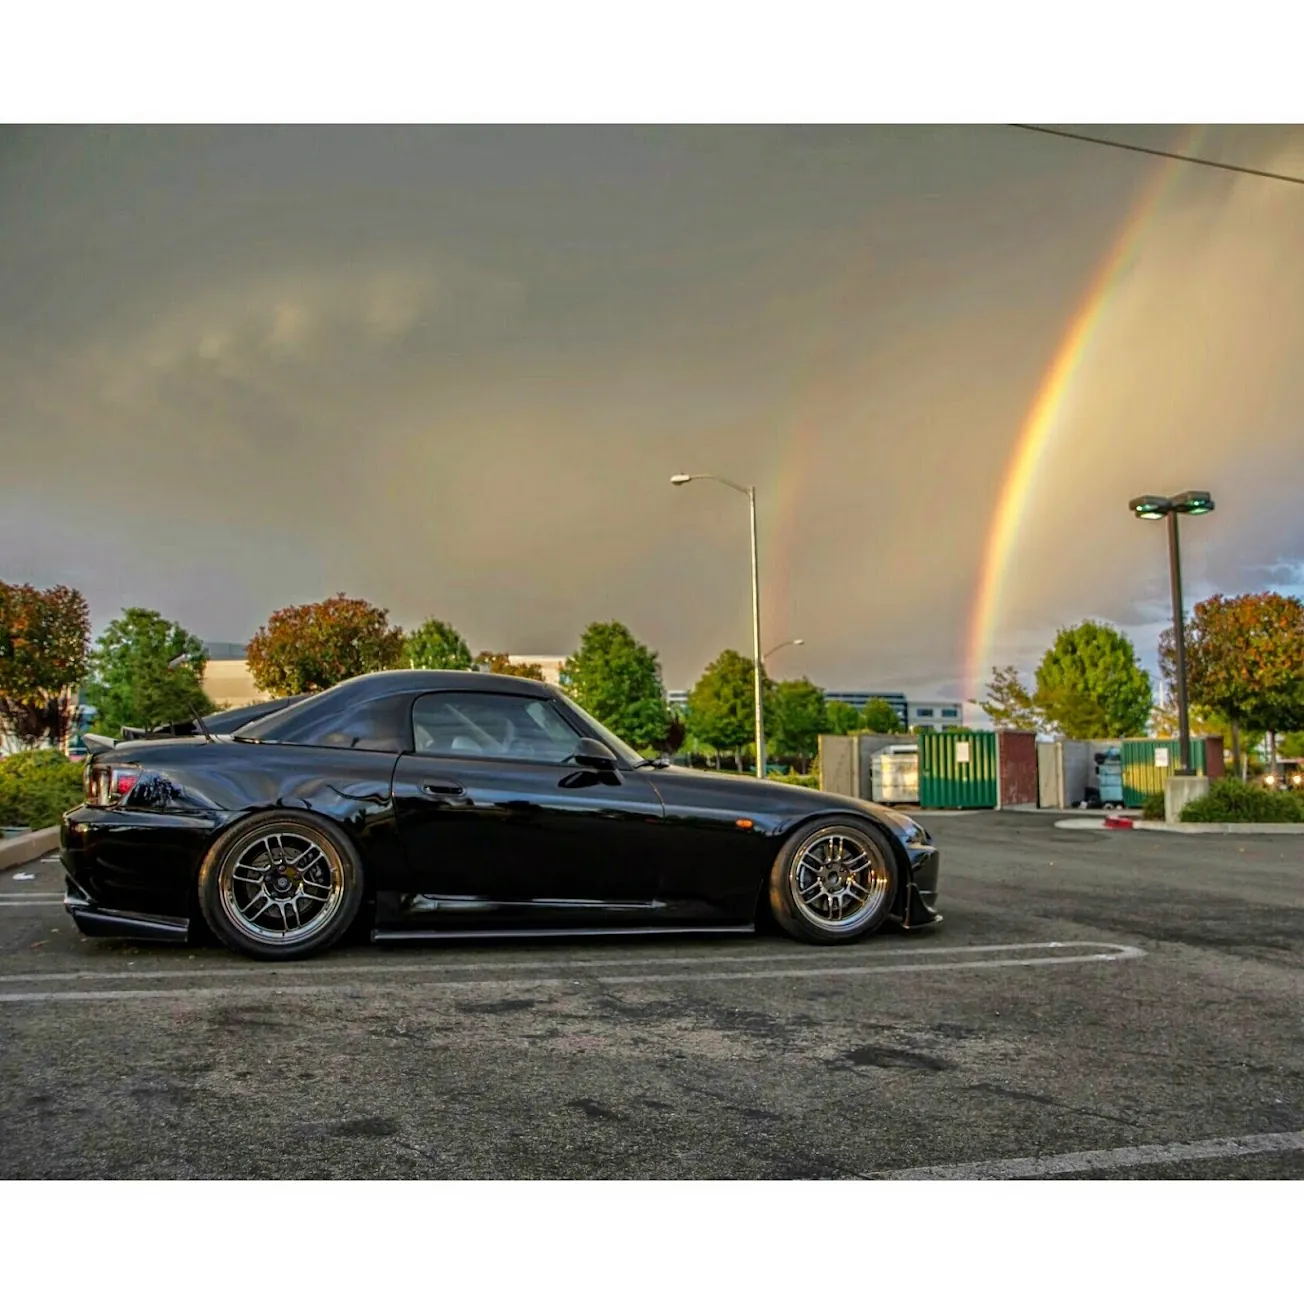
Photos from @ngooyen on Instagram. Follow for more.
Full transcript
Show the full transcript (92 lines) +
0:04So I'm use the McGuire DA microfiber or correction compound, which is a little, a little bit more tough
0:11And mom polish the hood
0:13Cheta, I'm not gonna mask it off, but I'm just gonna see the left and right
0:27All right, so I started polishing just to see what
0:31Level of acceptance I can have and as you can see, oh
0:36There this is clean. This is clean, but this side is polished. So
0:42It's looking way better
0:46Versus here and this is not wet or anything. This is just like
0:53Compound and polish so it's gonna even look better than this and
0:58and
1:00So the the difference is amazing. I didn't do masking tape. I just kind of because I'm on the whole hood, of course, but
1:30These bird
1:32marks are
1:35I'm gonna be there. I'm gonna see
1:36If I can make it look a little bit better, but I definitely don't want to play around with this too much because
1:43It can look a lot worse
1:451500 grit, and then I'm not use 2000. I'm gonna
1:49What's in this?
1:53You can still see it
2:06But it's a lot less less than noticeable
2:09So overall, it's a win in my book
2:20All right, so I'm gonna do the
2:22headlights
2:24You probably see it is. Pretty bad
2:27so I
2:30would recommend masking off everything here, but
2:36I'm I'm not gonna do it
2:43Here we go. I'm gonna start with a thousand grit
2:48And then move up to 1500 and then 2000
2:52All right, so this is still drying but this was 1500 grit now. I'm gonna do 2000 grit
3:09So I do have it. This is 2000. Great. It's a little wet still, but
3:21after 2000 grit, I am just gonna use polishing compound for plastics and
3:29Should look real good.
3:35Headlight is looking a lot better
3:39Still need to coat it so I would even look better than that
3:45Haven't done this headlight yet. This was the this one wasn't as bad as that headlight the passenger headlight
3:51So I started on that one first
3:54so
4:03Gotta have some ceramic coating for this bad boy
4:10using the
4:12CQ UK
4:14Quartz
4:16Is a pretty much the sealant the magic
4:23Here is the little fabric
4:28Make a little line. We're gonna be good
4:30So before I do that, so I'll get a little quick wipe it down
4:33Line like this. I'm gonna start in the force. All right
5:09two layers of ceramic coat later, and I'm gonna finish it off. It's been about a
5:15It's the's been on an hour, so I'm a do this little top coat. So this is really good against like repelling
5:24water, but
5:26apparently
5:27The ceramic by itself. It's still like can't have like water spots and the sealant
5:34helps silica
5:36spray
5:37Sealant helps prevent that so you have layers of protection and
5:42Yeah, you just spray
5:45and wipe
5:47Alright,
5:48so this is my
5:51In the Sun after ceramic
5:52coating
5:55after cutting polish
5:57So you can definitely tell it is in way better shape in the terms of paint. So let's look at some reflections
6:05Clouds are looking good. Painting is looking good
6:12Immaculate right there at least you know in the in the front. Here you go
6:20Front end is looking so much better. The hood was the biggest offender
6:25But now you can see the reflections are looking. Oh so good
6:31Just look how creamy and sharp. Those reflections are now
6:35We got a love to see it you love to see it
6:38Of course, it's no secret to I do love do be loving black cars. So
6:44Definitely want to take care of them
6:47So
6:49Just check it up
6:51Check out those reflections and now the- the wheels I'm planning to refinish. So I I did wash them
6:58But they aren't like super anything crazy
7:03Cleaning just a normal wash in
7:05With the wheel cleaner and then pressure wash them
7:09As far as the rear
7:12Here it is
7:14I'm looking good. Let's see if you can see that sundered
7:18So again the paint was in real bad shape
7:22Looks like I can wipe right there a little bit by the keyhole. There's some
7:26sealant still there, but
7:31trunk paint
7:34Everything is prepped
7:37beautifully
7:38So I'm just gonna walk around the car real quick
7:41So I can show it very similar to
7:46My original video
7:48You can kind of see
8:05the comparison
8:07But overall really happy with the S2000 and she'd be looking beautiful
Machine-transcribed from the full-length video and lightly cleaned (product names fixed). Watch the video for exact wording.
Next step


