Seicane Android 9 OEM-Fit Head Unit for the 2015+ Subaru WRX / STI / Forester: Full Install
John installs a Seicane car-specific Android 9 head unit in his 2015 WRX: trim removal, dry fit, the 10-pin and 6-pin plug-and-play harness, a Harman Kardon amp-turn-on pin fix for no sound, Bluetooth, transferring the climate controls and vents, USB adapter, and steering wheel key learning.
Full video (29 min): $279, Right on the Money | Best Radio Fitment for your Car, Install! · John's YouTube channel
Get the parts
- USB adapter (Amazon, link from the description)Buy ↗
- Clip and trim removal tool set: Generic pickGeneric pickBuy ↗
- Phillips screwdriver set: Generic pickGeneric pickBuy ↗
- Custom-trim head units on AliExpress (link from the description)Buy ↗
- Android head units on eBay (link from the description)Search on Amazon ↗
- The Subaru WRX / STI / Forester unit in this video (Seicane, link from the description)Buy ↗
- Seicane store: custom-trim units for other cars (link from the description)Buy ↗
As an Amazon Associate I earn from qualifying purchases. Some links are affiliate links.
Yes — you can install This kit on the Seicane Android unit listed for the 2014 2015 2016 Subaru WRX / Forester with a 29 min DIY job. John installs a Seicane car-specific Android 9 head unit in his 2015 WRX: trim removal, dry fit, the 10-pin and 6-pin plug-and-play harness, a Harman Kardon amp-turn-on pin fix for no sound.
Overview
Universal units are great, but some people want a factory look. Seicane makes car-specific units with trim that matches the dash contour and the A/C trim, plus interchangeable cutouts for the different Subaru WRX, STI, Impreza, Forester and Crosstrek dashes. The box includes the harnesses, antennas and manuals. The dash trim is held by clips on the 2015 (2018+ cars add side screws). Use a plastic pry tool and a microfiber towel to protect the interior, unplug the hazards and A/C, and remove the four screws holding the radio. Watch the sharp brackets, disconnect the battery to be safe, and take photos of every plug. John dry fits first: the 10-pin handles power and front speakers, the 6-pin the rear speakers, and there are plug-in leads for steering controls and the reverse camera. Extra leads are for other years. On first power-up there was no sound because his WRX has the Harman Kardon amp, so he lifted the amp-turn-on pin out of the plug and re-seated it in the right spot. After that, Bluetooth music and track skipping worked. He transferred the climate control and vents to the new trim, used a USB adapter to keep the center console USB, ran the extra USB to the glovebox for a dash cam, and learned the steering wheel keys in the key study menu. The unit runs Android 9 on a quad-core Cortex-A35 with 2 GB RAM, with a voltage display and reverse volume options. The links from the video description are below.
Vehicle & fitment
- Product
- Seicane Android 9.0 head unit for the 2014–2016 Subaru WRX / Forester: car-specific trim, Wi-Fi, Bluetooth, GPS, quad-core Cortex-A35, 2 GB RAM
- Shown on
- Subaru WRX 2015 (John's car); the unit is listed for the 2014–2016 Subaru WRX / Forester
- Seicane Android unit listed for the 2014 2015 2016 Subaru WRX / Forester (per the video description)
- Comes with two harnesses because wiring varies by year (2015 vs 2018); extra plugs are normal
- Cars with the Harman Kardon amp need the amp-turn-on pin moved, or there's no sound
Always confirm fitment for your exact year and trim with the seller before buying.
Tools & parts
Tools
- Plastic pry tool
- Phillips screwdriver
- Microfiber towel to protect the interior
- Small pin tool (to move the amp-turn-on pin)
Parts
- Seicane car-specific Android 9 head unit with trim
- Two plug-and-play harnesses, Wi-Fi and GPS antennas (included)
- USB adapter to keep the center console USB
Step by step
- 1
Why car-specific▶ 0:00
The trim matches the dash and A/C contour for an OEM look, with swappable cutouts for different Subaru dashes and years.
- 2
The unit and box▶ 2:17
Metal chassis, GPS and Wi-Fi ports, two USBs and RCA outputs. The box has two harnesses, antennas and manuals.
- 3
Remove the trim▶ 4:20
Clips hold the trim on the 2015 (2018+ adds side screws). Use a pry tool and lay a towel down to avoid scratches.
- 4
Unplug and remove▶ 6:02
Unplug the hazards and A/C, save the buttons and vents to transfer, then remove the screws holding the radio. Watch the sharp brackets.
- 5
Battery and photos▶ 7:28
Disconnect the battery to be safe and photograph every plug before unplugging.
- 6
Dry fit the harness▶ 8:22
Pull out the main harness first. Plug in the 10-pin (power, front speakers), the 6-pin (rear speakers), steering controls and backup camera.
- 7
First boot▶ 12:06
Android 9 boots with a changeable boot logo. Check the dimmer and sound.
- 8
No sound? Amp pin▶ 13:33
With the Harman Kardon amp, the amp needs a turn-on signal. John lifted the pin out of the plug and re-seated it, and the sound came on.
- 9
Bluetooth▶ 15:27
Delete the factory test pairing, pair your phone with code 0000, and check music and track skipping.
- 10
Transfer the controls▶ 17:37
Move the climate control and vents to the new trim and fasten the four screws.
- 11
USB and wiring▶ 20:36
Wi-Fi, GPS, main harness, a USB adapter for the console USB, and an extra USB run to the glovebox for a dash cam.
- 12
Reinstall the dash▶ 21:30
Anchor from the bottom first, don't press on the screen, and finesse the vents into place.
- 13
Steering wheel keys▶ 23:18
In key study, press each wheel button and assign volume up, volume down, next and previous, then save.
- 14
UI and settings▶ 24:34
Fairly stock Android UI, button light colors, reverse volume, auto sleep and a voltage display. Android 9, quad-core Cortex-A35, 2 GB RAM.
Wiring notes
- 10-pin: power and front speakers
- 6-pin: rear speakers
- Plug-in steering wheel control and reverse camera leads
- Harman Kardon amp cars: move the amp-turn-on pin in the plug if there's no sound
- USB adapter to keep the factory center console USB
Get the parts
- USB adapter (Amazon, link from the description)Buy ↗
- Clip and trim removal tool set: Generic pickGeneric pickBuy ↗
- Phillips screwdriver set: Generic pickGeneric pickBuy ↗
- Custom-trim head units on AliExpress (link from the description)Buy ↗
- Android head units on eBay (link from the description)Search on Amazon ↗
- The Subaru WRX / STI / Forester unit in this video (Seicane, link from the description)Buy ↗
- Seicane store: custom-trim units for other cars (link from the description)Buy ↗
As an Amazon Associate I earn from qualifying purchases. Some links are affiliate links.
FAQ
What vehicle does this head unit fit?
It is shown for the Seicane Android unit listed for the 2014 2015 2016 Subaru WRX / Forester. Comes with two harnesses because wiring varies by year (2015 vs 2018); extra plugs are normal Always confirm your exact year, trim and factory audio with the seller.
How long does the install take?
John's full video is 29 min. Plan on that much time for a careful DIY install, plus extra if you are new to dash work.
What tools do I need?
Tools called out in the guide: Plastic pry tool; Phillips screwdriver; Microfiber towel to protect the interior; Small pin tool (to move the amp-turn-on pin).
Does it support wireless CarPlay or Android Auto?
Check the product listing for wired vs wireless CarPlay / Android Auto before you buy; John shows what worked in the video.
Where do I get the parts?
Use the buy links on this page for the unit and any harnesses John used. Some links are affiliate links.
Is this beginner-friendly?
The guide breaks the job into 14 steps with timestamps into the video. If you can remove trim panels carefully, you can follow along.
John's Subaru WRX
More photos →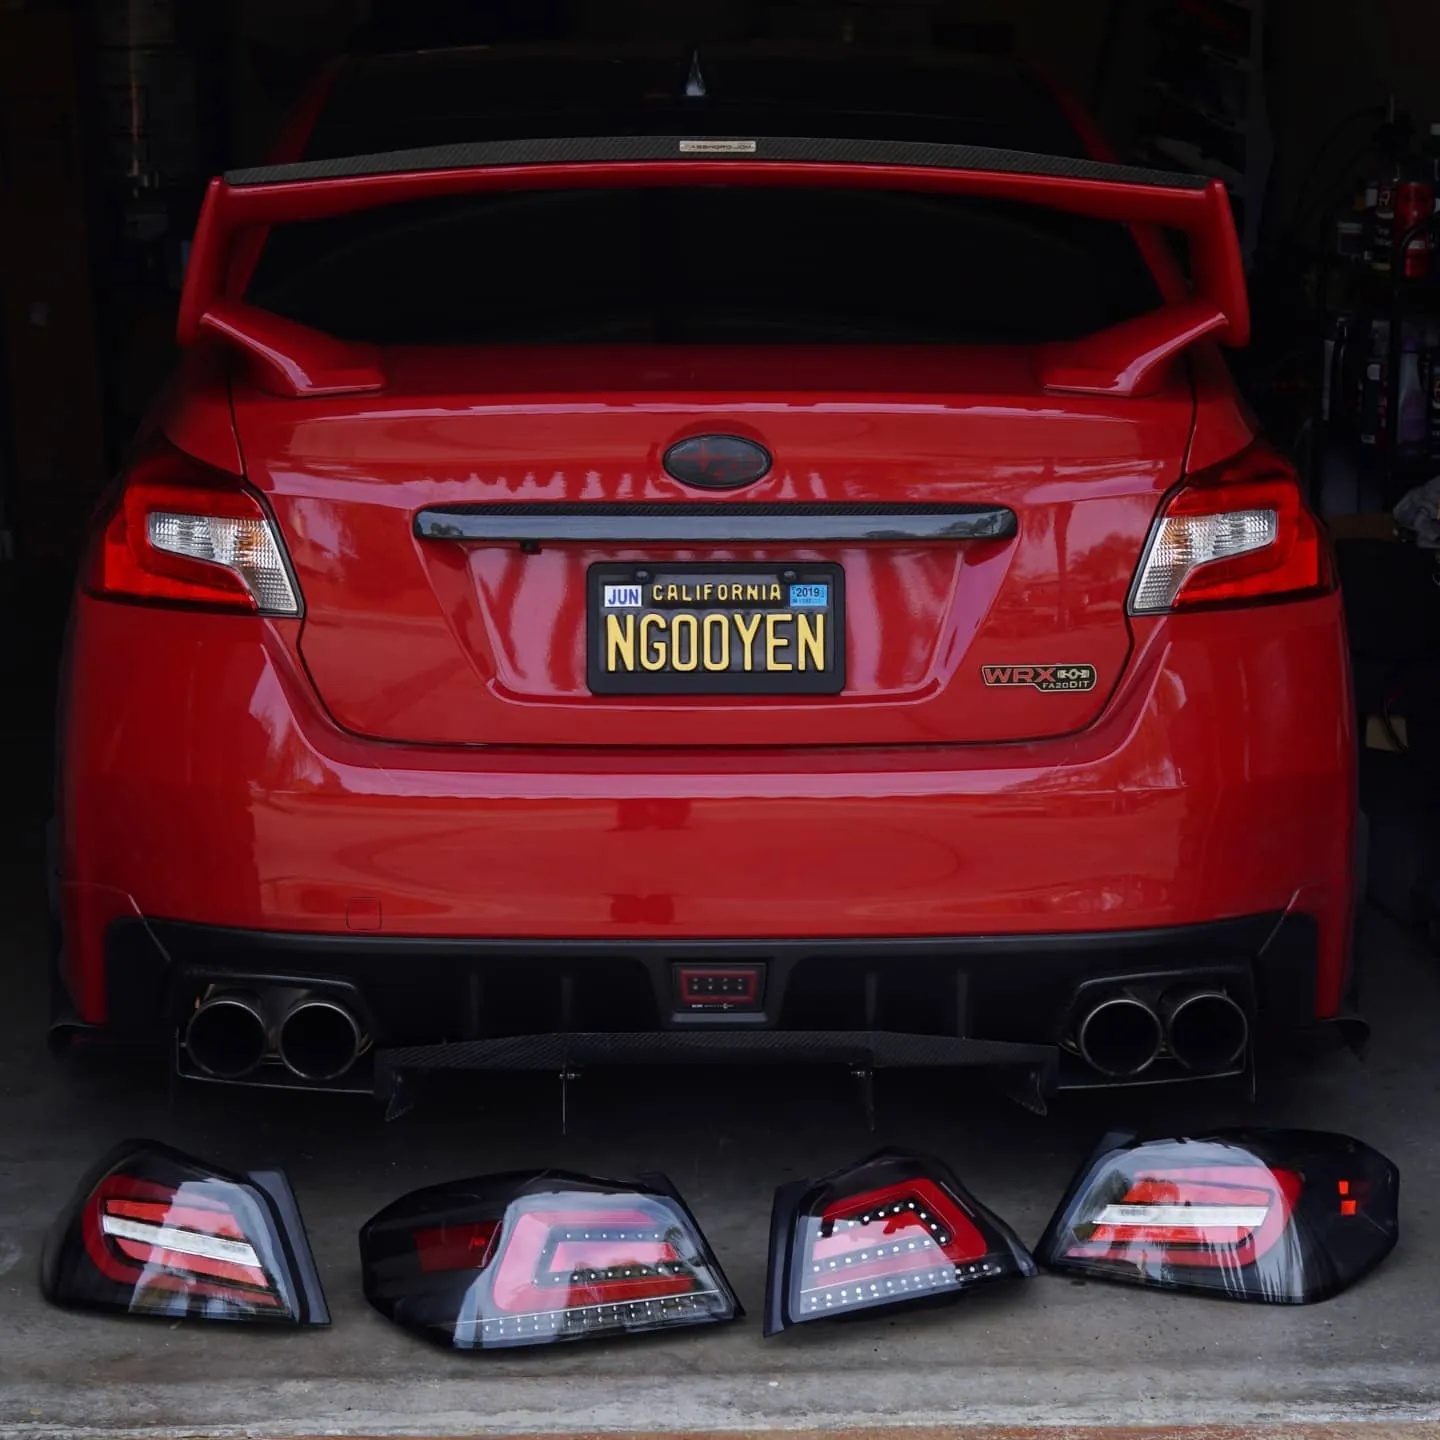
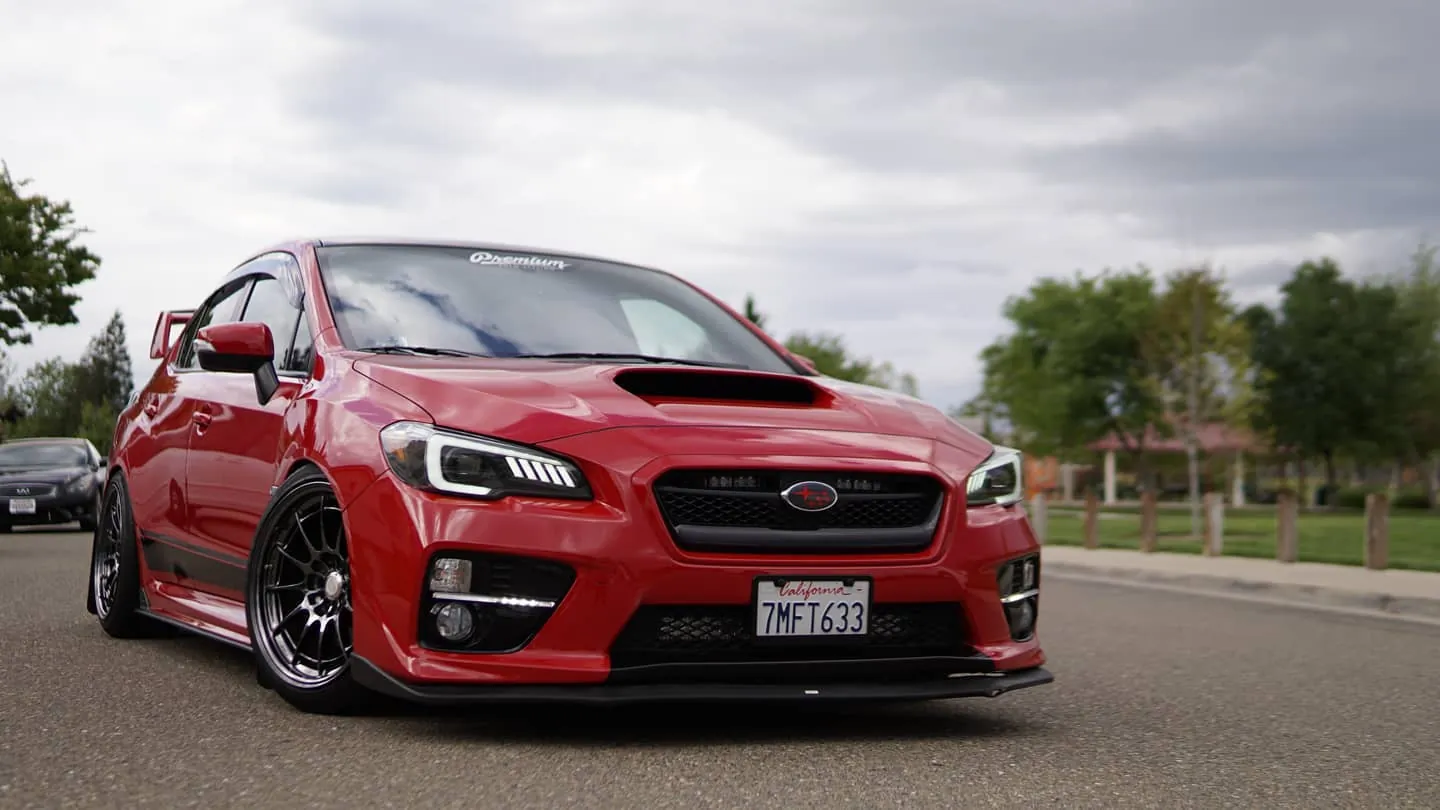
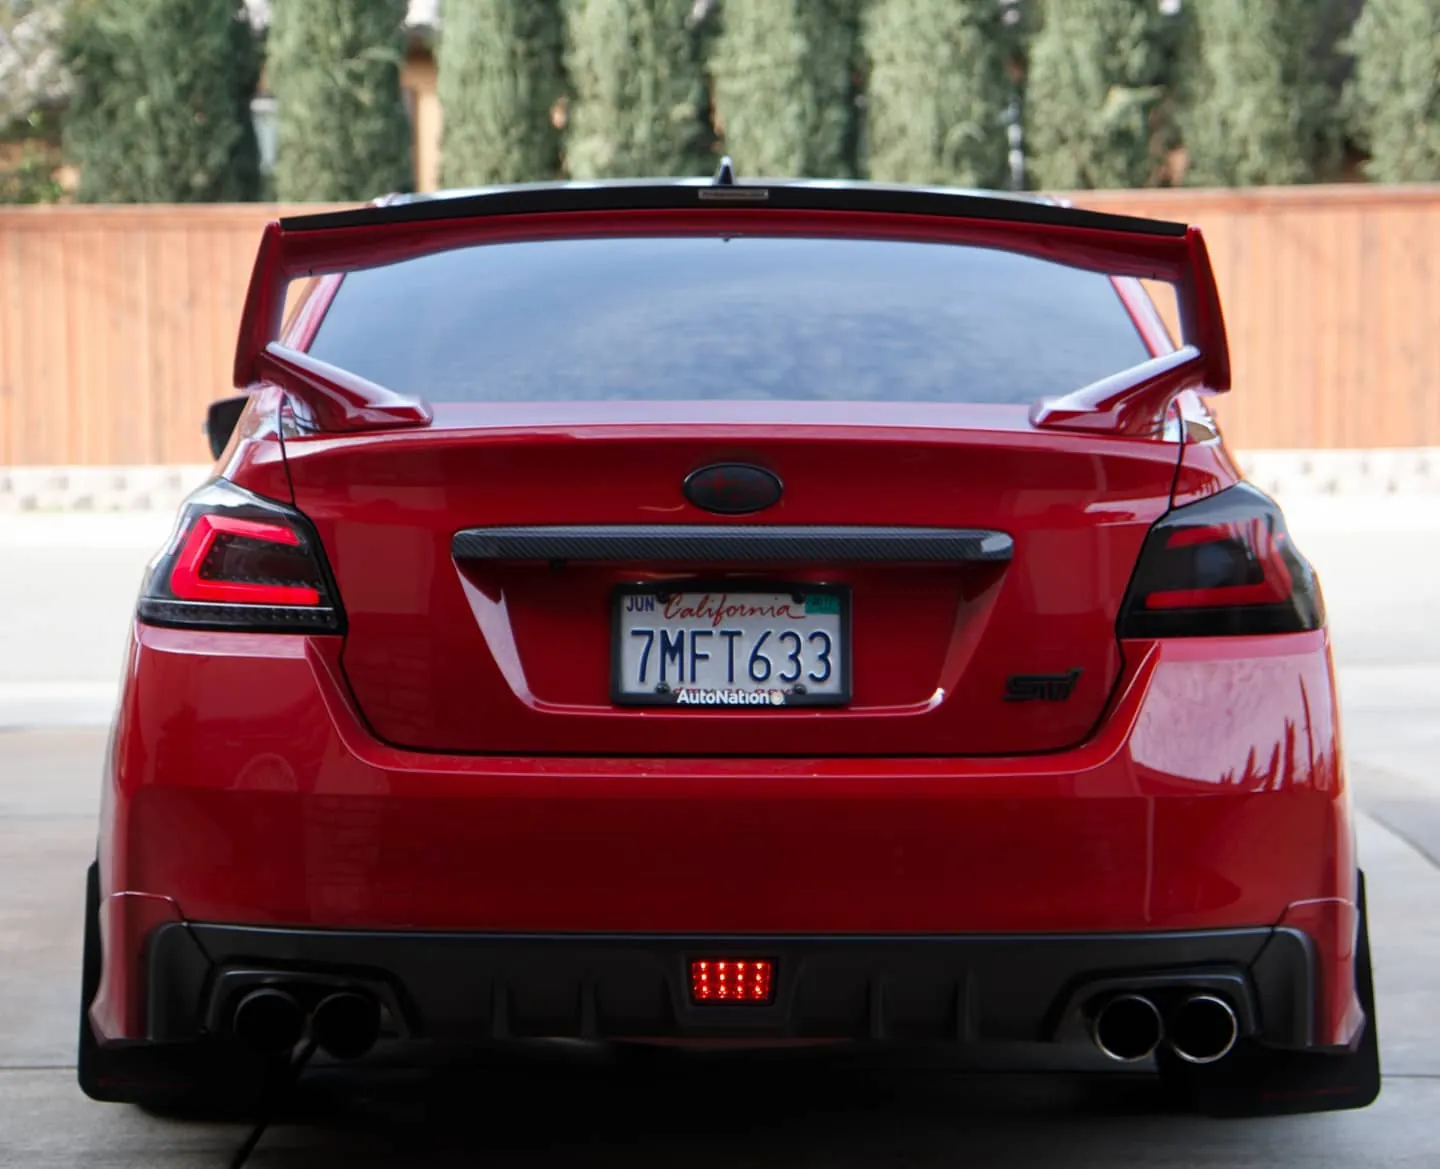
Photos from @ngooyen on Instagram. Follow for more.
Full transcript
Show the full transcript (397 lines) +
0:00What's up guys today. We're taking a look at a better fitment head unit
0:04The universes are great, but of course some people like that
0:08Nice OEM look so today we're gonna be taking a look at something from succane. I took it out of the box it had this really nice
0:16Bubble wrap, but I wanted to show you guys that
0:19depending on your making model succane is a website that has a lot of head units that can
0:25specifically get tailored to
0:27G
0:29WRX, Subaru's, Toyota's, and so forth.
0:30Subaru's Toyota's and so forth so if you have a Honda or whatever
0:35There's probably a make-up model like a lot of popular cars have its own trim fitment piece
0:42so what's nice about this is let me take it out of this bag so this is a
0:49Succane head unit that I got a
0:52What's really nice about this one is it really matches the contour of my head unit. So up here
0:59So we're moving all this I'll be able to utilize like such as like right here
1:00I'll be able to utilize like such as like right here,
1:04you can see that it's gonna match the AC trim perfectly.
1:08Now this is very important because an OEM look
1:11is very desirable, especially when it comes to the finish
1:17and things like, hey, like this people might be able
1:22to be able to steal very easily.
1:24If someone steals this, definitely it's gonna be,
1:27I guess I'm not a Subaru owner because,
1:29or maybe not because it looks so integrated
1:34Would even notice because it looks so OEM now this head unit does have a little screen protector that's kind of built-in
1:39Right here so I can take that off and notice that right here
1:42That even specifically tailored to your cars like a Toyota or in this case a Subaru
1:48Subaru makes like their interiors are very similar for
1:53WRX STIs and prezzas
1:57Foresters and a couple more and stuff like that where this company right here Succane came with multiple fitments
2:00where this company right here,
2:02Sakane came with multiple pull fitments.
2:05So they thought ahead of time
2:07and they realized that there is gonna be
2:10a certain make and model, model
2:12might vary throughout the year.
2:13So notice this cutout,
2:15I can change the buttons here and there.
2:17So, and taking a look at the back of the unit,
2:21it's definitely beefy, except that metal chassis.
2:25It looks like the GPS and we have the
2:27' WiFi signal.
2:29The harnesses is right here.
2:31We have two USBs and additional outs.
2:35These are usually RCA jacks and stuff like for subwoofer
2:38and maybe additional USBs.
2:40Now I'm moving to the side.
2:42I don't see any micro SDs or anything.
2:45warranty. It says warranty is the warranty is void if you break the seal top shows basically you know all the information on on that again going to the back in front no SD cards on this guy some of the other headings do have it so it's good to check and you have your main buttons up here cool.
3:03Cool now what else is in the box and when you caught by and I know and this car
3:08It's gonna be gonna be the WRX, but honestly, it's going to be the same for your make-and-model to what's really nice is if you buy a fit and finish
3:17Like perfect kind of scale model you'll be able to get a harness that's tailored to your car and generally
3:23It'll get you like a hundred percent or maybe 90% there
3:27again, sometimes
3:29Like in my case 2015 is slightly different than 2019 even though they look exactly the same
3:32than 2019, even though they look exactly the same,
3:36Subaru decided to move the reverse signal
3:39of this wire in that.
3:41So your case might vary, but in most cases,
3:46you're gonna have a plug and play like stuff
3:49where almost everything works, usually 100% works.
3:52What generally might not work is the reverse camera,
3:55and that's only three wires,
3:56So it's not too bad to take a look of.
3:59So you have a bunch of wires nicely packed in.
4:02Then you also have you know your your, your instructions and stuff like that
4:06Manuals but the install is pretty straightforward if you just watch this video so just follow along
4:11I'm pretty sure you're gonna be okay regardless what make-and-model it is it's gonna be the same for
4:17For most people here, so what you want to do is remove your previous
4:22Installed head unit now
4:24If it's an OEM or aftermarket of course the steps it might vary a little bit, but generally it's just held by clips
4:31They're not really held by screws for the most part at least for these trim pieces
4:34So you should be fine
4:36Some cars you know consult your manual and know like in 2015 this one does not have any screws
4:41But in 2018 they add screws on the side, so that's just something you have to think about
4:47So consult like a removal of the trim pieces and then
4:51Yeah
4:52I'm just gonna remove these real quick so in my case
4:55I have two clips that hold the screen together then I can remove this and then I can. Follow it up by removing the
5:02Screen again with this
5:04Screen to the side now what I recommend guys is definitely try to keep your interior scratch free
5:11It
5:12is free so whether you want to use like a plastic shroud to protect any
5:16Loose debris or when you're setting it down a microfiber towel really comes in clutch here too or you know
5:23You take it your sweater you look man. It's getting kind of hot in here
5:26you put your user sweater to
5:30protect your interior
5:32Now it'd be similar process for you guys were at this point because most of you guys don't have a big screen that's kind of
5:39Covering everything so in my case it's held by clips
5:43So all you have to do is kind of pull on it a pride tools really nice
5:48You know those things that can kind of go basically a crowbar plastic ones are nice
5:53And generally it just pulls out of course you can't pull out everything because there's gonna be
5:58Be wired hanging from your AC unit
6:02And so forth so we're gonna take out all these wires right here hazards
6:08And so forth I like to pop this clip down here because I just can. We can't reach it
6:13Otherwise so popping out this clip and then popping it back in makes it easy
6:19Now if you're gonna have a perfect like fitment you're not gonna be using this trim anymore
6:25So you have to generally carry these buttons over so like these hazards and the AC unit and most
6:30unit and most likely your vents to you're gonna have to transfer those you those
6:35pieces onto your new head unit so you still want to keep those make sure you
6:41don't damage them and throw them out.
6:43And of course you at this point you just have the head unit itself kind of
6:47screwed in there there's generally two screws here than two screws there from my experience but
6:53again this is where steps may vary and whether it is it's just it's really self-explanatory you
6:59just see the screws what's holding this thing in and you unscrew it and screw all the pieces you
7:04should be able to just pull the unit out be careful at this point because those metal brackets-
7:08are sharp and you're gonna not damage your unit because these things are sharp and having it
7:14This is where I talked about you want to use a microfiber towel or some kind of fabric
7:20Plastic shrouds keep it off the interior now, of course sometimes fabric could be conductive and you don't want to
7:28Have any electrical issues. This. is where I would disconnect the battery or maybe disconnect your battery before and
7:34before
7:36And just to be just to be the extra safe. So I'm just unplugging everything.
7:42And that's what you would do if your OEM unit or aftermarket whatever whatever you're replacing this with
7:49The process is very similar it does look kind of messy
7:52But you just want to make sure you remove all the wires that was attached to it and
7:56I highly recommend taking. Taking photos of what's being plugged in where that way if you have to have a reference
8:04to kind of mark your progress and have wires that you may not know what it
8:10does but at least you know where it plugs to on
8:12on your old unit so take a lot of photos in and make sure you're just throw over
8:17your work and you're not rushing. The next step you want to do is it's not too bad
8:22I call I like to call this a dry fit you pretty much kind of leave everything
8:26kind of uninstalled and you're just gonna test fit the unit with it
8:29kind of sitting out. This ensures that it works throughout the box. So let me just show you
8:34So let me just show you guys that real quick. So we're gonna unplug this harness thing
8:37Let me try to get a good angle so you can see everything I'm doing
8:41It's really important
8:44So this one with the little black cable that's kind of like the brains of all the operations
8:49So you want to pull that one out first? This is gonna control most of your your functions
8:55And in my case, I have two of them. So let's pull both of them out and see
8:59What's up with them?
9:01Everything else leave in the box
9:04So in my case whenever I was talking about different years may have different variation in wiring harness
9:09So your Nissan or your Toyota might have slightly different or not
9:15Doesn't but they have they generally like so Kane has you covered in this case where they provide both harnesses
9:21make sure that you're well accounted for, and they don't want to deal with you
9:25know you're having issues. This one's gonna be a Toyota style right here. You
9:30You usually see a 10-pin 6-pin
9:32We have the reverse
9:35Wiring which is perfect. So if you have reverse camera, it's gonna be a plug-and-play in this case, which is beautiful
9:42We have steering wheel controls on this one
9:44too, so that's really nice and then if you had a 25
9:482015 WRXX again, they might be very on yours. It also
9:53Accommodates this wire to which has everything you might need to get set up in this case, too
9:58They have multiple like a look at this. They have two
10:02Two antennas just in case. Oh your car doesn't fit this antenna as this one
10:08It's just making sure
10:11Compatibility is the most upright like the most important thing to have so we're gonna plug in this into
10:18Your OEM harness can't fit like Legos. It only fits one side. So we're gonna do the 10 pin
10:24This controls the you know power and the the front speakers this six pin controls the
10:32Speakers so it's plug in the rear speakers. So like right here just these two wires alone
10:38It's enough to power the unit
10:41All the other stuff is kind just like gravy, but I want plug in the steering, steering wheel controls, too
10:48Because that's a pretty cool thing to test and backup camera as well
10:53Because that's also important tests. So at this point, there's a bunch of cables that aren't accounted for again
10:59These are these like these wires right here. You might be like what do these do in most cases
11:01might be like what do these do in most cases this is going to be the
11:05backup camera for a 2018 model and... some 2016 models have this again because
11:12we're just talking about fit it's gonna depend on your making model just know that
11:16things are gonna be well accounted for and you're gonna have a lot of extra
11:22harnesses but that's okay because compatibility is a it's a blessing
11:27especially if you're gonna you know plan on making a unit might as well make
11:31Making a unit may might as well make as the most compatible as possible
11:35So we're gonna put this in again be careful for the screen
11:37We're just gonna plug this right in the back
11:40And then you can fire it up
11:45Plugging your battery if you need to make sure the clip is actually plugged in tight
11:50Everything snug. This is a very important step where you want to test it yourself
11:57All right, so let's fire it up
11:59So right off the bat a good sign is I got the dimmer switches on right now
12:06have Android P which is I believe that's 9 because MNOP so that's Android 9 so
12:13that's the latest version. We had the Sikane logo being kind of hovered which
12:17is also very nice but you you can change this so if you want to change it to
12:20Toyota, Subaru, GM, Chevrolet you can change that in the settings too and I'm
12:29on just check the dimmer switches I'm gonna turn off the headlights and you
12:32And you can tell that boom
12:34There you go it is off
12:37And then we're gonna turn back the headlights on and then the notice the the, red LEDs are lit up too
12:41And the screen actually dims a little bit when you turn on the dimmer switch
12:47Boom we are in this is pretty nice
12:50See if I can zoom out a little bit for you guys
12:55Yeah, so this is gonna be the user interface. It is working
12:59The next thing you should do is test out sound hook up your Bluetooth and so forth
13:04Make sure your sound works because that is the most important thing when it comes to the head unit sound
13:10Then Bluetooth, then you can check Wi-Fi
13:13GPS the USB plugs and
13:17So forth and then oh, yeah, so oh look look we got Netflix on there. Very cool spotifiers in there, too
13:23so let's check that I'm gonna
13:26kind of
13:28Check that manually and try to just cut it for you guys to make sure it's you know nice and easy for you guys
13:33So remember when I was in my tests, I noticed that there was no sound
13:36So what we're gonna have to do is um
13:38The reason why I didn't have sound guys is because I have an amp and because I have a
13:44Harmingkarton amp it did I need the amp needs to know when to turn on now
13:49Ii know so if you run to the issue of no sound
13:53then
13:55Then this is something you should check out right now
13:57You should figure out why you get no sound the most common issue is when you don't have your amp turn on
14:03So my my amp turns on on this plug right this little pin right here
14:08So you can use a tool to basically lift up the little pin
14:12It's really easy took me two seconds and you can pop it out like this and it's only held by basically a clip
14:18And you can push just climb back in and now it's kind of snugged in there
14:22It's right there if I want to take it out. I just go whoo. That's it
14:28So this should definitely turn on my amp now and now I should hear some beeping sounds and so forth like that
14:31hear some beeping sounds and so forth like that.
14:34So let's turn the head unit back on.
14:38By default, these head units have the little tone
14:41where when you press something, it makes a boop boop boop sound.
14:44So I know that was some bad onomatopoeia,
14:48but you know, you guys know what I'm talking about?
14:51Where it goes boop boop boop.
14:55Oh, you hear that?
14:58what, what I say about the boop boop boop boop so now the sound works, that is a huge
15:03So now the. The sound works that is a huge milestone and now like pretty much
15:09Even at this step right here a lot of people will be like oh finally it is a huge step
15:15So because most head units know what head units just have sound and they don't have like usb's and GPS and bluetooth
15:22Okay, okay most head units have lose it, but like Wi-Fi and stuff like that, but we we got sound so let's check out
15:28Let's hook up the Bluetooth
15:30Took a Bluetooth you need the Bluetooth little icon right here, and you need
15:36Need to pair it now look like there's a unit already paired. We're gonna delete that they usually do that for QA
15:41But sometimes they forget to
15:43What would you do it for quality assurance and make sure the quality control is on point?
15:48So it I'm it's kind of lame how they don't delete it, but
15:52Yeah yeahr. Yeah, so we hit this magnifying glass, so it is searching right now
15:58And we go to our Bluetooth now Bluetooth works whether you have an Android phone or an Apple phone
16:05My phone is called J note 8
16:07Let's this pair it my phone realizes like hey something's trying to connect
16:12the password should be zero zero zero zero and
16:18Boom, I think it's there
16:20So, let's check
16:22to a song to go to the song spot it's gonna be the A2DP I don't know why it's
16:26it's called that but that's just what's called and make sure it works
16:34There you go
16:35So we do have audio working here and you can try to skip and stuff like that you have the you get the metadata
16:41I don't know if you can see that because the screen protector
16:43You know we're gonna be kind of balls in removing the screen protector because we're about living life of like dangerous
16:51Okay, we want the audience to be able to see everything
16:55So the audio is working the Bluetooth working of course if I should be
17:00Of course, if I should be.
17:02Yeah, so I skipped the sound, the song
17:04and the next song came up.
17:06And of course you have the, it on my phone too,
17:09same beautiful now.
17:11Make sure it synced up and you can chorus
17:13and increase the volume here and there.
17:16Go to the next song, it skips it in real time.
17:19Oh, of course it should skip in real time, why wouldn't it?
17:23But I actually like that beautiful song, so.
17:25I'm gonna play that while I kinda wrap up everything,
17:28in the back when it comes to USBs and et cetera.
17:30You wanna make sure everything's plugged in.
17:32Not everything, but you wanna make sure
17:33those core functions are plugged in.
17:35So, let's get to it.
17:37Like we were discussing before,
17:38we're gonna reuse our old pieces
17:41and screw itter onto our new one.
17:45So this is going to be the climate control.
17:47Just going to put that bad boy right in there
17:51and it's clipped on for the most part.
17:53You might have to remove this harness.
18:11right here that we also need to incorporate so I have the fans right here
18:17that I'm gonna transfer it over so for your car you're gonna have to do the same thing transfer those pieces over
18:22making it look nice and well just look at that look at the finish I'm not even screwed on
18:27but just make it look OEM my friends just screwing these fellows in there's four of them just screwing in the top part
18:33Just screwing these fellas in there's four of them
18:38just screwing in the
18:40top part just want to talk about like what I noticed like you know how they all
18:47look very similar in the front but
18:49the the guts the back it looks very different some have micro SD slots some
18:56have the USB is kind of right here we have the you know the slot right here
19:03But the motherboard is a lot different from model a model now
19:08Let me show you an example of a unit that's made the practically exactly the same
19:15So this is the succain one with the Android pie and
19:20This one is a different model, but notice how
19:24different
19:26The motherboard is and look they're in the same orientation the plug it on this one is right here
19:32So that these are they're not mirror anything it's just notice how the harness wire is different where this one?
19:39It's right here. This one's right here the chassis the back plate is different
19:45Significantly different this one has many more outlets right here this one
19:51Carries like this different kind the kind of pin layout. It's just it's just vastly different
19:57in a lot of ways, so
19:59Don't think that just because they look the same or they
20:00because they look the same or they have similar specs they're the same because
20:05motherboards and stuff like that it makes a huge difference what comes the
20:11sound quality and interference and stuff like that so just wanted
20:15wanted to point that out right there with the the back is a lot different
20:19than other models and when it comes to internals the motherboard and stuff like
20:23that it's gonna vary a bit a lot so yeah I'm still just wrapping things
20:30up right here boys take it slow take it slow all right I don't know how well you
20:36guys can see this but I have the Wi-Fi the GPS the main harness this is an' this is
20:42an adapter so I can I can reuse my center console I will provide this adapter on
20:47my in the video description so if you want to retain your USB's you can still
20:54do this with this head unit so I can still use my center console USB with
20:57this. Then we have this wire right here which is an
21:02I have that firing to the glove box that way I can power my dash cam
21:06But if you want to have it they also include extensions if you want to use this USB or you want to put a flash drive right here
21:14I'm gonna leave that one blank. I'm not gonna use any extensions because I don't think I need an extra USB
21:20But it's nice to have because I I'm using that extra that USB wire right here
21:24And it goes all the way over there. So let's test some things friends
21:29All right, so we're just trying to get this back and I like to start from the bottom and of course
21:30So, we're just trying to get this back in.
21:33I like to start from the bottom.
21:35And of course make sure there's no wires dangling.
21:40Let's start from the bottom.
21:42You can anchor it from the bottom.
21:44Sometimes, if you anchor it too soon, it makes it kind of difficult.
21:47This applies for a really nice-fitting finish.
21:51So you want to make sure
21:54You don't have enough room on the driver side you can go to the passenger side because you don't have that big steering wheel
21:59Blocking you but you can I just
22:02Kind of you don't want to put too much pressure on the screen because I could craft this screen
22:07But you definitely want to kind of finesse it this requires a lot of finesse
22:11But things are gonna start
22:16lining up
22:17Events is a tricky thing so make sure if it doesn't feel like it's going in it's because the vents might be
22:25Kind of too hot you gotta make sure it's in the right portal
22:28So if you start from the top it might be easy, but then again that bottom
22:34It's in the story so you can go from the top up top down or go from the bottom up in this case
22:44I went from the bottom up
22:47This part, you know, sometimes you can just lick it off
22:50Give it some nice
22:52Buffet make sure you know and then you want to make sure it works of course
22:58Fire it up
23:08Seems like good. So just gotta
23:12Got the boop sound now we can go in more depth and stuff like that
23:13Now we can go in more depth and stuff like that again. We already checked Bluetooth
23:19Real quick. I can do steering wheel controls to do steering wheel controls you go to that key study
23:23You ever yet to have those three wires wired up in my case
23:26it was plug-and-play, play because if you buy a
23:29car like a
23:31Let's say you had a Chevrolet a and you bought a Chevrolet unit it should have the have all the wires there for you
23:36So I go to key study and
23:38And then if I press up on volume up, it automatically detects, so of course I want to get volume up volume up
23:46Let's do volume down. Oh volume down
23:49So there's a bunch of macros you can do you can even do long clicks. I'm not gonna do long clicks or short clicks for now
23:56So please pick ones
23:59We're gonna do
24:02The
24:03This one's next. So I'm trying to find the next icon
24:07there it is and
24:09skip or back and
24:14So forth and so forth. I don't want to bother you
24:17But you know those are the three like the four macro keys make sure you hit save and now a you should be
24:22able to have volume up and
24:25Then you can skip your song suit so volume down
24:28Going up at the Bluetooth and all that so yeah that kind of concludes the installation the unit self this the UI
24:34that kind of includes the installation the unit self this is the UI it's really I
24:38would say it's pretty vanilla like it's not too offensive it's not skin too
24:45heavily sometimes I seen some Android head units are skin a little bit pretty
24:50heavy yeah here's let me just go through the settings real quick that's a pretty
24:57important one my Wi-Fi works great I'm actually pretty far I'm actually pretty-
25:00far from my house, my router and it's picking up Wi-Fi and it's downloading
25:05some maps data right there with the notification bar. Now let's go to car
25:10because this is a car, see what we got. This is probably the RGB-ness so you got
25:14you can pick any color color depending on your interior. I know like the
25:18Mustang boys have it like this teal color. In my case red makes a lot of
25:23sense. Let me see how white looks like. Some white has this look. It's more
25:28like a cool blue but it is kind of white. It is white. You got steering controls,
25:32You got steering controls amplifier
25:35So you mean you've seen all this stuff before
25:39navigation
25:40You can do your navigation settings
25:43extra settings so extra settings shut down delay when a
25:49Accessories off so I have an auto, so that way it's usually a fast boot
25:54A lot you can allow this you can read that reverse volume
25:58I definitely like to have the reverse volume on so when I'm reversing there's still sound
26:04Some people like it when you're reversing it has your audio off the way that in Texas it knows when you're in the reverse gear, so
26:13Yeah, so my car I have the backup camera on the top screen though, so
26:18Don't need that voltage display that's kind of important. So have voltage right there says 11.9
26:25So I'm still pretty good
26:27That means I can tell if I run too low. I probably wouldn't be able to start my car
26:33So I like having that voltage meter right there
26:36then
26:39We don't get to factory settings today
26:42system
26:43Let's see what what's this machine all about we have Android 9.0, which is great
26:50That's the latest version of Android. So having the most secure like the best security
26:56The bill number the kernel MCU, you know, if you can know how read this, that's great
27:01This is a quad core cortex a 35 at 1.5 and it has 1.96
27:07Let's say two gigs of RAM. So that's like a you know a quick look at the unit itself
27:15Make sure this is how you can tell if it's really Android on Android pie. So that's cool. It has all of that. I don't know
27:27Cool
27:29So, yeah guys, so don't forget to
27:34you guys want to check this unit out I'm gonna leave the video in the description
27:39below video links below down below in the description on where you can get this this
27:45This is not really all about just having the WRX 1.
27:50Their website has a, bunch of units, so
27:56so I'm gonna show you guys probably a lot of units right now.
27:57You can buy all sorts of types like BMW, Toyota, of course there's Nissan, I know there's
28:02To Yoda, there's like of course, there's like Nissan
28:07I know there's a lot for the Corolla the Camry's the really popular ones
28:11But there's still a lot for the Centra's and stuff like that. So
28:15Yeah, make sure you guys hit that sub button and that like that would make me very happy and I can continue making this videos
28:22I hope this was helpful on how to install
28:26You know like a more fit and finished version in the latest 9.0, which is great
28:30latest 9.0 which is great yeah the thank you guys for watching don't
28:36forget to sub like and comment if you guys have any, any questions below that would
28:41be amazing. Anyways, see ya'll, see ya!
Machine-transcribed from the full-length video and lightly cleaned (product names fixed). Watch the video for exact wording.
Next step


