iDoing CarPlay Head Unit: Subaru WRX (2017) Full Install, Shell Transfer and Reverse Camera
Remove the glove box side bolts and the trims, pull the clipped-in factory radio, then move the vents, buttons and climate control onto iDoing's custom shell, plug in the 10-pin, 6-pin, 28-pin, CAN bus and antennas, wire the reverse camera to CCD AV-IN, and squeeze it back in bottom-first.
Full video (23 min): WE DOING THIS! | CARPLAY FULL Installation SUBARU | CHEAP · John's YouTube channel
Get the parts
- iDoing WRX head units (Amazon search, link from the description)Search on Amazon ↗
- Socket set with 10mm: Generic pickGeneric pickBuy ↗
- Clip and trim removal tool set: Generic pickGeneric pickBuy ↗
- Head unit (AliExpress, link from the description)Buy ↗
- Head unit (eBay, link from the description)Buy ↗
- TPMS sensor (eBay, link from the description)Buy ↗
CodeiDoing coupon code (NGOOYEN) — NGOOYEN
As an Amazon Associate I earn from qualifying purchases. Some links are affiliate links.
Yes — you can install iDoing on the iDoing Android CarPlay head unit for the Subaru WRX, with a custom shell that takes the factory vents, buttons and climate control (AliExpress, eBay and Amazon links in the video description) with a 23 min DIY job. Remove the glove box side bolts and the trims, pull the clipped-in factory radio, then.
Overview
John installs an iDoing CarPlay head unit in a friend's 2017 Subaru WRX (a base Premium without Harman Kardon or Starlink). He says the same process applies to the STI, XV, Forester and Impreza. The factory unit is simple to pull: remove the glove box to reach the 10mm bolts on the side, take off the damper and trims (pull them by hand through the cracks; watch the wires behind), remove the remaining 10mm bolts (one is really hard to reach, so a magnet tool keeps it from falling into the dash), then unclip the radio and unplug the push-style connectors. The iDoing unit comes with a custom shell, so you move the factory vents (four clips each), the buttons and the climate control over, and that's the big advantage over a generic aftermarket radio. The bracket screws are soft and strip easily, so go gently. The kit includes a harness, a CAN bus decoder and plugs: the 10-pin is main power, the 6-pin is the rear speakers, there's a steering-wheel-control plug for the WRX, a separate AC harness and the FM antenna. Mount the GPS antenna up top, put the Wi-Fi antenna on top of the vents, add the 4G antenna, mic and USBs (three to the glove box for charging or a dash cam). For the reverse camera, the camera lead from the 28-pin goes to the CCD AV-IN. Fish the wires back, anchor the unit at the bottom first, then flex and push until the side clips seat. He ends up with not even a fingernail gap, and the reverse camera, radio and ZLink all work.
Vehicle & fitment
- Product
- iDoing Android head unit with Apple CarPlay for the Subaru WRX / STI
- Shown on
- Subaru WRX 2017 (base/Premium, no Harman Kardon or Starlink); John says the process is very similar for the STI, XV, Forester and Impreza
- iDoing Android CarPlay head unit for the Subaru WRX, with a custom shell that takes the factory vents, buttons and climate control (AliExpress, eBay and Amazon links in the video description)
- Comes with a CAN bus decoder; listed as compatible with the Harman Kardon system (not tested here: this car isn't HK)
- Premium/Limited trims with a different harness: iDoing includes a reverse-signal wire and a separate harness for those
Always confirm fitment for your exact year and trim with the seller before buying.
Tools & parts
Tools
- 10mm socket
- Magnetic pickup tool (for the hard-to-reach bolt)
- Screwdriver or power tool (gently: the bracket screws strip easily)
- Microfiber towel to protect the dash
- Trim/clip tool (or your hands)
Parts
- iDoing WRX head unit with custom shell
- Harness with CAN bus decoder, steering-wheel-control plug, 28-pin camera lead
- GPS, Wi-Fi and 4G LTE antennas, microphone, USB leads
Step by step
- 1
Start with the glove box▶ 0:34
The factory unit is simple to pull. Remove the glove box to reach the two 10mm bolts on the side.
- 2
Remove the damper and trims▶ 1:27
Take out the damper; there's a 10mm behind it. Pull the trims by hand through the cracks; there are no bolts, but wires sit behind them.
- 3
The last 10mm▶ 2:44
One side bolt is really hard to reach. Loosen it and pull it out with a magnet tool so it doesn't fall into the dash.
- 4
Pull the radio▶ 4:01
It's held by clips and it's heavy, with metal clips, so lay a microfiber towel down. Unplug the push-style connectors on the back.
- 5
Check the harness▶ 5:55
The kit has a CAN bus decoder (meant for Harman Kardon cars), the 10-pin main power, a steering-wheel-control plug for the WRX, the 6-pin rear speakers, the FM antenna and a reverse-camera lead.
- 6
Mock-test first▶ 7:11
Plug in the main power and make sure the head unit turns on before you build it up.
- 7
Move the vents▶ 7:43
Each vent pops out with four clips. Clip them onto iDoing's custom shell (top first, then the bottom).
- 8
Move the buttons▶ 9:26
Press the little clips and squeeze to pull the buttons out, then clip them into the new shell.
- 9
Move the climate control▶ 10:16
Remove the brackets on the factory unit to free the climate control, then bolt it to the new unit. The screws are soft and strip easily, so go gently.
- 10
Antennas▶ 12:09
Mount the GPS antenna up top (it gets a good signal there), the Wi-Fi antenna on top of the vents, and the 4G LTE antenna.
- 11
Extra ports▶ 14:06
There are RCA outs, subwoofer, AV out, CCD AV-IN, an extra USB and a SIM slot. John connected the extras so the owner can use them later.
- 12
Reverse camera▶ 16:28
On the 2017 WRX, connect the camera lead from the 28-pin to the CCD AV-IN. Premium/Limited trims with a different harness get a reverse-signal wire and a separate harness from iDoing.
Tip: Mock-fit and put the car in reverse to test before you close it up.
- 13
Final wiring check▶ 18:34
Microphone routed behind the trim, rear speaker harness, radio harness, the 28-pin (steering-wheel controls and reverse signal), main power, GPS, the AC harness, and the plugs for the multi-function display and hazard button. Route three USBs to the glove box.
- 14
Squeeze it in▶ 19:43
It's a tight fit. Fish the wires to the back, anchor the unit at the bottom first, then flex it and push until the side clips seat.
- 15
Test▶ 21:18
Not even a fingernail gap. The reverse camera, radio and ZLink all work.
Wiring notes
- 10-pin: main power. 6-pin: rear speakers.
- 28-pin: steering-wheel controls, reverse signal and camera lead; camera goes to CCD AV-IN.
- CAN bus decoder included (for Harman Kardon cars).
- Separate AC harness, plus plugs for the multi-function display and hazard button.
- GPS, Wi-Fi and 4G LTE antennas, FM antenna, microphone, 3 USBs to the glove box.
Get the parts
- iDoing WRX head units (Amazon search, link from the description)Search on Amazon ↗
- Socket set with 10mm: Generic pickGeneric pickBuy ↗
- Clip and trim removal tool set: Generic pickGeneric pickBuy ↗
- Head unit (AliExpress, link from the description)Buy ↗
- Head unit (eBay, link from the description)Buy ↗
- TPMS sensor (eBay, link from the description)Buy ↗
CodeiDoing coupon code (NGOOYEN) — NGOOYEN
As an Amazon Associate I earn from qualifying purchases. Some links are affiliate links.
FAQ
What vehicle does this head unit fit?
It is shown for the iDoing Android CarPlay head unit for the Subaru WRX, with a custom shell that takes the factory vents, buttons and climate control (AliExpress, eBay and Amazon links in the video description). Comes with a CAN bus decoder; listed as compatible with the Harman Kardon system (not tested here: this car isn't HK) Always confirm your exact year, trim and factory audio with the seller.
How long does the install take?
John's full video is 23 min. Plan on that much time for a careful DIY install, plus extra if you are new to dash work.
What tools do I need?
Tools called out in the guide: 10mm socket; Magnetic pickup tool (for the hard-to-reach bolt); Screwdriver or power tool (gently: the bracket screws strip easily); Microfiber towel to protect the dash; Trim/clip tool (or your hands).
Does it support wireless CarPlay or Android Auto?
Check the product listing for wired vs wireless CarPlay / Android Auto before you buy; John shows what worked in the video.
Where do I get the parts?
Use the buy links on this page for the unit and any harnesses John used. Some links are affiliate links.
Is this beginner-friendly?
The guide breaks the job into 15 steps with timestamps into the video. If you can remove trim panels carefully, you can follow along.
John's Subaru WRX
More photos →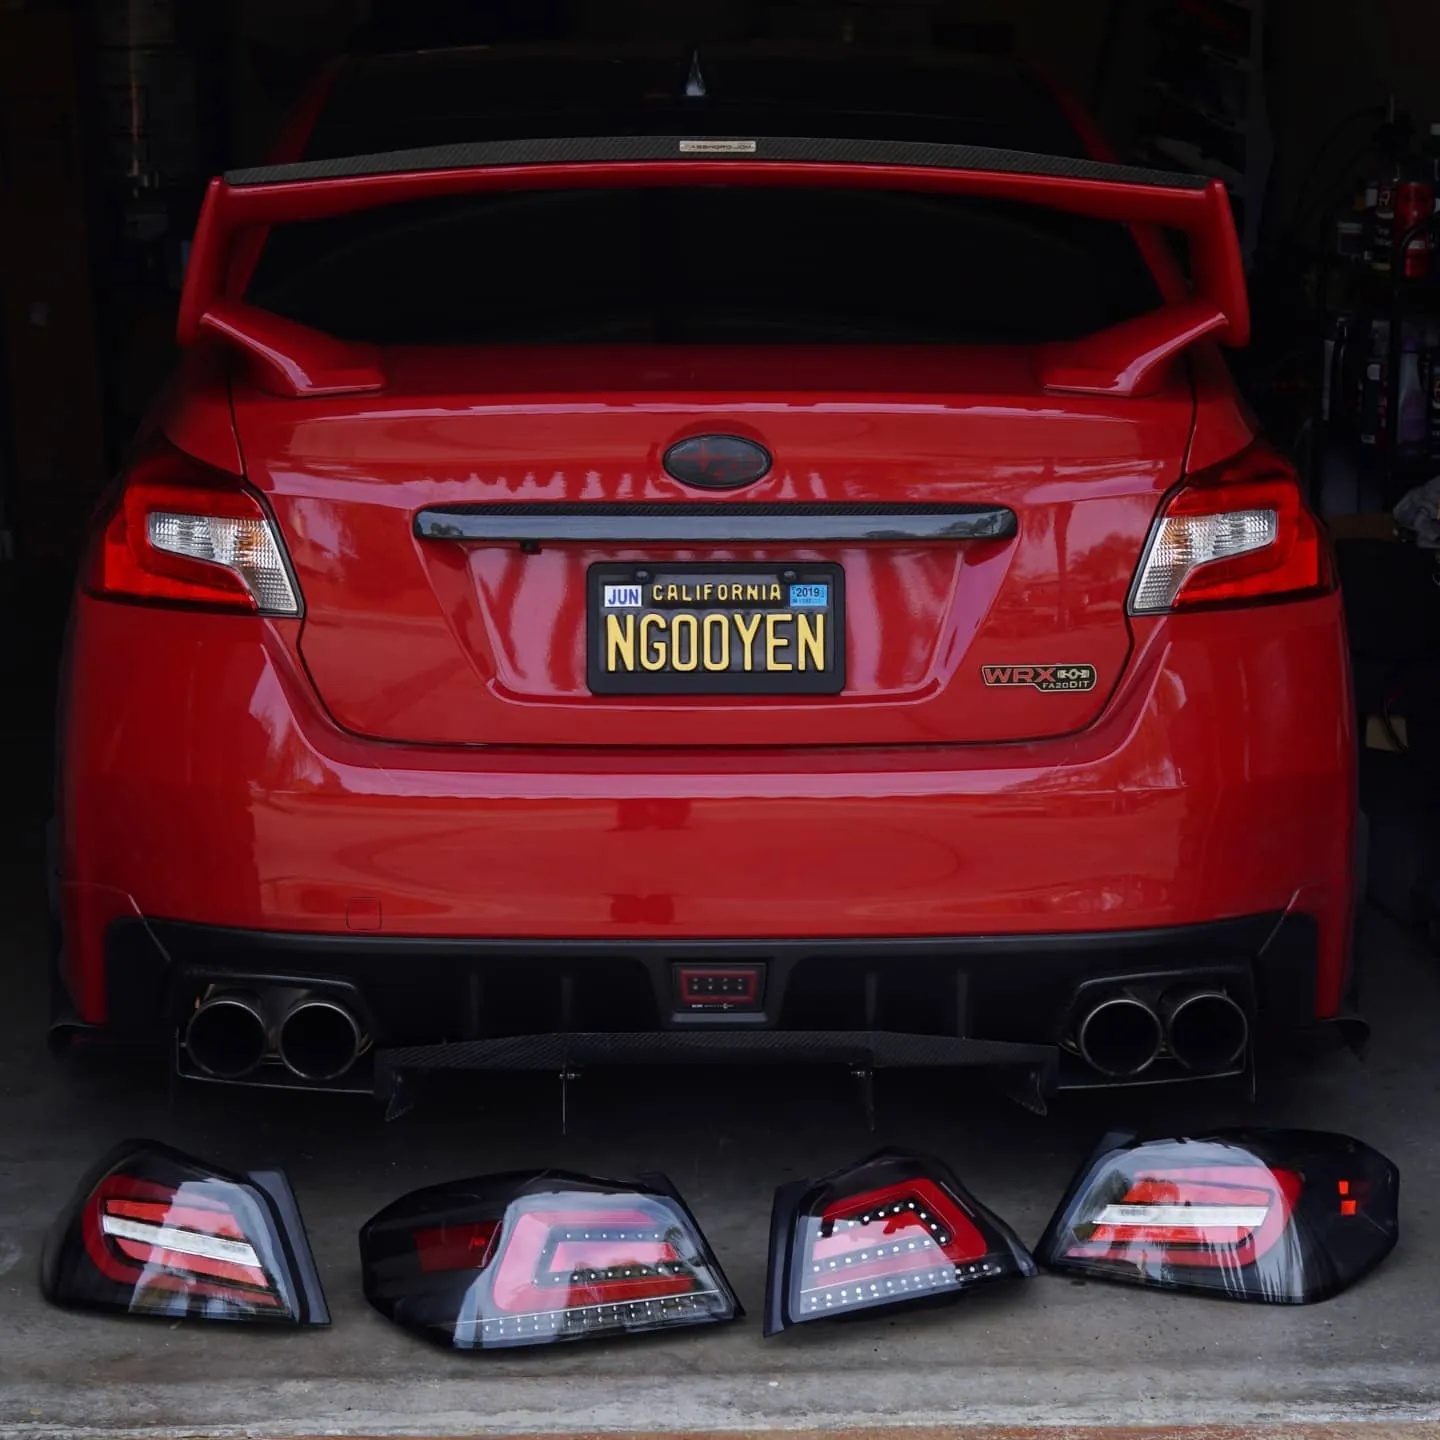
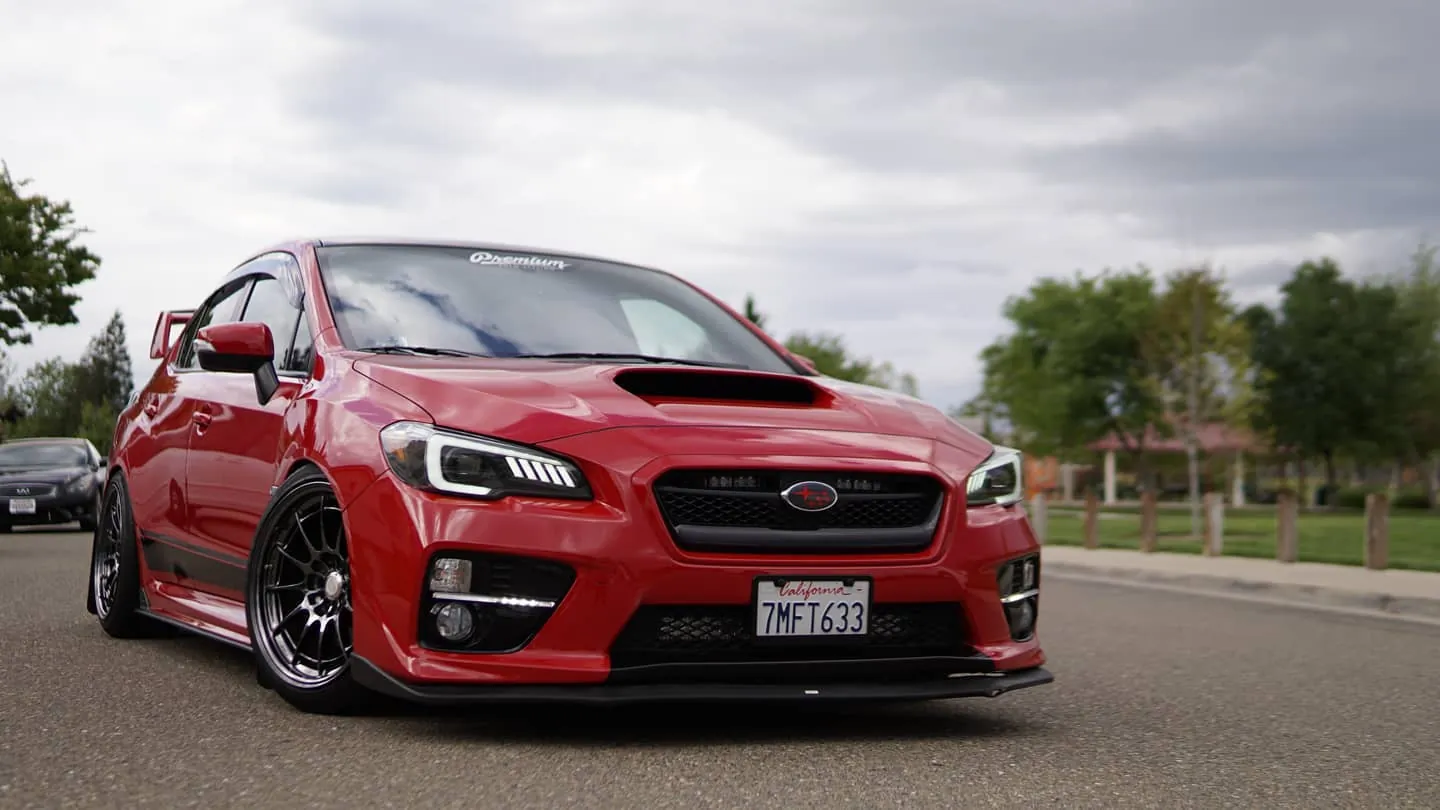
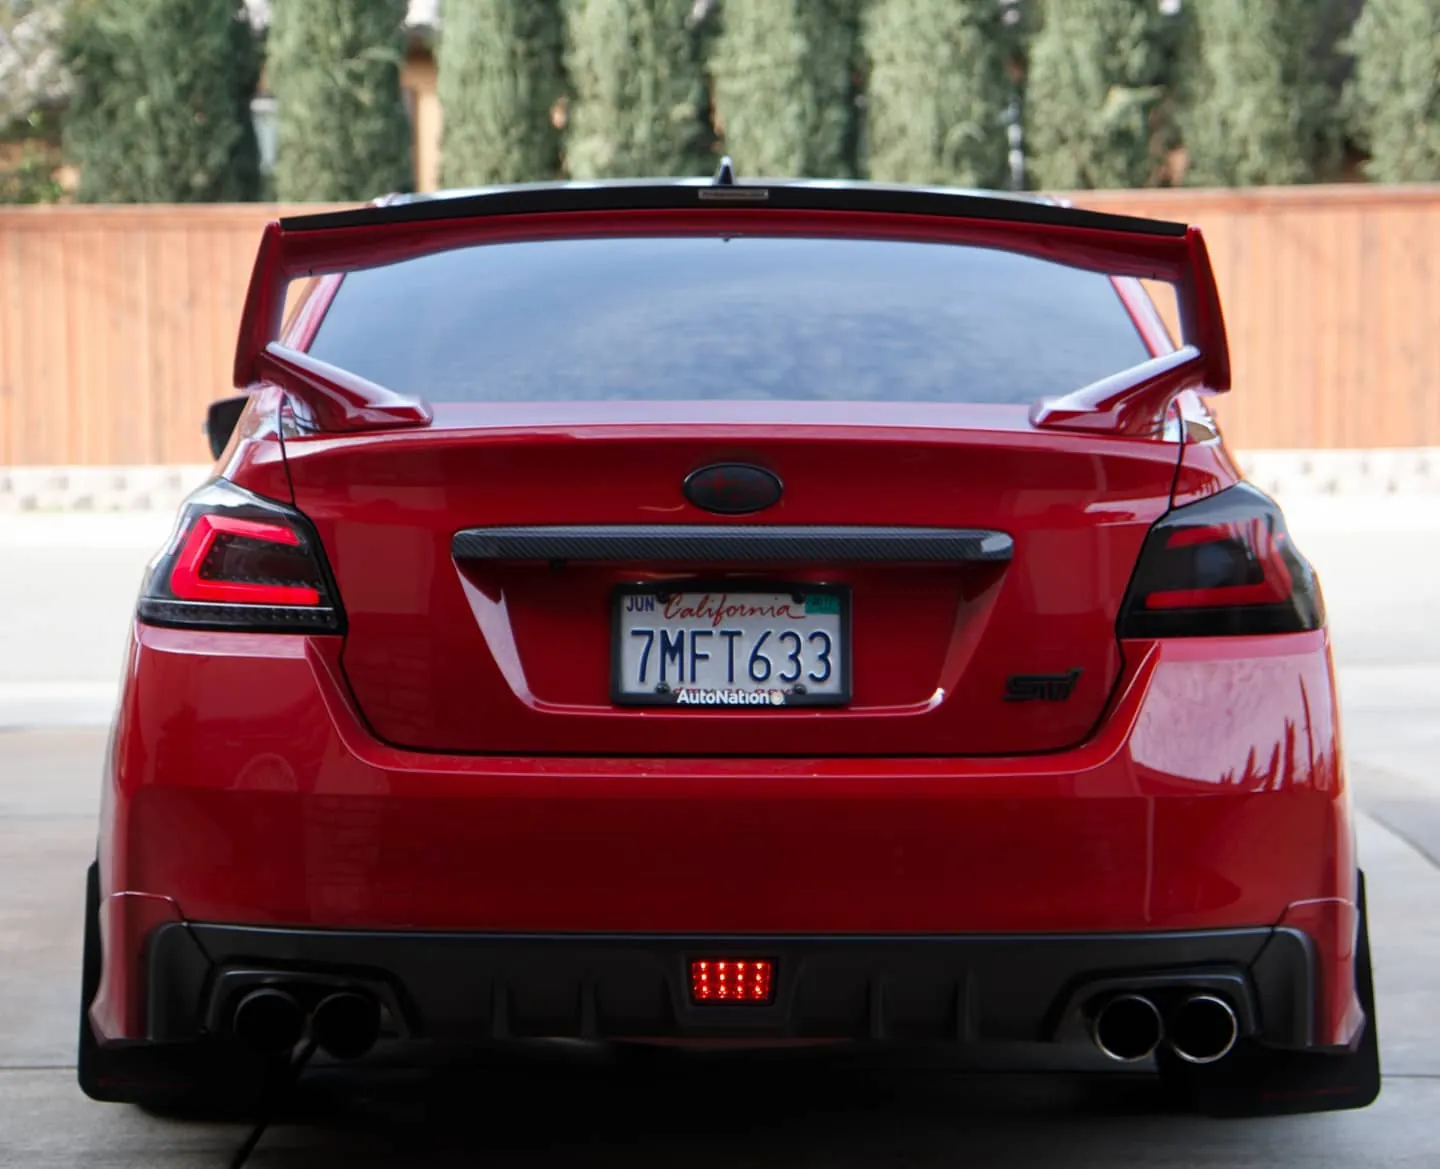
Photos from @ngooyen on Instagram. Follow for more.
Full transcript
Show the full transcript (233 lines) +
0:00We got the Subaru WRX about to do the install for the iDoing.
0:04Now this is the latest model.
0:05It says it's compatible with the Harman Kardon Edition.
0:10This one isn't HK, but, man, this thing is,
0:14well, that front kit is nice.
0:17But yeah, so this is a 2017 model.
0:19This is a base model, premium, premium.
0:34We have the OEM unit.
0:36It's B, it's pretty, it's pretty simple to disassemble.
0:41There's two 10mm bolts, so you do have to remove the glove box.
0:45And then you kind of have to remove these things on the side.
0:48Then the whole thing just pops out from there.
0:51Then there's
1:27So after you remove the little damper right here, which is this bad boy right here, you,
1:35you're going to see a 10mm that's kind of holding it in so we get the truck.
1:39But when I-
1:44Alright so we got to remove this and you can, I just use my hands.
1:49You get in between the cracks and then you just slowly pull it.
1:52There's no bolts.
1:53Be careful because there are wires right here.
1:55So you want to make sure this bad boy is removed.
2:00And again, those harnesses, what I do to remove these harnesses, I,
2:04and I get the, this one's usually kind of hard because there's not a lot of clearance.
2:11I usually just push the whole thing out.
2:15Oops, I don't know if you guys can even see that.
2:20Yeah, so pop the harness out.
2:22I pop the top part out and just get access to that clip like right here.
2:30There you go.
2:31So you can pop it back in but we're going to be transferring this stuff over to the new head unit shell.
2:36So you can.
2:37So you can pop it in because it's not too much work to keep everything in one piece piece.
2:41So we removed the trim piece right here.
2:44Of course you see the 10s to remove the 10s.
2:46We still need to do one more 10 on the side.
2:49But you know, we're just wrapping things up.
2:51Doing this stuff, it's reminds me of the good old days with my WR
3:22and you-
3:26Let me see if I can get it, so it's actually, you can kind of see it.
3:29It's that bolt right there I'm pointing to.
3:32It's actually really hard to collect it.
3:36And then after it's loose, try to pull it out with the magnet tool.
3:43Just so, you know it doesn't fall down into the abyss.
3:46I've done correctly, you're able to remove this bad boy out.
3:52Correctly right.
3:54The whole thing should just pull out from here.
3:57We'll see
3:58We'll see how that goes
4:01It's held by clips. Can I use this microfiber towel right here? Yeah, just so you uh because it is heavy and there's like metal like
4:29metal clips
4:30Then you just got unplug of it from the back so you remove all the plugs in the back. They're pretty simple
4:41Most of them have just this push style
4:44Push style At this one was reverse mounted
4:45This one was
5:14The head unit is off
5:17It's a it's a chunker
5:19It's a chunkerl.
5:23So we have that some of the stuff we have to transfer over like the AC
5:28Climb control buttons for the the vents and so forth so let's get to that before we
5:35Install everything we want to make sure the head. Heads so we're just gonna unwrap this bad boy right here
5:40This card is this car is no Starling right?
5:44No Starling yeah
5:50So at the head unit right there all right cool cool
5:55You got the harness and this one comes with the CAN bus
6:00Don't know what exactly this is gonna do but it says for Subaru wRx this is supposed to work with a Harman carton package
6:08That's what they say unfortunately this is not a Harman carton one
6:11So I can't test that theory, but just know that there is a CAN bus decoder so that it should work
6:21Main power source is the 10 pin so we're gonna make sure the 10 pins in there very good
6:27We have the steering wheel controls
6:29for WRX
6:30very nice
6:33Six pin connector
6:35This is for the rear speakers, so you definitely want those rear speakers
6:41Remember this one's for the AC which is going to be separate. I'm not gonna deal with that and then
6:48There's also the
6:50antenna
6:52for the FM radio
6:54plug bad boy in
6:56there's and
6:59We should be said there's also the reverse camera wire right here
7:03We have to double check that make sure everything's good with that
7:06Because reverse cameras a little bit tricky, but there is a camera
7:10That's not the main focus right now
7:11We just want to make sure the head unit actually turns on
7:16Plugging it back to the back of this mean power right here
7:25settle place
7:31Spotify or Pandora you can load it up. I actually like this more than my Tesla
7:38So I-yes all the first startup, but we do have it running and
7:43Yeah, it's good. All right, so we have the vents right here. I'm just gonna have to pop it out
7:49So we just pop these clips there's four clips in total
8:03Can I just wiggle it out?
8:06Then you have these ones
8:28And voila comes out first vents out same thing
8:31And voila, it comes out.
8:33First vent's out.
8:34Same thing.
8:39All right, so we're going to add these vents onto the new head unit.
8:44So it's really cool that.
8:45There's there's a shell for this, again, if you had an aftermarket a..
8:48market head unit they're not gonna have this nice custom shell which is it's just
9:00The top because there's more flex that way you can add put it on here
9:05And then clip it on the bottom. Make sure it goes in correct and correctly
9:15Clip in and bam. Look at that. That looks
9:19Great. Fitment great fit. Same with this bad boy right here. Yeah
9:26Now we got to transfer over these buttons
9:29who know
9:38There's little clips
9:41Press on these
9:43You just squeeze that usually just press on them and then you squeeze up to
9:47Now this is starting to look like a full head unit, but you got to get that climate control
9:53So we're gonna get that the original
9:57Head unit here
9:59Oh things that just heavy get that good weight reduction. Okay, so we just got to remove it
10:01Get that good weight reduction.
10:09Okay, so we just gotta remove it.
10:16So these brackets are in the way so we're going to have to remove these brackets too.
10:26Be careful these strip really easily.
10:29All right, here's the power tool because it's these bolts or these little
10:35Screws are really soft, so you gotta be careful
10:5385 was my favorite mod for the car
10:57Oh, you sold all your stuff too. Yeah
11:00My least favorite mod was the Brembo brakes. Not too sure about that, but for my car
11:05I remember reading up that the plus 27 because they poke out so much
11:10The the Brembo it had plenty of room. That's the look cool
11:16And it looked great, but yeah, I might just pay my calipers and just call it a day
11:22It's not like I'm gonna be tracking this thing, so yeah
11:29May it look just reinstalling the bolts onto the new head unit. You can use a
11:44Just reinstalling...
11:46onto the new head unit.
11:51You can use a tool.
11:59This looks good.
12:09So we just have to connect all the other wires and we'd be pretty much set. All right, so let's first install the next center
12:19This is a GPS antenna
12:23Really annoying flying and it's all the GPS and it's gonna be it's a labeled so
12:38So we're gonna install the GPS and it's meat it's a labeled so...
12:50and they're good and then honestly we
12:59have car play on this unit so we don't
13:01have to install I get a good signal just by
13:05mounting it right on the top that's what
13:08I'm gonna do I think we have the Wi-Fi
13:25Let's screw this bad boy into
13:38And this usually you want to, I usually put this on top of the vents.
13:46Still hidden but on top of the vents.
13:49Screwed in that for now.
13:55There's a bunch of another like 4G and screw that in a little bit.
14:06crazy how much ports they have back there.
14:10One for TV too. It's not labeled so I don't know about once anymore.
14:15So I'm going to plug in the owner just in case he decides to use this in the future.
14:26So these are for RC out jacks for if you want to run RC A speakers.
14:33You have your microphone.
14:35So this is all the microphone.
14:40Six pin.
14:42This one has subwoofer, audio video out, CCDV ins, I'm also going to just install that
14:50so you can have that accessible to him.
14:56Extra USB.
15:08So we have that right here, and then we have the main one which is the 4G LTE, with SIM
15:18card.
15:19And that's going to go right here, and yeah, so all the wires right there are plugged in.
15:37forget the microphone so we're gonna install the microphone but we'll
15:47see it where he wants the owner once the microphone we have another intent right
15:56so we'll solve that there are so many in tenets this is a 4g one
16:04It's either both B. So it doesn't require two antennas
16:28Now we just have to plug it on the dissent should be set but we need to get that
16:32reverse in reverse camera. Unfortunately, there's no good label. So we're just
16:37going to have to play guessing it's CCD AVIN. You want to hook it up
16:42onto this other end right here. This is camera. So we're going to marry
16:48those two together, hook it up together and see what happens.
16:54But each head, unit always has a little bit different each time.
16:59All right, so we have the reverse camera now for the 17WRX you want to get the there's a pin coming
17:06out of this 28 pin. I know it's pretty bright but there's a 28 pin and you want it. the camera
17:15on this bad boy right here. I know it's hard to see but it's this camera and on the back of
17:22CCD AVIN that's the one you want to hook it up to now on certain models like the
17:29more premium limited ones they have a different harness but iDoing does have
17:37the reverse wire signal right there and there's a harness for that too so if you
17:42do have the more difficult one they have you accommodate it for that too as
17:46well so they have the other notes very bright but they have the other
17:51harness right there too for you so let me just show you guys how it looks like right
17:56with it kind of mock fitted right here I have it in put the car in reverse and then
18:02you can kind of see right there car automatically goes in reverse it just
18:06it's it's actually a mechanical thing so great there's a like there's a wire that
18:11tells you that it's on there maybe good so the head unit is looking really good
18:16and I'm just gonna route some of these wires over here over here and so forth
18:21No, it looks crazy right now but something that I have all the accessories that he's not
18:28using right the owner comes to use it, he can use it right there but let's go over the wiring
18:34one last time.
18:35So there's the microphone hookup right here, it's going out of this harness and I have
18:40it routed behind this, behind this trim piece and just have it sticking right there.
18:45There is a built-in mic on the head unit, but we're just going to have two mics, so it
18:49has better audio for the speaker and stuff like that, for Siri and stuff like that.
18:55We have the rear speaker harness, the radio harness, the 28 pin right here, which is
19:03the steering wheel controls, reverse signal and and stuff like that the main power.
19:09Other than that, we have all the GPS wiring right here and we're done.
19:13Don't forget to plug in the AC harness
19:20AC harness and then we have a two
19:23For the midfield display and the hazard button
19:28Got one last thing I have three USB, B's, going the owner says route those wires right here and have it in the glove-box
19:35So we can charge his
19:37Yeah, I see it as a dash cam. So if he has a dash cam or stuff like that, you can have access to all that
19:43All right, so just tuck all, these wires back. I'm gonna record this spot to my foot the fitment
19:49I know a lot of users have issues picking this head unit in sometimes. It is tight squeeze
19:55That's why I'm gonna demonstrate this you want to like fish all the wires in the back make sure there's no wires in England and
20:01Don't forget that a see so we're gonna
20:03This one luckily is a single thing like in the rear or like the smaller style
20:09It's good because there's a lot of cables back there
20:13it just helps with the cable management
20:16After I have in this position right here
20:19I like to have it kind of anchored on the bottom to get these two to get the hazards up
20:33So everything's hooked up, double check, make sure everything looks right, and then we're
20:47going to squeeze it.
20:48I like to hook it up from the bottom first.
20:53So now it's anchor towards the bottom.
20:55And now you want to kind of flex it like this.
21:00? Flex it.
21:06it. Then you want to push.
21:07There's these clips right here, each side.
21:10Try. Try to get in there.
21:11Try it.
21:13You're on both sides.
21:18Okay. Okay. So look at the fitment now. You can see right here, there is no, there's not
21:30even a fingernail gap right here, which is perfect. Check your gaps right here which is perfect.
21:36So everything is in and it's. This button, there you go. So now the button is fitting
21:43looking good check all this stuff is working then of course you want to make
21:50sure the car actually fires the head unit up alright so the car is on so it's
21:56charging up the battery a little bit the head unit is working I'm gonna test a
22:01few things main things again with a reverse camera so throw this car in
22:06reverse camera shows up beautiful beautiful stuff right there and then
22:12and let's see what else.
22:14Let's check out radio.
22:24Radio's working, great.
22:29Blue Tooth, we'll check that with the owner
22:30We'll check that out with the owner.
22:32Then Z-Link and stuff like, like that.
22:34Yes, so that's really good.
22:40Woo, WRX install done.
Machine-transcribed from the full-length video and lightly cleaned (product names fixed). Watch the video for exact wording.
Next step


