Subaru WRX / STI 2015–2021 Head Unit With Real Knobs: Full Install + Wireless CarPlay
John's favorite WRX head unit so far: physical volume and tuning knobs, a glass screen and wireless CarPlay. Remove the 10 mm bolts, glove box damper and airbag-side trim, swap the trim and vents, plug in and test.
Full video (21 min): My favorite WRX Headunit so far, It has knobs! | Install! · John's YouTube channel
Get the parts
- Magnetic pickup tool: Generic pickGeneric pickSearch on Amazon ↗
- Plastic trim removal tool: Generic pickGeneric pickSearch on Amazon ↗
- 10 mm socket and extension: Generic pickGeneric pickSearch on Amazon ↗
- WRX / STI 2015–2021 head unit with knobs (AliExpress; Forester variant at the same link)Buy ↗
As an Amazon Associate I earn from qualifying purchases. Some links are affiliate links.
Yes — you can install This kit on the Compatible with 2015–2021 WRX / STI with a 21 min DIY job. John's favorite WRX head unit so far: physical volume and tuning knobs, a glass screen and wireless CarPlay. Remove the 10 mm bolts, glove box damper and airbag-side trim, swap the trim and vents, plug in and test.
Overview
John has a soft spot for the WRX, and this is his favorite WRX head unit so far because it keeps real knobs: a spring-loaded tuning knob and a proper volume knob, which he much prefers to on-screen volume. The factory unit is held by 10 mm bolts on the sides, plus one behind the glove box (remove the little damper to reach it) and one behind the airbag-side trim (remove a Phillips screw and pop the trim). He uses a magnet tool so the bolts don't drop into the dash and lays a microfiber towel down because the old unit is heavy. The factory buttons and the vents move over to the new trim, the unit clips in and screws down, and the fit looks OEM. The kit's main black harness has pigtails for everything; plug in what fits, connect the grounds, and the purple wire is the backup camera input. Sound works first try, wireless CarPlay comes up automatically, the steering-wheel buttons read, and there's a setting for how much the volume drops in reverse. The screen is slightly smaller than his previous unit (he estimates about 6.5"), but he'd rather have the knobs.
Vehicle & fitment
- Product
- Android head unit for the 2015–2021 Subaru WRX / STI with physical volume and tuning knobs, glass touchscreen, wireless Apple CarPlay and Android Auto, and a backup-camera input
- Shown on
- Subaru WRX 2018+ (facelift) shown; the unit fits 2015–2021 WRX / STI
- Compatible with 2015–2021 WRX / STI (per the description)
- There is also a Forester variant; select it at the link (per the description)
- Subaru changed parts of the dash over these years, so check the version you need, per John
Always confirm fitment for your exact year and trim with the seller before buying.
Tools & parts
Tools
- 10 mm socket with extension
- Phillips screwdriver
- Plastic trim tool or flat screwdriver (vent tabs)
- Magnetic pickup tool
- Microfiber towel (to protect the dash)
Parts
- Head unit with knobs and trim
- Main harness with pigtails
- Ground leads
- Backup camera input (purple wire)
Video chapters
- 0:00Subaru WRX head unit intro
- 1:04Removing the factory radio
- 2:17Disconnecting wiring harness
- 3:39Removing final bolts and AC
- 5:54Installing the new head unit
- 8:28Wiring the new system
- 11:21System testing and backup cam
- 13:52Bluetooth and CarPlay setup
- 15:05Final checks and controls
- 17:52Settings and system overview
Step by step
- 1
Why this unit▶ 0:42
It has knobs: the tuning knob is spring loaded (twist max right or max left and release) and the volume knob works the way you'd expect. The screen is much bigger than the factory one, and you get Apple CarPlay and Android Auto.
- 2
Side bolts▶ 1:10
There are 10 mm bolts on the sides of the unit; once they're out it starts to pry free.
- 3
Glove box bolt▶ 1:36
Empty the glove box and pop out the little damper clip on its side. Behind it is another 10 mm bolt holding the unit.
- 4
Harness clips▶ 2:27
Unplug the harnesses behind the glove box. One has very little clearance; John pushes the whole connector out and pops the top part off.
- 5
Airbag-side trim bolt▶ 3:27
Down low there's a Phillips screw. Remove it and pop the airbag-side trim to reach the last 10 mm bolt.
Tip: Crack it loose, then pull it out with a magnet tool so it can't drop into the dash.
- 6
Pull and unplug the factory unit▶ 4:26
Lay a microfiber towel down; the unit is heavy and has metal edges. Unplug the back by pressing the actual release tabs. One connector was reverse mounted and pushes from the bottom.
Warning: Be careful pulling it out; don't let it rest on the dash bottom.
- 7
Fit the new unit▶ 5:56
Remove the four screws on the old unit's brackets and move the hardware over. The new unit is held by clips, then screws in.
- 8
Move the factory buttons and vents▶ 6:34
Transfer the OEM buttons, then the vents (four slots each side). Pry with a screwdriver, clip the top first, then push in the bottom with steady pressure. Check the vent fins move left, right, up and down.
- 9
Wiring▶ 8:31
The main black harness has pigtails for each factory plug, so plug in everything that fits. Connect the two ground leads. The purple wire is the backup camera input.
- 10
First power-up▶ 11:32
Sound works first try. Subaru changed things through these years, so double-check you have the right version for your car.
- 11
Bluetooth and wireless CarPlay▶ 13:03
Pair the iPhone over Bluetooth; it then jumps straight to wireless CarPlay automatically with texts, maps and everything else from the phone.
- 12
Steering-wheel controls▶ 15:29
Press volume up and the other buttons to confirm the unit reads them.
- 13
Final fit▶ 16:18
The unit sits flush and the gaps are even. If yours sits a little proud, push in at each side; there's a clip on each side that a lot of WRX installs don't seat.
- 14
Glass screen and knobs▶ 16:50
It uses real glass, not plastic, and the rubber on the knobs feels good. The screen is a little smaller than his previous unit (about 6.5", John guesses), but he prefers the extra buttons and knob to on-screen volume.
- 15
Reverse volume setting▶ 18:56
You can choose what happens to audio in reverse: mute, no change, or 50%.
Wiring notes
- Main black harness with pigtails for each factory connector; plug in everything that fits.
- Two ground leads.
- Purple wire: backup camera input.
Get the parts
- Magnetic pickup tool: Generic pickGeneric pickSearch on Amazon ↗
- Plastic trim removal tool: Generic pickGeneric pickSearch on Amazon ↗
- 10 mm socket and extension: Generic pickGeneric pickSearch on Amazon ↗
- WRX / STI 2015–2021 head unit with knobs (AliExpress; Forester variant at the same link)Buy ↗
As an Amazon Associate I earn from qualifying purchases. Some links are affiliate links.
FAQ
What vehicle does this head unit fit?
It is shown for the Compatible with 2015–2021 WRX / STI. There is also a Forester variant; select it at the link (per the description) Always confirm your exact year, trim and factory audio with the seller.
How long does the install take?
John's full video is 21 min. Plan on that much time for a careful DIY install, plus extra if you are new to dash work.
What tools do I need?
Tools called out in the guide: 10 mm socket with extension; Phillips screwdriver; Plastic trim tool or flat screwdriver (vent tabs); Magnetic pickup tool; Microfiber towel (to protect the dash).
Does it support wireless CarPlay or Android Auto?
Yes — wireless CarPlay / Android Auto is listed for this unit in the product copy John used.
Where do I get the parts?
Use the buy links on this page for the unit and any harnesses John used. Some links are affiliate links.
Is this beginner-friendly?
The guide breaks the job into 15 steps with timestamps into the video. If you can remove trim panels carefully, you can follow along.
John's Subaru WRX
More photos →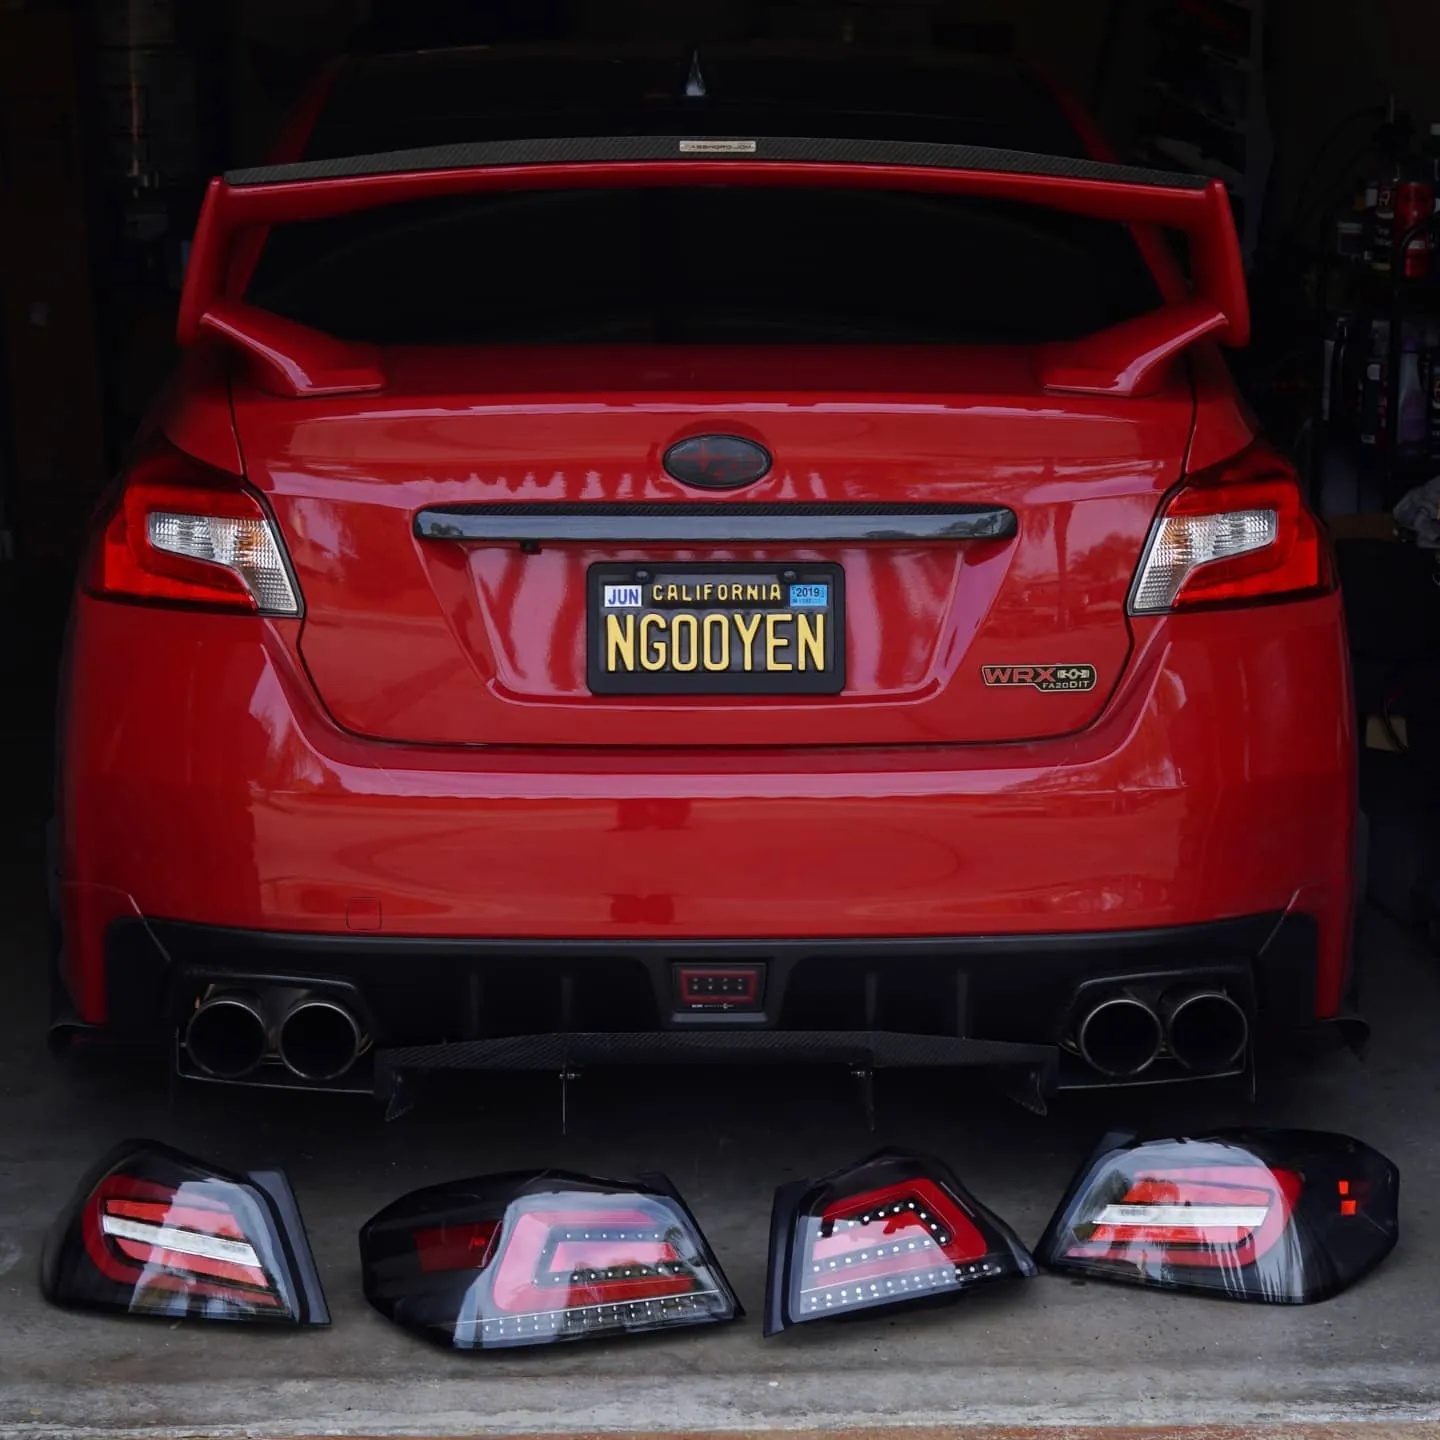
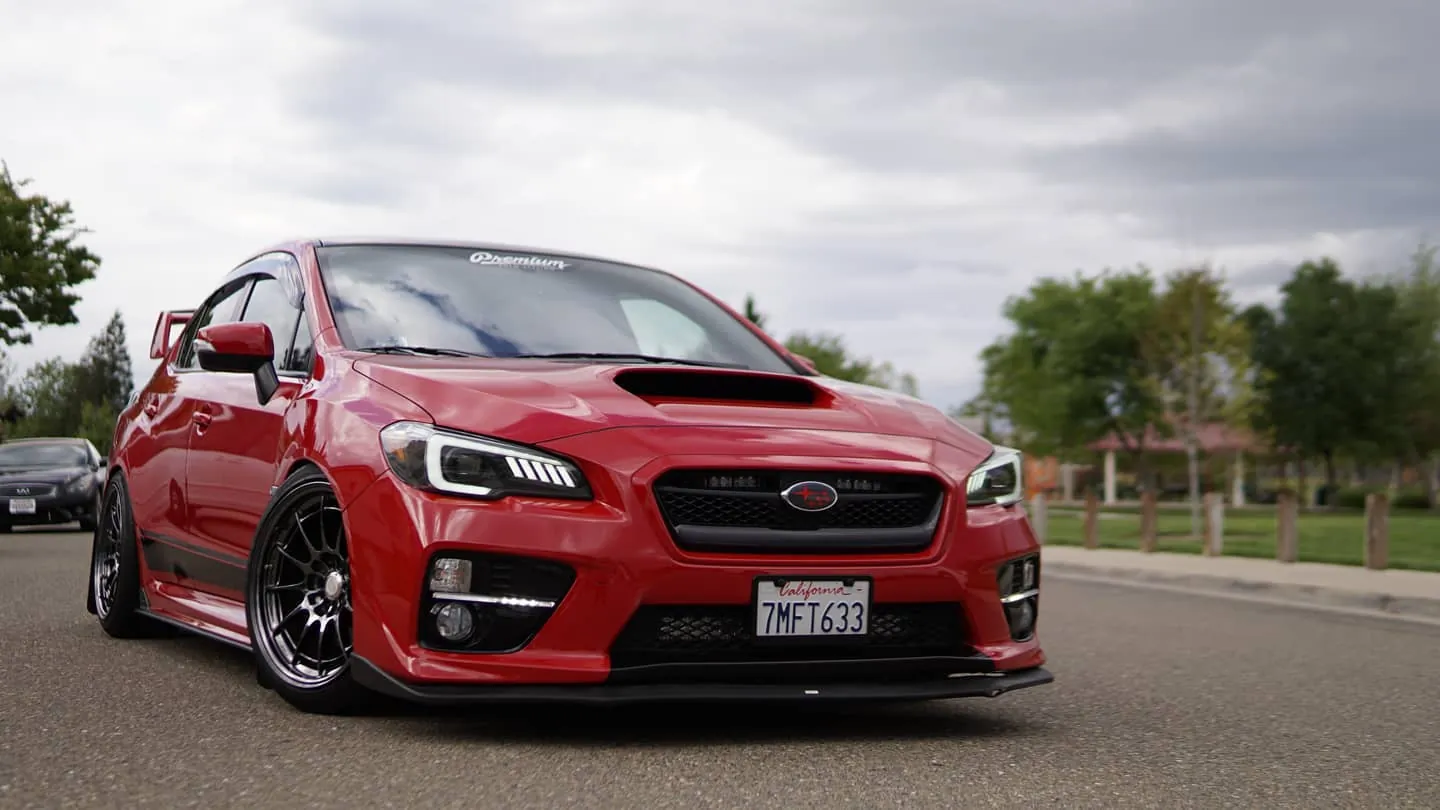
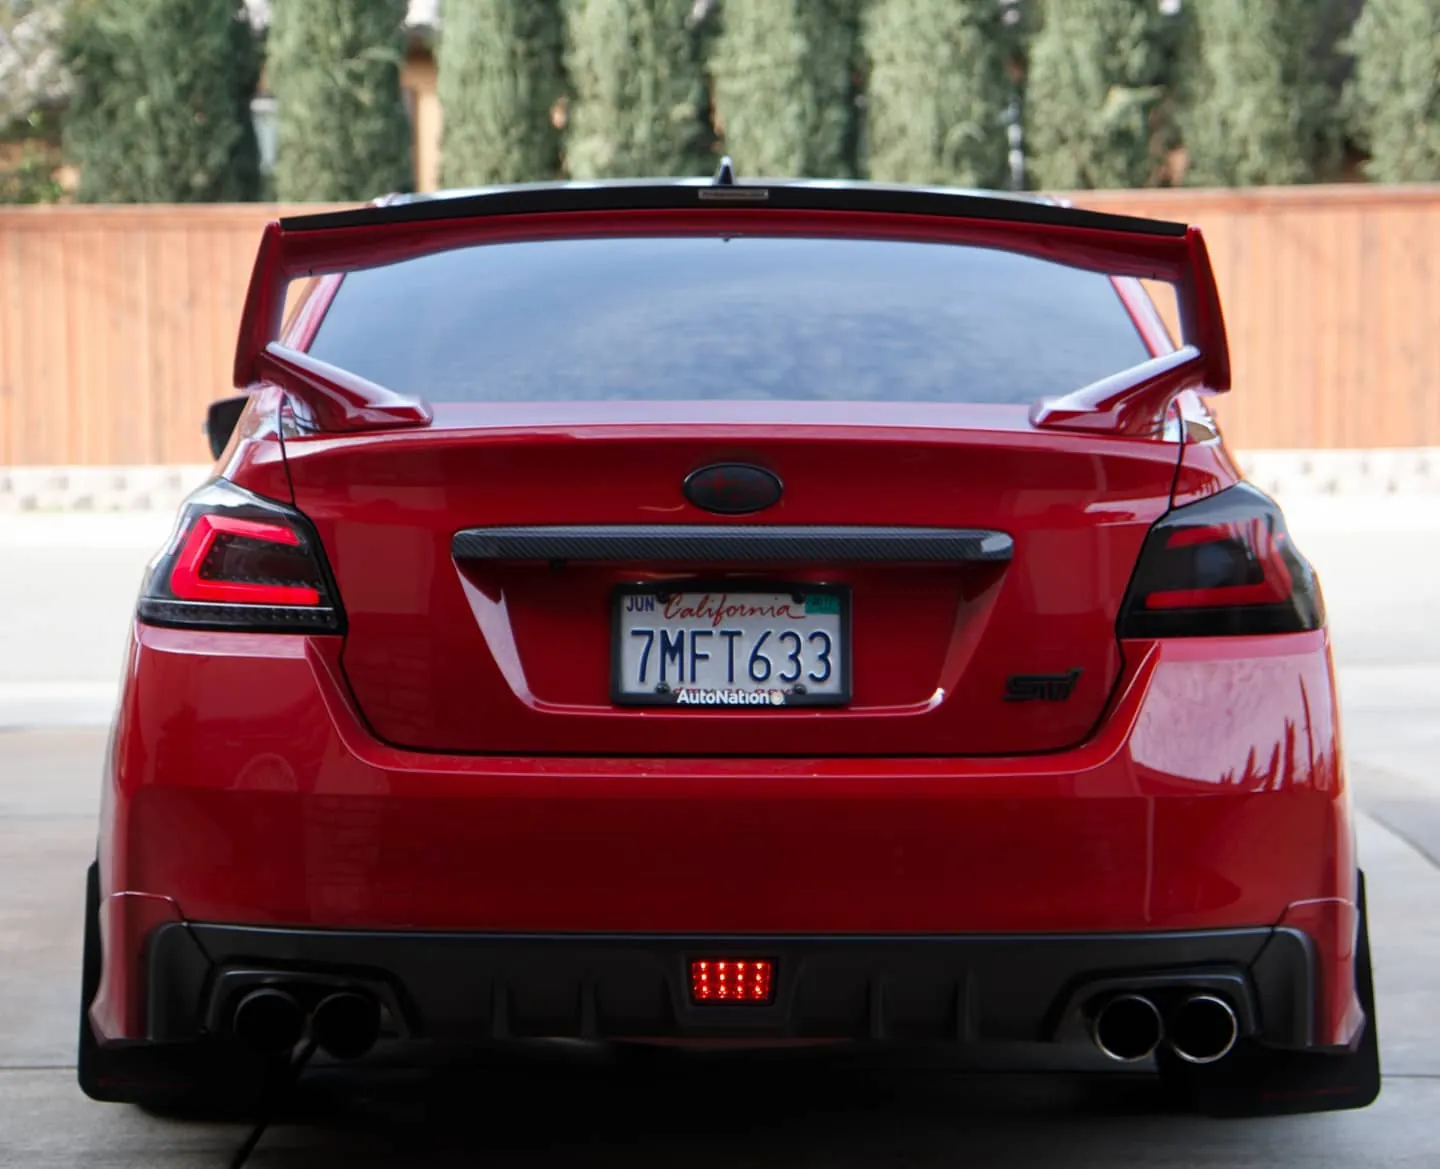
Photos from @ngooyen on Instagram. Follow for more.
Full transcript
Show the full transcript (133 lines) +
0:00as we have the Subaru WRX. I know it looks kind of crazy, but we have the Subaru WRX or
0:28held by the front bumper a little bit more aggressive. a nice grill. today
0:33today we've been selling something special special. it
0:42that's a noose. look at that there's knobs whoa and, and this has a
0:49and it. I thought it was just keep going but that's max right,
0:53max left and then you release it volume is as you
0:57and we're going to be replacing the OEM head unit.
1:03So your screen size look at the difference. fellows and
1:06gal, way bigger, should be an easy, there are
1:13are two 10 mm on the side, one on here
1:17one here and the whole thing just price right out
1:36Let's move everything you have in this glove box because wes going to get rid of that 10-10
2:06That's kinda holding it in, so we gotta get the truck, but when
2:11my back.
2:12All right, so we gotta remove this
2:17and you can the, I.
2:36and I get the... this one's usually kind
3:06head unit shell. So you can pop it in because it's not too much work to keep
3:10everything in one piece. So we removed the trim piece right
3:14here. Of course, you see the tens. So a move the tens. We still need to do one more
3:36to get access to the
3:43So I just popped the trim off I actually use this point here to
4:06it so I like to use this magnet tool and then after it's loose try to pull it out with the
4:12magnet tool just so you know it doesn't fall
4:36I'm not using this
4:42can I use this microfiber towel right here? the
4:48because it is heavy and there's like metal like
4:52Then you just gotta unplug it from the
5:07back.
5:08When you remove all the plugs in the back, the are pretty simple.
5:22But you have
5:23But you have to push on the actual
5:24But you have to push on the actual release tabs
5:26After that, I mean hold unit comes out
5:30Be careful
5:52let's not put this in the the bottom. all right so we have the
5:58new head unit right here looking good I reviewed the four screws on the
6:01one just having this bad boy and now
6:06now we can put this one right in now it is held by some clips then you want to screw
6:10it in all
6:22fitment would be kind
6:26and you know I would say
6:30OEM like finish. Looks great..
6:34So we still have these buttons
6:38from the OEM one. I'm going to turn that around,
6:42boom.
6:46Next off are the
6:50Now there are little slots. I already took them off. 1
6:57One, two, three, four the other one, one, two, three, four
7:03you
7:27To put it in the same process.
7:57in, push the top, push
8:00bottom, some pressure and pressure.
8:05There you have it, make sure all the finsans work, left and right,, up and down.
8:12Closeoi open, and then you can see the fitment. The fitment actually looks really really good.
8:27So nice
8:29Alright check this out right
8:31right here. I know it looks kind of crazy, but I'll walk. Walk it through through with you
8:35you when you get your head unit, you're gonna get this main black wire
8:40This is main black wire and a bunch of pigtails are coming out because these go to that
8:46So just plug it in there everything you you can plug in. Just try to plug, plug in
8:53and I'llc you could this this is so all these water here I'll explain it,
9:53And then, we have these two right here. of ground, and
10:23for your car now. This is good for the Android Auto Apple Car Play.
10:53and then lastly this purple wire is the input of that backup camera.
11:23Wish us luck. Damn is getting hot, man.
11:32Oh this is nice. We got sound at least.
11:39You want to try putting it in
12:09, and then also, Subaru changes it throughout this year.
12:39If you if you don't mind and
12:47Let's get going
12:50You,
13:03Once the Bluetooth is setup, we should be able to
13:08Let me try to get a good angle
13:14Oh
13:33So that's an iPhone.
14:02boom nice oh oh automatically goes to car play so that's how I like it it's called speed
14:15play wireless so
14:25text messagess,aceutique, text messages,
14:27maps, everything.
14:29It's funny, but you're not
14:31not using the head the head unit anymore.
14:33You're using your phone.
14:34It's
14:55they don't have it. Do you have songs
15:25And if it.
15:26And if not, it should be even right here.
15:29So, try to press a volume up
15:32or something like that.
15:33Hopefully, it reads so.
15:55Head unit, I think they didn't actually come with the little
16:00piece right here to fit
16:04Let me show you this is a.
16:05Fitment.
16:06I mean it's sunken in right here how it should be
16:09clean across the font
16:12literal.
16:13I don't know if my camera can pick it up
16:15but it is smooth.
16:16My microphone is rubbing against the.
16:18then right here is good too. If it, if it's
16:21little pushed out on yours, you need to be pushing it in like that.
16:26Well now the gaps are even better.
16:32But make sure you
16:41push in right here because there is a clip on each side and notice that a lot of people installing the WRX
16:48I don't.
16:49Oh yeah.
16:50like it uses real glass not plastic
16:54the knobs are actually, I fill the knobs and I feel like that rubber kind of gives it
17:00It gives it that nice.
17:02It gives it that, it's like like a tuning now I did that too
17:06I was like, I don't know what, I don't know what so if you guys get,
17:14this might be worth it is.
17:15Is the screen size smaller than the previous one.
17:22This looks like it's almost about like six and a half inches the
17:30like here to hear but! But I don't know, I like these-
17:33I like these extra buttons on the screen. I like the volume knob way better than the
17:40this shit. So I rather have a slightly smaller screen just so I can have
17:46this here and I really hate changing the volume with that. I use my
17:52sterile controls as like a substitute because I never I don't I don't like
17:56doing that, but you know just doing this
18:19Then it automatically sees that the blue tooth is connected, and it's connected to his
18:25His phone so if he's playing YouTube music or whatever on this phone phone it's going to be so, it's gonna, be there
18:49for
18:56So that's if you're watching
18:58D. YouTube or something, so when you're reversed, you're volume
19:03turns mute, you can make it so it just turns on.
19:06Like it doesn't do anything or does 50%.
19:19Awesome some. Some crazy stuff
19:49Can you turn the
20:19They put a really powerful CPU the CPU and good RAMM the most people's phones
20:25This says more RAM than most people the most people.
20:34Thank you for, for watching. I'll catch you guys.
Machine-transcribed from the full-length video and lightly cleaned (product names fixed). Watch the video for exact wording.
Next step


