Suma Performance Convex Mirrors on a Subaru WRX: Blue-Tint Glass with Turn-Signal LEDs
John's last mod on his WRX: swap the side-mirror glass for Suma Performance convex, blue-tint mirrors with heater elements and built-in turn-signal LEDs, tapping two wires into the blinker circuit.
Full video (8 min): My last mod | Suma Performance Convex Mirrors · John's YouTube channel
Get the parts
- Search Amazon for Suma Performance Subaru WRX convex mirrorsSearch on Amazon ↗
- John's Amazon store (link from the description)Buy ↗
- Clip and trim removal tool set: Generic pickGeneric pickBuy ↗
- Electrical tape: Generic pickGeneric pickSearch on Amazon ↗
- AliExpress (link from the description)Buy ↗
- Find Suma Performance Subaru WRX mirrors on eBaySearch on Amazon ↗
- eBay (link from the description)Buy ↗
As an Amazon Associate I earn from qualifying purchases. Some links are affiliate links.
John's last mod on his WRX: swap the side-mirror glass for Suma Performance convex, blue-tint mirrors with heater elements and built-in turn-signal LEDs, tapping two wires into the blinker circuit. This 8 min guide covers the Suma Performance convex replacement mirror glass for the Subaru WRX / STI with tools, parts links and the full video.
Overview
If you drive a lowered WRX or STI, the headlights of trucks and SUVs behind you can be blinding in the side mirrors. John's last mod before moving to a Tesla Model S was Suma Performance convex mirrors with a blue tint that cuts glare at night. The stock glass is held only by clips: yank it from the bottom to release the push tabs, then unplug the two heater wires (the heater clears condensation when you turn on the defroster). The Suma glass keeps the heater element and adds two more wires for a built-in turn-signal LED that's almost invisible until it lights up. Side by side, the convex mirror shows noticeably more without feeling bizarre. To wire the signals, John tapped the two new wires into the blinker wires, fed them through the hole in the mirror housing and clamped them down. Then he snapped the glass on. The turn signals are bright and visible in daylight, which helps with safety. He rates the job about a 2 out of 5: not just snap-on, but easy. Suma sells the mirrors on its own site, which isn't an affiliate store, so the first buttons are search links. The other buttons are John's links from the description.
Vehicle & fitment
- Product
- Suma Performance convex side-mirror glass with blue anti-glare tint, heater element and integrated turn-signal LEDs
- Shown on
- Subaru WRX (John's 2015 WRX); the same mirror style is sold for the STI
- Suma Performance convex replacement mirror glass for the Subaru WRX / STI
- Keeps the heated-mirror (defroster) function
- The integrated turn-signal LEDs need two wires tapped into the blinker wiring; the exact wires may vary on your car
Always confirm fitment for your exact year and trim with the seller before buying.
Tools & parts
Tools
- Hands or a plastic pry tool
- Wire taps or splice connectors for the turn-signal wires
Parts
- Suma Performance convex mirror glass with turn-signal LEDs (pair)
Step by step
- 1
Why convex, blue-tint mirrors▶ 0:04
In a lowered WRX or STI, truck and SUV headlights are blinding in the mirrors. The blue tint cuts glare, and the convex shape shows more.
- 2
Remove the stock glass▶ 1:13
It's held by clips. Yank it from the bottom to release the two push tabs.
- 3
Heater wires▶ 1:34
Two wires feed the heater element, which warms the mirror when you turn on the defroster. Unplug them.
- 4
The new glass▶ 1:57
The Suma glass keeps the heater element and adds two wires for a built-in turn-signal LED that's nearly invisible until it lights.
- 5
Compare the view▶ 2:45
From the same position, the convex mirror shows noticeably more without looking bizarre.
- 6
Tap the blinker wires▶ 4:01
Tap the two new wires into the two blinker wires (yours may vary), feed them through the hole and clamp them down.
- 7
Turn signals▶ 5:16
The turn signal shows through the mirror and is bright enough to see in daylight.
- 8
Snap it on and repeat▶ 5:58
Snap the glass onto the clips and do the other side the same way. Difficulty: about 2 out of 5.
Wiring notes
- Heater element: reuse the two factory heater plugs
- Turn-signal LED: two wires tapped into the mirror's blinker wiring (varies by car)
Get the parts
- Search Amazon for Suma Performance Subaru WRX convex mirrorsSearch on Amazon ↗
- John's Amazon store (link from the description)Buy ↗
- Clip and trim removal tool set: Generic pickGeneric pickBuy ↗
- Electrical tape: Generic pickGeneric pickSearch on Amazon ↗
- AliExpress (link from the description)Buy ↗
- Find Suma Performance Subaru WRX mirrors on eBaySearch on Amazon ↗
- eBay (link from the description)Buy ↗
As an Amazon Associate I earn from qualifying purchases. Some links are affiliate links.
FAQ
What vehicle does this install fit?
It is shown for the Suma Performance convex replacement mirror glass for the Subaru WRX / STI. Keeps the heated-mirror (defroster) function Always confirm your exact year, trim and factory audio with the seller.
How long does the install take?
John's full video is 8 min. Plan on that much time for a careful DIY install, plus extra if you are new to dash work.
What tools do I need?
Tools called out in the guide: Hands or a plastic pry tool; Wire taps or splice connectors for the turn-signal wires.
Where do I get the parts?
Use the buy links on this page for the unit and any harnesses John used. Some links are affiliate links.
Is this beginner-friendly?
The guide breaks the job into 8 steps with timestamps into the video. If you can remove trim panels carefully, you can follow along.
John's Subaru WRX
More photos →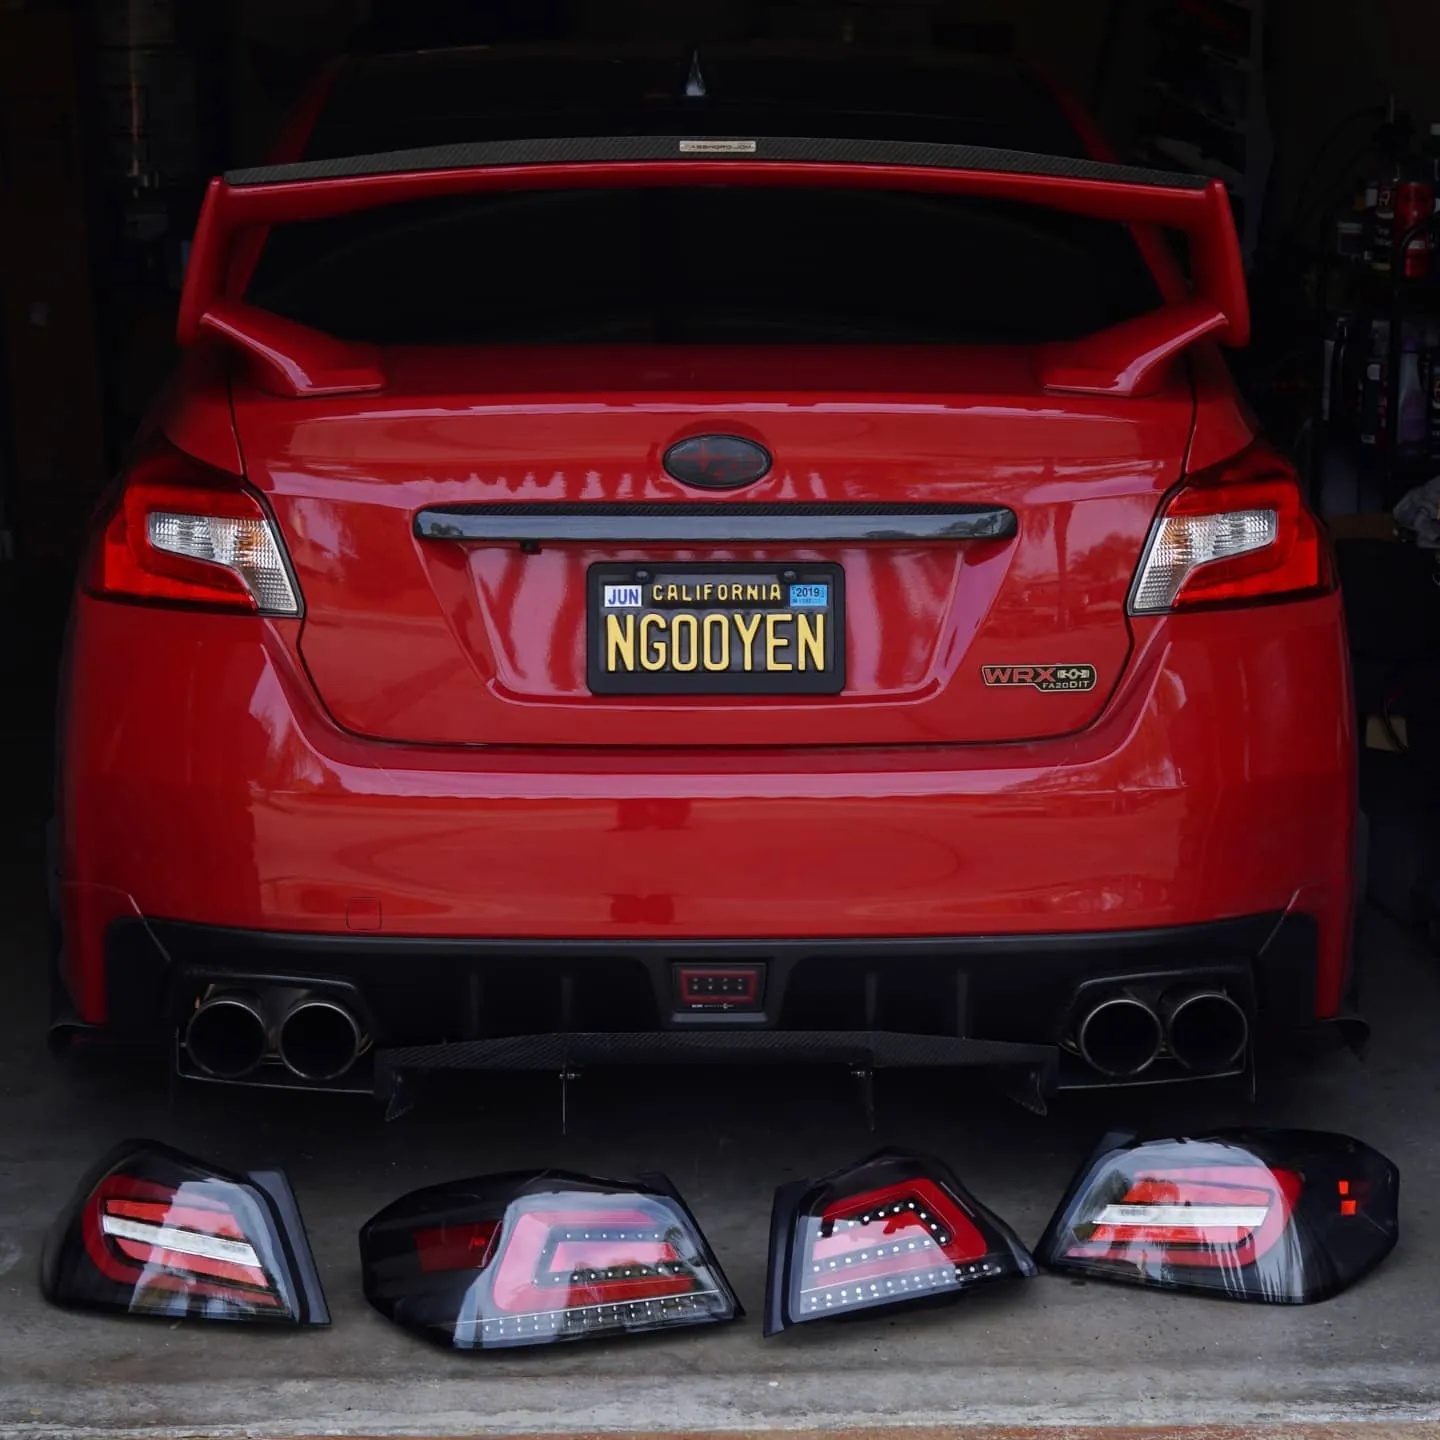
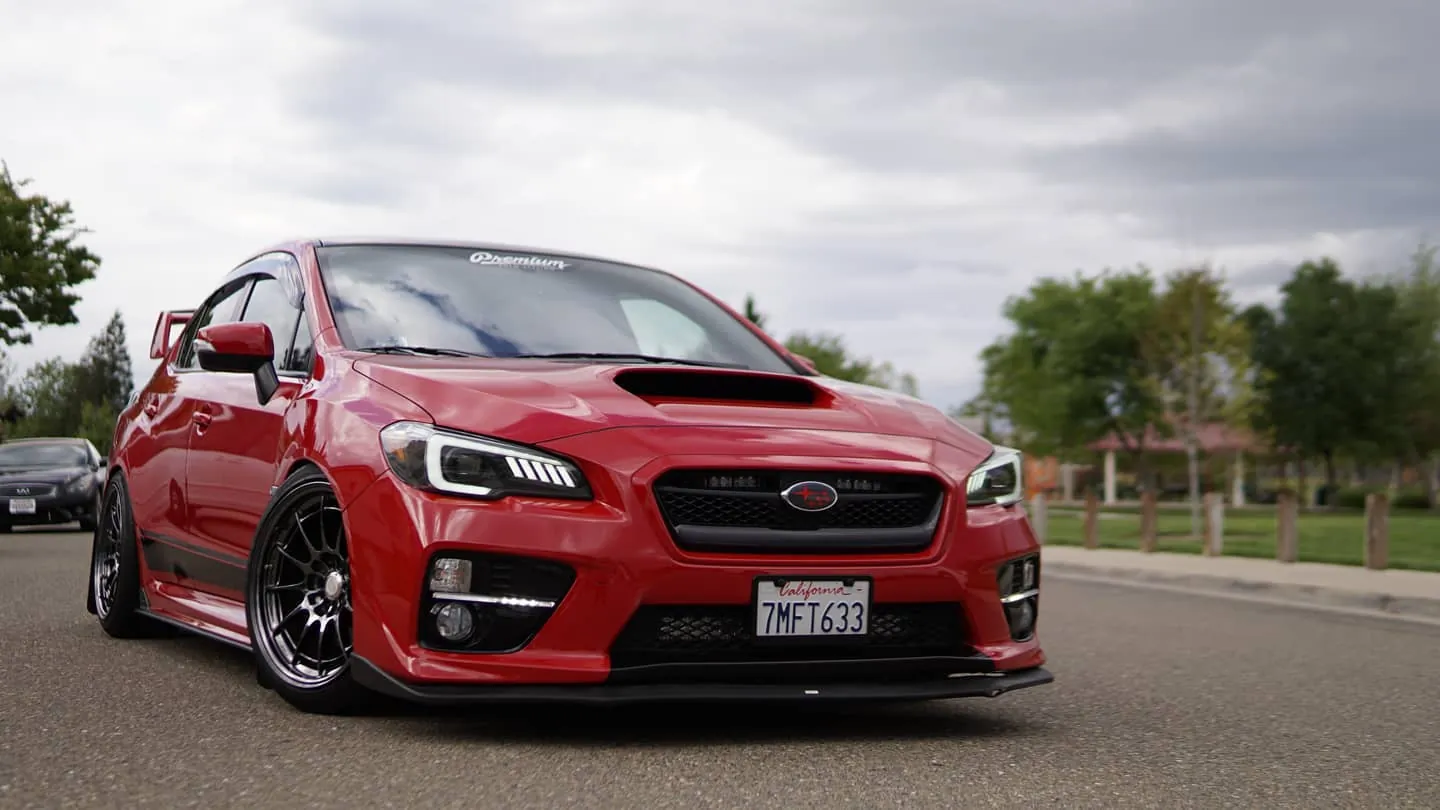
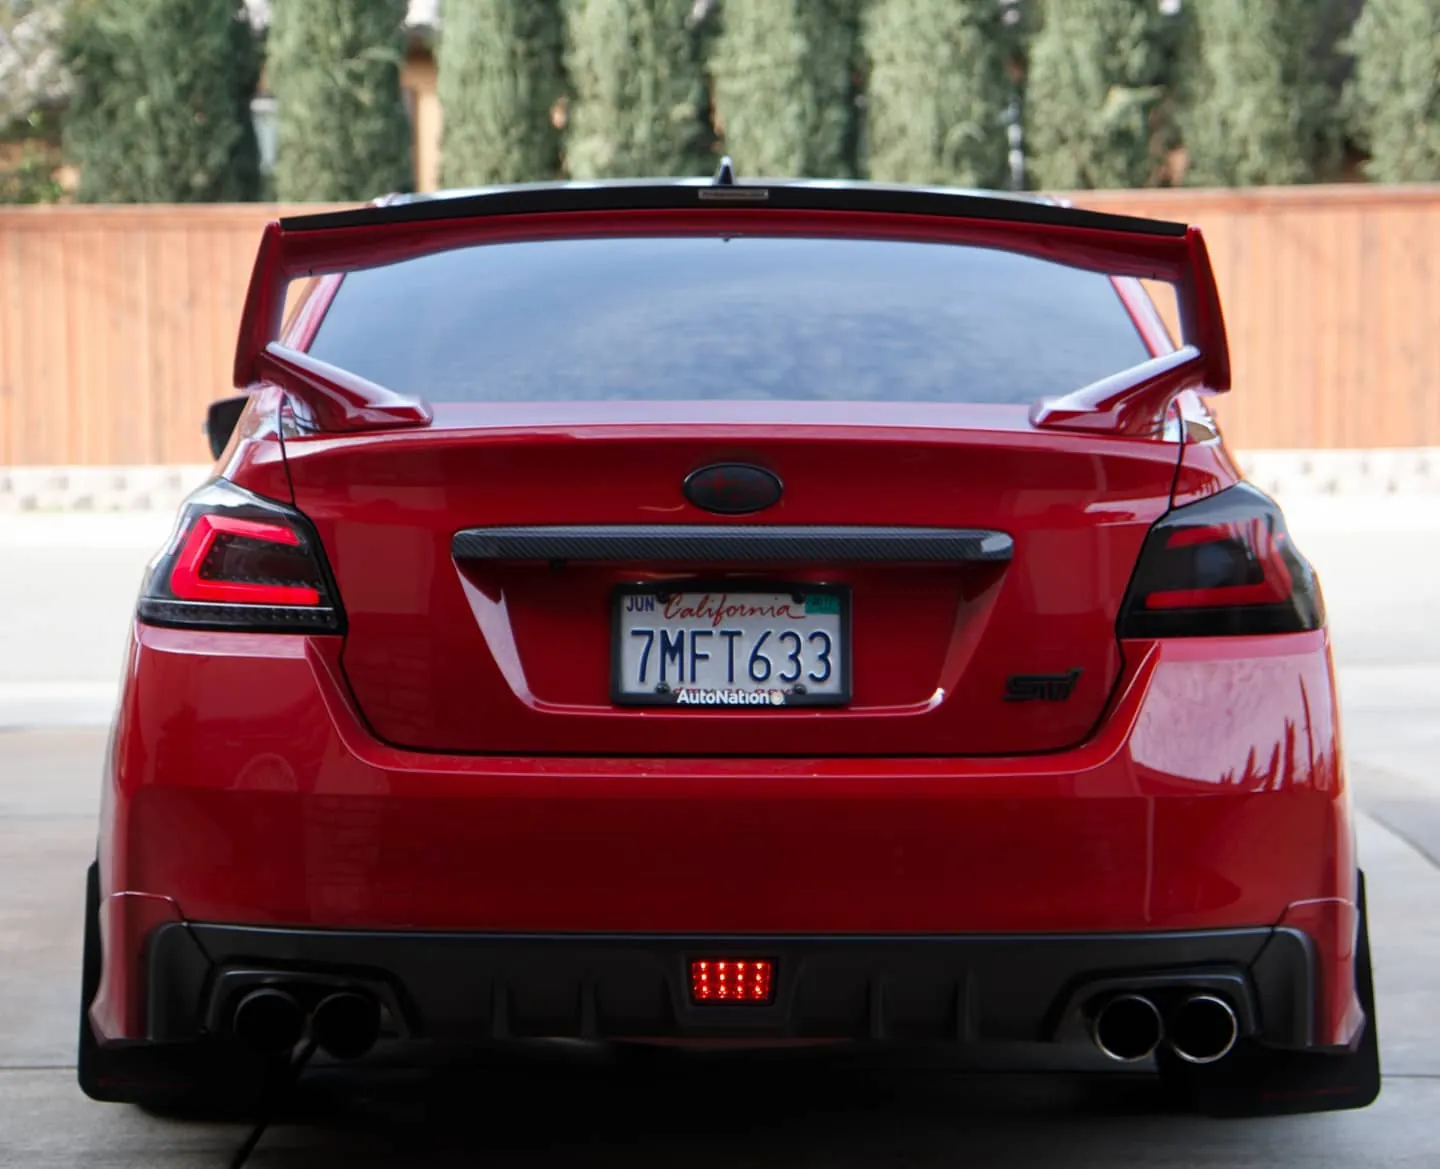
Photos from @ngooyen on Instagram. Follow for more.
Full transcript
Show the full transcript (91 lines) +
0:00What up my boys, we are doing it in install today. It's gonna be a pretty simple one
0:04It's your mirrors now if you have a side mirror in your WR there, you probably or any ST
0:11You the notice that when you're lowered or something like that you get you get these trucks and STVs
0:16I just really blind you while you're driving. So what we're gonna do today is we're gonna find a
0:23tripod
0:24Which I can't find but anyways, we're gonna find something
0:27so you don't have the camera, and then we can also check out what the difference is about,
0:33What the difference between is with the non like the regular mirror
0:44we're it with the new one from summa performance I have it right here and
0:51show you how easy it is to remove this and
0:56Put this bad boy in a little better
0:58I'm gonna kind of put the mirror kind of like in this position and kind of show you what you can kind of see
1:00put the mirror kind of like in this position and kind of show you what you- what you can kind of
1:04see um we'll do it by the door handle and you can zoom in a little bit you can see that much right
1:13but when we replace it it and all you really need to do is yank it and held by clips
1:18So if you yank it, there are these two kind of tabs that basically hook it up, and these
1:28are the push tabs, you pretty much want to take it out from the bottom, then release it.
1:34Now these two wires right here guys are going to be the heater elements, and the heater
1:39elements is just for when you turn on your defrosters, it will heat the mirrors up.
1:44So that's coming handy on a condensation day.
1:47There you go. It's very, I mean this is nice. It shows some words right here on the side.
1:57So you can see the the new one has the heater elements. You can kind of see right through the
2:03so that's good that this still retains the heater elements and
2:07It has two more additional wires because let me see if I can show you guys
2:11It's very hard to see the turn LED which is nice
2:15But there's actually a turn signal LED in here like you guys can't even see it like I can't see it either in person
2:27Okay, you guys can't see it, but yeah, it's very hard to see
2:30but yeah it's very hard to see.
2:34You can kind of see it. Catches the light. Just right. You can kind of see the LED already.
2:43Anyways
2:45Let's do a quick comparison of what the difference in viewing angles because you want performance
2:50So I'm gonna keep the the y-axis very similar
2:54I'm just move up
2:56You can see that
2:58And go back a little bit. You go right there
3:03So you definitely do see more a close mirror so
3:14This would be more indicative of like the use case scenarios
3:18So I'm having it from my arm fully extended and then looking out. I can see
3:25the ladder
3:28the same test
3:30extend out and
3:33Yeah, you can't see the
3:36No, you can't really see the ladder. Let's say it tilts like this. You start not seeing me
3:41There's definitely a difference when it comes to viewing that you can get me in it and the ladder very easily
3:48It's a so like it's a increment change where it is noticeable, but it's not too bizarre where you're like whoa, what the heck there
3:57Yeah, there's a change again
3:59So let's plop in these bad boys real quick. All right
4:02So we have we took these clips off right here
4:05It was a matter of just snapping it off and now we're gonna use these wires to tap into now
4:10It might vary for your look, but for mine some of these two wires
4:13They basically there's two wires for these blinkers and we're just gonna have to tap into them so we can get some power off these mirrors
4:22Here are the and
4:26This kind of give it a go yeah
4:29taps it's a matter of just
4:32getting this
4:34Putting the original in and then let's say the wire is like this wire is up there that you want to splice into and
4:42I'm gonna do this hole and clamp it down and you'll be set right here
4:48So we're gonna do that. We see how it looks like on the me
4:54All right, so we have the wires and we just clamped it in. I'll try to do this one-handed you want it in there good
5:00an. So anyone in there. So that's one of my wires and I have to get the second wire make sure
5:11it's nice. And snug. Then do the other the other one. So I have the two wires only two
5:16wires pretty simple and let the lighting is super sharp and clean I like
5:22doors and the lighting is super sharp and clean I like the vibrancy
5:29you have have my turn signals to this it's a little bit it's definitely brighter but
5:31It's a little it's definitely brighter, but with because of the way the color setup is it's going through the mirror
5:38Man, definitely if you're gonna do some turn signals people better be able to see you
5:45Something great for visibility notes sunny outside right now in California, but that's definitely you'll be able to see that in the daylight
5:54For safety. Whoo, that's sexy
5:58All right, so just let's
6:00Tuck this up wrap it up
6:02The install on the other side is just a simple out of five stars five being the hardest. This is definitely a
6:10A number two job. It's not big. It's not like a simple screw on but
6:16So we got the mirrors in that pretty much concludes the install if you guys were looking for
6:32So, we got the mirrors in, that pretty much concludes the install, you guys were looking for
6:38context mirrors with blue tint. Now again you want the blue tint so it prevents glaring at night.
6:43Then go with the super performance. I'm gonna put down a link below where you can get these.
6:48The
7:09Now it's really hot outside so I'm going to wrap this up, the WRX, the WRX is, if you guys stay this
7:14long the WRX is a lot of work, so this is going to be my last final mod on the car and I, I'm going
7:20to miss it but hopefully you guys got a bunch of information down, if you can tell I already, I
7:26already got the newer car behind me, it's a Tesla Model S performance,
7:30so
7:32It's no joke, but other than that. Thank you guys for watching
7:35Hopefully you guys will stay tuned for more content
7:37I'll still be doing a lot of content when it comes to Subaru like WRX is and also Android ahead units on
7:43WRX Subaru's
7:44Universals and you know the BRZ and all that so if you guys were hanging in my channel for WRX content
7:49There'll still be some trickles the car is already pretty much done a long the long time ago
7:54So when it comes to modifications, but um, if you guys stay tuned you'll see more of
7:59This and you'll see more Android head-units. So thank you guys for watching. See you guys next time
8:03Thanks for watching. See you guys next time.
Machine-transcribed from the full-length video and lightly cleaned (product names fixed). Watch the video for exact wording.
Next step


