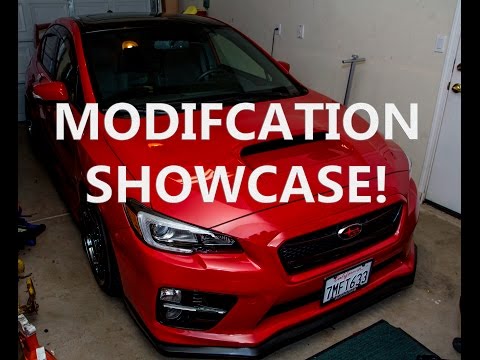
Clear Front Side Marker Install on a Subaru BRZ / FR-S / 86 (+ Bulb Options)
Swap the BRZ's amber front side markers for clear housings in a few minutes: loosen the screw, pop the marker out, twist the bulb socket free, move the bulb over and push the new marker in until it seats.
Full video (4 min): $28 Clear Side Marker install/comparison bulbs BRZ FRS GT86 86 · John's YouTube channel
Get the parts
- iJDMTOY LED front side marker lights, Scion FR-S / Toyota 86 / Subaru BRZ (Amazon, from the video description)Buy ↗
- Yorkim 194 LED wedge bulbs, 6000K white, 10 pack (Amazon, from the video description)Buy ↗
- Plastic trim tool set: Generic pickGeneric pickSearch on Amazon ↗
As an Amazon Associate I earn from qualifying purchases. Some links are affiliate links.
Swap the BRZ's amber front side markers for clear housings in a few minutes: loosen the screw, pop the marker out, twist the bulb socket free, move the bulb over and push the new marker in until it seats. This 4 min guide covers the Front side markers for the Subaru BRZ / Scion FR-S / Toyota 86 (the Amazon.
Overview
Kim got a set of clear side markers from a friend, and John helps her swap them onto her white BRZ. Loosen the screw a little and the marker pops out. The housing comes apart and the bulb socket twists right out. They kept bulbs behind the clear lenses because they spread the light evenly, then twisted the socket into the new housing and pushed the marker in until it seated. Make sure it's pushed in all the way. The white side markers match the car better than the orange ones, and they used a more amber bulb than the yellow one from before. Kim may switch to white LEDs later. The description links the markers and a pack of 194 LED wedge bulbs on Amazon.
Vehicle & fitment
- Product
- Clear front side marker lights for the BRZ / FR-S / 86, plus 194 / T10 wedge bulbs
- Shown on
- Kim's 2016 Subaru BRZ (white), next to John's red 2015 WRX
- Front side markers for the Subaru BRZ / Scion FR-S / Toyota 86 (the Amazon listing in the description names the FR-S, 86 and BRZ)
- Uses the standard 194 / T10 wedge bulb, so you can keep a bulb or switch to an LED
Always confirm fitment for your exact year and trim with the seller before buying.
Tools & parts
Tools
- Screwdriver
- Plastic trim tool (optional)
Parts
- Clear front side markers (pair)
- 194 / T10 bulbs (stock-style amber or LED)
Step by step
- 1
Loosen the screw▶ 0:22
Unscrew the fastener a little so the side marker can come out.
- 2
Pop the marker out▶ 0:41
The marker pops off. The housing comes apart and you just twist the bulb socket to free it.
- 3
Move the bulb over▶ 1:15
They kept bulbs behind the clear lenses because they spread the light evenly. Twist the socket into the new housing.
- 4
Push it in firmly▶ 2:11
Push the marker in until it's fully seated. This step is really important.
Tip: A loose marker can rattle or fall out.
- 5
Result▶ 2:26
The white markers match the car better than the orange ones, and the amber bulb looks better than the old yellow one.
- 6
LED option▶ 2:59
Kim likes white LEDs, so they may swap to LEDs later. The stock-style bulbs work fine for now.
Get the parts
- iJDMTOY LED front side marker lights, Scion FR-S / Toyota 86 / Subaru BRZ (Amazon, from the video description)Buy ↗
- Yorkim 194 LED wedge bulbs, 6000K white, 10 pack (Amazon, from the video description)Buy ↗
- Plastic trim tool set: Generic pickGeneric pickSearch on Amazon ↗
As an Amazon Associate I earn from qualifying purchases. Some links are affiliate links.
FAQ
What vehicle does this install fit?
It is shown for the Front side markers for the Subaru BRZ / Scion FR-S / Toyota 86 (the Amazon listing in the description names the FR-S, 86 and BRZ). Uses the standard 194 / T10 wedge bulb, so you can keep a bulb or switch to an LED Always confirm your exact year, trim and factory audio with the seller.
How long does the install take?
John's full video is 4 min. Plan on that much time for a careful DIY install, plus extra if you are new to dash work.
What tools do I need?
Tools called out in the guide: Screwdriver; Plastic trim tool (optional).
Where do I get the parts?
Use the buy links on this page for the unit and any harnesses John used. Some links are affiliate links.
Is this beginner-friendly?
The guide breaks the job into 6 steps with timestamps into the video. If you can remove trim panels carefully, you can follow along.
John's Subaru WRX
More photos →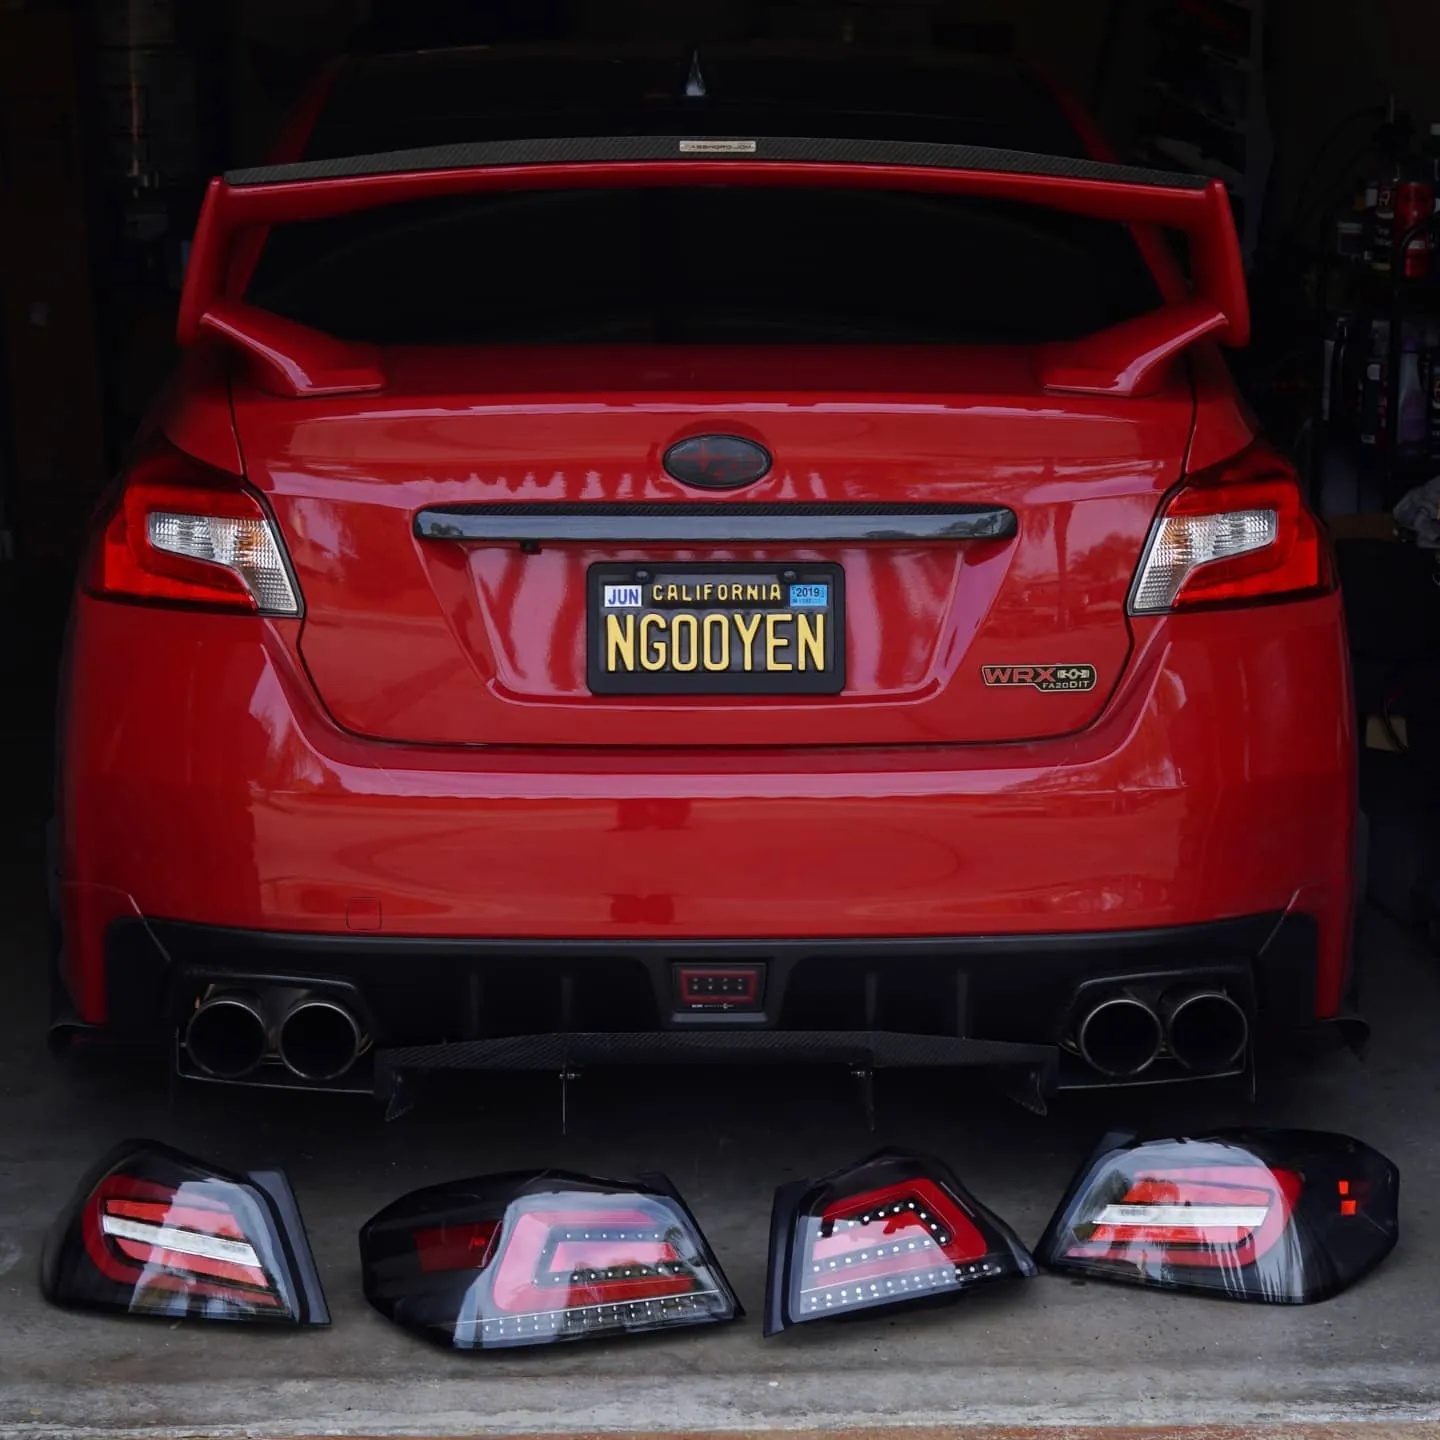
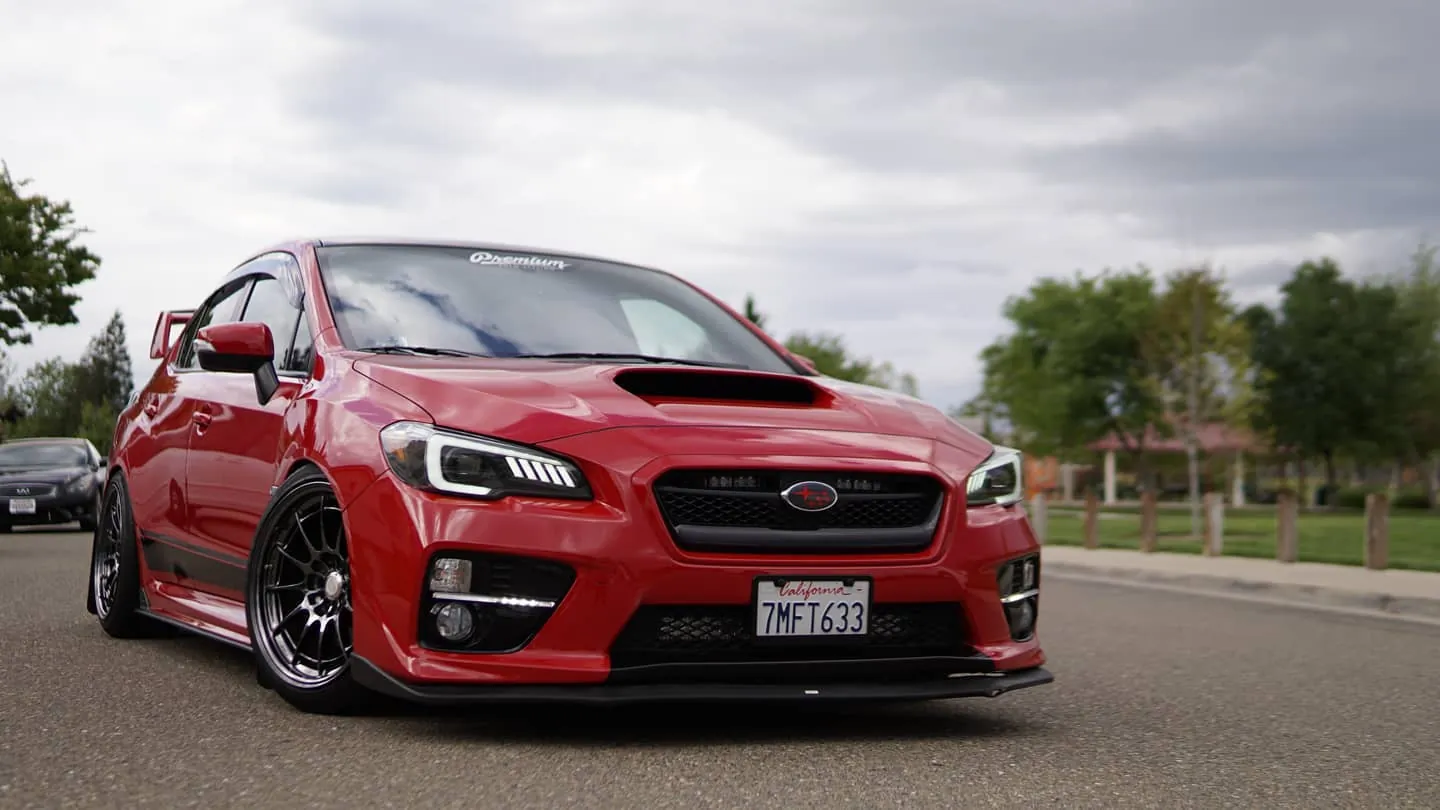
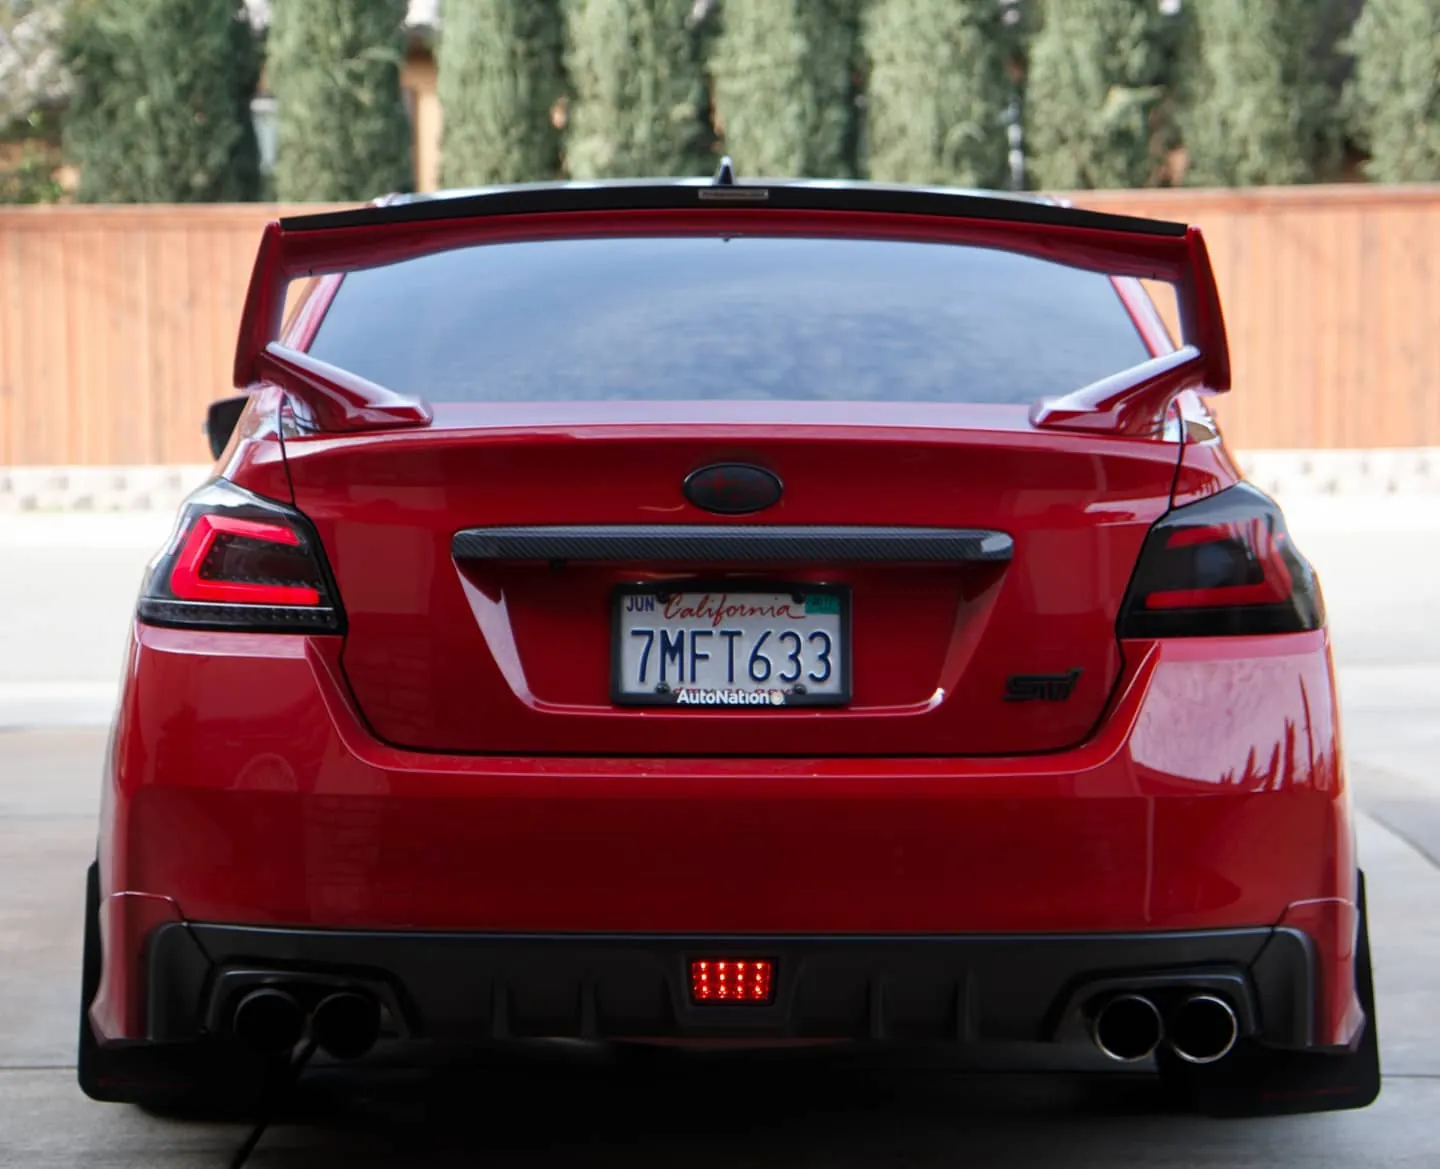
Photos from @ngooyen on Instagram. Follow for more.
Full transcript
Show the full transcript (31 lines) +
0:00Music playing
0:22Just gonna unscrew that one a little bit and pop that out.
0:26That's where you need to remove.
0:28Music playing
0:41Holding pops off like that.
0:43Got, get it, get it.
0:46Yeah, there you go.
0:48the, so the whole housing falls apart. I just twist it.
0:53Uh huh, hu-duh.
0:58It comes right out.
1:08And the amber one?
1:11Yeah. You have three of them?
1:13Uh.
1:15So we're using, these holes over the LED's because they disperse light evenly and that's it.
1:41A little twist it.
1:43Twist it.
1:51Is- is it fit or?
2:11push it in good
2:15good make sure that one thing that one is really important
2:26so the aftermath is that the white one white side markers match my car more than the orange one
2:33I like these color a lot better than the first one I had
2:38and plus we switched out the bulb with a more amberish color rather than having the yellow color in the last time
2:52That's the ball
2:55You change out to LEDs if you want I
2:59Think she wants a white leds be honest. Yeah, I like this style
3:06She likes the white
3:09LEDs
3:11So we might have to swap it out to the white ones
3:14Well for now the orange color it looks nice, but later on I'm probably got to switch it out
3:31There we have it
3:35This is how it looks like it's kind of loosely fit in right now, but this is what it looks like with the stock bulbs and we're about to put in the
Machine-transcribed from the full-length video and lightly cleaned (product names fixed). Watch the video for exact wording.
Next step