BRZ External DSP Install for an Android Head Unit
A plug-and-play external DSP on a BRZ: sandwich it between the 10-pin and 6-pin, hide it in the glove box, then use the front/rear bass and treble and the on/off switch. About 10 minutes, and a bigger difference here than on John's WRX.
Full video (4 min): IT SOUNDS EVEN BETTER!? | DSP INSTALL | Android · John's YouTube channel
Get the parts
- External DSP (Amazon link from the description)Buy ↗
- Universal Android head unit (Amazon link from the description)Buy ↗
- Head unit in this video (AliExpress link from the description)Buy ↗
As an Amazon Associate I earn from qualifying purchases. Some links are affiliate links.
A plug-and-play external DSP on a BRZ: sandwich it between the 10-pin and 6-pin, hide it in the glove box, then use the front/rear bass and treble and the on/off switch. About 10 minutes, and a bigger difference here than on John's WRX. This 4 min guide covers the Filmed on a BRZ after an Android head unit was already.
Overview
With the BRZ dash panel already off, John adds an external DSP because the new Android head unit only helped the stock audio a little. The install is a sandwich: unplug the 10-pin and 6-pin, plug them into the DSP's female connectors, and plug the DSP's 10-pin and 6-pin back where those leads were — front speakers on one side, rear on the other. The DSP has its own power plug. He pads the sharp radio brackets with a microfiber and a sweater so they don't chew up the interior, sneaks the DSP into the glove box so he can still adjust it, and powers up. The DSP lights, the head unit reboots, and turning the DSP on makes the sound fuller and clearer. You can set front and rear bass and treble, and the on/off switch makes A/B comparisons easy. The whole job took about 10 minutes. He says it's definitely worth it on the BRZ; the same DSP helped his WRX, which already had a better audio system, but the BRZ was the clearer win. The description's first buy link is a tagged Amazon page for the external DSP, then a tagged Amazon page for a universal head unit, then the AliExpress link for the head unit in the video.
Vehicle & fitment
- Product
- External DSP that intercepts the front and rear speaker leads (Amazon product link in the description), used with an already-installed Android head unit (Amazon and AliExpress links in the description)
- Shown on
- Subaru BRZ (John also tried the same DSP on his WRX)
- Filmed on a BRZ after an Android head unit was already in the dash. The DSP sits in-line with the 10-pin and 6-pin speaker/audio leads
- John tucks the DSP in the glove box so he can still reach the controls
- He also ran it on his WRX: it helped there too, but the BRZ — which needed the audio upgrade more — was the bigger difference
Always confirm fitment for your exact year and trim with the seller before buying.
Tools & parts
Tools
- A microfiber or soft cloth to pad sharp radio brackets
- A way to route the DSP into the glove box
Parts
- External DSP with front and rear speaker in-line connectors
- Existing Android head unit 10-pin and 6-pin leads
- DSP power plug
Video chapters
Step by step
- 1
Why the BRZ needs the DSP▶ 0:00
The dash panel is already off. The Android head unit made the BRZ sound a little better, but the stock audio was still pretty bad. John wants more clarity and punch from a DSP, and eventually new speakers.
- 2
Protect the interior▶ 0:27
The radio brackets are sharp. He uses a microfiber towel and a sweater so they don't damage the interior while the dash is open.
- 3
Sandwich the 10-pin and 6-pin▶ 0:42
The DSP intercepts the speaker leads: one side for the fronts, one for the rears. Unplug the 10-pin and 6-pin, plug them into the DSP's female connectors, and plug the DSP's 10-pin and 6-pin back into the original connection. That's the whole hookup, plus the DSP's own power plug.
- 4
Hide it in the glove box and power up▶ 1:39
He sneaks the DSP into the glove box so he can still reach the controls, plugs it in, and the DSP lights up. The head unit has to reboot because it was unplugged.
- 5
On/off comparison and EQ▶ 2:24
With the DSP off, then on, the sound is fuller and clearer. You can set front and rear bass and treble, and the on/off switch makes the comparison easy. The job took about 10 minutes. It helped his WRX too, but the BRZ — which needed it more — was the bigger difference.
Wiring notes
- The DSP sits in-line with the 10-pin and 6-pin: factory/head-unit plugs go into the DSP, and the DSP's plugs go back where those leads were. Front and rear speaker sides are separate.
- The DSP also has its own power plug. John routed the box into the glove box so he could still adjust it.
Get the parts
- External DSP (Amazon link from the description)Buy ↗
- Universal Android head unit (Amazon link from the description)Buy ↗
- Head unit in this video (AliExpress link from the description)Buy ↗
As an Amazon Associate I earn from qualifying purchases. Some links are affiliate links.
FAQ
What vehicle does this head unit fit?
It is shown for the Filmed on a BRZ after an Android head unit was already in the dash. The DSP sits in-line with the 10-pin and 6-pin speaker/audio leads. John tucks the DSP in the glove box so he can still reach the controls Always confirm your exact year, trim and factory audio with the seller.
How long does the install take?
John's full video is 4 min. Plan on that much time for a careful DIY install, plus extra if you are new to dash work.
What tools do I need?
Tools called out in the guide: A microfiber or soft cloth to pad sharp radio brackets; A way to route the DSP into the glove box.
Does it support wireless CarPlay or Android Auto?
Check the product listing for wired vs wireless CarPlay / Android Auto before you buy; John shows what worked in the video.
Where do I get the parts?
Use the buy links on this page for the unit and any harnesses John used. Some links are affiliate links.
Is this beginner-friendly?
The guide breaks the job into 5 steps with timestamps into the video. If you can remove trim panels carefully, you can follow along.
John's Subaru WRX
More photos →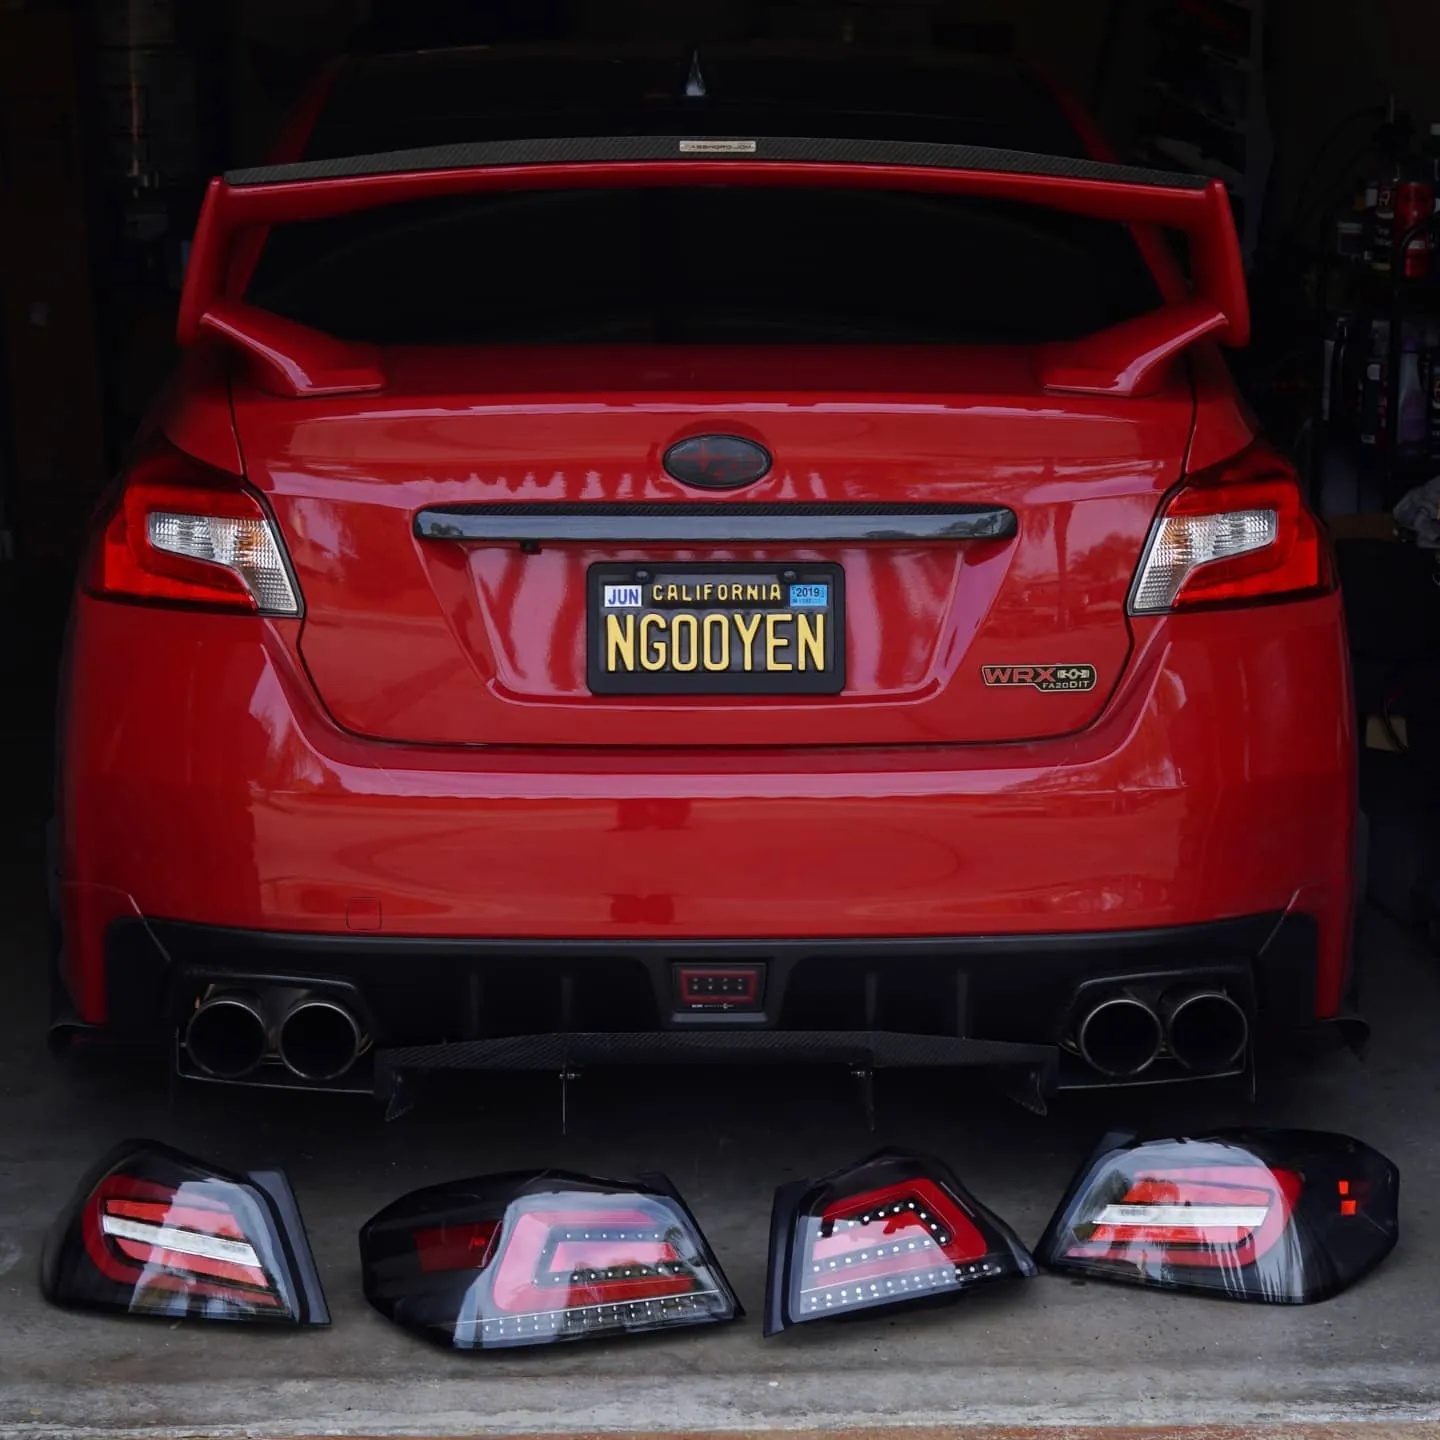
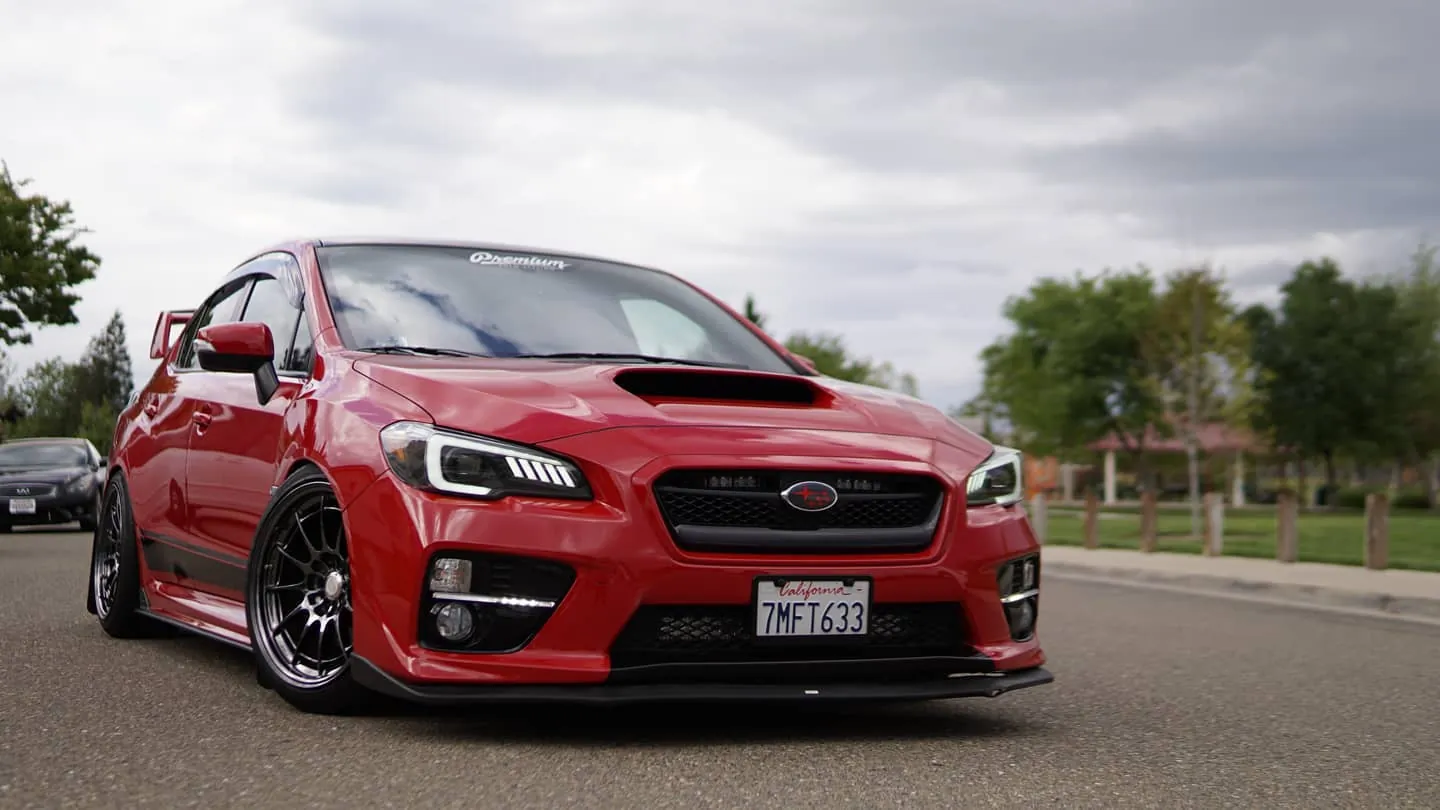
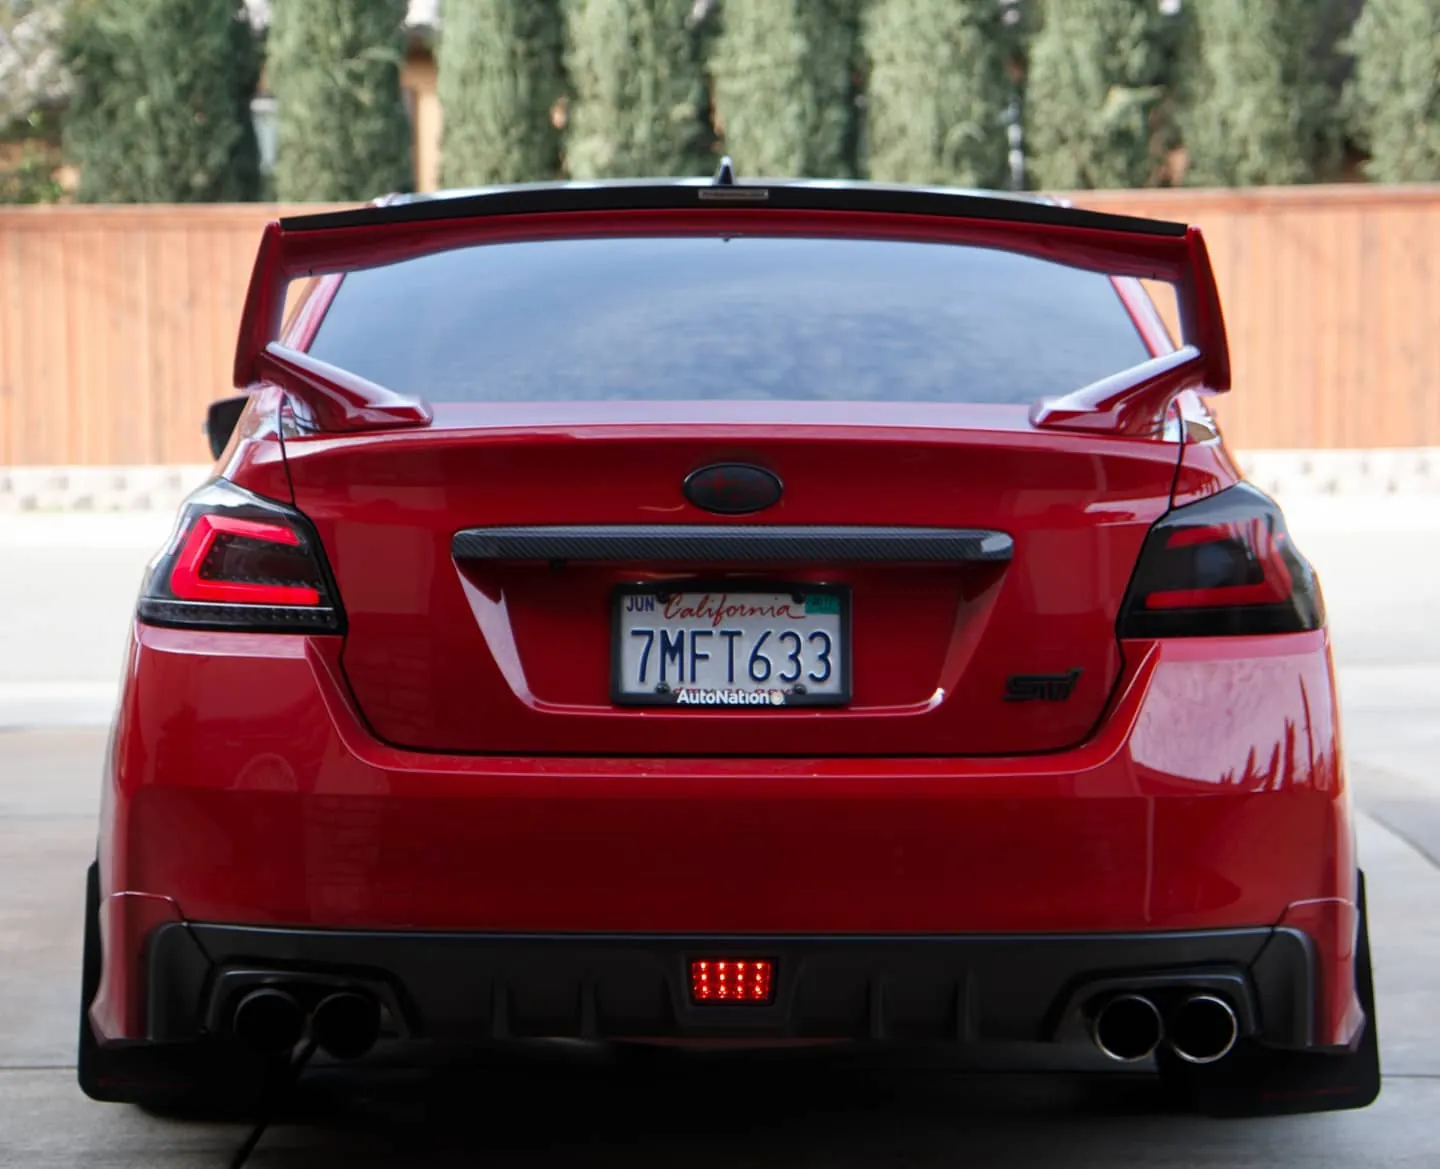
Photos from @ngooyen on Instagram. Follow for more.
Full transcript
Show the full transcript (27 lines) +
0:00What's up guys? So we just took off the dash panel and we're gonna install the DSP on the BRZ.
0:07This car definitely needs better audio. Putting the head unit inside this,
0:13it did make it sound a little better, but it was still pretty bad. So I'm hoping to add some
0:20clarity and some punch with the DSP, of course with some new speakers.
0:27I'll mount this. This is how I I mounted mine and yeah.
0:30and um yeah so notice i have like a microfiber towel and like this wetter to hold it in kind of in
0:37place these brackets are pretty sharp so you definitely don't want to damage your interior
0:42installing dsp is very simple all you have to do is have this intercepts the audio cables
0:52so this would basically do the front speakers and this will do the rear speakers so you just
0:57kind of have it in between. So I'm going to unplug the 10 and 6 pin in my case and
1:03case and then plug it into this female connector and then I'll plug in this 10 a 6 pin to where it was going [Music] alright so um so I just unplugged this one so these used to be connected and
1:18these two this one and this one needs to be connected and we're just gonna sandwich the new connectors in between them that's it once the cables are sandwiched Yoram you notice like how does it get power here's
1:31you'll notice how does it get power. Here's the DSP and it plugs in just right there.
1:39Let's see if we get a focus. I'm going to have this DSP in the glove box, that way I can adjust the sound.
1:50It's so we sneaked it through and lastly all we have to do is plug it in.
1:57So it should be secure. So the DSP is lighting up.
2:02Should be secure.
2:05So, the DSP is lighting up, which is a good sign.
2:16So the head unit, I unplugged it obviously so it has to boot up for the first time.
2:24And I'm hoping that the audio quality has increased.
2:35don't you agree I agree a hundred percent and when you turn it on it makes a significant difference this clarity yeah so it's off right now and then you turn it on Wow it sounds a lot more fuller and you can then test it to your
2:51liking which is a really nice you can control front base and rear base front trouble and rear trouble basically so that's a huge win with the on and off switch that's that's amazing how they did that it's a really good idea and having it makes the comparison a lot
3:07easier now when you do get it play with it you're gonna like it it's definitely worth it especially for the BRZ the audio wasn't always the greatest doing something like this only took ten minutes you just have to basically install it in
3:23between and that's it it took ten other than that links below if you're trying to buy this for the BRZ it made a huge difference for the WRX I already had a better audio system so it did help but the bearsy was a bigger difference
3:30For the BRZ it made a huge difference. For the WRX, I already had a better audio system.
3:35So it did help but the BRZ was a bigger difference and it's a clear winner.
3:42This really just elevates the audio. Anyways, that'll be it. Peace out.
Machine-transcribed from the full-length video and lightly cleaned (product names fixed). Watch the video for exact wording.
Next step


