Diode Dynamics SmartTap Relay: BRZ / FR-S Install and Programming
Stop LED turn-signal hyperflash on a BRZ / FR-S by swapping in a Diode Dynamics SmartTap flasher relay, then program its hazard strobes, tap-to-turn count, wig-wag modes and lock flash with the turn-signal stalk.
Full video (12 min): Diode Dynamic SmartTAP BRZ / FRS INSTALL + Programming · John's YouTube channel
Get the parts
- Diode Dynamics SmartTap LED flasher relay (Amazon link from the description)Buy ↗
- Phillips screwdriver: Generic pickGeneric pickSearch on Amazon ↗
As an Amazon Associate I earn from qualifying purchases. Some links are affiliate links.
Stop LED turn-signal hyperflash on a BRZ / FR-S by swapping in a Diode Dynamics SmartTap flasher relay, then program its hazard strobes, tap-to-turn count, wig-wag modes and lock flash with the turn-signal stalk. This 12 min guide covers the Per the description: 2013–2016 Subaru BRZ and Scion FR-S, 2017 Toyota 86, 2008–2017 WRX / STI, plus many 2000s–2010s Toyota.
Overview
After swapping the BRZ's halogen turn signals for LEDs, the car hyperflashed. John fixes it with a Diode Dynamics SmartTap relay, which also adds a lot of programmable features. Pop out the small panel by hand, remove the two Phillips screws, and find the relay that clicks. Access is tight, so he unclips the stock relay, leaves it in place, and tucks the SmartTap in beside it. Then he walks through everything you set with the turn-signal stalk: hazard modes (normal, double strobe only when parked, or strobe all the time), temporary fast and slow wig-wag with the hazards on, the number of tap-to-turn blinks (four by default), and a lock function that keeps the ambers lit for 10 to 90 seconds when you lock the car, or turns it off. On the BRZ's Valenti Revo tail lights the lock flash stays solid and the wig-wag shows up, while the sequential Subispeed lights on his WRX keep sweeping.
Vehicle & fitment
- Product
- Diode Dynamics SmartTap CF18 / LM449 LED flasher relay: fixes LED hyperflash and adds hazard strobe, wig-wag, adjustable tap-to-turn and lock-flash functions
- Shown on
- Kim's 2016 Subaru BRZ (LED front turn-signal bulbs, Valenti Revo tail lights), shown next to John's 2015 WRX
- Per the description: 2013–2016 Subaru BRZ and Scion FR-S, 2017 Toyota 86, 2008–2017 WRX / STI, plus many 2000s–2010s Toyota, Lexus, Scion and Subaru models (full list in the video description)
- Plugs in where the factory flasher relay sits; no wiring changes
- The manufacturer product page in the description now redirects to the Diode Dynamics homepage, so only the Amazon listing is linked
Always confirm fitment for your exact year and trim with the seller before buying.
Tools & parts
Tools
- Phillips screwdriver
- Flashlight (the relay is tucked up high)
Parts
- Diode Dynamics SmartTap flasher relay
Video chapters
- 0:00Installation of relay
- 2:01Configuring turn signals
- 3:53Hazard and lighting modes
- 7:08Lock function and demo
Step by step
- 1
Why▶ 0:30
LED turn-signal bulbs hyperflash with the stock relay. The SmartTap fixes that and adds hazard, parking-light and tap-to-turn functions.
- 2
Open the panel▶ 0:50
Pop the small panel out by hand, then remove the two Phillips screws behind it to get access.
- 3
Find the relay▶ 1:11
The relay that clicks when you signal is the one to replace.
- 4
Swap it in▶ 1:25
John popped the clip off the stock relay but left the relay in place because the spot is so hard to reach, then fit the SmartTap in. It's a tight fit, which holds it. Reinstall the panel and its two screws.
Tip: No more hyperflash once it's plugged in.
- 5
Hazard patterns▶ 2:29
Double strobe, wig-wag, slow wig-wag, or off. You can also run wig-wag without the double strobe.
- 6
Tap-to-turn count▶ 3:15
A light tap blinks four times by default. To change it, hold the stalk in the left (decrease) position and turn the car on. Now it taps three times.
- 7
Hazard mode▶ 3:53
Three modes: normal hazards, strobe only when parked (ignition off), or strobe whenever. With the hazards on, move the stalk right, turn the ignition on, then return the stalk to center to step to the next mode.
- 8
Temporary wig-wag▶ 6:21
With the hazards on, push the stalk up (right) for fast wig-wag or left for slow wig-wag. It works with the ignition on or off and is just temporary.
- 9
Lock flash▶ 7:08
When you lock the doors, the ambers stay on for a set time (10 to 90 seconds), handy as you walk away. To lower it, hold the stalk down (left) and press lock. Holding it up increases it in 10-second steps. Going below 10 seconds turns it off. Return the stalk to center when you're done.
- 10
Tail light demo▶ 9:53
The BRZ's Valenti Revos stay lit during the lock flash and do the wig-wag pattern. The sequential Subispeed tails on the WRX keep sweeping instead.
Wiring notes
- Plug-in replacement for the factory flasher relay; no splicing.
- John left the stock relay in place (unclipped) because access was tight.
Get the parts
- Diode Dynamics SmartTap LED flasher relay (Amazon link from the description)Buy ↗
- Phillips screwdriver: Generic pickGeneric pickSearch on Amazon ↗
As an Amazon Associate I earn from qualifying purchases. Some links are affiliate links.
FAQ
What vehicle does this install fit?
It is shown for the Per the description: 2013–2016 Subaru BRZ and Scion FR-S, 2017 Toyota 86, 2008–2017 WRX / STI, plus many 2000s–2010s Toyota, Lexus, Scion and Subaru models (full list in the video description). Plugs in where the factory flasher relay sits; no wiring changes Always confirm your exact year, trim and factory audio with the seller.
How long does the install take?
John's full video is 12 min. Plan on that much time for a careful DIY install, plus extra if you are new to dash work.
What tools do I need?
Tools called out in the guide: Phillips screwdriver; Flashlight (the relay is tucked up high).
Where do I get the parts?
Use the buy links on this page for the unit and any harnesses John used. Some links are affiliate links.
Is this beginner-friendly?
The guide breaks the job into 10 steps with timestamps into the video. If you can remove trim panels carefully, you can follow along.
John's Subaru WRX
More photos →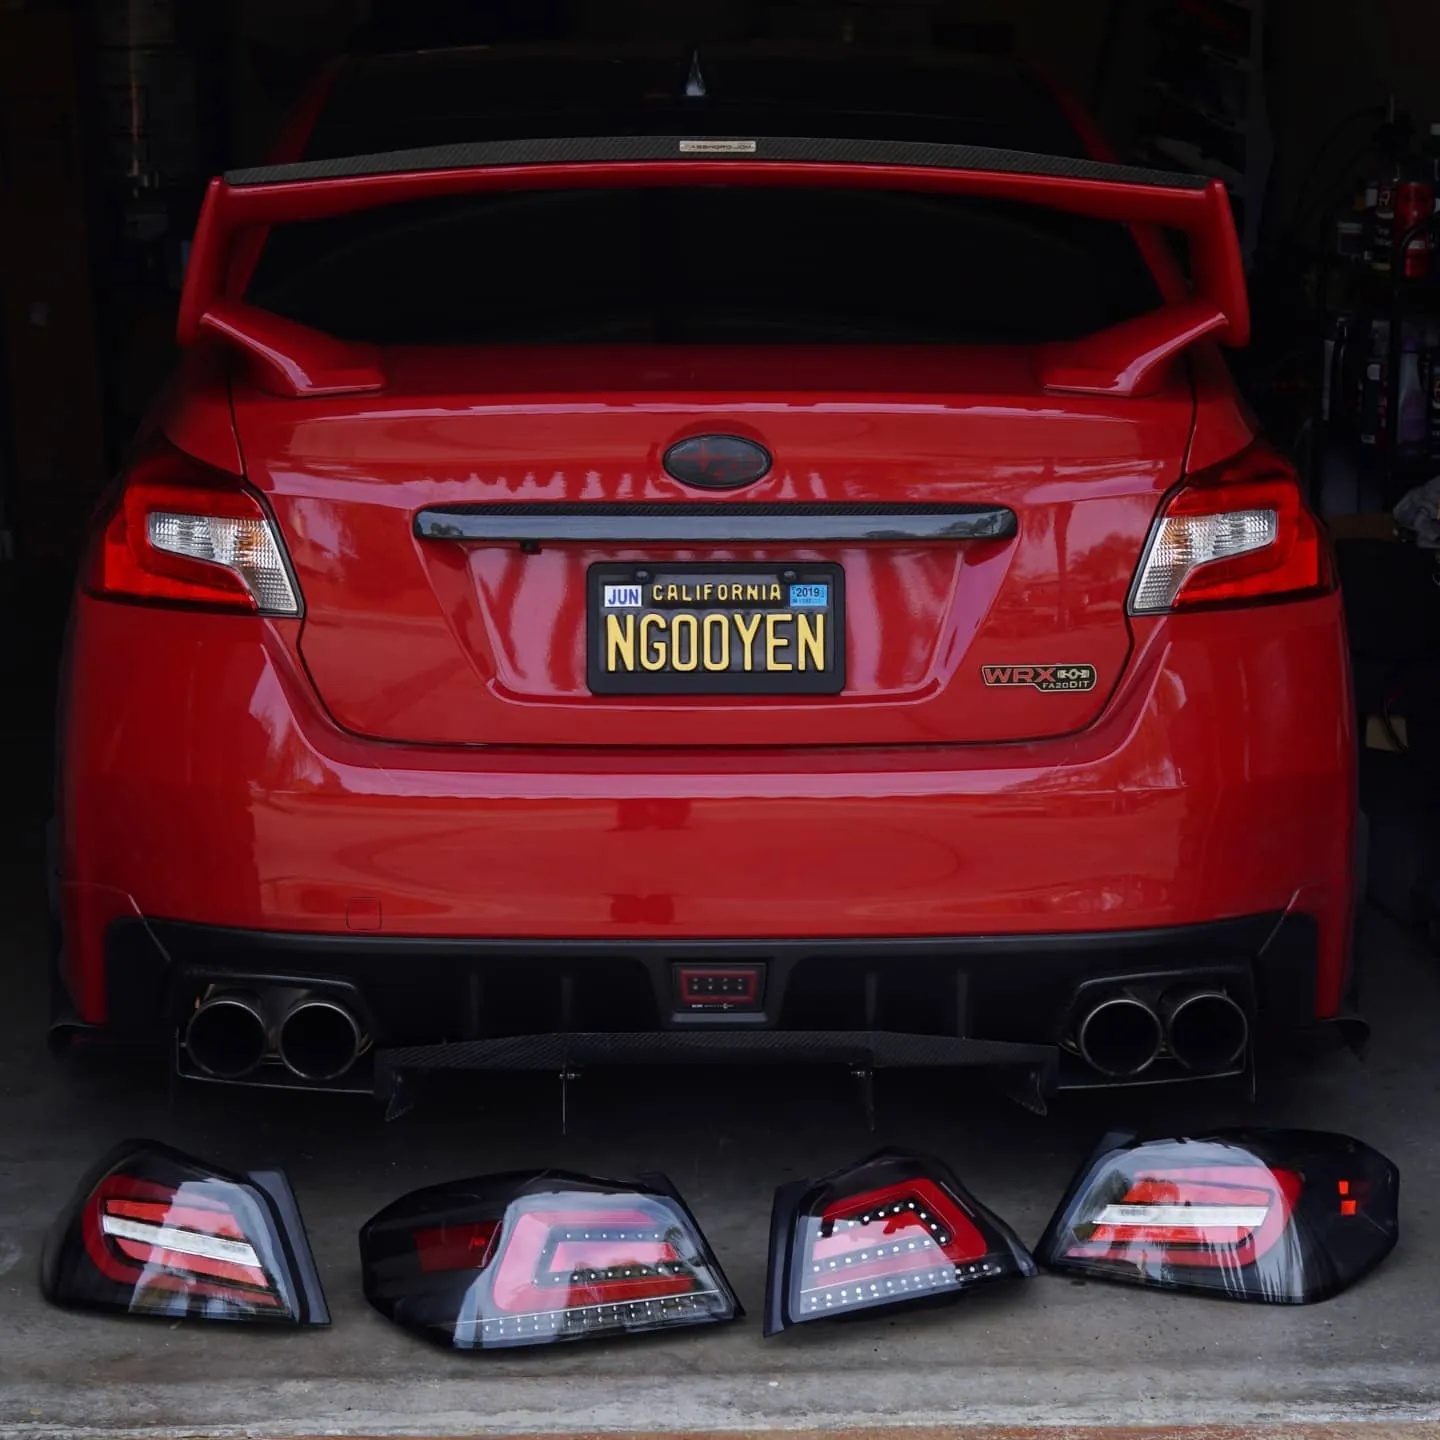
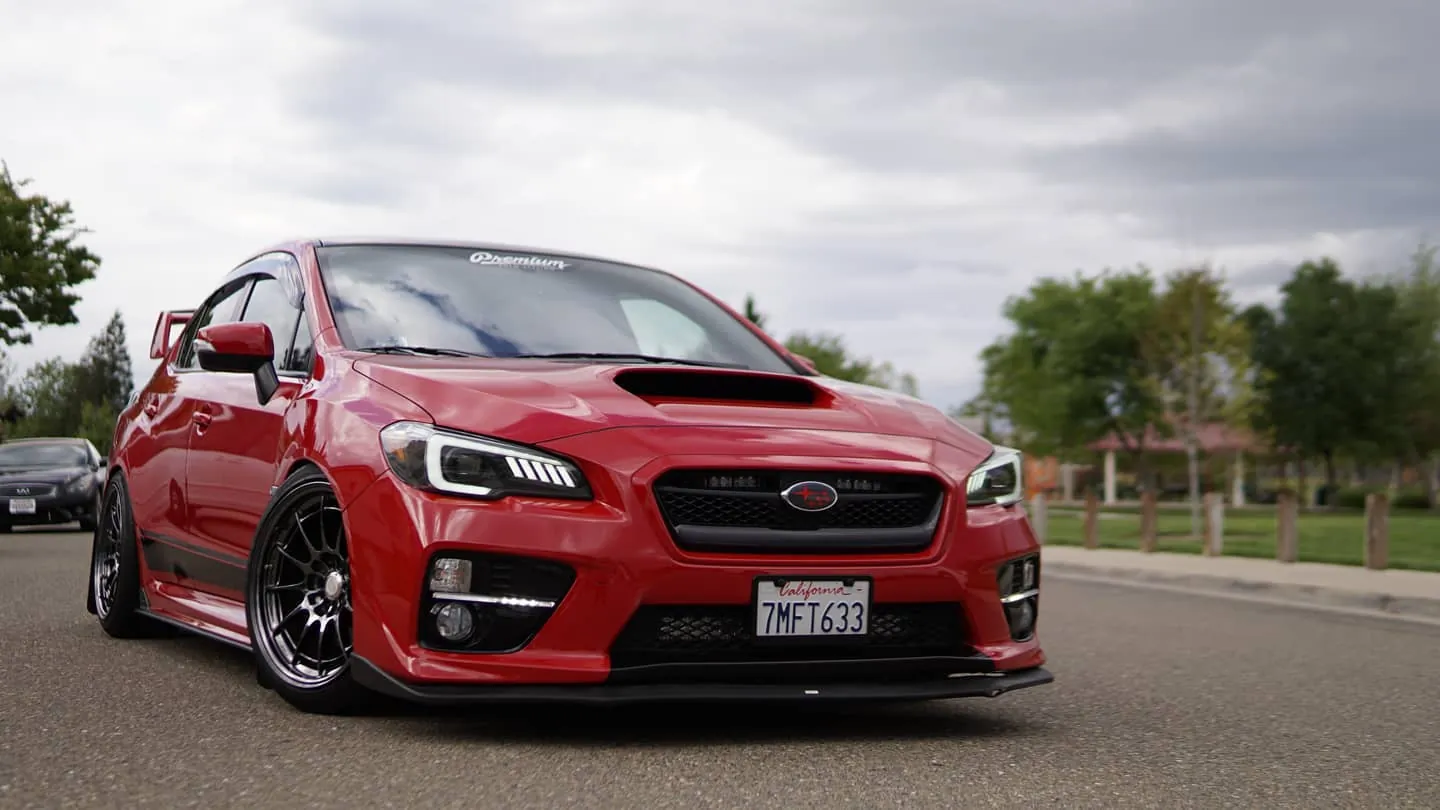
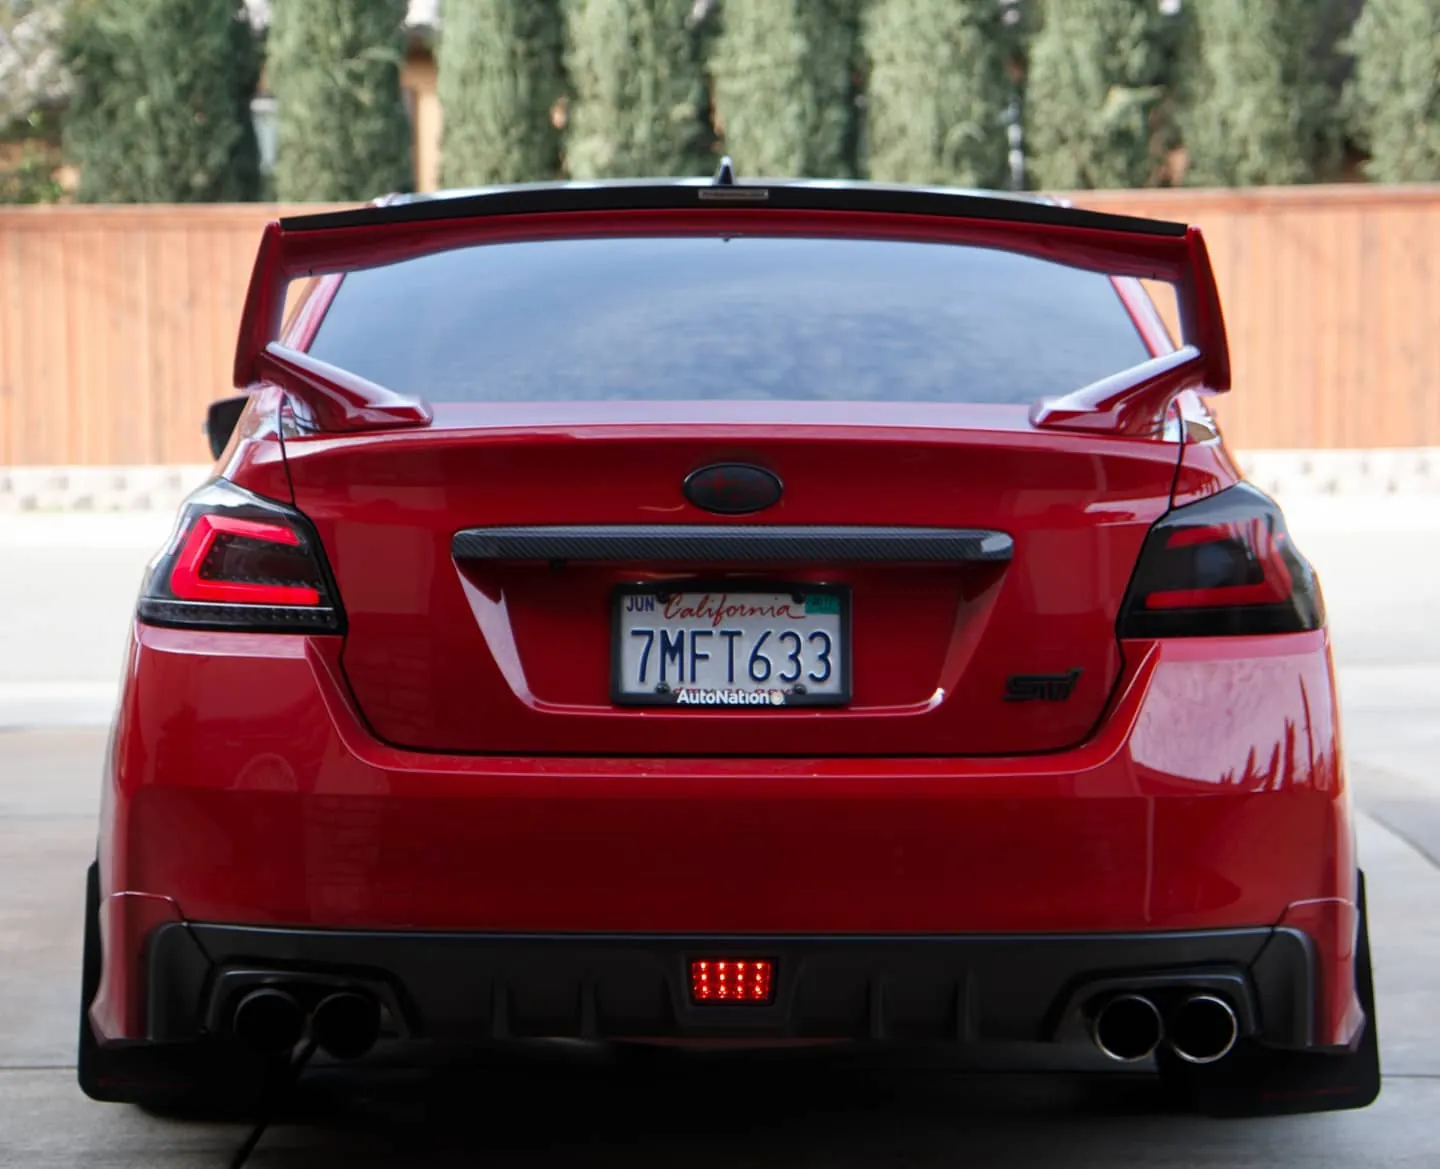
Photos from @ngooyen on Instagram. Follow for more.
Full transcript
Show the full transcript (178 lines) +
0:30Again, we're going to use the SmartTap Relay from Diode Dynamics to fix that hyper blink
0:37and have more functionality when it comes to hazards, parking lights, and even top to
0:43turn functions.
0:44So, we're going to plug this in.
0:45and it's pretty easy.
0:46You're going to follow me in my red flippy floppies.
0:50Plop this piece out right here.
0:51I just use my finger, one screw right here, and there's another screw right here.
0:59So two phillips heads.
1:00After you remove the two screws, it gives you access to more stuff.
1:11So I'm in a position where I can reach it, but if you follow my screwdriver, it's this
1:15little piece right here.
1:18This is what clicks.
1:19That's the relay we're going to have to replace.
1:21So we're going to somehow be able to grab it, take it out.
1:25So I was able to pop the clip off of the relay.
1:28So the relay right now is sitting like this, and there's a clip that holds onto it.
1:34Instead of removing it, because I have such a hard time accessing that spot, I'm just
1:39going to unclip the clip, leave the stock one there, and putting it the new one.
1:44And it's a really tight fit in here, so I think we should be fine.
1:52Once.
1:53Once you have it in there, just pop out your back guaranteeor pieces and screw those two
1:57screws.
1:59We'll start out with the turn signals.
2:08Is it hyper flashing?
2:09It
2:28is.
2:29I'm going to show you guys the functionalities of each piece, starting now, so we'll start
2:38out with the hazard functions.
2:45So this is double strobe.
2:46You can turn off double strobe if you want.
2:49This is wigwag.
2:50This is pretty cool.
2:51This is one of my favorite ones.
2:58There's slow wigwag, and then of course there's off, and if you want to do just no strobe and
3:08just single, you can do wigwag without the double strobe too.
3:15So this is going to be the tap to turn functions.
3:19If you just tap it and you don't lock it in, it's going to tap four times automatically.
3:25If you tap it right, it's going to blink four times to the right.
3:28So what you can do to adjust that time is instead of having four, which is default, let's say
3:34you want it to be three.
3:36You move the stock to the left position, which is decreased, and you just turn your
3:40car on and reset it.
3:47So now instead of four, it should be three, tap three times.
3:53To adjust the strobe settings, there's three modes.
3:56There is normal, which is just blinks normally when you press the hazards.
4:01There is only do the hazard strobes when you're in parking mode.
4:05And then there is do the strobes whenever you're driving.
4:08Doesn't matter if you're parking or not.
4:10So to cycle through the settings, we'll show you what it is stock.
4:15It's a double flash.
4:18To adjust that hazard setting, what we're going to do it is with the hazards on, we want to
4:25move the
4:26the stock to the right position.
4:30And then we're just going to turn the car on similar to the tap to turn.
4:36And then we're just going to move back to the center.
4:41So let's let's turn off the hazards and we'll see the new settings.
4:45So if we press the hazard button, as you can tell, it's just the normal hazard buttons
4:53now.
4:54Click, click, not double show anymore.
4:57You can show the front, check out the front of the car.
5:05Do you like that setting?
5:09So we have our hazard settings.
5:13We had the normal setting, which is what is on right now.
5:17Just regular tapping, regular tapping.
5:20There was the double strobe.
5:22And then now let's see the next setting.
5:24So hazard, have your hazards on, move the stock to the right position again.
5:30And then we're going to turn the car on into the ignition.
5:35And then we're going to just remove the stock back to normal.
5:39And that should be it.
5:40Should be in the next setting.
5:51So it's strobing right now, right?
5:53Double strobe.
5:54Let's see if I turn the niction on.
6:02And now that.
6:03So with this setting right here, when you're parked
6:06and you just want to do like a car meet,
6:08you just want to show it does normal hazards
6:11when your car is on.
6:12But if your car is the ignition off
6:14and you want to show that double strobe,
6:16which is really cool.
6:17Let me show you one of the functions.
6:21There's no safe function when it comes to these,
6:23but there is the way back function.
6:25Then there is a slow way back function.
6:28There's a normal one.
6:29All you have to do is press your hazards.
6:31And then move up on the stock and left
6:34or left on the stock at any time.
6:35And if the ignition's on or off, it doesn't matter.
6:40This is just a temporary thing.
6:42So when you press the hazards and you move the stock to the up.
6:48Which is right.
6:50It does the wigwag.
6:53And if you center it.
6:55It's still doing the fast wigwag.
6:57If you move to the left, it does the slow wigwag.
7:03That's a really cool function.
7:06All right.
7:07So with these new smart tap to turns,
7:09there's a lock function.
7:11you lock the doors, your ambers or your turn signal
7:15stay on the whole time for a good amount of time.
7:17So you want to do 10 seconds all the way to 90 seconds.
7:20So when you lock your I keys, it's going to keep doing.
7:24Yours just stays on.
7:25It just stays on for 20 seconds.
7:29Which is nice.
7:30So when you're walking away from your car,
7:31your car is still giving up some light, which is really nice.
7:35These Valenti Revos, their light stays on and just stays on.
7:40With the Subispeeds tail lights I have, it continually just keeps
7:44moving and moving, which is kind of annoying.
7:49But for the BRZ's Valenti Revos, that's cool how it just moves
7:54and it stays lit.
7:55Let me show you.
7:56The other front looks like that's actually cool.
8:00That's actually cool.
8:01So for 20 seconds, that's not too bad.
8:04lock the doors.
8:04It stays lit for 20 seconds, gives you some lighties.
8:08Turn signals are actually really bright.
8:10They're, the, the LED ones I have, replace the halogen ones,
8:14and they just stay lit for 20 seconds.
8:16I'm going to show you guys how to adjust that
8:17though, so if you want to come with me.
8:19Time.
8:20So we had it on what, 20 seconds.
8:23If you move
8:25move down, let me close this door.
8:29And the lock button, that's going to decrease.
8:31Left is decrease.
8:34So one, two, three, four, five, six, seven, eight, nine,
8:4010, 11, 12, 13, 14.
8:44I guess I counted to five.
8:45That was like 10 seconds.
8:47To change the time again, just hit the lock.
8:51And it's disabled now.
8:53You see how it doesn't even light up?
8:55Because I turned it off.
8:58Because I was at 10 seconds and now I'm at zero seconds.
9:28With the turn signal up, then it increases at 20 seconds,
9:3230 seconds.
9:33We're good with 10 seconds or 20 seconds.
9:36Let's do 10.
9:37Let's do 10.
9:37So we have on 10, let's put it to neutral,
9:40or the neutral position, the middle position.
9:42And we're pretty much set.
9:53All right, so these are the JK cars.
9:56Let's start with the lock, one, two, three.
10:05So you can tell right there, 10 seconds
10:09on each looking mighty fine.
10:14The thing with the Subispeeds is they keep on moving,
10:18while the Valenti Revos does not keep on flashing.
10:22The lock in three, seconds, three, two, one.
10:28Press lock.
10:31See how it notice how they stay lit?
10:35The Subispeeds, they continue to blink.
10:44And so the wigwag function, because that's super duper cool.
10:50All right, so you can see right there,
10:52the Subispeeds, even though it's on wigwag,
10:55it still blinks the same.
10:56But the Valenti Revos actually has a wigwag pattern,
11:01which is kind of cool.
11:03It doesn't do the full light, but it does do wigwag
11:07where Subispeeds do not go in around the front.
11:13Awesome wigwag from the BRZ and the Subaru WRX.
11:23Nice.
11:24You can tell right there, even my mirrors are doing the thing.
11:29Which is really cool.
11:34And now, we have the slow, slow motion strobe.
11:41It's pretty cool too.
11:42And that's why I'm moving the turn signals to the left
11:45with the hazards on.
12:11Thanks for watching.
Machine-transcribed from the full-length video and lightly cleaned (product names fixed). Watch the video for exact wording.
Next step