iDoing WRX Head Unit: 2015–2019 Full Install, Reverse Camera and SWC
John walks the iDoing WRX harness pin-by-pin (power/audio, steering-wheel controls, reverse camera by year), tests reverse before buttoning up, then sets Bluetooth and the button-backlight color to match a red WRX interior.
Full video (18 min): Full Installation 2015-2019 WRX HEADUNIT | Reverse Cam/Swc iDoing · John's YouTube channel
Get the parts
- Search Amazon for iDoing 9 inch CarPlay Subaru WRX 2015-2019Search on Amazon ↗
- iDoing 9" Android head unit for Subaru WRX / STI / XV / Forester 2016–2022Buy direct ↗
- AliExpress link from the descriptionBuy ↗
CodeiDoing coupon code (NGOOYEN) — NGOOYEN
As an Amazon Associate I earn from qualifying purchases. Some links are affiliate links.
John walks the iDoing WRX harness pin-by-pin (power/audio, steering-wheel controls, reverse camera by year), tests reverse before buttoning up, then sets Bluetooth and the button-backlight color to match a red WRX interior. This 18 min guide covers the Video title: 2015–2019 WRX head unit with reverse camera and steering-wheel controls with tools, parts links and the full video.
Overview
A full WRX iDoing install with the emphasis on wiring, reverse camera and steering-wheel controls. John says two 10mm bolts on the sides of the factory radio are not shown (they are in his older WRX videos). He then walks the harness: a 10-pin and 8-pin for rear/front audio and main power, and a 28-pin that carries steering-wheel controls, reverse camera, AUX and similar signals. Camera routing depends on year — 2016–2017 stay on that 28-pin path; 2018 and newer use an extra 4- or 5-pin the kit includes. He tests reverse (CCD/AV input, and the 2018+ pin's AV out) before putting the dash back together. On the finished iDoing unit he pairs Bluetooth, plays audio, and in Settings → General → lantern / button-light color he changes the backlight from a Mustang-like default to red so it matches the WRX interior (white and blue are also options). The first five minutes and the last stretch of the audio are thin, so the steps below stick to the wiring and setup he clearly shows.
Vehicle & fitment
- Product
- iDoing 9" Android head unit for Subaru WRX / STI / XV / Forester, with Apple CarPlay (per the description) and a year-specific reverse-camera lead
- Shown on
- Subaru WRX, 2015–2019 range in the title (red interior shown)
- Video title: 2015–2019 WRX head unit with reverse camera and steering-wheel controls
- The iDoing listing in the description is a 9" Android unit for Subaru WRX / STI / XV / Forester 2016–2022 — confirm your exact year and radio (Starlink vs base) with the seller
- Reverse-camera plug location changes by year: John says 2016–2017 use one connector, 2018 and up get a separate 4- or 5-pin
Always confirm fitment for your exact year and trim with the seller before buying.
Tools & parts
Tools
- 10mm socket for the two side bolts John mentions but does not reshoot here (see his older WRX videos)
- Trim tools as in a standard WRX radio removal
Parts
- iDoing WRX / STI head unit and vehicle harness
- Year-correct reverse-camera lead (2016–2017 vs 2018+ pin)
Step by step
- 1
Side bolts (not reshot)▶ 0:00
John notes he does not reshoot removing two 10mm bolts on the sides of the factory unit; those steps are in his older WRX head-unit videos.
- 2
Harness overview▶ 5:02
He walks every connector so you don't get lost: a 10-pin and an 8-pin carry rear audio, front audio and main power — those two alone can power the system.
- 3
28-pin: SWC, camera, AUX▶ 5:35
The large 28-pin has steering-wheel controls, backup camera, AUX and similar signals. For 2016–2017, he says the backup camera stays on this path.
- 4
2018+ camera pin▶ 5:51
For 2018 and up, the kit adds a separate 4- or 5-pin camera connector. Use that lead for those years.
- 5
Test reverse before reassembly▶ 6:26
Don't button the dash up until reverse works. He sets the camera input (CCD / AV) and, for 2018+, uses the AV out from that extra pin, then has someone shift to reverse to confirm the image.
- 6
iDoing menus and Bluetooth▶ 8:08
On the running unit he shows nav, radio, Bluetooth and Android apps, then pairs a phone and plays a song to confirm audio and calls.
- 7
Match the button lights▶ 8:45
The default backlight looks off on this red interior (he compares it to a Mustang). Settings → General → lantern / button-light color → red (white or blue are also there) so it matches the WRX trim.
Wiring notes
- 10-pin + 8-pin: front/rear audio and main power.
- 28-pin: steering-wheel controls, AUX, and reverse camera on 2016–2017 cars.
- 2018+ WRX: use the extra 4- or 5-pin camera lead in the kit, and test reverse before you reassemble.
Get the parts
- Search Amazon for iDoing 9 inch CarPlay Subaru WRX 2015-2019Search on Amazon ↗
- iDoing 9" Android head unit for Subaru WRX / STI / XV / Forester 2016–2022Buy direct ↗
- AliExpress link from the descriptionBuy ↗
CodeiDoing coupon code (NGOOYEN) — NGOOYEN
As an Amazon Associate I earn from qualifying purchases. Some links are affiliate links.
FAQ
What vehicle does this head unit fit?
It is shown for the Video title: 2015–2019 WRX head unit with reverse camera and steering-wheel controls. The iDoing listing in the description is a 9" Android unit for Subaru WRX / STI / XV / Forester 2016–2022 — confirm your exact year and radio (Starlink vs base) with the seller Always confirm your exact year, trim and factory audio with the seller.
How long does the install take?
John's full video is 18 min. Plan on that much time for a careful DIY install, plus extra if you are new to dash work.
What tools do I need?
Tools called out in the guide: 10mm socket for the two side bolts John mentions but does not reshoot here (see his older WRX videos); Trim tools as in a standard WRX radio removal.
Does it support wireless CarPlay or Android Auto?
Check the product listing for wired vs wireless CarPlay / Android Auto before you buy; John shows what worked in the video.
Where do I get the parts?
Use the buy links on this page for the unit and any harnesses John used. Some links are affiliate links.
Is this beginner-friendly?
The guide breaks the job into 7 steps with timestamps into the video. If you can remove trim panels carefully, you can follow along.
John's Subaru WRX
More photos →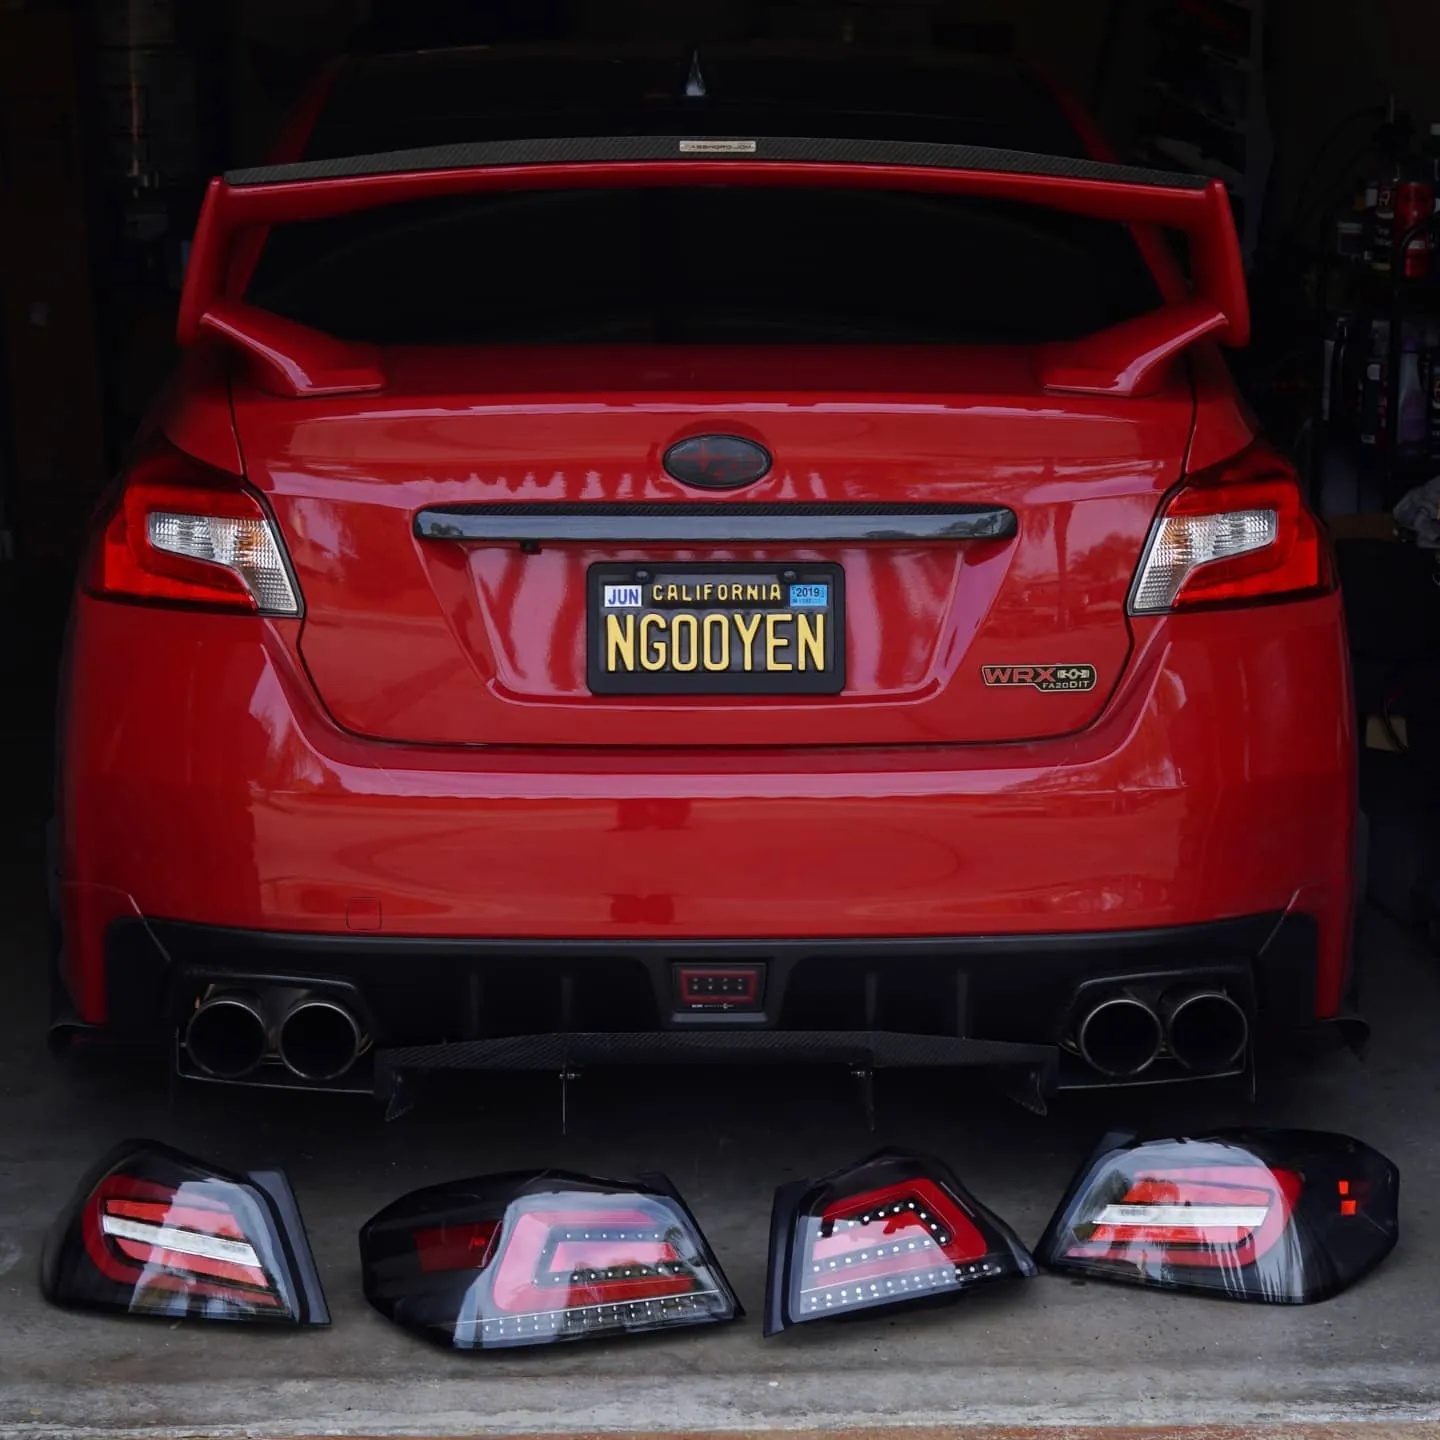
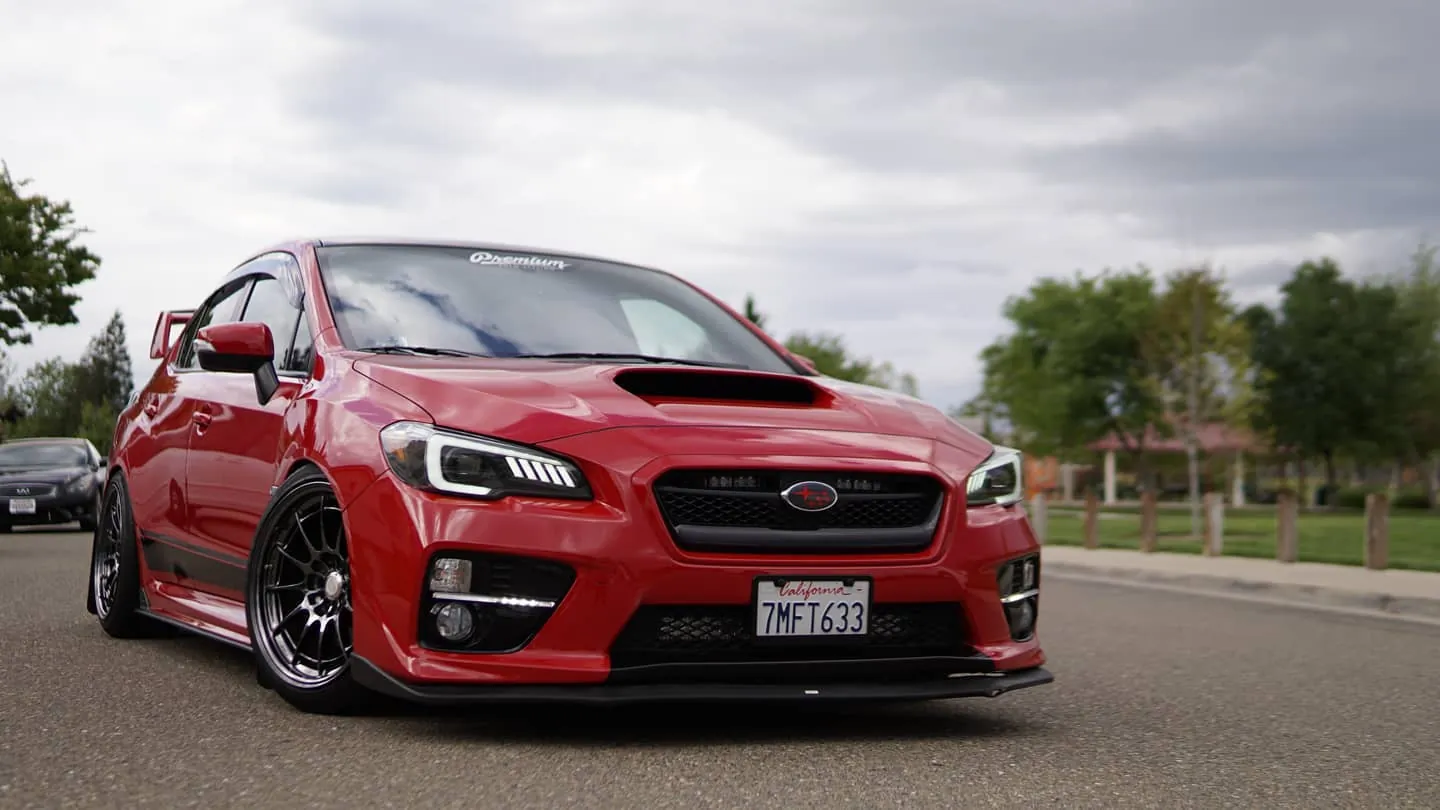
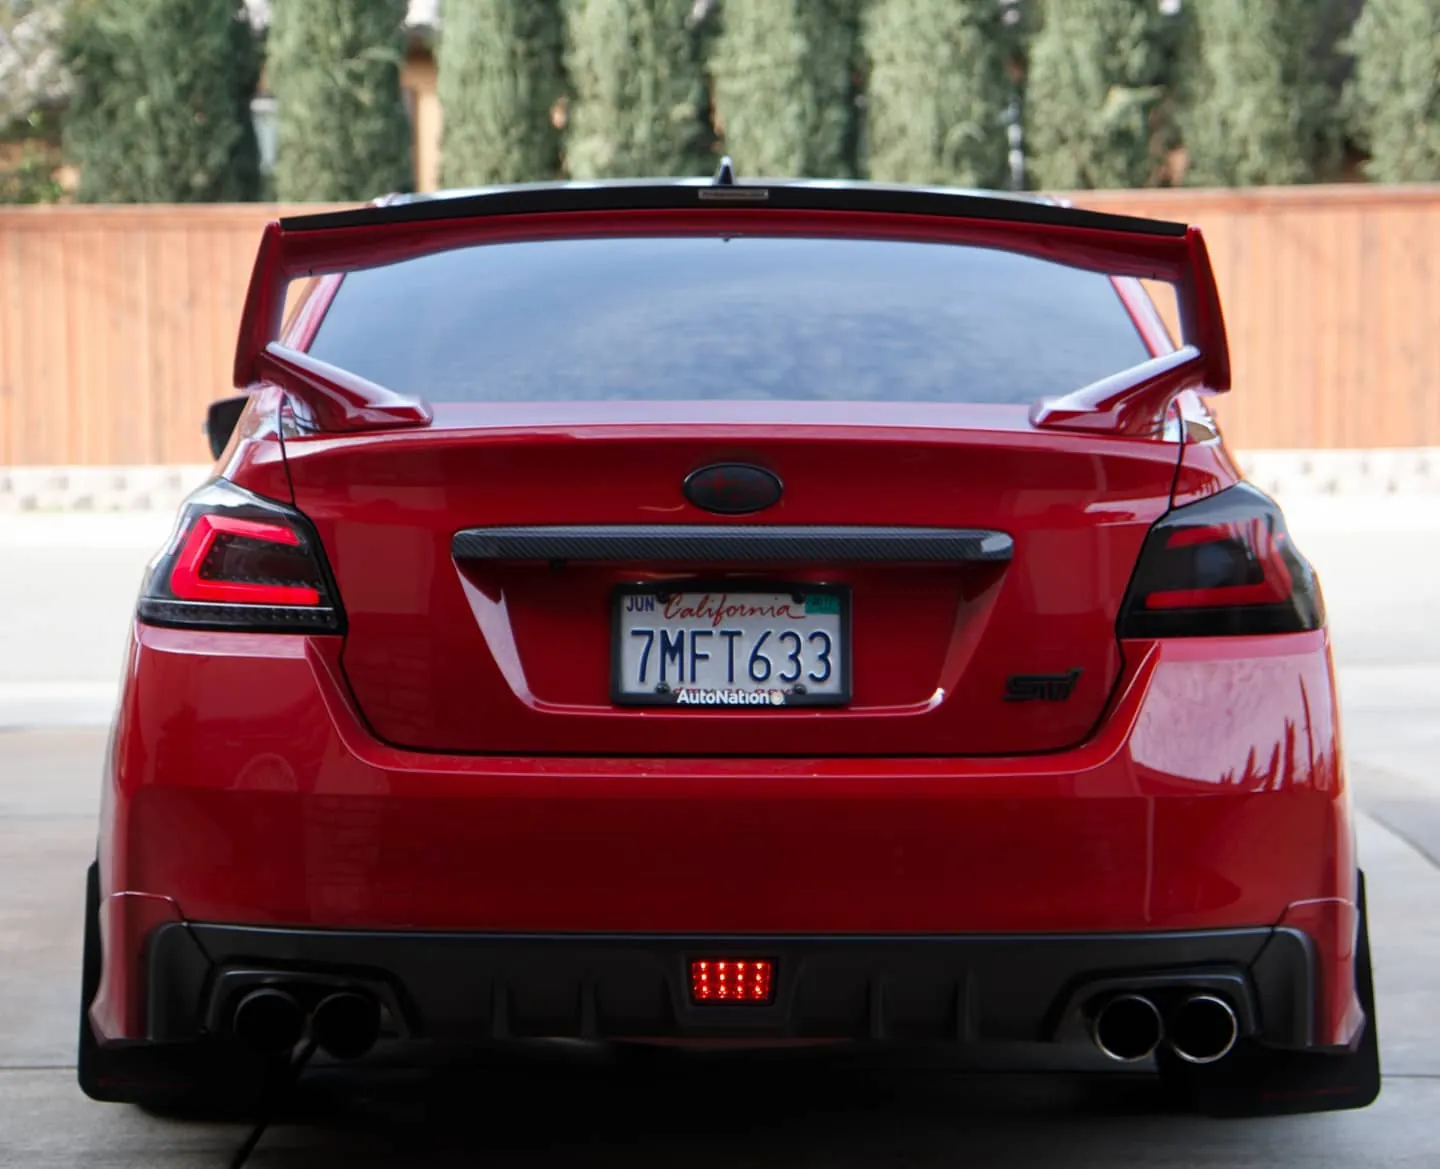
Photos from @ngooyen on Instagram. Follow for more.
Full transcript
Show the full transcript (71 lines) +
1:00I so, I I'm--
5:00and we're gonna transplant them to the new one.
5:02All right, so let me just go over the wiring for you guys.
5:05Now I do, do everything pretty much set up for you.
5:08And I just wanna walk it through to you guys
5:09every single wire.
5:10That way you won't get lost or anything like that.
5:13Now, right here you have your main wires.
5:17This is a 10 pin, this is an eight pin.
5:20This is a 28 pin.
5:21And I'll tell you what,
5:23let's ignore these other ones for now.
5:25So this one carries the audio for your rear, rear audio.
5:28Simple enough.
5:29This is for your front audio and just general power.
5:32So these two alone alone can power up the whole systems.
5:35Now this big old 28-pin, this has spears your signal wheel controls.
5:40This has your back up camera, this has your back up camera, this has your aux and all that goodness.
5:44Now if you have a 2016 to 2017, your backup camera will be in' be in this one. the back up camera.
5:51Now let me show you the harness, look at this right here.
5:56So this is where you're gonna have your backup cameras.
5:58Now, if you have a 1018 and above,
6:01they actually give you another pin right here.
6:04It's like a four or five pin right here.
6:05So if you have an 18 above,
6:07they got you covered, which you nice.
6:26All right, all right, so, before you button everything down, you definitely want to make
6:28sure it works.
6:56that cam into ccd avn now for you 2018 folks which is this pin you want to use basically
7:04the av that's going out of there makes sense um yeah other than that we should be uh we should
7:09be good to try out the reverse real quick sir go ahead throw that second
7:25It kind of sounds like a a, w-r-x.
7:29Is it a w-r-x?
7:31Oh, shoot, it's a w-r-x.
7:34All right, cool.
7:36Let's keep it going.
7:37All right, check this bad boy out.
7:40The interior looks stunning.
7:44So, let's turn this car on.
7:47You can do the honors.
7:50I'm gonna roll up the windows, too.
7:52All right, so.
8:01So we have the head unit like let me turn off the sensitivity so it doesn't look like blown
8:05out.
8:06All right.
8:08So we're going to the settings.
8:09This is iDoing.
8:10We have Nav radio, Bluetooth.
8:11Bluetooth video settings and stuff like that and then of course you have your Android
8:15apps.
8:16The.
8:17The first thing you definitely want to.
8:18blue tooth so we already did that oops we got blue tooth and you want to
8:25sync up your your head unit to which we already did and to show you that if you
8:32can play like a song
8:36there you go so we got the sound going on it's great we can also call on all
8:41that goodness the next thing you want to do is I just turn on the headlights
8:45And you notice how this is like a Mustang te. We can change that too. So why don, we have since I'm
8:52actually I'llit I'll
8:53Actually I'll do it. It's gonna be located in your settings. So go ahead and hit that settings
8:58And then you want to go to general
9:01And then you want to go to lanterns keep scrolling down. You'll see like this colorful lantern settings
9:07And you want to change it to red. Oh you just press it yeah. There you, now it matches
9:14the interior. You got to keep it clean. I think there's white
9:14white, too. Blue if you want to match that. That blue thing. But you got this black and
9:22red theme going on in here. So. Yeah it looks great. Sure there. There's no copyright sound
9:29going on. The next thing you want to do is do you like this UI? Let me show you
10:05all
14:35a menu button and there's there
15:35It's
16:35ofx apple of
Machine-transcribed from the full-length video and lightly cleaned (product names fixed). Watch the video for exact wording.
Next step