2015+ Subaru WRX ADD W1 v3 Oil Catch Can Install
John installs the ADD W1 v3 catch can on his direct-injected 2015 WRX to cut carbon build-up on the intake valves: pull the engine cover and intercooler, bolt on the bracket, Teflon the fittings, and route the turbo-side and manifold hoses.
Full video (11 min): Cleaner Valves - Oil Catch Can Install Subaru WRX 2015+ (ADD W1 v3) · John's YouTube channel
Get the parts
As an Amazon Associate I earn from qualifying purchases. Some links are affiliate links.
John installs the ADD W1 v3 catch can on his direct-injected 2015 WRX to cut carbon build-up on the intake valves: pull the engine cover and intercooler, bolt on the bracket, Teflon the fittings, and route the turbo-side and manifold hoses. This 11 min guide covers the ADD W1 v3 catch can kit for the 2015+ Subaru WRX with tools.
Overview
Direct-injected engines like the WRX's build up carbon on the intake valves, and a catch can helps by stopping oil vapor from going back into the intake. John installs ADD W1's v3 kit and says the directions are easy to read. The can is baffled inside, and the kit comes with everything you need. Remove the engine cover (two clips) and the intercooler (a bolt, another bolt, the 12 mm in the middle and the hose clamps). The bracket mounts where the intercooler sits, using the supplied bolts and washers; on John's car the Cobb flex fuel controller was in the way, so he had to work around it. Fittings go in with Teflon tape (the big side is the outlet, around 15 mm; the smaller, around 8 mm, is the inlet), using the two small Allen keys supplied. One hose runs from the turbo side; the smaller hose goes down to the lower fitting with an OEM clamp, and the bigger hose goes to where you unplugged the factory line. Reinstall the intercooler, zip-tie the lines, and test-drive to check nothing pops off or leaks. The description only links ADD W1's own website for this part.
Vehicle & fitment
- Product
- ADD W1 v3 oil catch can kit (baffled can, bracket, hardware, fittings and hoses)
- Shown on
- 2015 Subaru WRX (John's car, FA20DIT, with a Cobb flex fuel kit installed)
- ADD W1 v3 catch can kit for the 2015+ Subaru WRX
- The intercooler comes off to mount the bracket; John says you could do the catch can and another install in under an hour
- On John's car the Cobb flex fuel controller sits where the bracket mounts, so he had to work the bracket in around it
Always confirm fitment for your exact year and trim with the seller before buying.
Tools & parts
Tools
- 12 mm socket
- Screwdriver for the hose clamps
- The two small Allen keys included with the kit
- Teflon tape
- Zip ties
Parts
- ADD W1 v3 catch can with bracket, bolts and washers
- Fittings and hoses from the kit
Video chapters
- 0:00Introduction and kit overview
- 0:50Unboxing and prep
- 2:35Removing the engine cover
- 4:48Installing the mounting bracket
- 6:33Assembling the catch can lines
- 8:15Final installation and routing
Step by step
- 1
Why a catch can on the WRX▶ 0:09
Direct injection builds up carbon on the intake valves. The catch can stops oil vapor from going back into the intake. The can mounts toward the intercooler side, so the intercooler comes off.
- 2
What's in the kit▶ 1:42
The can is baffled inside and the kit comes with everything you need to install it: bracket, hardware, fittings and hoses.
- 3
Remove the engine cover and intercooler▶ 2:42
The engine cover is just two clips. For the intercooler, remove a bolt, another bolt, the 12 mm in the middle of the frame and the hose clamps. On John's car the Cobb flex fuel controller and an existing bolt also had to come out of the way.
- 4
Mount the bracket▶ 4:00
Use the bolts and washers that come with the kit. The bracket bolts where the intercooler sits. He worked it in around his flex fuel controller and recommends mounting the can before everything else is back on.
- 5
Fittings and hoses▶ 6:45
Use Teflon tape so you get a good seal, put the hose on first, and screw the fitting in so the tape doesn't unwind. The big side is the outlet (about 15 mm); the smaller (about 8 mm) is the inlet. Two small Allen keys come with the kit.
- 6
Route the lines▶ 7:30
One line comes from the turbo side. The smaller hose goes down to the lower fitting with the OEM clamp; the bigger hose goes where you unplugged the factory line. Tighten everything and zip-tie the lines. It sits tucked in behind the intercooler, very stealthy.
- 7
Reinstall and test▶ 10:07
Put the intercooler back on and take a test ride to make sure nothing pops off or leaks.
Get the parts
As an Amazon Associate I earn from qualifying purchases. Some links are affiliate links.
FAQ
What vehicle does this install fit?
It is shown for the ADD W1 v3 catch can kit for the 2015+ Subaru WRX. The intercooler comes off to mount the bracket; John says you could do the catch can and another install in under an hour Always confirm your exact year, trim and factory audio with the seller.
How long does the install take?
John's full video is 11 min. Plan on that much time for a careful DIY install, plus extra if you are new to dash work.
What tools do I need?
Tools called out in the guide: 12 mm socket; Screwdriver for the hose clamps; The two small Allen keys included with the kit; Teflon tape; Zip ties.
Where do I get the parts?
Use the buy links on this page for the unit and any harnesses John used. Some links are affiliate links.
Is this beginner-friendly?
The guide breaks the job into 7 steps with timestamps into the video. If you can remove trim panels carefully, you can follow along.
John's Subaru WRX
More photos →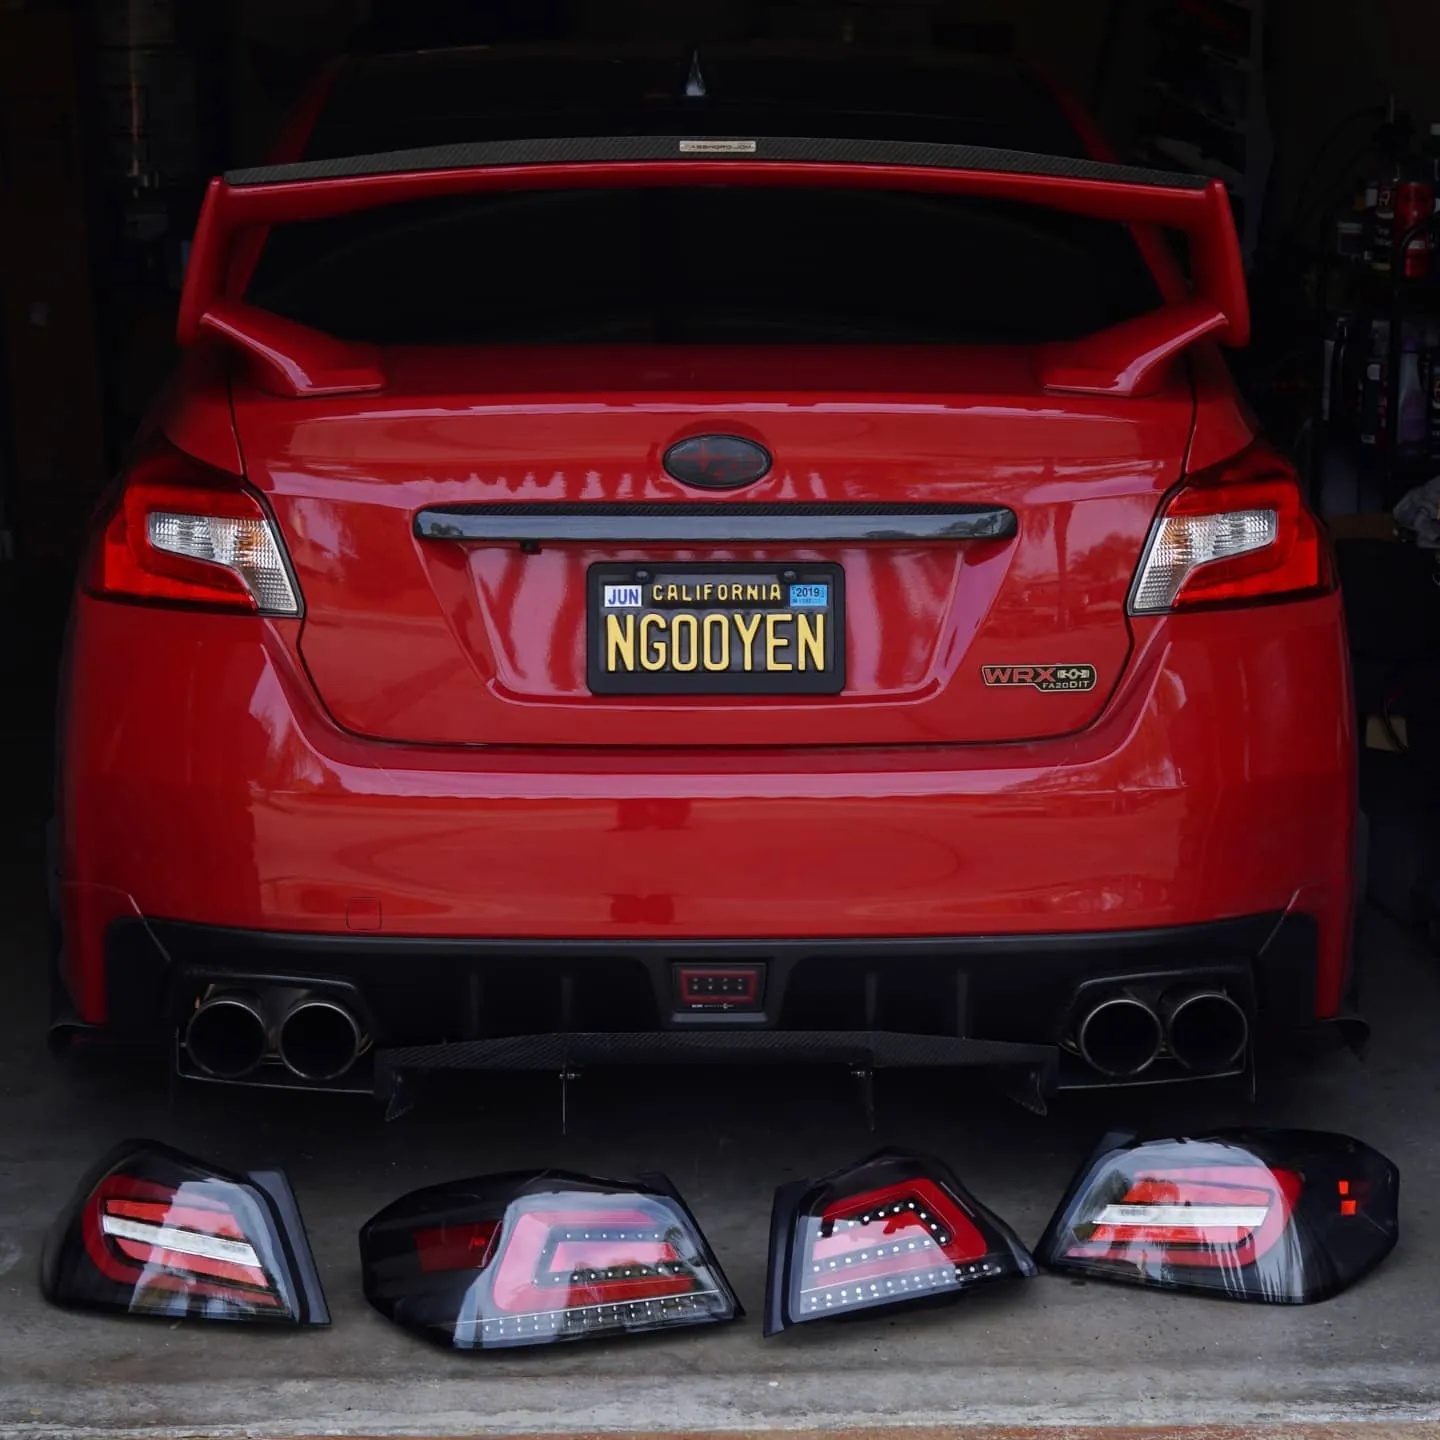

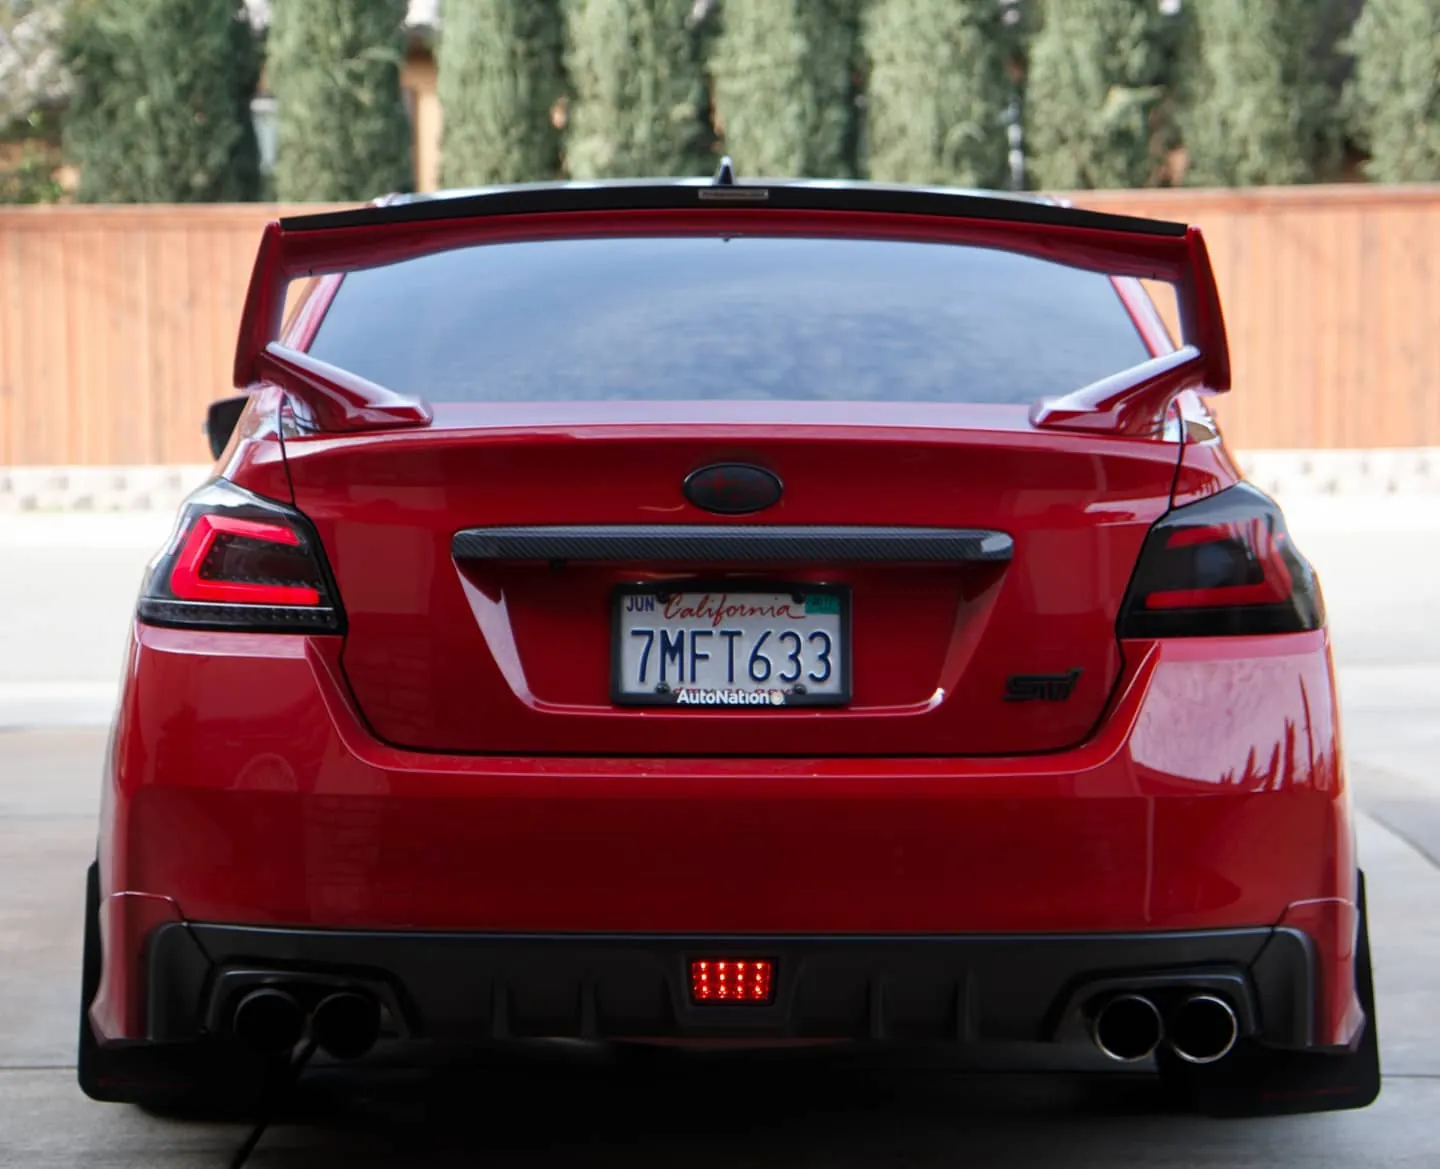
Photos from @ngooyen on Instagram. Follow for more.
Full transcript
Show the full transcript (54 lines) +
0:09Oh, we're looking at the installs for the Subaru WRX and we have the stage
0:55is going to be towards the intercooler side. So you do have to remove your intercool. It's super
0:59easy. Honestly, you can probably do both of these under an hour. So yeah, a bunch of fittings and
1:42catch can does is it prevents any kind of oil vapors or anything going back into the intake,
1:47which is, bad here we go screwing again. So this is pretty much how it looks like an inside.
1:57And there's some baffles right here. It feels real good. Yeah, let me
2:11basically the kick comes with everything you need install. The only
2:42is removed that bad boy right there. Remove the engine cover. It's real simple.
2:47Just two clips right you. So these are
3:02two prongs, and they're just pushed into that. All right, so of course we,
3:12we the, we have to the intercooler. And this is where the new catch cans is going to mount.
3:18you obviously have to remove my flexible sensor and also not my sensor, but the whatever
3:23the computer and the existing bolt right here. So let's just get that out of to. Oh, don't drop that.
3:37the intercooler. It's really easy. Just this bolt right here. And then you have another bolt
3:47so you guys can see that. You have that 12 right there right
3:51right in the middle of the frame and of course the hose, hose clamps that
3:55holds them. So let, let's just, just get to it. Bracket that goes right here. It comes with some hardware.
4:25So let's use that, the hardware it comes with. The only thing with me is I had that flex field computer,
4:30whatever that is. So, but it comes with these two bolts. And it has. Have some nice ass washers.
4:38Nice, you sign up perfectly. Trying to install the mounting bracket with my cobb flex
4:51field.
4:54See if it can grab. All right, so you can do, you can sell the catch can here.
5:00I recommend installing it. Well, this thing's not on there, there.
5:13I'm going to, I'm going to use this. I'm going. I, I'm, I'm going to, I I'm going to, I'm going
6:45Let's get this piece into here, of course you want to use Teflon tape so you get
6:56a nice seal.
6:57Alright, you probably want to take the hose on first.
7:08When you want to screw it in, you want to screw it in so the Teflon tape isn't, undoing
7:13itself too.
7:26Alright so, everything, everything looking pretty Gucci.
7:30Alright so we have the one that's going from the turbo.
7:38That boy, of course.
7:40Of course, tighten accordingly.
7:42Alright, look at those lines, looking clean.
7:58Super duper clean, most of this, I got some zip ties going on right there.
8:04And then of course this is all this little flap.
8:33On to the unit, so let's do, so let's do it.
8:38Alan Keyhead and readjust.
8:40You get this little two little Allen keys.
8:45There it is, there it is, there it is and so you want to install the little
8:54little fittings with the Te of course, the big side is going to go for the outlet 15
9:00and smaller side, 8mm or something like that, it's to be the inlet.
9:04Now the bracket basically holds right here, where you install the inner cooler.
9:11So it kind of sits like this.
9:15So basically sits like right here, pretty tucked in back there, kind of stealthy, very stealthy.
9:23But yeah, basically the hose that is on top of the intake manifold or
9:31whatever, not
9:35all right. Kind of a, a, kind of a bit of a mess, but I have the smaller hose going to the lower part.
9:43Can't really get my camera underneath there, but follow this hose right here goes straight down there
9:47goes straight down to that thing where I had clamped I use the OEM clamp.
9:53And then we have the bigger hose going to where you pretty much unplugged it.
10:07Install wase very easy and I'm just going to have to put the intake in.
10:12Pop it off, popping off or leaking or anything, but that didn't seem good.
10:23Kind of test ride it, make sure it doesn't stop.
Machine-transcribed from the full-length video and lightly cleaned (product names fixed). Watch the video for exact wording.
Next step