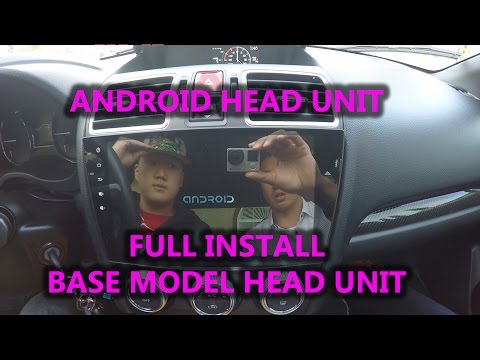
2015+ WRX Harman Kardon Android Head Unit Wiring and Hum Fix
Wiring tips for an Android head unit in a 2015+ Harman Kardon Subaru WRX: AE64 10-pin / 6-pin / 28-pin harnesses, RCA pre-outs instead of the main-plug audio, and Best Buy ground-loop isolators that killed about 90% of the hum.
Full video (9 min): Ep 25: Install tips Android Headunit , Wiring Diagram for (hum issue) harman kardon. Base · John's YouTube channel
Get the parts
- Search Amazon for a Metra ground loop isolator (he bought one at Best Buy; no Amazon /dp/ was in the description)Search on Amazon ↗
- Metra ground loop isolator at Best Buy (link from the description)Buy ↗
As an Amazon Associate I earn from qualifying purchases. Some links are affiliate links.
Yes — you can install This kit on the Aimed at 2015+ Harman Kardon Subarus. John says the base-model radio is basically plug-and-play on the main cable; HK cars need the extra speaker/amp pins with a 9 min DIY job. Wiring tips for an Android head unit in a 2015+ Harman Kardon Subaru WRX: AE64 10-pin / 6-pin / 28-pin.
Overview
This is not a dash-out install — the unit is already in. John summarizes how he wired an Android head unit in his Harman Kardon 2015+ WRX. The seller's main power plug carries ignition, constant, ground, reverse, illumination, steering controls and more, plus audio he does not use; he takes audio from the RCA pre-outs instead. Base-model cars, he has heard, can just plug that main cable in. HK cars need the extra speaker/amp pins: he uses AE64 10-pin, 6-pin and 28-pin harnesses, plus the included antenna adapter so FM still works. A factory-style hum showed up; grounding experiments did not fully fix it. Metra-style ground-loop isolators from Best Buy took about 90% of the noise out, and running them in parallel reduced it further. He leaves the untouched factory plugs alone once the AE64 adapters are in. The description has a Best Buy Metra isolator link and the HK pinout, but no Amazon /dp/ for the isolator, so the Amazon button is a tagged search.
Vehicle & fitment
- Product
- Android head unit already installed in John's 2015+ WRX, wired through AE64 harnesses and RCA pre-outs, with ground-loop isolators for the hum
- Shown on
- 2015+ Subaru WRX with the Harman Kardon audio system (John's car)
- Aimed at 2015+ Harman Kardon Subarus. John says the base-model radio is basically plug-and-play on the main cable; HK cars need the extra speaker/amp pins
- The description includes the OEM 10-pin and 6-pin power/speaker pinout for 2015+ Harman Kardon Subarus (credited to SVXdc)
- He bought Metra-style ground loop isolators at Best Buy (no Amazon /dp/ in the description)
Always confirm fitment for your exact year and trim with the seller before buying.
Tools & parts
Tools
- Wire strippers / crimps if you splice instead of using a harness
- Zip ties or tape to loom the extra HK leads
Parts
- Android head unit and the seller's main power/steering harness
- AE64 (or similar) 10-pin, 6-pin and 28-pin Subaru harnesses for Harman Kardon
- Antenna adapter (included by the seller in John's kit)
- Ground loop isolators for the RCA pre-outs
Video chapters
Step by step
- 1
Already installed — this is a wiring summary▶ 0:00
John is not doing a step-by-step dash-out. The unit is already in; he walks the harnesses and the Harman Kardon extras.
- 2
Main power plug vs RCA audio▶ 0:22
The seller's main cable carries power, ground, reverse, illumination, steering-wheel controls and more, and it also has audio. He does not use that audio — he uses the RCA pre-outs instead.
- 3
Base model vs Harman Kardon▶ 1:36
He has heard the base-model radio is plug-and-play on that main cable. Harman Kardon cars need the extra 10-pin / 6-pin speaker and amp leads, plus the included antenna adapter for FM.
- 4
AE64 10-pin, 28-pin and 6-pin▶ 3:11
For HK he uses an AE64 10-pin (amp remote, antenna, constant, accessory, ground, and some audio), a 28-pin, and a 6-pin that he believes is the rear audio. The AE64 adapters give him RCAs so he can plug straight into the unit.
- 5
The hum and the isolators▶ 5:21
A humming noise came through. He tried other grounding fixes and is not a professional installer. Metra-style ground loop isolators from Best Buy removed about 90% of the hum; running them in parallel on the RCAs cut the rest further.
- 6
Leave the factory plugs alone▶ 7:11
Once the AE64 harnesses are in, he does not cut the factory plugs. He wraps the unused leads and shows volume/radio working at the end.
Wiring notes
- The description quotes the 2015+ Harman Kardon 10-pin and 6-pin OEM pinout (credited to SVXdc).
- John takes audio from the unit's RCA pre-outs, not from the main seller harness audio pins, then runs ground-loop isolators on those RCAs.
Get the parts
- Search Amazon for a Metra ground loop isolator (he bought one at Best Buy; no Amazon /dp/ was in the description)Search on Amazon ↗
- Metra ground loop isolator at Best Buy (link from the description)Buy ↗
As an Amazon Associate I earn from qualifying purchases. Some links are affiliate links.
FAQ
What vehicle does this head unit fit?
It is shown for the Aimed at 2015+ Harman Kardon Subarus. John says the base-model radio is basically plug-and-play on the main cable; HK cars need the extra speaker/amp pins. The description includes the OEM 10-pin and 6-pin power/speaker pinout for 2015+ Harman Kardon Subarus (credited to SVXdc) Always confirm your exact year, trim and factory audio with the seller.
How long does the install take?
John's full video is 9 min. Plan on that much time for a careful DIY install, plus extra if you are new to dash work.
What tools do I need?
Tools called out in the guide: Wire strippers / crimps if you splice instead of using a harness; Zip ties or tape to loom the extra HK leads.
Does it support wireless CarPlay or Android Auto?
Check the product listing for wired vs wireless CarPlay / Android Auto before you buy; John shows what worked in the video.
Where do I get the parts?
Use the buy links on this page for the unit and any harnesses John used. Some links are affiliate links.
Is this beginner-friendly?
The guide breaks the job into 6 steps with timestamps into the video. If you can remove trim panels carefully, you can follow along.
Find your car
Compare every CarPlay head unit I've installed in this car, or find your car in the CarPlay Upgrade Finder.
John's Subaru WRX
More photos →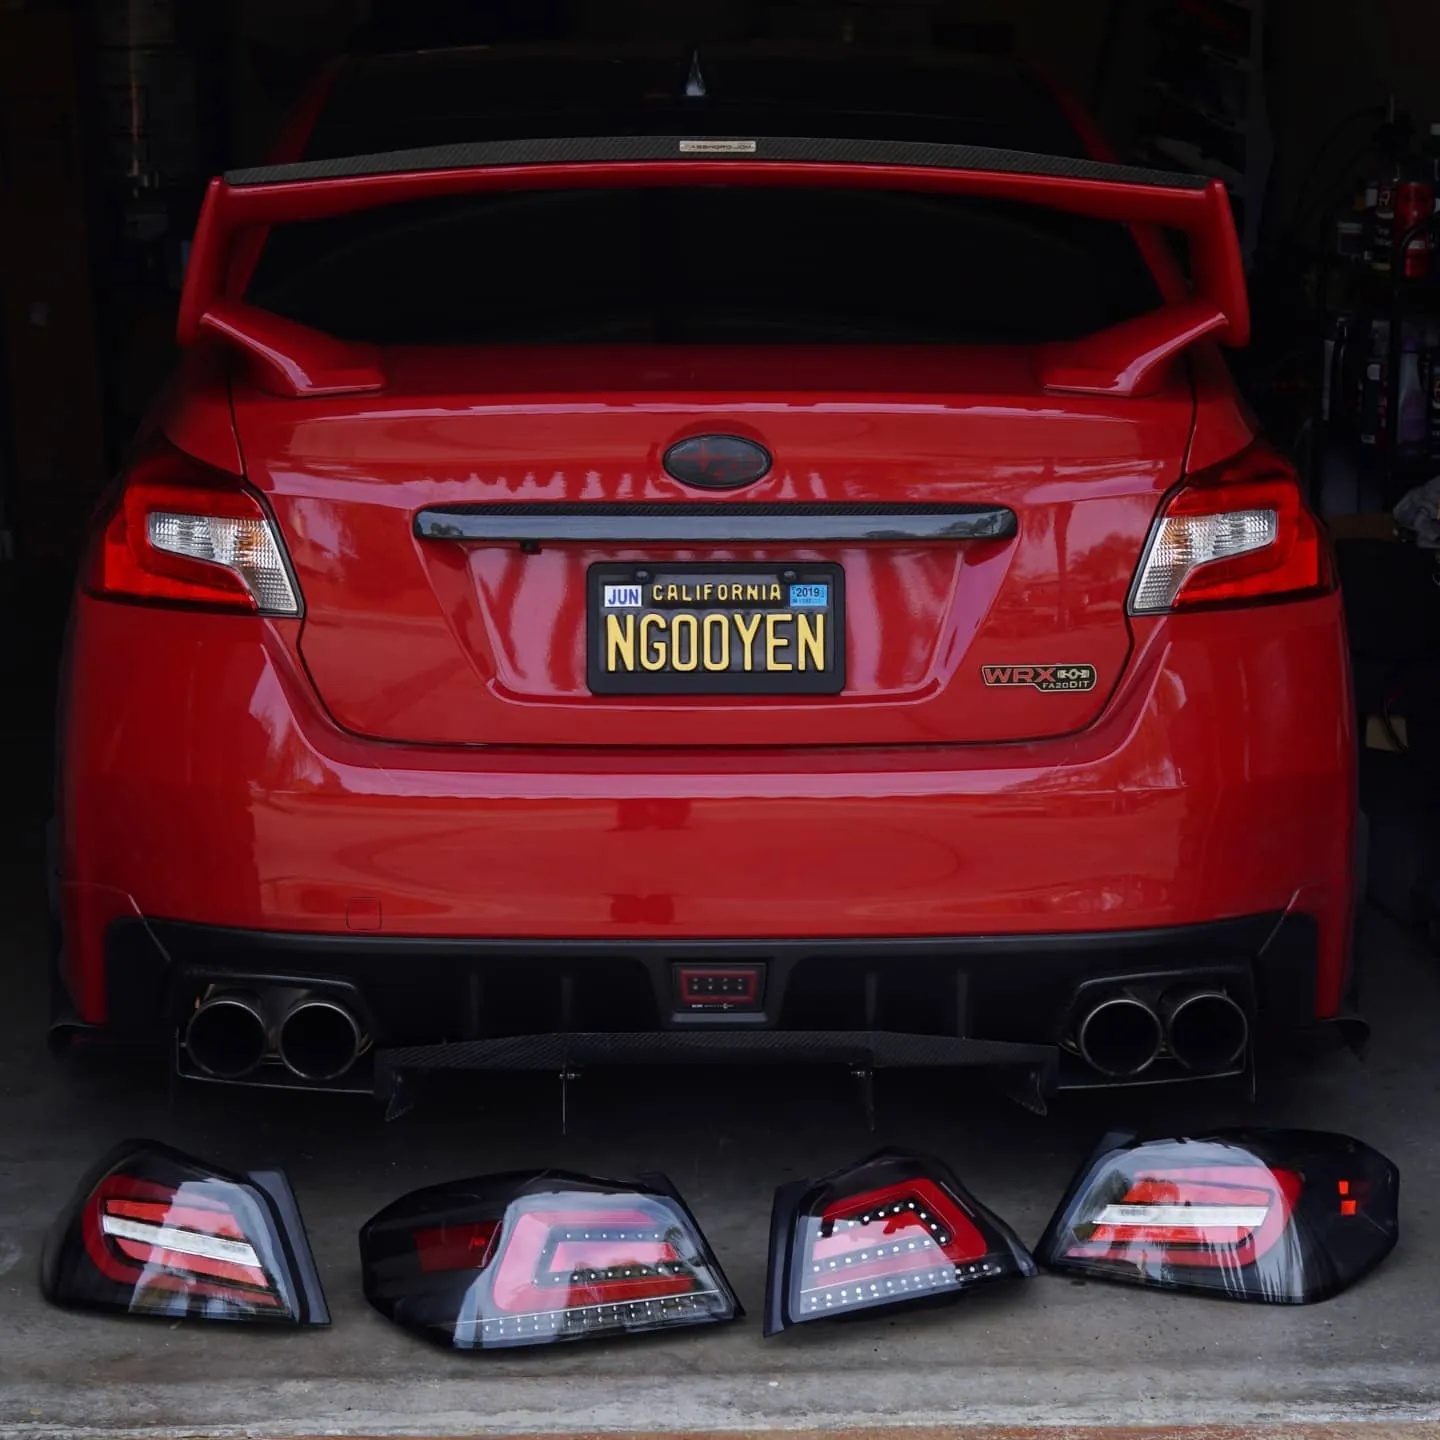
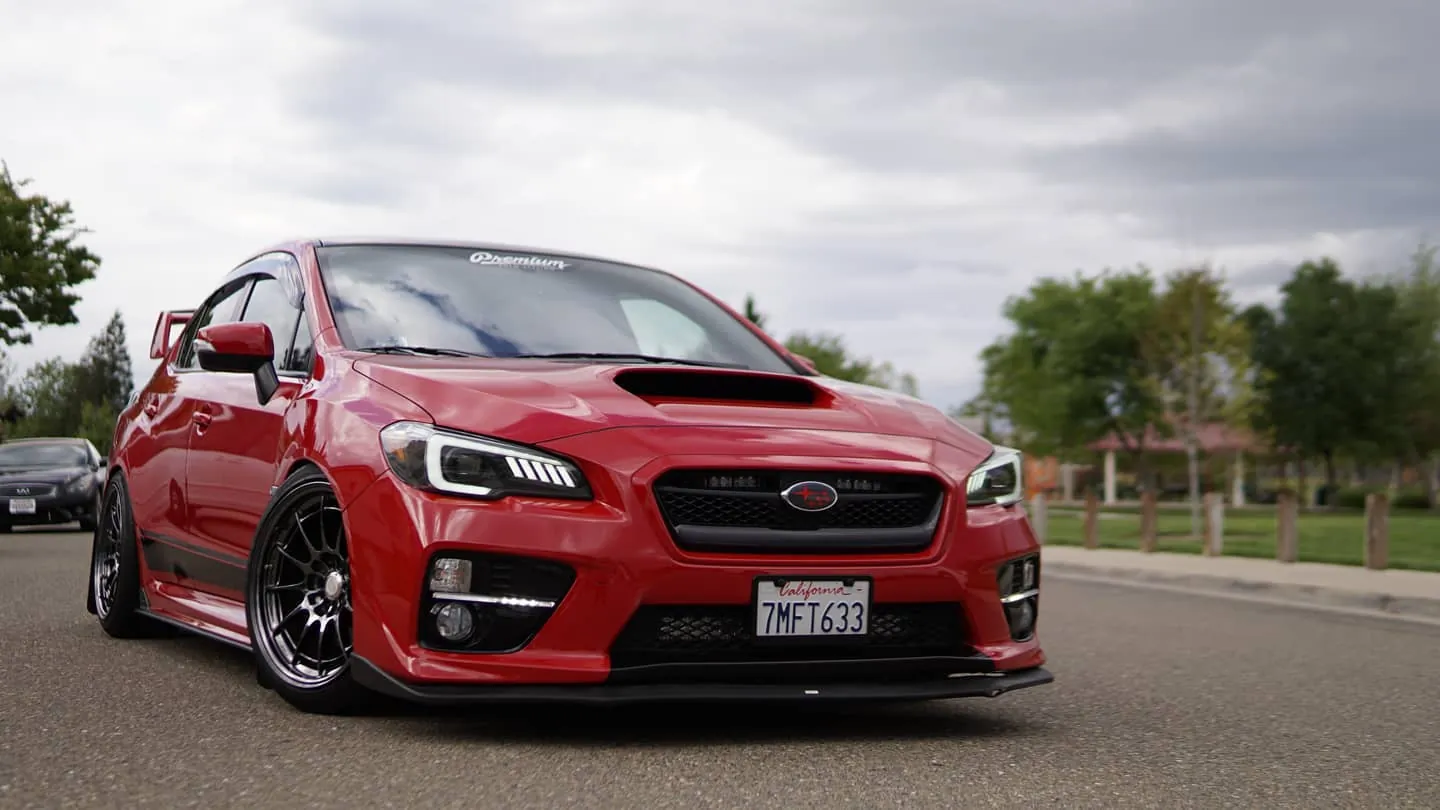
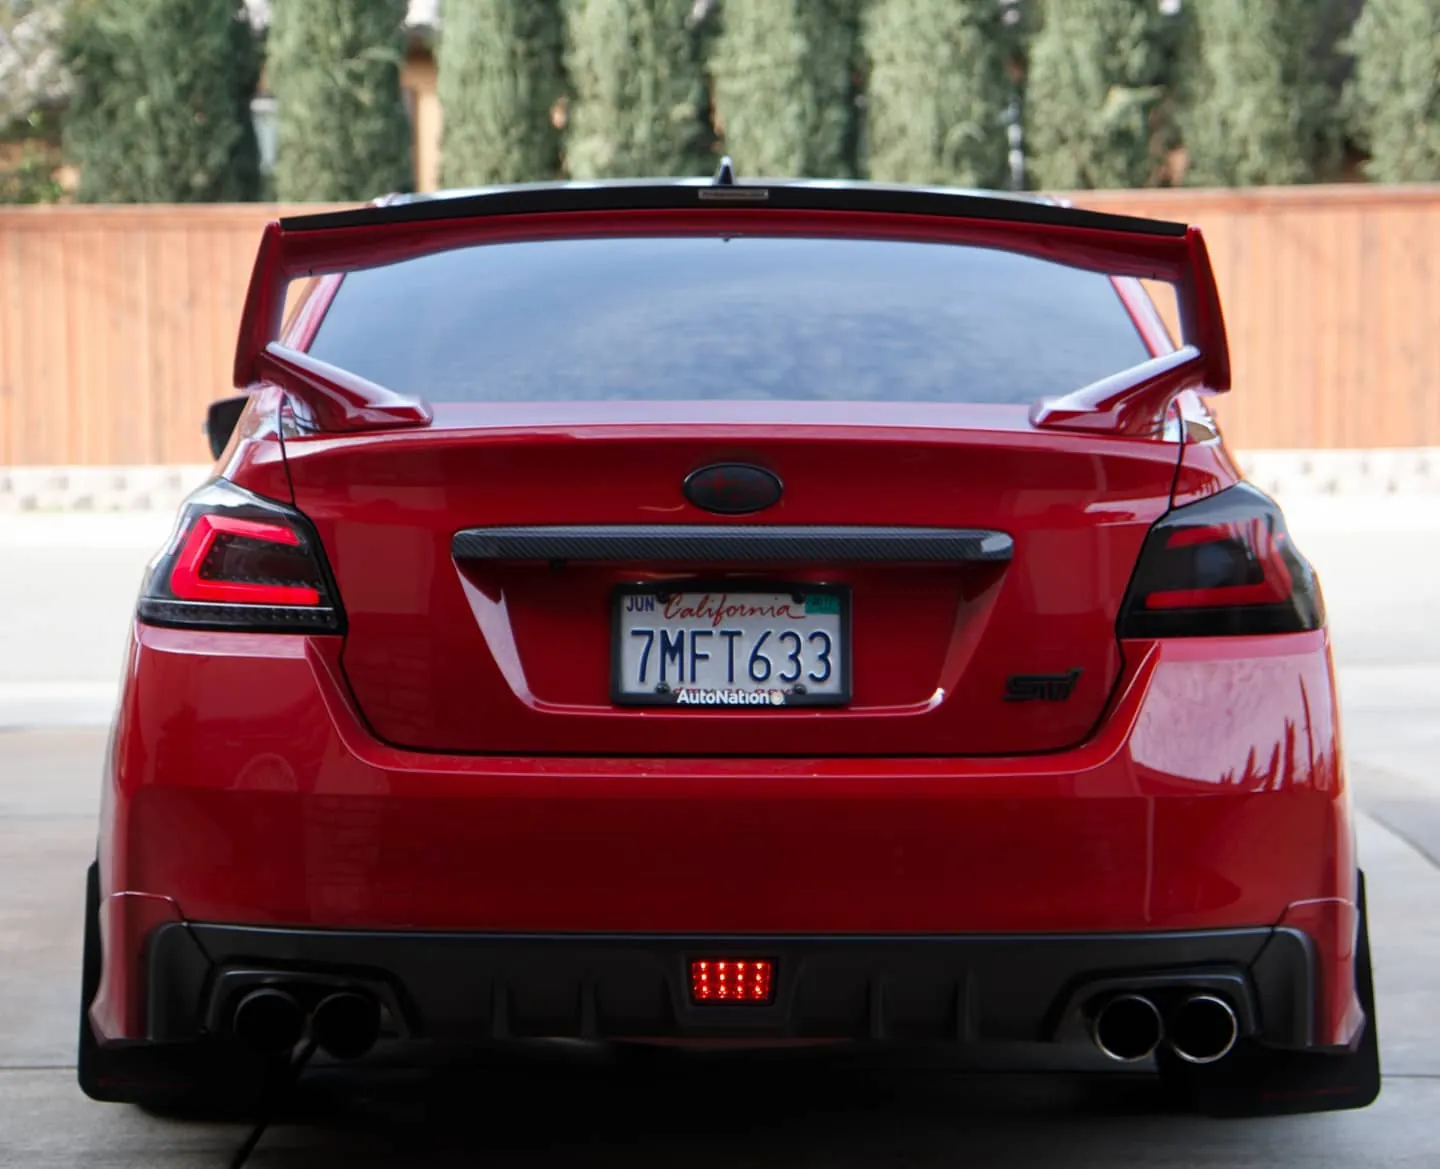
Photos from @ngooyen on Instagram. Follow for more.
Full transcript
Show the full transcript (60 lines) +
0:00all right so I'm going to make a quick insulation video tips and how I have everything wired this is not going to be a step by step because I already have it installed so um it's going to be a quick kind of summarizations of what's going to
0:18happen so let's go talk look at the back and then we'll probably figure out from there again there are many units there's this is the 4.4 one there is the uh 5.1 one which it looks very similar but for the most part let's just go break it down by each Port got the power which
0:33carries most of all the the the signal the VTR carries the audio and then we have the USB GPS and you have your antenna so let's start with the power right there this is the cable you're
0:48going to get from uh the seller it's going to be it's going to generally carry you know your steering wheels controls your auto antenna uh one of the blue wiring the IR uh reverse detection headlamp detections accelery power
1:03ground etc etc so this is going be your main cable it also carries audio too but I don't use the audio off of this cable I use the RCA ones so that's something to keep in mind of and as you can see I have it wrapped up all the way here I'm not an audio installer by any means so
1:19this is the way I installed it I pretty much crimped the uh the wires or I spliced it into these are my harnesses that I bought from a64 um so yeah so that's how I did it for for temporary jobs so there you go
1:36if you have the base model you should be able to just plug into this this is what I heard you just plug in this cable and you don't have to deal with anything else if you have you know the Harmon Card in you're going to have these audio um you need these audio stuff right here
1:51this is a six I believe like a six pin or eight pin and then there's also a 10 and six pin for audio so there that's going on there um the seller also included this guy right here which is the antenna adapter which
2:06is really useful so I still have FM right there so that's the main thing right there and you can see it wraps all the way up and then plugs into the base model with no problem Haron Cardon you're going to have to splice it through certain wires to get the power
2:21and all that crap uh the next off U let's talk about the VTR which is um I believe it's the pre-outs or pre amps what I had to do here is let me show you so then this is the preamps so yeah you got all these rcx it
2:31What I had to do here is let me show you so then this is the pre-amps
2:34So, yeah, you got all these RCA jacks.
2:38It also includes things like the front camera, the rear camera, video out if you want to
2:43hook up an N64 or PlayStation, etc.
2:46So, this is the port you're going to get from them.
2:50And here are my, let me show you, the harness I got from AE64 because it makes it a lot
2:58easier.
2:59So, here is the, I believe the 10 pin, it's right there.
3:11jacks all right so for this next segment this pretty muchy for the Harmon Cardon people out there this is uh the pins that I needed cuz the base model is Plug and Play pretty much from what I heard um so let's go start with it this is the
3:2710 pin I believe so this I got this from the E64 uh 10 pin harness and that's going to be wired through most of your stuff like uh the amp as you can see the blue wires is one is AMP one is uh remote amp startup and this one's like
3:42an antenna right here as well as constant power battery uh accelerated power and uh the ground you also have some audio um audio signals coming from this port too so with the ae64 they
3:58Supply the rcx for you uh that way you can just plug in straight into the unit okay and then there there the next one um for you guys is the 28 pin so there's the 28 pin right there check get
4:00That way you can just plug in straight into the unit
4:03Okay, and then there's the next one for you guys is the 28 pin. So there's a 28 pin right there
4:15All right, so with the 28 pin guys
4:21This controls this has aux so when you want to plug things are ox, which I already have it plugged into here
4:27But so you get ox and then you have your three steering wheel controls
4:32you know the one I'm holding right here these three wires control uh uh positive negative than the ground itself so that's the steering wheel controls I actually have two more pins too but uh I'm not using them I believe one is um
4:48vehicle speed and the other one is um I don't remember but uh you don't use these two ones with the harness kit that he gives you at a64 so we start we talked about the 28 pin we talked about the 10 pin and
5:04there's also the six pin so the six pin harness for you guys it looks like this from a64 you um the only purpose is the audio for the rear I believe or the front believe these are the rear so then you just plug these in to the to straighten to the original harness and
5:21you should be good as you guys know there is some humming noise that's coming through um I try I try grounding other Solutions I'm not an audio installer by any means as you can see I have these crimp wires I did this because I want to be
5:30I'm not an audio installer by any means as you can see I have these crimp wires this because
5:36I want to be reversible just in case I wanted to give this to my brother or something because he has a 15
5:41Wx2 that way he can still retain this and I didn't want to cut anything. So
5:46That could have caused the hum too. Who knows anyways, um
5:50these are
5:54These are the loop ground loop isolators
5:59These guys remove the hum for me. Um, I bought this at Best Buy
6:00me I bought this at Best Buy it
6:03was like 10 12 bucks or something like that and I bought two and it reduces the
6:08noise about I would say like 90% so it's a big difference if you get these
6:13guys it will remove the hum almost completely I ran these guys in parallel
6:19So or in series, I guess so I had RCA jacks here
6:24then I just kind of went through them and then it further reduced the noise even more I
6:29Played a song too and I was like hey, he's gonna make the sound sound any different to my ears. It doesn't so spew
6:41front uh cuz 90% you still have that 10% which is doable you have the audio on you're not going to really hear it but if you run them in series uh it I would say they remov in the 9% so there's like a 1% of you can't even really hear that
6:56but so I'm not I'm debating if I should get another box um I know people say some this is a Band-Aid solution you know I again not an audio guy but this is what worked for me and I just want to share with you guys
7:11um so yeah so that's the main thing right there and these are kind of the so these are the plugs these are the factory harness that I didn't touch you know you buy these harnesses from ae64 you don't ever have to touch touch your factory harnesses which is really nice
7:28that way you can keep them in pristine condition okay so if you guys have any other questions let me know um that's the in that's pretty much the cable walk through um and uh what I needed to do to get it to
7:43work uh oh yeah let me just not one more thing so um so with the with the unit I bought AliExpress uh as you can see here it has a fan I know the 5.1 ones they actually
7:59screwed out a little more and it looks like it's a fanless design so you actually pay a little bit more uh to get that beef your heat sink set up uh what I did right here was I remove these screws here and then um took out this little panel and then I there's I can
8:02you actually pay a little bit more to get that be for a heat sink set up a what
8:07I did right here is I remove these screws here and then took out this
8:12little panel and then I there's I can see the processor so I slapped a heat sink on
8:20it to keep it cooler because it had no heat sink at all whatsoever and then for
8:24this fan it's actually pretty loud it's super tiny fan I put I put some
8:29resistors to quiet it down it does slow the RPM but with the heat sink I
8:30to uh quiet it down it does slow the RPM but with the heat sink I think I can I think I could just run it without the fan at all and uh it should be still okay because with that heat sink I put it put a pretty uh pretty good size heat
8:45sink under this uh silver part so that's what I did for that all right all right so I got my
9:00tripod set up so you can see a little bit better first off let's try volume control side boys there you and right the radio turn
Machine-transcribed from the full-length video and lightly cleaned (product names fixed). Watch the video for exact wording.
Next step