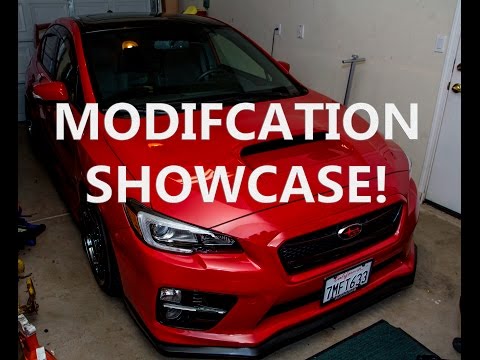
2018 Subaru WRX: iDoing Android Head Unit Plug-and-Play Install
On Tom's 2018 WRX, John pulls the factory radio (four 10 mm bolts, including hidden side bolts), transfers the hazard switch and climate panel, and plugs in an iDoing unit — USB and FM antenna adapters are the only extras.
Full video (13 min): Plug and Play Android Head unit | DIY | 2018 iDoing | · John's YouTube channel
Get the parts
- Search Amazon for an iDoing 2016–2022 WRX head unitSearch on Amazon ↗
- Metra AX-SUBUSB factory USB adapter (Amazon link from the description)Buy ↗
- Radio antenna cable (Amazon link from the description)Buy ↗
- iDoing 9-inch WRX / STI / XV / Forester 2016–2022 unit (affiliate link from the description)Buy direct ↗
- iDoing store (affiliate link from the description)Buy ↗
- AliExpress link from the descriptionBuy ↗
- eBay listing from the descriptionBuy ↗
- Seicane 2014–2016 WRX Android unit (alternate link from the description)Buy ↗
CodeiDoing coupon code (NGOOYEN) — NGOOYEN
As an Amazon Associate I earn from qualifying purchases. Some links are affiliate links.
Yes — you can install iDoing on the Filmed on a 2018 WRX (black knobs). John says 2016–2019 owners who asked about the newer dash are covered, including Limited cars with the 7-inch screen with a 13 min DIY job. On Tom's 2018 WRX, John pulls the factory radio (four 10 mm bolts, including hidden side bolts), transfers the hazard.
Overview
John installs a new iDoing Android unit in Tom's 2018 WRX after a lot of questions about the 2016–2019 dash. Getting the factory radio out is a little harder than the older cars: there are 10 mm bolts on both sides plus two more behind a clip — four bolts total — and the side trim has to come out before the radio will slide free. A microfiber towel protects the trim. The hazard and MID buttons and the climate panel transfer onto the new bezel (four screws; one climate screw is blocked by a Subaru bracket, so he works it through the hole rather than forcing anything on someone else's car). Once the donor switches are on, the kit is largely plug-and-play. He did buy a USB adapter to keep the factory console USB, and FM will not work until you add the radio-antenna cable — contact the seller if it is missing, or use the Amazon antenna link in the description. The mic tucks along the A-pillar side and sounds fine. They test audio first, pair Tom's phone over Bluetooth, program steering-wheel hotkeys from a blank slate, and leave the screen protector on until the climate panel is no longer dangling. Tom is impressed; the IPS viewing angles are good, and you can swap to a car-oriented launcher if you do not like the default UI. The description's first Amazon links are the Metra USB adapter and the antenna cable; the iDoing product page, an eBay listing and an AliExpress link are also listed there.
Vehicle & fitment
- Product
- iDoing 9-inch Android head unit for Subaru WRX / STI / XV / Forester 2016–2022 (product link in the description)
- Shown on
- 2018 Subaru WRX (John says the same approach covers 2016–2019, including Limited / 7-inch factory screens)
- Filmed on a 2018 WRX (black knobs). John says 2016–2019 owners who asked about the newer dash are covered, including Limited cars with the 7-inch screen
- Steering-wheel controls, backup camera, audio and power were plug-and-play. The factory center-console USB needs a Metra adapter (Amazon link in the description), and FM radio needs a separate antenna cable if the seller does not include one
- This is a different video from the later 2015–2022 iDoing WRX install already on the site
Always confirm fitment for your exact year and trim with the seller before buying.
Tools & parts
Tools
- 10 mm socket for the four radio bolts (including the hidden side bolts)
- Trim tool or fingernails for the side pieces and clips
- Microfiber towel to protect the dash while the radio is out
- Phillips screwdriver for the four climate-panel screws
Parts
- iDoing WRX / STI / Forester 2016–2022 Android head unit and plug-and-play harness
- Metra (or equivalent) adapter to retain the factory center-console USB
- FM radio antenna adapter if the seller does not include one
Video chapters
- 0:002016–2019 WRX
- 0:49Side bolts and radio out
- 2:47Transfer climate and switches
- 3:27USB adapter
- 7:21Audio and Bluetooth
- 9:20SWC and FM antenna
- 11:11Screen and launchers
Step by step
- 1
2016–2019, including the 2018▶ 0:00
John is installing on a 2018 WRX after a lot of questions about the newer 2016–2019 dash. He says a 7-inch factory screen, including Limited cars, is not a problem.
- 2
Hidden side bolts and four 10 mm fasteners▶ 0:49
This dash is a little harder than the older WRX radios: there is a 10 mm bolt on each side, plus two more behind a clip — four bolts total. Pull the side piece (he uses his nails), disconnect its wires for clearance, and release the top clip first so the lower one is easier.
- 3
Radio out, protect the trim▶ 2:09
Once every bolt is out, unplug the factory connectors — one latch takes an extra ten seconds if you miss the release button — and lift the radio onto a microfiber towel so the brackets cannot scratch the interior. The Android unit is actually lighter than the factory radio.
- 4
Transfer the hazard switch and climate panel▶ 2:47
The hazard and MID buttons and the climate controls move onto the new bezel. Climate is four screws. A Subaru bracket blocks one of them; he works the screwdriver through the hole rather than forcing or splitting a part on a car that is not his.
- 5
Factory USB adapter▶ 3:27
Power, audio, steering-wheel controls and the backup camera are plug-and-play. The factory center-console USB is the exception — he bought a Metra-style adapter and links it in the description (buy more than one if you have more than one USB).
- 6
Tuck the microphone▶ 6:40
The mic lead tucks along the left side and around so it sits in a clean spot. He is happy with how it sounds there.
- 7
Test audio first, then Bluetooth▶ 7:21
Leave the screen protector on for now. First check is radio and audio, because a bad speaker or harness connection is what you want to catch before the bezel is clipped in. They pair Tom's phone over Bluetooth and listen.
- 8
Program steering-wheel hotkeys▶ 9:20
The SWC screen starts as a blank slate. You add each key and assign the function, the same idea as programming a gaming keyboard. After that, the factory FM antenna still needs its own cable if the seller did not pack one — contact them, or use the Amazon antenna link.
- 9
Peel the protector and check the screen▶ 11:11
With the unit in the dash they let Tom, the owner, peel the screen protector. The IPS panel looks sharp off-axis. If you do not like the default launcher, John points to car-oriented launchers and his top-apps video. This 2018 is easy to spot from the black knobs.
Wiring notes
- A later full review is promised once the climate panel is fully seated and the install is cleaned up.
- The description also lists a 5% Seicane coupon (AFFSC-3555-KJ6ZN-FYNL) next to the alternate Seicane link — confirm it still works if you buy that unit instead.
- The eBay button is the rover affiliate URL copied from the description, already tagged with campid 5338365551.
Get the parts
- Search Amazon for an iDoing 2016–2022 WRX head unitSearch on Amazon ↗
- Metra AX-SUBUSB factory USB adapter (Amazon link from the description)Buy ↗
- Radio antenna cable (Amazon link from the description)Buy ↗
- iDoing 9-inch WRX / STI / XV / Forester 2016–2022 unit (affiliate link from the description)Buy direct ↗
- iDoing store (affiliate link from the description)Buy ↗
- AliExpress link from the descriptionBuy ↗
- eBay listing from the descriptionBuy ↗
- Seicane 2014–2016 WRX Android unit (alternate link from the description)Buy ↗
CodeiDoing coupon code (NGOOYEN) — NGOOYEN
As an Amazon Associate I earn from qualifying purchases. Some links are affiliate links.
FAQ
What vehicle does this head unit fit?
It is shown for the Filmed on a 2018 WRX (black knobs). John says 2016–2019 owners who asked about the newer dash are covered, including Limited cars with the 7-inch screen. Steering-wheel controls, backup camera, audio and power were plug-and-play. The factory center-console USB needs a Metra adapter (Amazon link in the description), and FM radio needs a separate antenna cable if the seller does not include one Always confirm your exact year, trim and factory audio with the seller.
How long does the install take?
John's full video is 13 min. Plan on that much time for a careful DIY install, plus extra if you are new to dash work.
What tools do I need?
Tools called out in the guide: 10 mm socket for the four radio bolts (including the hidden side bolts); Trim tool or fingernails for the side pieces and clips; Microfiber towel to protect the dash while the radio is out; Phillips screwdriver for the four climate-panel screws.
Does it support wireless CarPlay or Android Auto?
Check the product listing for wired vs wireless CarPlay / Android Auto before you buy; John shows what worked in the video.
Where do I get the parts?
Use the buy links on this page for the unit and any harnesses John used. Some links are affiliate links.
Is this beginner-friendly?
The guide breaks the job into 9 steps with timestamps into the video. If you can remove trim panels carefully, you can follow along.
Find your car
Compare every CarPlay head unit I've installed in this car, or find your car in the CarPlay Upgrade Finder.
John's Subaru WRX
More photos →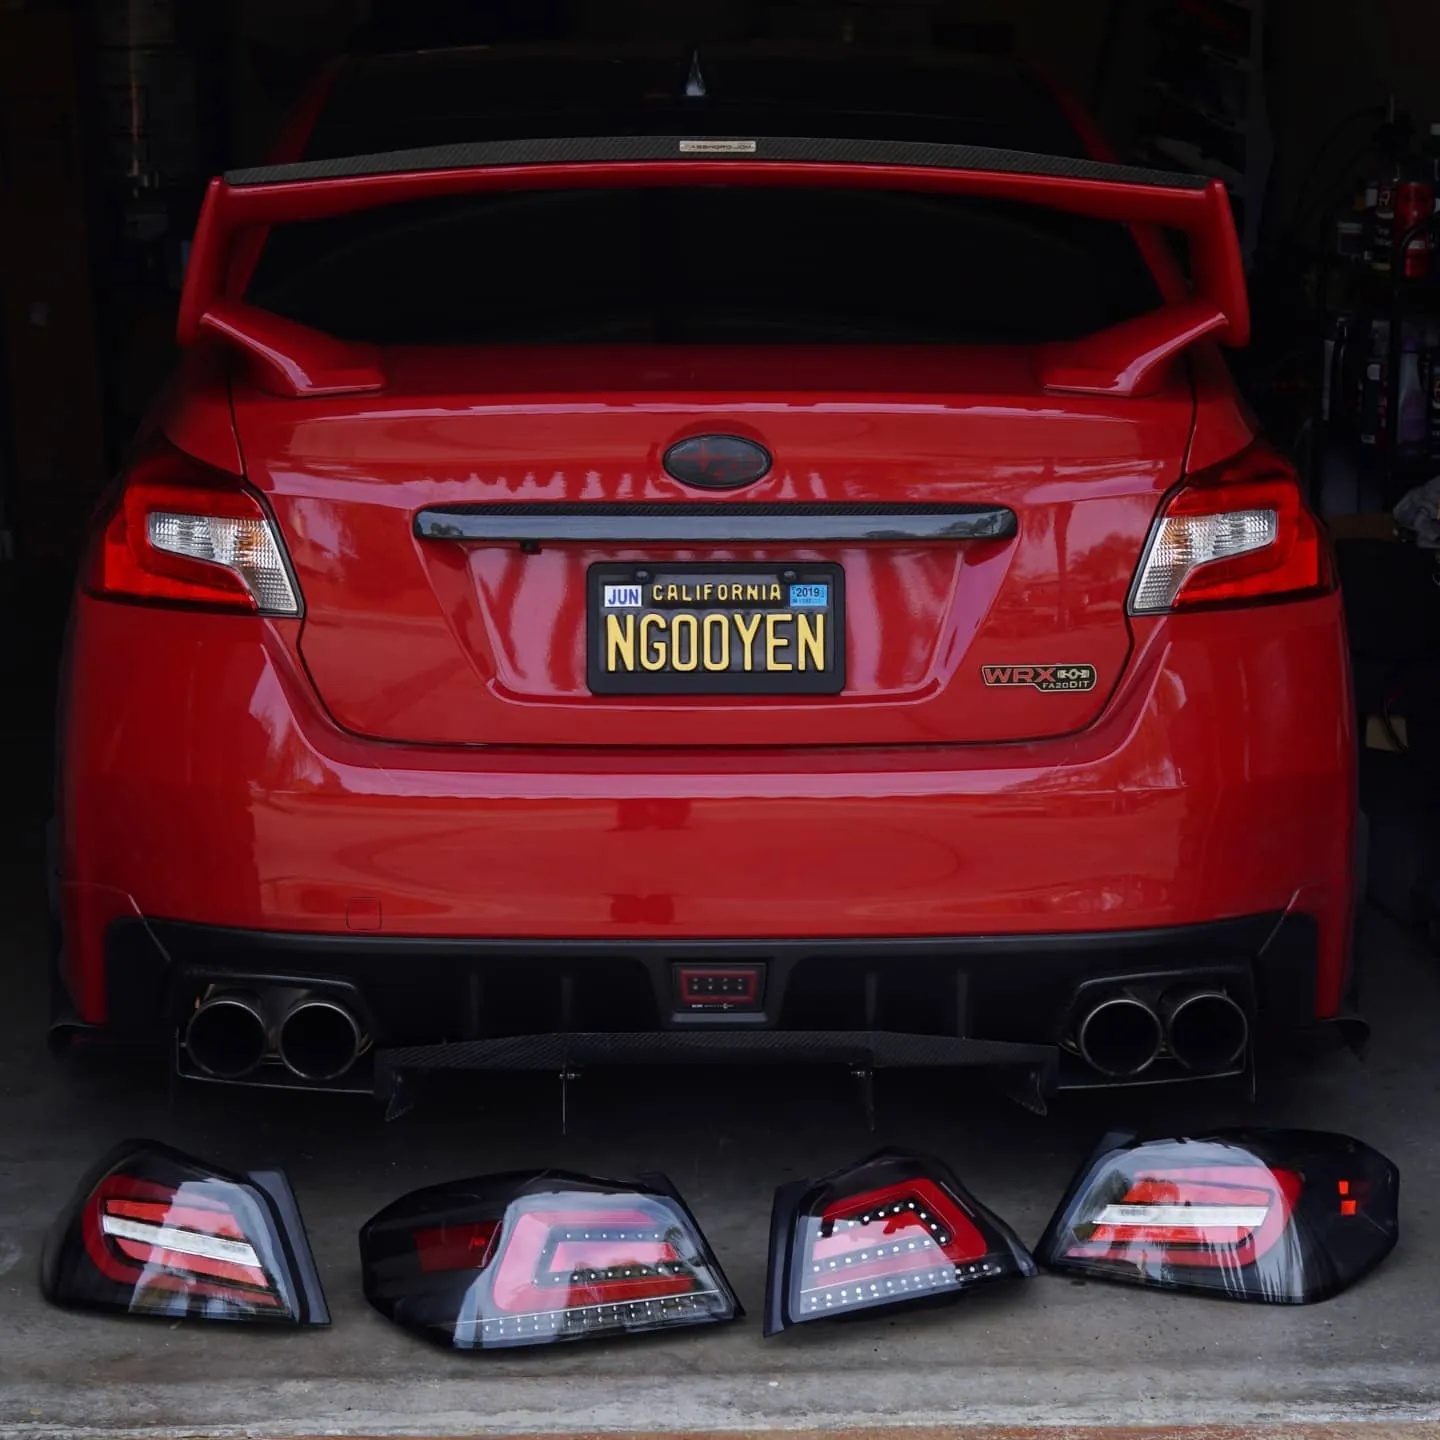
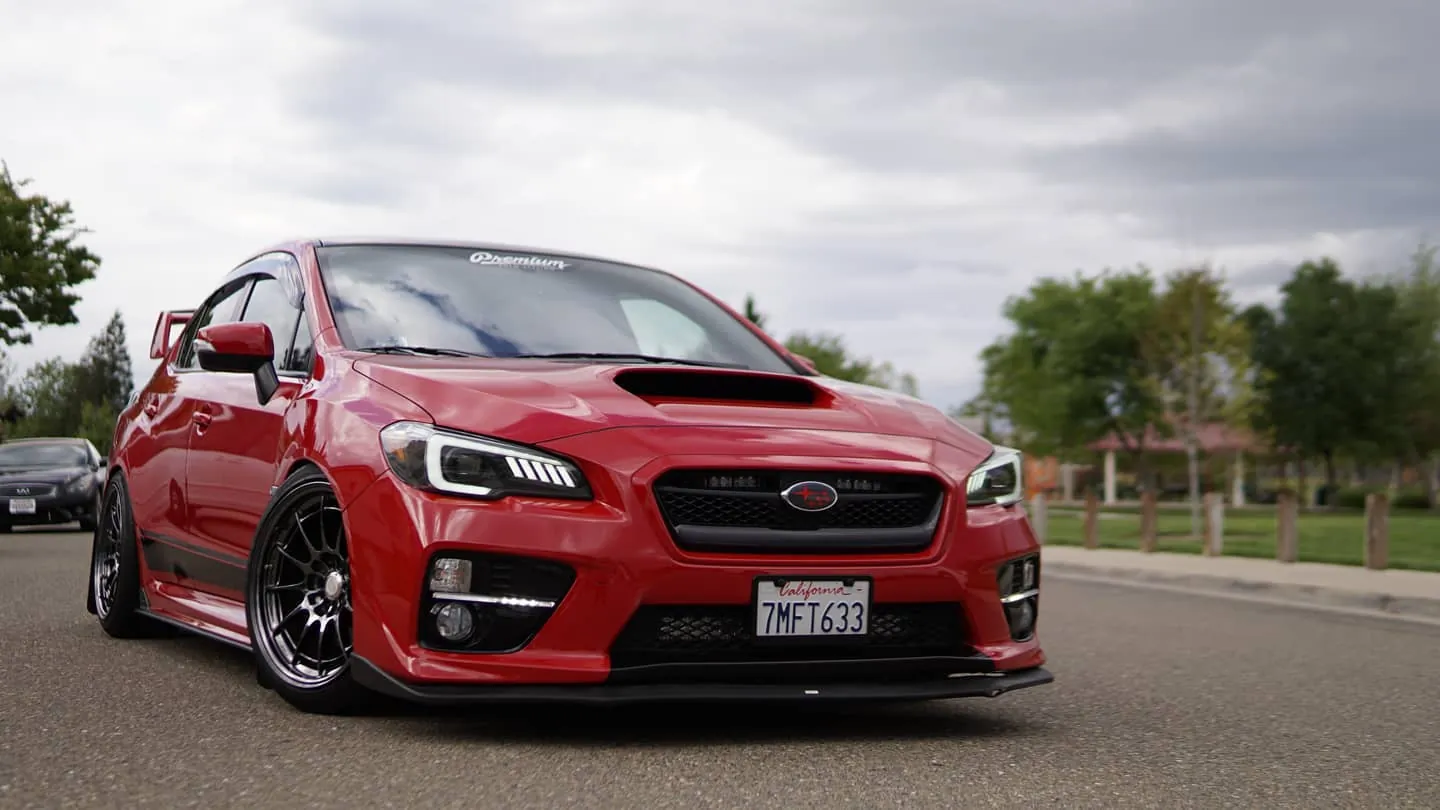
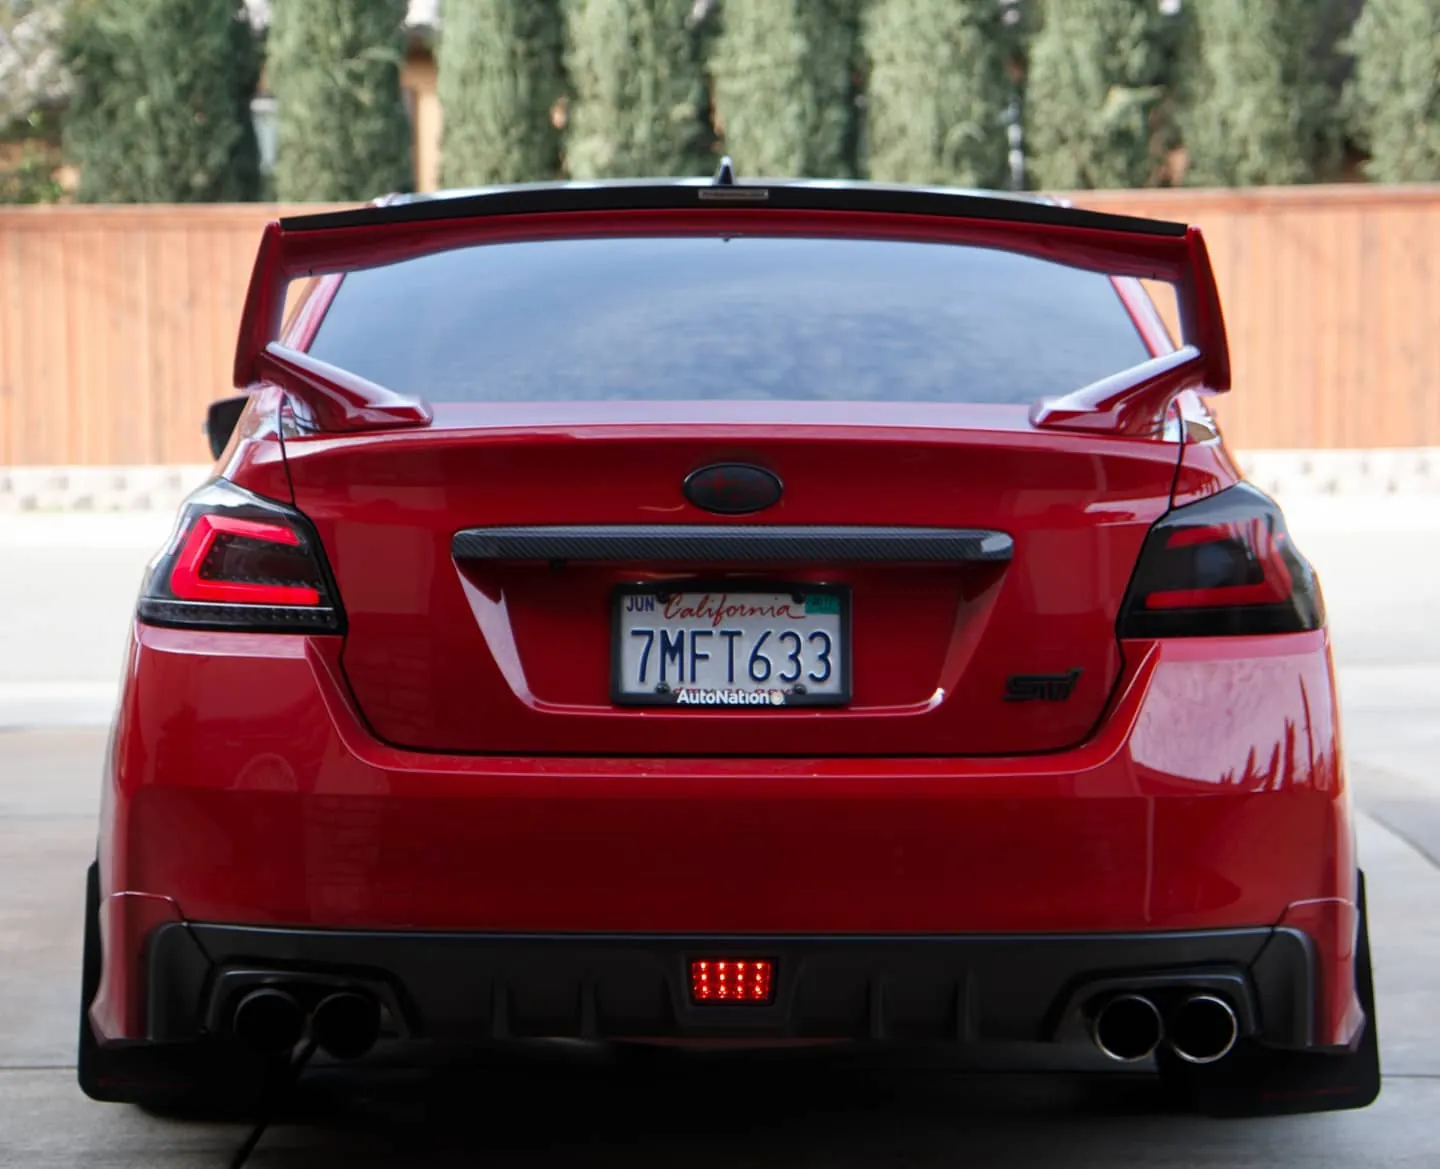
Photos from @ngooyen on Instagram. Follow for more.
Full transcript
Show the full transcript (197 lines) +
0:00All right so today we have another brand new Android head unit we're gonna be installing it on
0:07on 2018 I know a lot of you guys are asking about the newer 2016 to 2019 and this is the
0:16new new so if you guys have a head unit like this it's not gonna be a problem if you have
0:21the seven inch it's not going to be a problem
0:23two for you limited boys.
0:25So let's get to it.
0:26This is my, this is my.
0:38Yo, I look it.
0:44Colors, I'm playing the screen,
0:45it's beautiful where it's like I can get.
0:47All right, looking kind of familiar.
0:49Now to remove this head unit,
0:50It's actually a little more difficult than the older ones
0:54because there's actually a bolt on the side, I believe.
0:56So we're gonna knock that out fast.
0:58Oh, this looks clean, though,
0:59but you get to make sure there's some bolts
1:01on the side that you need to get.
1:03So let's see if we can get to that angle.
1:05So there's a bolt right there.
1:06You can see a 10, just unscrew it.
1:09I believe there's one on the each side
1:11and then you can just pop it out with some clips.
1:13Seeing I got one bolt here.
1:14There's another bolt here I haven't removed
1:16but this piece right here just pulls right out.
1:18So I'm gonna pull it right out.
1:19one. I just use my nails. So, just the tool you gonna need. I'm gonna need to
1:24hands up.
1:29There you go. Make sure you disconnect the wires. So you just get them extra
1:30there you go make sure you disconnect the wires so you just get that extra
1:34clearance now with these ones they're actually kind of hard to remove so I
1:38recommend removing the top one first it just clipped in and then this one
1:42it's still kind of hard to hit so I like to pop this
1:44little thing out of then remove the clip from here just a little pro tip I know you
1:50you guys might have seen it but you get you have two more bolts right here two more
1:56bolts you need to remove right here and then the one so they have four bolts in
1:59total for this head unit kind of pain in the ass but you just pull this clip
2:01Kind of the pain in the ass,
2:03but you just pull this clip
2:04and it will expose at 10 mil.
2:06You can't miss it.
2:09All bolts are unplugged.
2:10You should be able to just pull it out.
2:12So, of course, you wanna unplug all this BS.
2:15This wire was kind of pain,
2:18but you just press this little button.
2:20Pain isn't like, it took an extra 10 seconds,
2:22but everything else was pretty self-explanatory.
2:25Notice I have the microfiber towel
2:27to make sure there's no scratches,
2:29but that's how the interior looks.
2:31Looking pretty simple, looking pretty simple.
2:32All right.
2:34All right.
2:35So, once you get this head unit, it is heavy, so.
2:38I think the Android head unit's actually lighter.
2:40So, if you guys are
2:44So, if you guys are talking about gains, get some weight reduction up in here.
2:47Something you have to transfer over, you see the switches right here, you have the hazard and the midfield display buttons.
2:51We're transferring it over to the new Android head unit.
2:54You also have to transfer over the climate controls, just four screws right here.
2:58Oh my gosh, it's like a Subaru man, it cucked you.
3:01They didn't have this bracket to block this screw
3:05Come on, man. It cucked me right here. So I try to unscrew it through the little hole, but look
3:10Look at that
3:12Just block it's just cock-blocking it so hard where I don't want to this is this is not my car
3:17So, you know, I want to take the spew
3:19We have to remove these bolts so I have everything in and everything's pretty much plug-and-play. This is the climate control
3:27Now the thing is I had to buy this USB so links in the description below if
3:33below if you're trying to still retain the USB and this goes right here in the
3:37center cubby hole a thing that I we're not gonna have XM anymore so
3:42pay attention to that and I actually had to buy this harness from this
3:49website didn't come with this adapter right here but usually if you order from
3:53a chicane or something they do include this adapter so just something to mind
3:59this is for your radio for FM and AM so it's kind of important but let's
4:03continue so I'll link the description on this and this just in case you want so
4:09we've got the head unit right here with a 2016 1718 19th they and use this
4:15vent design a way you can tell is if you have a silver bezel now this is the
4:19Android head unit it comes with its own bezel but the the 15s they don't have the
4:24silvers 16 1718 it has it and they actually have their own vent designs a
4:29little bit different so with this it's actually just clipped in you the way
4:30So with this, it's actually just clipped in.
4:33The way I do it is you wanna start
4:35with this very corner one,
4:36and you wanna tuck it right here.
4:38So you wanna start from below,
4:40and I don't know if you guys can get a good angle,
4:41but there's four clips right here here.
4:43And you, I mean, use your imagination.
4:45It's like four clips.
4:46How do you get clip on?
4:49You wanna, it does require some finesse.
4:52So you can just click, so it's clicking in
4:54and you can see it's kind of overhanging right now.
4:56And then you want to clip at the last two.
4:59See, you get a good angle of that.
5:02you want to kind of bend it and then just push it in and this is snug like OEM
5:09fitment now get a good look of the angles look at that flush beautiful CNC 3D
5:18but it's in and it's nice oh my goodness so what's to come so the next thing I
5:27want to do is install this these bad boys for bolts you just kind of it in right
5:31For bolts you just kind of bolt it in right here
5:33and you're set.
5:36Boom.
5:37But you need the four screws.
5:39You need the four screws.
5:42And then it's kind of looks like something like that.
5:44Wow. The 18s.
5:45have this nice black vent.
5:47Subi speed sells these for a really expensive.
5:50So, instead of buying it from Suzy,
5:52just trade in your car and then just get a 19 or 18.
5:57All right, guys, I got the two bolts installed.
6:03all I have to do is plug it in and we'll see something that's definitely not
6:08going to work right now is definitely the radio I have to top into the to
6:13get some power into it other than that it should work it's pretty much
6:18plug and play right now besides the radio right so I have the antenna plugged in
6:26right here and I also have the microphone and usb's now as you can see right here
6:31Now as you can see right here,
6:32the USB's are plugged in right here.
6:34I have one with the adapter.
6:36I actually have another one,
6:37because this one comes with two through the glove box.
6:40As far as the microphone hookup,
6:42if you move to the left with me,
6:44see right there this is where I have it
6:46and I tucked it in and it goes all the way around
6:49to here so this is where I have my microphone and it sounds pretty good so it
6:55uses two microphones one right here and one right there to cancel and try to just
6:59pick up on the driver's
7:02other than that we're just gonna plug it in hopefully it works let's do it
7:07the big reveal first boot up we have an audience I still have the so it's
7:17turning on, the first thing you definitely want to test out,
7:21remember there's this little screen protector
7:22so it looks kind of bump, but the first thing
7:24you want to test out is radio and audio, audio for sure,
7:28because sometimes if you have a car
7:30you have a car has a different amp and stuff you're gonna get no sound follow
7:34up by that you definitely want to check out the steering wheel controls usb
7:37access navigation and that goodness all right so we just need to plug in that
7:42radio adapter in the back and radio works with you have to metadata and
7:46everything sounds pretty good it probably sounds better than the stock unit the
7:49stock unit amp is not very good but radio quality is not the best so Bluetooth
7:56quality is also not the best about that there's some compression there but I'm
8:00just going to sound a lot better than radio so to have you can set up your
8:04Bluetooth through this thing right here we just set up Tom's phone right
8:12so we're just gonna have to go to the Bluetooth app so for you to play at your
8:16Bluetooth music you actually have to go to the source and the source is right here
8:19Bluetooth music play anything you want I'm gonna play a non-copyrighted song so
8:24that way you don't get this guy this guy knows things that's the AC now bro I
8:30forgot I don't have it on we haven't set this yet but we'll do this you're going to
8:43get used to tapping instead of volume sounds good so these units generally put
8:54more power into the speakers so big enough power it actually kind of wakes
8:59up your original speakers he knows his car set up more than me might sound the
9:03same it might sound not we actually have another head unit right there we can
9:06compare this if we want we could do an audio comparison see which one sounds
9:10better because it's like the exact same unit but yeah clean steering wheel next
9:15off we need to do is doing the wheel keys for the steering wheel so wheel
9:20key studies right here you click on this it's a blank state if you know
9:24about gaming keyboards and stuff you have to to set your own
9:27hotkeys and stuff so right here I'm gonna hit the plus sign
9:31it automatically reads now there's a short click and there's a long click for a
9:36short click let's a volume what about a long click that's kind of up to you so
9:42then we do a a short one again for volume down there you go right it
9:49will be skip right so how it is factory so we do the next song alright so I
9:56set up all these keys and I did just show the short clicks actually haven't done
9:59this one so I showed the last one right here so this one's the mute I believe
10:04right so let's go find the new icons very intuitive and there you go here all
10:10my hotkeys they're all short presses but you can do later there you go so if
10:16I go here lower volume set you want to change your Bluetooth songs you're
10:22good if you want to make your own you're good so everything is working right now
10:28there's nothing no no weird anom
10:38you go it's charging and now he also has another USB is a brilliant it's
10:43brilliant so this is plug-and-play just for if you don't the FM I had to use my
10:49own cable you have to buy it here if you don't have one but contact the
10:53seller if they don't have it. They should but if they don't it's there do you have
10:58any questions no I'm thoroughly impressed thoroughly impressed okay we'll do
11:03some sound comparisons and like it and I'll just give this a full review after
11:08we make it look nice and pretty because right now we still have the climb
11:11control kind of dangling yeah alright so we have it in why don't you do the
11:16honors since you're the owner's you want to take this off so-so we can
11:19actually use the touchscreen while being glitchy and I'm failing I just got my
11:26nail you cut your nail oh my god you got to start
11:29for you there you go the ASMR moment alright yo I
11:37looking man that's good that's home screen the colors I'm telling the screen
11:43looks beautiful right it's like IPS how's the viewing angles on your side
11:47still very good very good viewing if you don't I'm talking about like to Tom
11:51which is the owner if he doesn't like this user interface he can download a
11:56different launcher there's actually some really cool car pro launchers and stuff
11:59like that check out my-
12:00video top five apps you can get for your Android yes some good stuff but if you
12:05don't like this way it looks right here because it there's ones that are
12:08tailored more implicatee more for car and you can put your
12:10own backgrounds and stuff if you're looking for your own logos and stuff
12:14depending on how you like it I just did that background but depending on what
12:21you want I'll change it back but yeah that's it 2016 2017-17 18 this is a
12:302018 yes you can tell by the black knobs and then the nice
Machine-transcribed from the full-length video and lightly cleaned (product names fixed). Watch the video for exact wording.
Next step