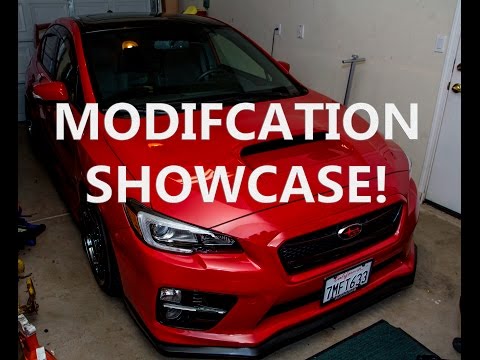
3-Function Mirror Turn Signal Wiring on a Subaru WRX (DRL + Welcome Light)
How John wired his 3-function JDM Avest-style mirror markers on a 2015 WRX: blinker wires to the factory mirror harness, purple DRL wire to an add-a-fuse (12 V, 20 A), and the black and blue welcome-light wires up the A-pillar to the map light.
Full video (6 min): Ep 13: Diy wiring on the 3 function Turn Signal Mod · John's YouTube channel
Get the parts
- Add-a-fuse circuit tap kit: Generic pickGeneric pickSearch on Amazon ↗
- Plastic trim tool set: Generic pickGeneric pickSearch on Amazon ↗
As an Amazon Associate I earn from qualifying purchases. Some links are affiliate links.
How John wired his 3-function JDM Avest-style mirror markers on a 2015 WRX: blinker wires to the factory mirror harness, purple DRL wire to an add-a-fuse (12 V, 20 A), and the black and blue welcome-light wires up the A-pillar to the map light. This 6 min guide covers the JDM Avest-style side mirror markers (blinker, DRL and approach /.
Overview
John gets a lot of questions about how he wired his 3-function mirror markers, so this clip walks through it. The two blinker wires use the turn-signal wiring already in the door and plug into the factory mirror harness. The other functions (the DRL, its ground, and the welcome light) run as extra wires down into the door and into the cabin. A trick: slip the wires into a drinking straw so they're stiff enough to push through any hole. The purple wire is the DRL. John hooked it to a 12-volt, 20-amp slot with an add-a-fuse and shares the ground with the door wiring, so the DRLs come on with the car and he can still turn them off. The black and blue wires are for the welcome lights. He tucked them up the A-pillar, following the factory auto-dimming mirror wiring, to the map light. Remove two screws and pry the map light open, then clamp the blue and black wires to the metal bracket. The welcome lights then turn on with the doors and the map-light button, and the other map-light switch won't trigger them. Recap: ground, the two OEM blinker wires, blue for the welcome lights, and purple for the DRL on an add-a-fuse.
Vehicle & fitment
- Product
- Avest-style 3-function side mirror turn signal markers (turn signal, DRL, approach light), about $100 per the description
- Shown on
- John's red 2015 Subaru WRX
- JDM Avest-style side mirror markers (blinker, DRL and approach / welcome light) on a 2015 Subaru WRX
- Wire colors are the ones on John's set. Check your kit's instructions
Always confirm fitment for your exact year and trim with the seller before buying.
Tools & parts
Tools
- Trim tool
- Screwdriver (map light)
- A drinking straw for pushing wires through
- Electrical tape
Parts
- 3-function mirror turn signal markers
- Add-a-fuse (12 V, 20 A slot)
Step by step
- 1
Blinker wires▶ 0:30
The two blinker wires use the turn-signal wiring already run through the door and plug into the factory mirror harness.
- 2
Run the extra wires▶ 0:44
Run the DRL, ground and welcome-light wires down into the door and into the cabin.
Tip: Put the wires in a drinking straw so they're stiff enough to push through any hole.
- 3
DRL (purple)▶ 1:55
Purple is the DRL. John used an add-a-fuse on a 12-volt, 20-amp slot. It shares the ground with the door wiring.
- 4
Welcome lights (black and blue)▶ 2:42
The black and blue wires power the welcome lights. Tuck them up the A-pillar, following the factory mirror wiring.
- 5
Open the map light▶ 3:39
Remove two screws and pry the map light open.
- 6
Connect at the map light▶ 4:00
Clamp the blue and black wires to the map light's metal bracket, then screw it back together.
- 7
Test the functions▶ 4:25
The welcome lights turn on with the doors and one map-light button. The other switch won't trigger them.
- 8
Recap▶ 5:17
Ground, the two OEM blinker wires, blue for the welcome lights, purple for the DRL on an add-a-fuse.
Wiring notes
- Blinker: 2 wires into the factory mirror harness.
- Purple: DRL, to an add-a-fuse (12 V, 20 A).
- Black and blue: welcome / approach light, wired at the map light's metal bracket.
- Ground shared with the door wiring.
Get the parts
- Add-a-fuse circuit tap kit: Generic pickGeneric pickSearch on Amazon ↗
- Plastic trim tool set: Generic pickGeneric pickSearch on Amazon ↗
As an Amazon Associate I earn from qualifying purchases. Some links are affiliate links.
FAQ
What vehicle does this install fit?
It is shown for the JDM Avest-style side mirror markers (blinker, DRL and approach / welcome light) on a 2015 Subaru WRX. Wire colors are the ones on John's set. Check your kit's instructions Always confirm your exact year, trim and factory audio with the seller.
How long does the install take?
John's full video is 6 min. Plan on that much time for a careful DIY install, plus extra if you are new to dash work.
What tools do I need?
Tools called out in the guide: Trim tool; Screwdriver (map light); A drinking straw for pushing wires through; Electrical tape.
Where do I get the parts?
Use the buy links on this page for the unit and any harnesses John used. Some links are affiliate links.
Is this beginner-friendly?
The guide breaks the job into 8 steps with timestamps into the video. If you can remove trim panels carefully, you can follow along.
John's Subaru WRX
More photos →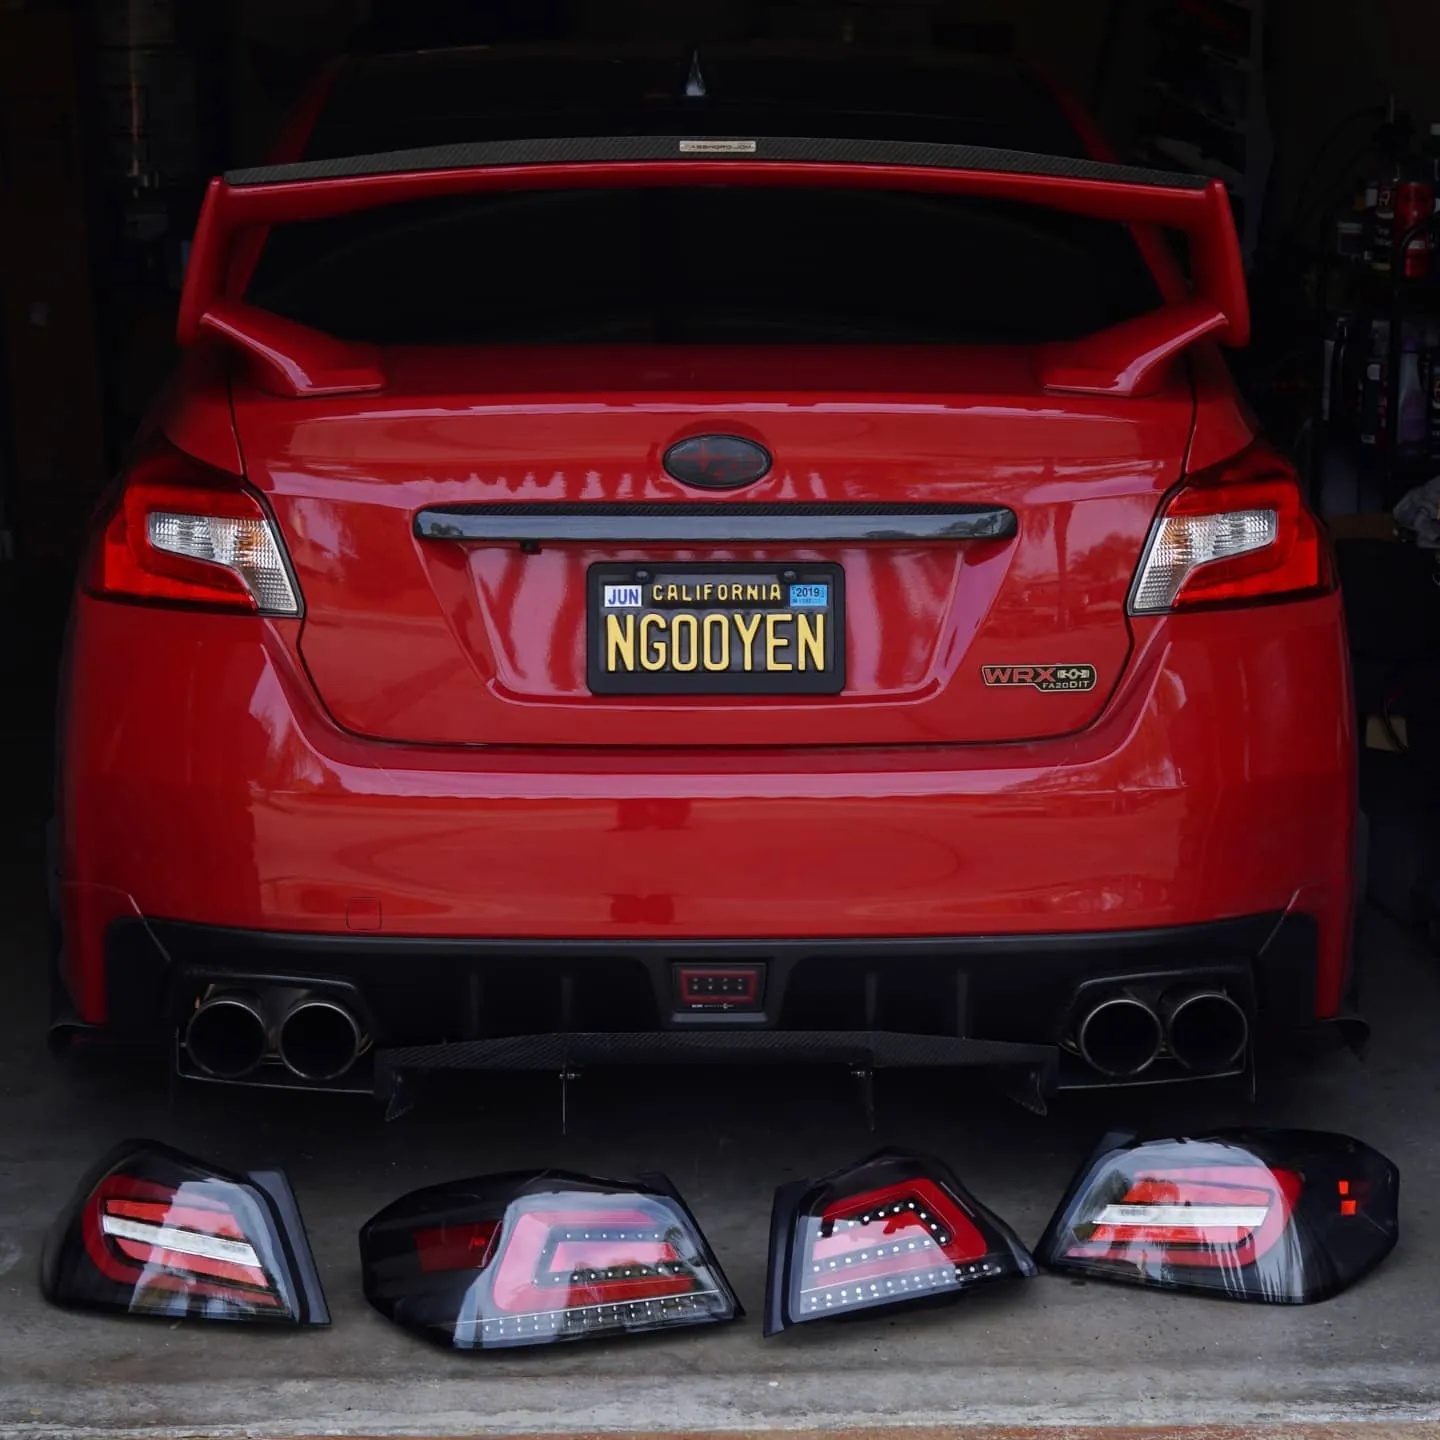
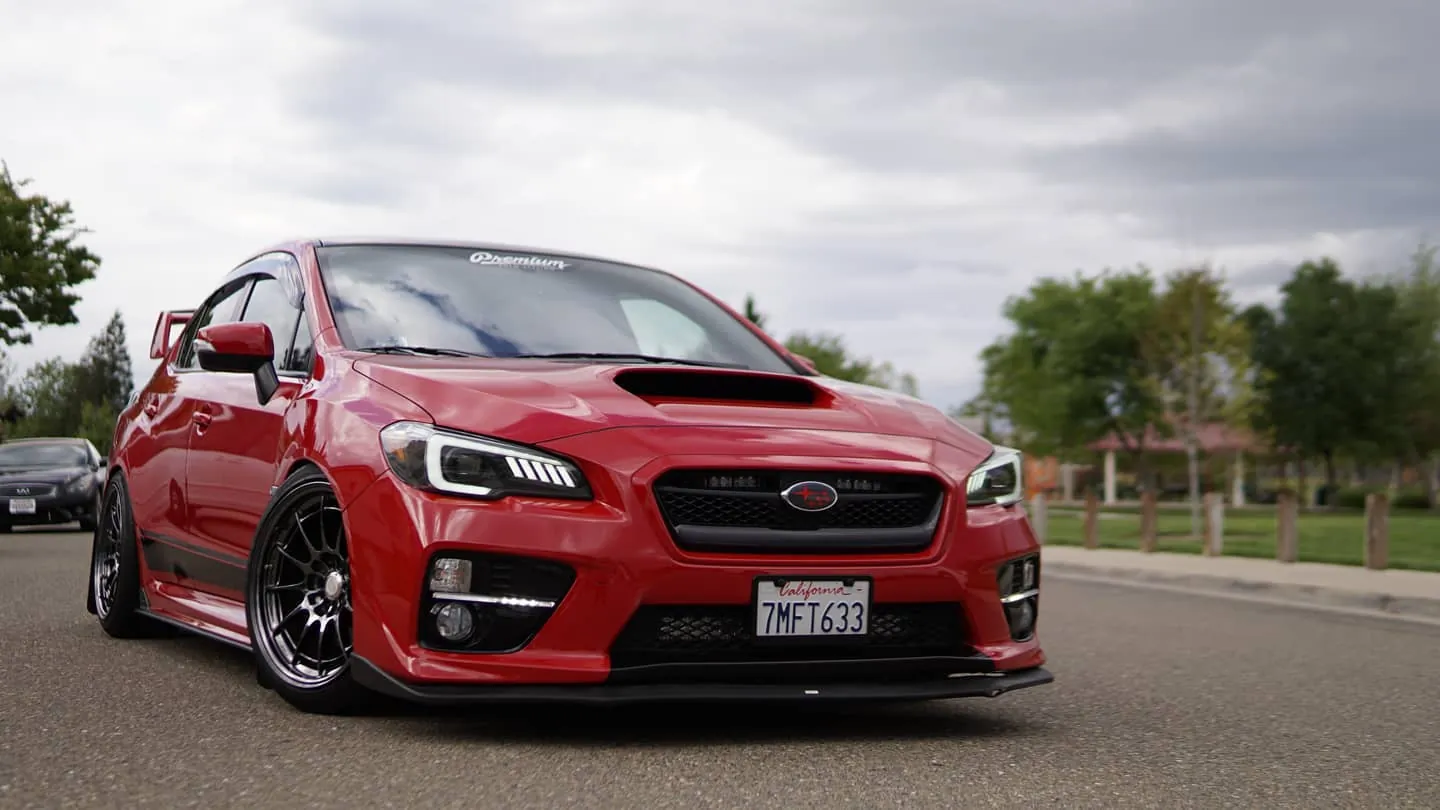
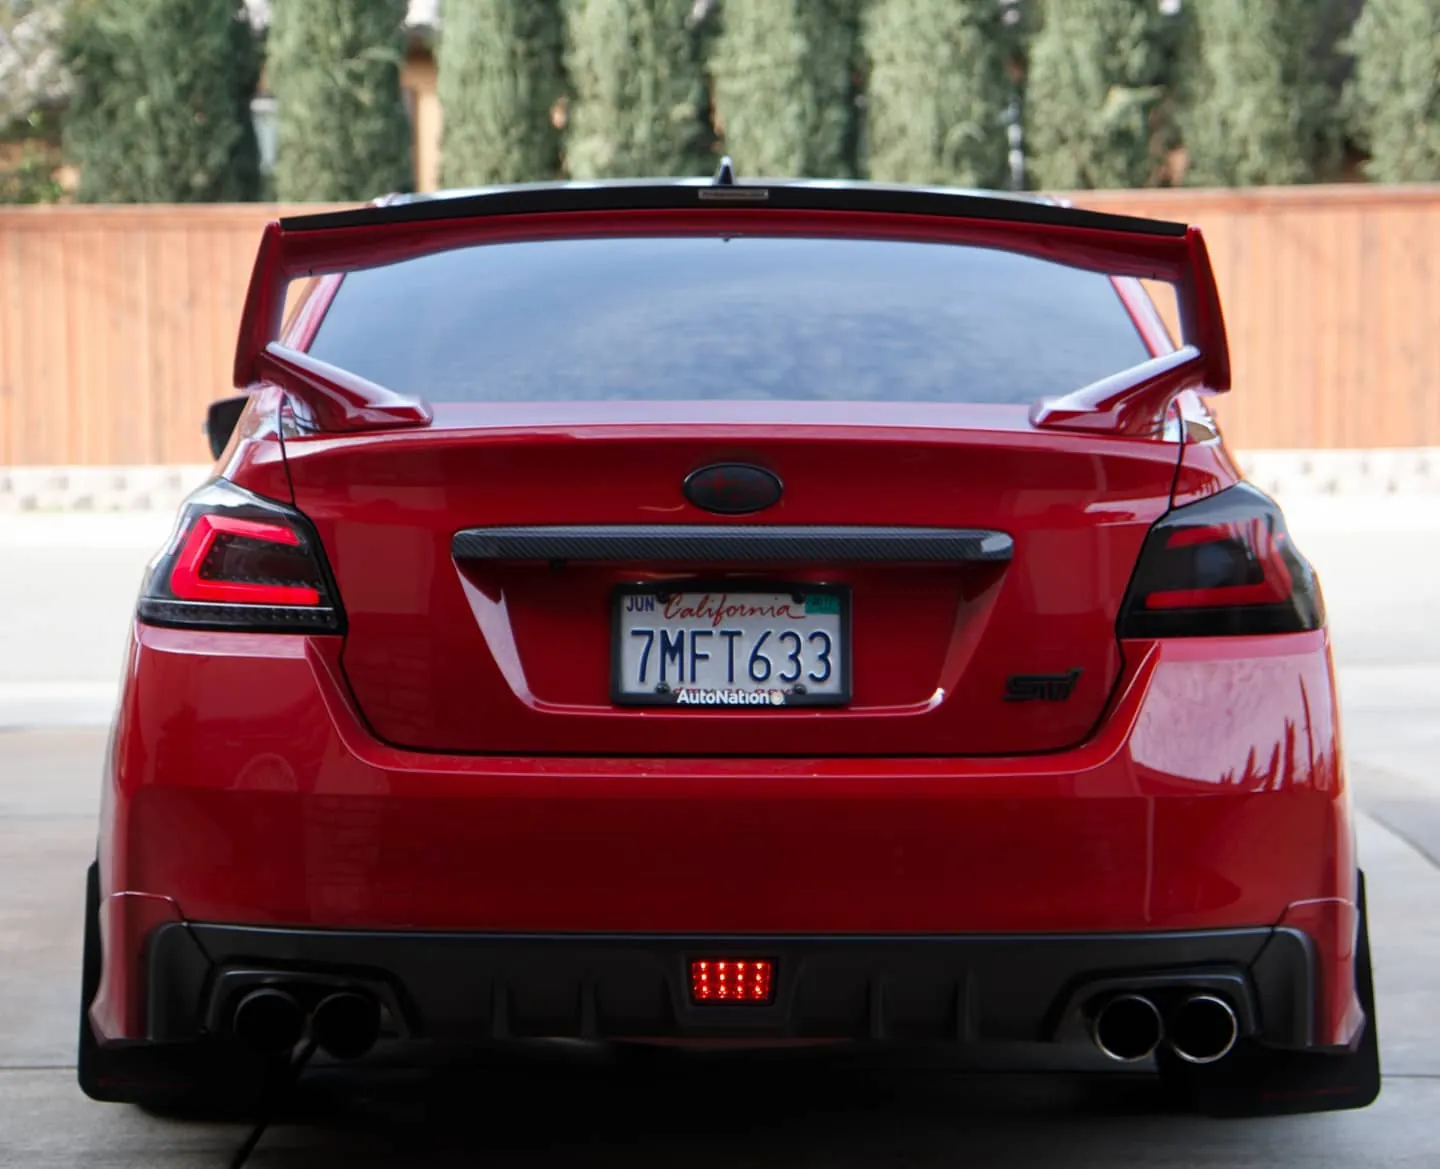
Photos from @ngooyen on Instagram. Follow for more.
Full transcript
Show the full transcript (101 lines) +
0:30Turn the the blinkers and that's already wired through the door so you run those two
0:34Wires
0:34And it goes into the this harness right here,
0:40Followed by that, I believe it was like a green and white wire.
0:44To do to wire the rest of the functions that's the DRL
0:51The running light
0:54And then the other wire would just be the ground you pretty much run those
0:57Three wires down into the door and you can kind of just push it through these
1:04And then it goes into the interior what I used here was a straw so you get a straw you
1:11Put the wires into the straw and now it has that rigidity where you can shove it through any
1:17Kind of hole
1:20Okay
1:24That's the when the car is on
1:27So my car is on right now
1:32I have a wire to this which right because sometimes for some reason I don't know I like to keep the
1:37DRLs on
1:41So let
1:44As you can see right there it lights up very cool
1:48I leave it on most of the time but I like to have the option to turn it off
1:55I believe
1:57, that's the purple wire
1:58If your car makes that noise what I do is
2:01Press this little blind button and it shuts off
2:05Anyways
2:07There's that purple wire that you'll get you'll be a blue and black and purple
2:12Purple is the DRL and the purple hooks up to
2:17I use an add a fuse I don't
2:20You probably can't see that
2:23I hooked it up to this guy right here
2:2612 volt lug
2:29This one 20 amps
2:31You hook up to there and the thing I noticed about that DRL
2:35It actually uses the ground the same ground as the one you use in this door
2:42The ground is black and blue wire is just for the welcome lights
2:47Alright
2:49So I have the rest of the black and blue wire pretty much running down
2:54tucked in here
2:58And some people have it wired through this
3:00they appear there some wires but I didn't do-it do that way so I'll show you how I did it
3:06Wrapped around there Certain thing with that I get the purple wire on this side
3:10I wired it to this but the black and blue wire goes up here
3:15I tuck it into this A-pillar
3:17You probably can't see it
3:19You probably can't I tucked in pretty good
3:21But there are wires I tucked right here
3:24My WRX came with this nice mirror so it has this cool little thing
3:31But I didn't even use that
3:32But I kind of use that those wires to guide to guide my lines
3:35So I stop right here and I go straight up
3:39To re-disassemble this mechanism
3:42Contraption the map lights
3:44You have to unscrew the unscrew two bolts
3:46Once you unscrew two bolts
3:48You should be able to just pry it open
3:51Okay
3:52And there's that black and blue wire
3:54I did it exactly the way Ninja X Bart does
3:57So if you ever watch his YouTube you can check it out
4:00But the blue wire goes onto this side right here
4:03It just hooks up to that metal bracket
4:05You know it's kind of hard to see
4:07But it's just hooked up to that metal bracket
4:09Same for my black wire
4:11It's just hooked up to that metal bracket
4:13And I just basically clamped it in there
4:17That's all you really need to get that a DRL
4:21The DRL lights on so I gotta screw this back on
4:25With this functionality you can even have the welcome light
4:29Even when your doors close
4:31So when my doors close
4:34These lights turn off
4:36That's cool
4:37Now the welcome lights are off off
4:39You can actually press this button
4:41The way this is set up if you press this button right here
4:44It will turn on your DRLs
4:46I mean your welcome lights sorry
4:48So your welcome lights are now on
4:50But if you turn it off
4:52Then it's off
4:53You're like well what if you want to use your map lights
4:55And you're driving
4:57Well if you turn this on you will turn on your welcome lights
5:01That's kind of weird but if you press this button right here
5:03This one will not activate the welcome lights
5:07So this one will
5:08This switch right here
5:09This will not
5:10I think it's kind of cool
5:12I have that functionality
5:14And yeah that's pretty much it
5:17So to go over it one more time
5:195 wires
5:21You got ground
5:22There's the two OEM ones
5:24And then you got the blue one
5:27That one's gonna hook up to your welcome lights
5:31You got the purple one
5:32That's the DRL
5:33That I wired to an add a fuse
5:35To a fuse the 12 volt 20 amp
Machine-transcribed from the full-length video and lightly cleaned (product names fixed). Watch the video for exact wording.
Next step