How to Remove a Trunk Badge and Fit an FA20 DIT Badge (Subaru WRX)
Debadge the STI emblem from a WRX with an STI trunk swap: mark its spot with tape, heat and peel it, clear the adhesive with Goo Gone, machine-polish the area, then pre-bend and place an FA20 DIT badge and wax it.
Full video (10 min): Removing the STi Badge?! Replacing it with the WRX FA20 Badge · John's YouTube channel
Get the parts
- Goo Gone adhesive remover: Generic pickGeneric pickSearch on Amazon ↗
- Heat gun: Generic pickGeneric pickSearch on Amazon ↗
- FA20 DIT trunk badge: Generic pick (the one in the video was a private limited run)Generic pickSearch on Amazon ↗
- Car polishing compound: Generic pickGeneric pickSearch on Amazon ↗
- Car wax: Generic pickGeneric pickSearch on Amazon ↗
As an Amazon Associate I earn from qualifying purchases. Some links are affiliate links.
Debadge the STI emblem from a WRX with an STI trunk swap: mark its spot with tape, heat and peel it, clear the adhesive with Goo Gone, machine-polish the area, then pre-bend and place an FA20 DIT badge and wax it. This 10 min guide covers the Shown on a 2015 WRX with an STI trunk lid; the heat-and-peel debadge.
Overview
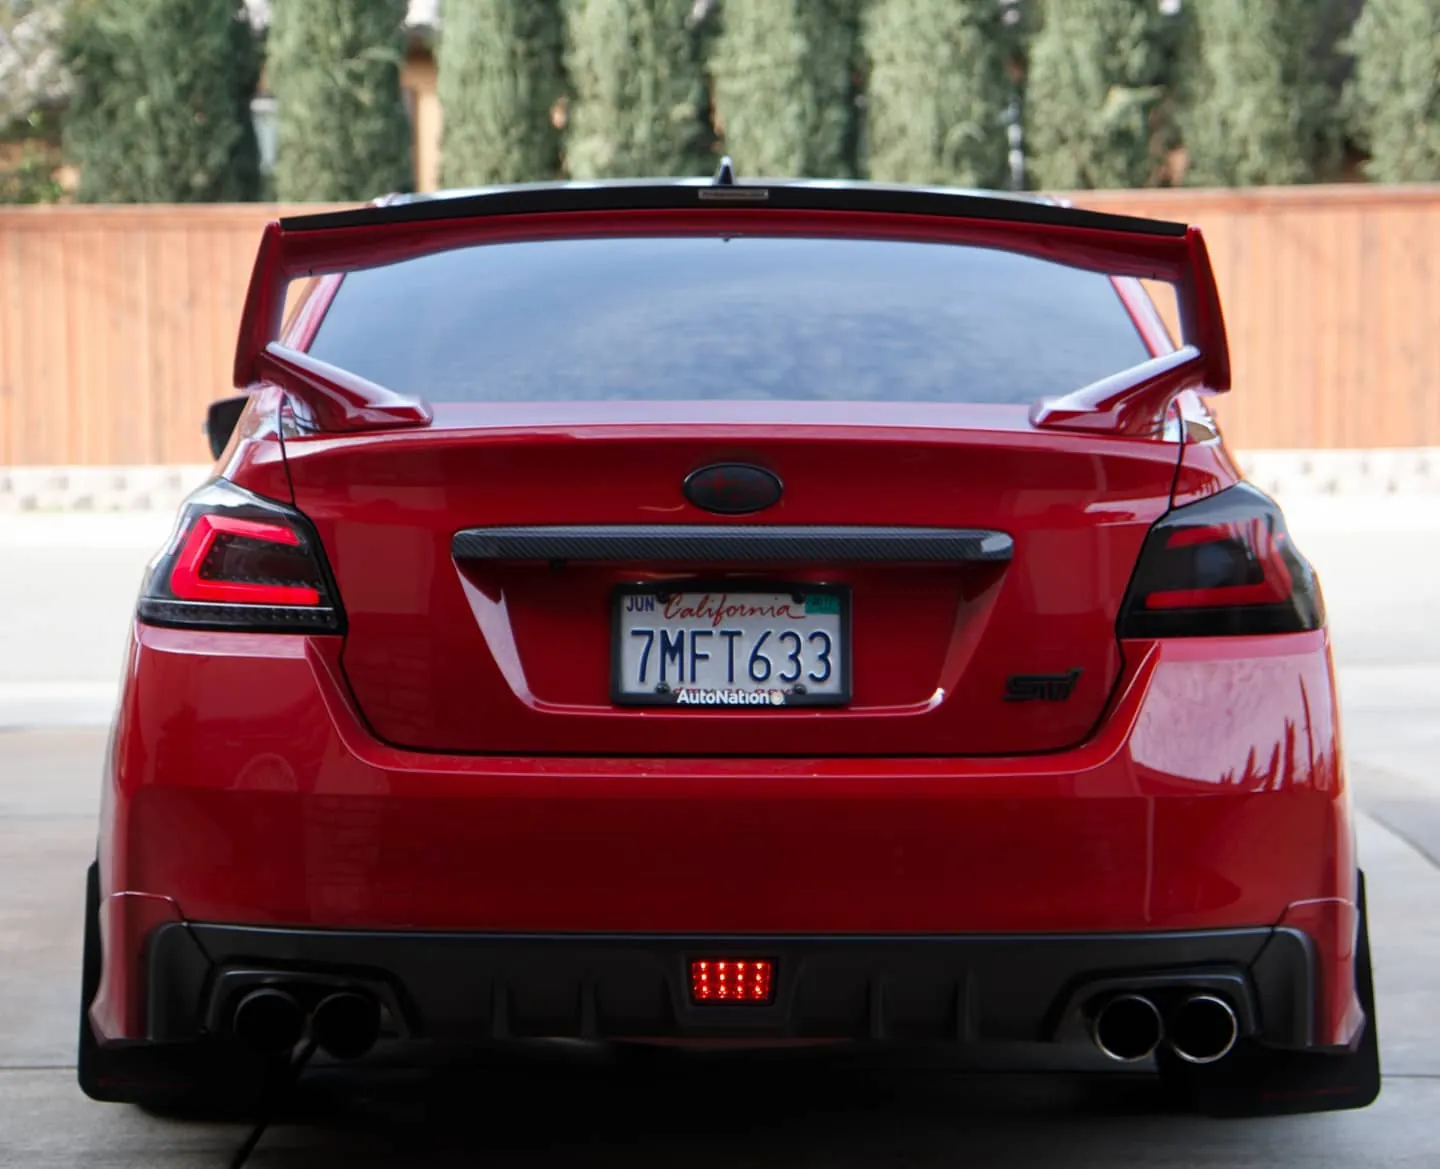
Ever since John's STI trunk swap, the STI badge stayed on his WRX. Some people loved the controversy and some flamed him, and he'd said he wouldn't debadge until he had a badge to replace it. Now he does: a limited-run FA20 DIT badge. With no masking tape around, he used double-sided tape and a gift card to mark where the old badge sat. Heat the badge with a heat gun until it's warm but still touchable, then peel it like a sticker. If you can keep it in one piece, the rest comes off easier. Goo Gone and a pad take off the leftover adhesive. Let it soak a couple of minutes and repeat as needed. He then machine-polished the spot with compound since the badge was already off. He pre-bent the new badge slightly to match the trunk's curve, lined it up with the body line, and pressed it down. The tape is strong, so repositioning was a fight. Finally he waxed the paint and the emblem for UV protection. The chrome bits match the exhaust tips, and on a red car it looks just right to him.
Vehicle & fitment
- Product
- WRX "FA20 DIT" V2 badge (limited run, chrome accents) replacing the STI trunk badge, with Goo Gone, polishing compound and wax
- Shown on
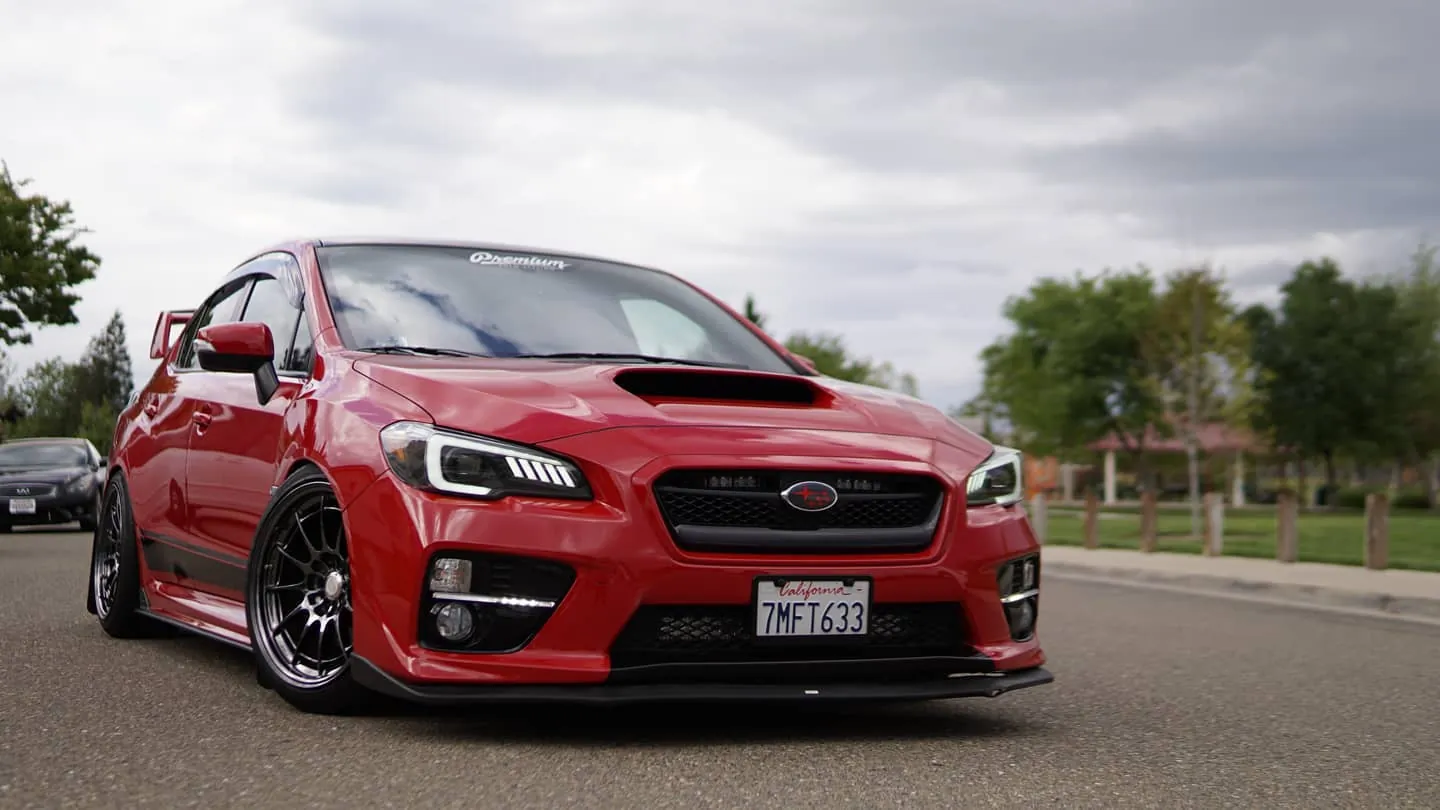
- John's red 2015 Subaru WRX with an STI trunk and wing swap
- Shown on a 2015 WRX with an STI trunk lid; the heat-and-peel debadge method works on most stuck-on emblems
- The FA20 DIT (V2) badge was a limited private run sold by email, so there's no store link; a generic search is listed instead
- The description's Amazon link is for an unrelated head unit, so it isn't listed here
Always confirm fitment for your exact year and trim with the seller before buying.
Tools & parts
Tools
- Heat gun (or hair dryer)
- Tape to mark the badge position (John used double-sided tape and a gift card)
- Pad or microfiber for Goo Gone
- Machine polisher (optional)
- Microfiber towels
Parts
- FA20 DIT badge
- Goo Gone
- Polishing compound
- Wax
Step by step
- 1
Test the placement▶ 0:00
Hold the new badge up front and back. With only one badge, John went with the trunk.
- 2
Mark the spot▶ 0:38
Tape around the old badge so you know where it sat once it's off. John used double-sided tape and a gift card as a guide.
- 3
Heat and peel▶ 1:12
Warm the badge with a heat gun until the adhesive loosens but it's still touchable, then peel it like a sticker.
Tip: If you can keep the badge in one piece, the rest pulls off much easier.
- 4
Remove the residue▶ 2:13
Wipe on Goo Gone with a pad, let it soak about two minutes, then wipe. Repeat as needed.
- 5
Polish the area▶ 3:22
With the badge off, John machine-polished the spot with compound and wiped it clean with a fresh towel.
- 6
Pre-bend and place▶ 4:05
Bend the badge slightly so it matches the trunk's convex curve, line it up with the body line and set it a little lower than first planned.
Warning: The adhesive grabs hard, so get the position right before pressing it down.
- 7
Press it on▶ 6:42
Clean around it and apply firm pressure across the badge.
- 8
Wax▶ 7:15
Wax the polished paint and the emblem for UV protection so the colors don't fade.
Get the parts
- Goo Gone adhesive remover: Generic pickGeneric pickSearch on Amazon ↗
- Heat gun: Generic pickGeneric pickSearch on Amazon ↗
- FA20 DIT trunk badge: Generic pick (the one in the video was a private limited run)Generic pickSearch on Amazon ↗
- Car polishing compound: Generic pickGeneric pickSearch on Amazon ↗
- Car wax: Generic pickGeneric pickSearch on Amazon ↗
As an Amazon Associate I earn from qualifying purchases. Some links are affiliate links.
FAQ
What vehicle does this install fit?
It is shown for the Shown on a 2015 WRX with an STI trunk lid; the heat-and-peel debadge method works on most stuck-on emblems. The FA20 DIT (V2) badge was a limited private run sold by email, so there's no store link; a generic search is listed instead Always confirm your exact year, trim and factory audio with the seller.
How long does the install take?
John's full video is 10 min. Plan on that much time for a careful DIY install, plus extra if you are new to dash work.
What tools do I need?
Tools called out in the guide: Heat gun (or hair dryer); Tape to mark the badge position (John used double-sided tape and a gift card); Pad or microfiber for Goo Gone; Machine polisher (optional); Microfiber towels.
Where do I get the parts?
Use the buy links on this page for the unit and any harnesses John used. Some links are affiliate links.
Is this beginner-friendly?
The guide breaks the job into 8 steps with timestamps into the video. If you can remove trim panels carefully, you can follow along.
John's Subaru WRX
More photos →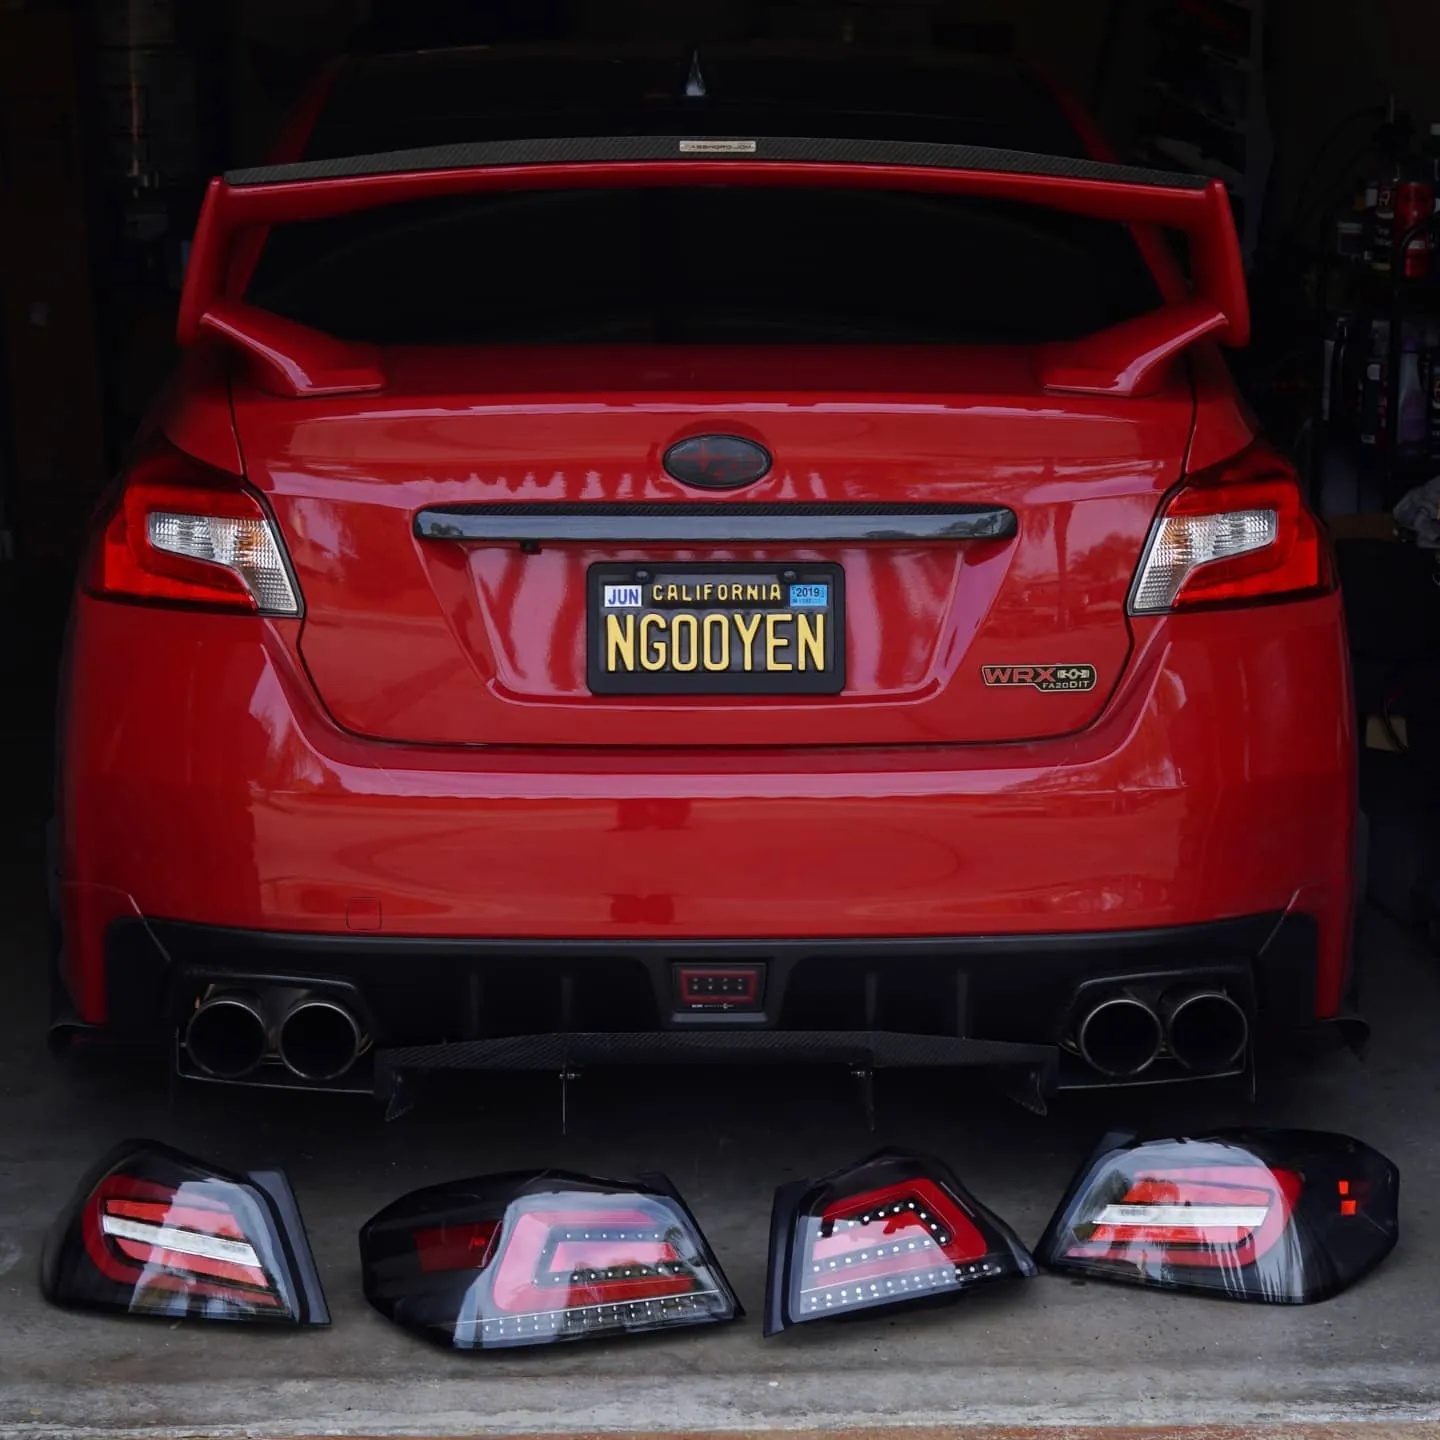
Photos from @ngooyen on Instagram. Follow for more.
Full transcript
Show the full transcript (129 lines) +
0:00What's up guys its your boy Jon and today what we're going to do is we're going to remove that badge and install the FA20 DIT badge
0:10Ooh that's nice
0:12Check that out
0:18This looks pretty badass too
0:20What do you guys think?
0:22Something like this
0:24I think it would make the front look more intricate but I only have one of these badges so I'm going to stick it in the back
0:38Alright I couldn't find masking tape so I just got a double sided tape and used this gift card
0:43Kind of like to hold the area for now and when I'm taking off the badge I kind of know where it was once upon a time
0:51So I'm just going to remove it, I can use a heat gun to heat it up
0:54I got some goo gone
0:56Let's just get at it
1:12Alright so I'm just finishing up here the way I do this as I just kind of heat it up spew it up
1:18So then I get the side adhesive a little bit more loose
1:24And then I just peel it
1:29Just get it nice and warm
1:32You can still touch it
1:34And then you just kind of peel it
1:36Like a sticker
1:38And if you can, it can mean damn mosquitoes
1:42But if you can maintain the shape it makes it kind of fun and easy to pull it rest out
1:48See that time it broke off
1:51That time it didn't
1:58And voila
2:00Most of it is off
2:05Most of it is off
2:09You can see that residue
2:13I'm going to use goo gone to get rid of all the rest of the residue with a wipe
2:17Should be the business voice
2:20Use a semi-price pad
2:34I'm going to buff this spot too with my polish here
2:37I'm going to agitate it
2:46I'm just going to let it soak for a little bit
2:48Come back and then in like two minutes
2:51And just wipe hopefully
2:55All right so
2:59I'm just going to wipe off the area
3:03You might have to do this several times to get it real nice
3:12Because I pretty much used the
3:15Pretty much scratched, not scratched
3:17But I guess I should have scratched the shit in this area
3:20While the badge is already off
3:22I'm just going to buff it real quick
3:24So I've got some really good compound
3:32But I got a machine
3:34So I'm going to use a machine
3:36And it's going to clean this puppy up nice, real good
3:53There's a different towel
3:56Compound off
3:59Pretty good
4:05All right let's put the DIT badge on
4:08First I thought it was going to do like this
4:11But I think I'm going to go for
4:14Kind of a little bit lower like that
4:17I kind of pre-bent it a little bit
4:19I don't know if you can see that
4:21And I kind of just bent it a little bit
4:23So then it matches the convex shape
4:26Of the curve
4:51Let's match it up with the line
5:05Pretty damn big
5:07I want to move it a little bit to the left actually
5:10Oh shit
5:17Guess not
5:21Oh
5:52That's not good
6:12Strong as tape
6:14So I want to move it a little bit more to the left
6:21Oh
6:37So here's the badge
6:40Pretty snazzy
6:42I'm going to clean up the ring ring here
6:44And maybe press down on it
6:52Sweet
6:57Just press down on this
7:00It's a good pressure on it
7:03And it should be good to go
7:15anyhow
7:17So I'm just using wax
7:20To protect the paint where I just buffs
7:23And I'm going to you know throw it on this emblem too
7:26To keep it UV protected too
7:28So the colors won't fade or anything
7:34And heck what about the super sweet taillights
7:37Keeping it nice and clean
7:39I already wiped down this area too
7:41On the taillight
7:43Just do the whole taillight
7:45Alright guys so there you have it
7:47WRX FA20 DIT badge
7:53Now it's on the rear end of the car
7:59Pretty menacing
8:02I know a lot of people give me slack for the STI badge when I did the STI trunk swap
8:05And I kept the the the badge on there and I said hey
8:08If I get a badge
8:10I'll get rid of it but I'm not going to debadge it
8:13Until I get a badge for it so
8:15There you go you can get these limited time right
8:19I'll leave the email below
8:21You just the guy who says he
8:23He has 20 left so you might want to hop on it quick
8:26It's a limited run
8:28These are the WRX FA20 DIT V2 badges
8:33There you have it
8:35it looks beautiful the craftsmanship
8:37It just looks nice
8:39You can tell here you'd be the judge
8:42I'm saying in person it looks phenomenal
8:44I really like these chrome pieces
8:46You see that little chrome pieces
8:50It really
8:50It really matches the exhaust tips and stuff
8:52And it just really matches the car
8:55It would probably stand out more on a white blue or whatever car you have on red
9:00Looks just right with my setup
9:03If you guys have any questions let me know
9:05FA20 DIT badge is a good good
9:10Let me show you the fit man
9:13There you go
9:15Hope this guys helps you debadge
9:18And I hope it stops you from crying
9:21That I have an STI badge
9:23Because there is no longer an STI badge
9:26On my car
9:28Sad face
9:30But
9:32It's what the people want right
9:34Some of the people
9:36Some people have told me to keep it
Machine-transcribed from the full-length video and lightly cleaned (product names fixed). Watch the video for exact wording.
Next step