iDoing Android Head Unit: 2008–2014 Subaru WRX / STI / Forester Full Install
Swap a messy aftermarket radio in a 2008–2014 Subaru (WRX shown; STI and some Foresters with the same dash) for a larger iDoing unit: transfer the vents, use the OEM-style harness, add a Metra antenna adapter, then run GPS, Wi-Fi and USB into the glovebox.
Full video (16 min): 2008-2014 Subaru Android Headunit | Full Installation · John's YouTube channel
Get the parts
- Search Amazon for iDoing 9 inch Subaru WRX Forester 2008-2014 head unitSearch on Amazon ↗
- Metra 40-SB10 Subaru antenna adapter (Amazon link from the description)Buy ↗
- iDoing 9" Android head unit for 2008–2014 Subaru Forester / WRXBuy direct ↗
- AliExpress iDoing link from the descriptionBuy ↗
- Dasaita CarPlay USB dongle (AliExpress link from the description; this model needs a dongle)Buy ↗
CodeiDoing coupon code (NGOOYEN) — NGOOYEN
As an Amazon Associate I earn from qualifying purchases. Some links are affiliate links.
Yes — you can install iDoing on the 2008–2014 Subaru WRX, and the STI, plus some Foresters whose dash/trim looks similar with a 16 min DIY job. Swap a messy aftermarket radio in a 2008–2014 Subaru (WRX shown; STI and some Foresters with the same dash) for a larger iDoing unit: transfer the vents, use the OEM-style harness, add a.
Overview
A comprehensive install on a 2008–2014 Subaru WRX that also covers the STI and some Foresters with the same dash style. The car already had a smaller aftermarket radio; John is swapping it for a much larger iDoing screen with a 2.5D glass face, power/home/back and volume buttons (no knobs). Subaru-specific harnesses mean no splicing. He pops the vent panel by hand, transfers the vents (and cleans them), removes the screws, and photographs the previous installer's wiring before unplugging a tight ~20-pin Subaru connector. The kit antenna plug doesn't match the car — he uses the inexpensive Metra 40-SB10 adapter from the description, then boots the unit (first boot is slow; later boots are 1–2 seconds) with a Subaru logo you can change, pairs Bluetooth, and confirms audio. The owner had already removed the sub; there is no reverse camera in the trunk, so unused amp/camera wires stay capped. He transfers the vent clips, hand-tightens the GPS antenna on top of the dash for signal, screws on the stubby Wi-Fi antenna, and routes the USBs into the glovebox for a stealthy CarPlay-dongle/charge setup. RCA jacks are there if you add a camera later. The finished screen fills the dash and looks like a 2018-era upgrade. Amazon is first with a tagged search plus the Metra antenna adapter from the description, then the iDoing store and the AliExpress links he posted.
Vehicle & fitment
- Product
- iDoing 9" Android radio head unit for 2008–2014 Subaru Forester / WRX, with a plug-and-play Subaru harness, GPS, Wi-Fi and USB (CarPlay/AA via a dongle on this model, per the description)
- Shown on
- Subaru WRX 2008–2014 range (also fits STI and some Foresters with a similar dash, per John)
- 2008–2014 Subaru WRX, and the STI, plus some Foresters whose dash/trim looks similar (per the video)
- The iDoing listing in the description is a 9" unit for 2008–2014 Forester / WRX — confirm your year and radio with the seller
- This car already had an aftermarket radio and no backup camera. The factory-style antenna plug needed a Metra 40-SB10 adapter (Amazon link in the description)
- For this generation John says you still need a dongle for Apple CarPlay / Android Auto
Always confirm fitment for your exact year and trim with the seller before buying.
Tools & parts
Tools
- Your fingernails or a plastic trim tool to pop the vent panel
- Phillips screwdriver for the radio screws
- Phone camera to photograph existing wiring before you unplug it
Parts
- iDoing 9" 2008–2014 Forester / WRX head unit and Subaru harness
- Metra 40-SB10 antenna adapter if the kit plug doesn't match your car
- GPS and Wi-Fi antennas (in the box)
- USB leads routed to the glovebox
- CarPlay / Android Auto dongle if you want those on this generation (per the description)
Step by step
- 1
What this covers▶ 0:00
A full install on a WRX that John says also works on the STI and on Foresters whose dash looks the same. The car already has a smaller aftermarket radio; the iDoing screen is a big size and quality jump.
- 2
The new unit▶ 0:35
iDoing face with power, home, back and volume buttons — no knobs. 2.5D glass, more like a phone. The box has the Subaru harness, GPS, Wi-Fi and extra USBs. He doesn't see a microSD slot; storage is built in.
- 3
Vent panel off▶ 2:09
He pops the vent trim with his fingernails (no tools). Transfer the vents to the new bezel and clean them if they're dirty; one vent on this car had come off its rail.
- 4
Screws and the old radio▶ 2:42
Remove the screws and pull the previous aftermarket unit. Photograph the wiring first — a prior installer had messy extras, including a green lead John takes as a reverse/brake signal that this car won't use.
- 5
Unplug the Subaru connector▶ 4:39
A tight ~20-pin Subaru-style plug. This car has no backup camera in the trunk, so those extras can stay unused.
- 6
New harness and antenna adapter▶ 5:28
Plug in the iDoing harness (radio antenna, amp power if you have an amp, reverse/brake, main unit). The kit's antenna plug doesn't match this Subaru; John uses the ~$5 Metra 40-SB10 adapter from the description, which snaps in cleanly.
- 7
First boot and Bluetooth▶ 7:13
First boot from storage is slow and shows a changeable Subaru logo; later boots are about 1–2 seconds. He pairs a phone in the Bluetooth app and confirms audio.
- 8
What not to hook up here▶ 9:32
This Subaru harness is basically one main plug plus the antenna. The owner had already pulled the sub; there is no reverse camera, so leftover previous-owner wires stay taped off.
- 9
Transfer the vents▶ 10:03
Wipe the bezel, move the two upper and two lower vent clips onto the new iDoing bezel — it snaps on like a factory piece.
- 10
GPS, Wi-Fi and USB▶ 11:11
Hand-tighten the labeled GPS antenna and park it on top of the dash (John gets a good signal that way). Screw on the stubby Wi-Fi antenna. Route the USB leads down into the glovebox so CarPlay (via dongle) and charging stay hidden. RCA jacks are there if you add a camera later.
- 11
Button it up▶ 14:38
Tuck the wires, seat the unit and antenna, and wipe the screen. The bigger display fills the dash and looks like a much newer interior.
Wiring notes
- Use the Subaru-specific iDoing harness — no splicing on this install.
- If the antenna plug doesn't mate, use the Metra 40-SB10 adapter from the description.
- Amp and reverse-camera leads stay unused if the car has no amp or camera.
- Route USBs to the glovebox. This generation still needs a dongle for CarPlay / Android Auto, per the description.
Get the parts
- Search Amazon for iDoing 9 inch Subaru WRX Forester 2008-2014 head unitSearch on Amazon ↗
- Metra 40-SB10 Subaru antenna adapter (Amazon link from the description)Buy ↗
- iDoing 9" Android head unit for 2008–2014 Subaru Forester / WRXBuy direct ↗
- AliExpress iDoing link from the descriptionBuy ↗
- Dasaita CarPlay USB dongle (AliExpress link from the description; this model needs a dongle)Buy ↗
CodeiDoing coupon code (NGOOYEN) — NGOOYEN
As an Amazon Associate I earn from qualifying purchases. Some links are affiliate links.
FAQ
What vehicle does this head unit fit?
It is shown for the 2008–2014 Subaru WRX, and the STI, plus some Foresters whose dash/trim looks similar. The iDoing listing in the description is a 9" unit for 2008–2014 Forester / WRX — confirm your year and radio with the seller Always confirm your exact year, trim and factory audio with the seller.
How long does the install take?
John's full video is 16 min. Plan on that much time for a careful DIY install, plus extra if you are new to dash work.
What tools do I need?
Tools called out in the guide: Your fingernails or a plastic trim tool to pop the vent panel; Phillips screwdriver for the radio screws; Phone camera to photograph existing wiring before you unplug it.
Does it support wireless CarPlay or Android Auto?
Check the product listing for wired vs wireless CarPlay / Android Auto before you buy; John shows what worked in the video.
Where do I get the parts?
Use the buy links on this page for the unit and any harnesses John used. Some links are affiliate links.
Is this beginner-friendly?
The guide breaks the job into 11 steps with timestamps into the video. If you can remove trim panels carefully, you can follow along.
John's Subaru WRX
More photos →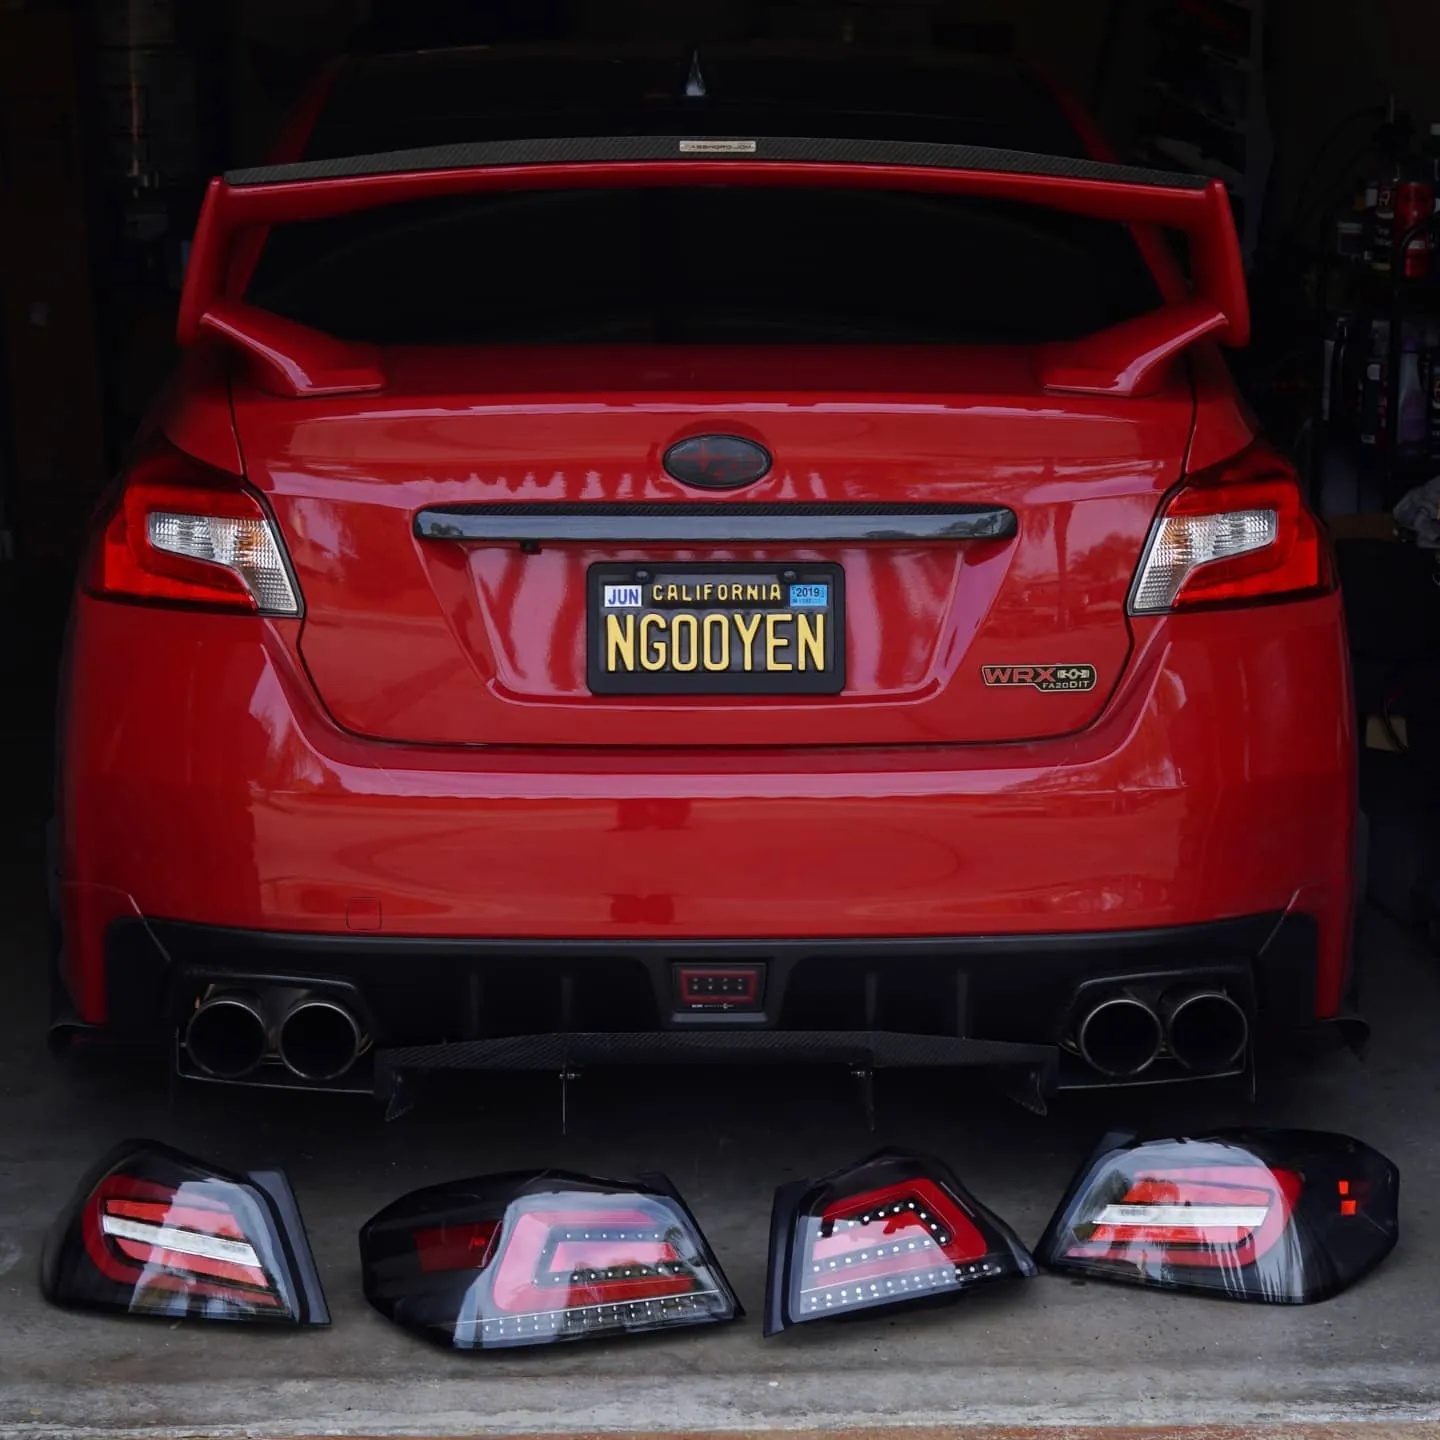
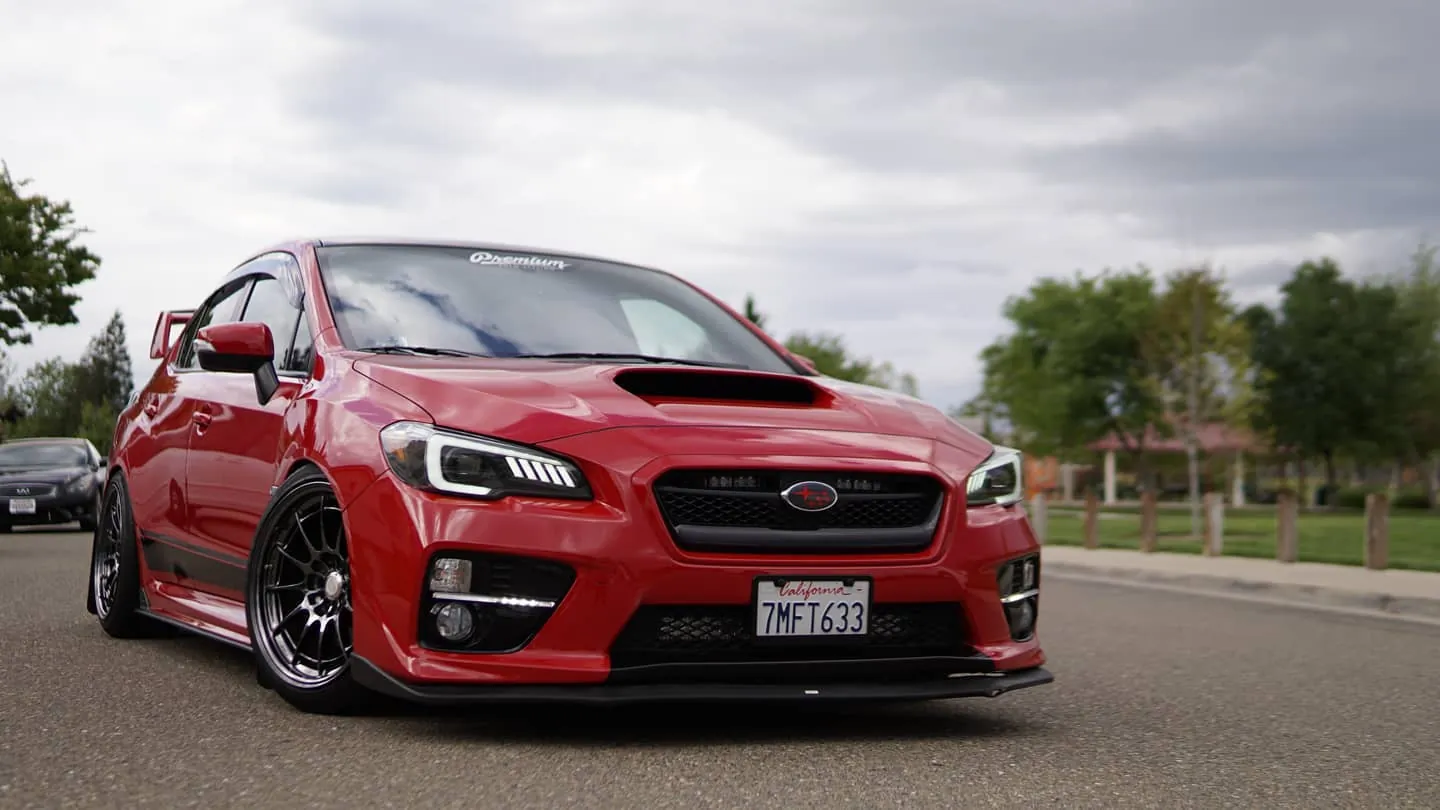
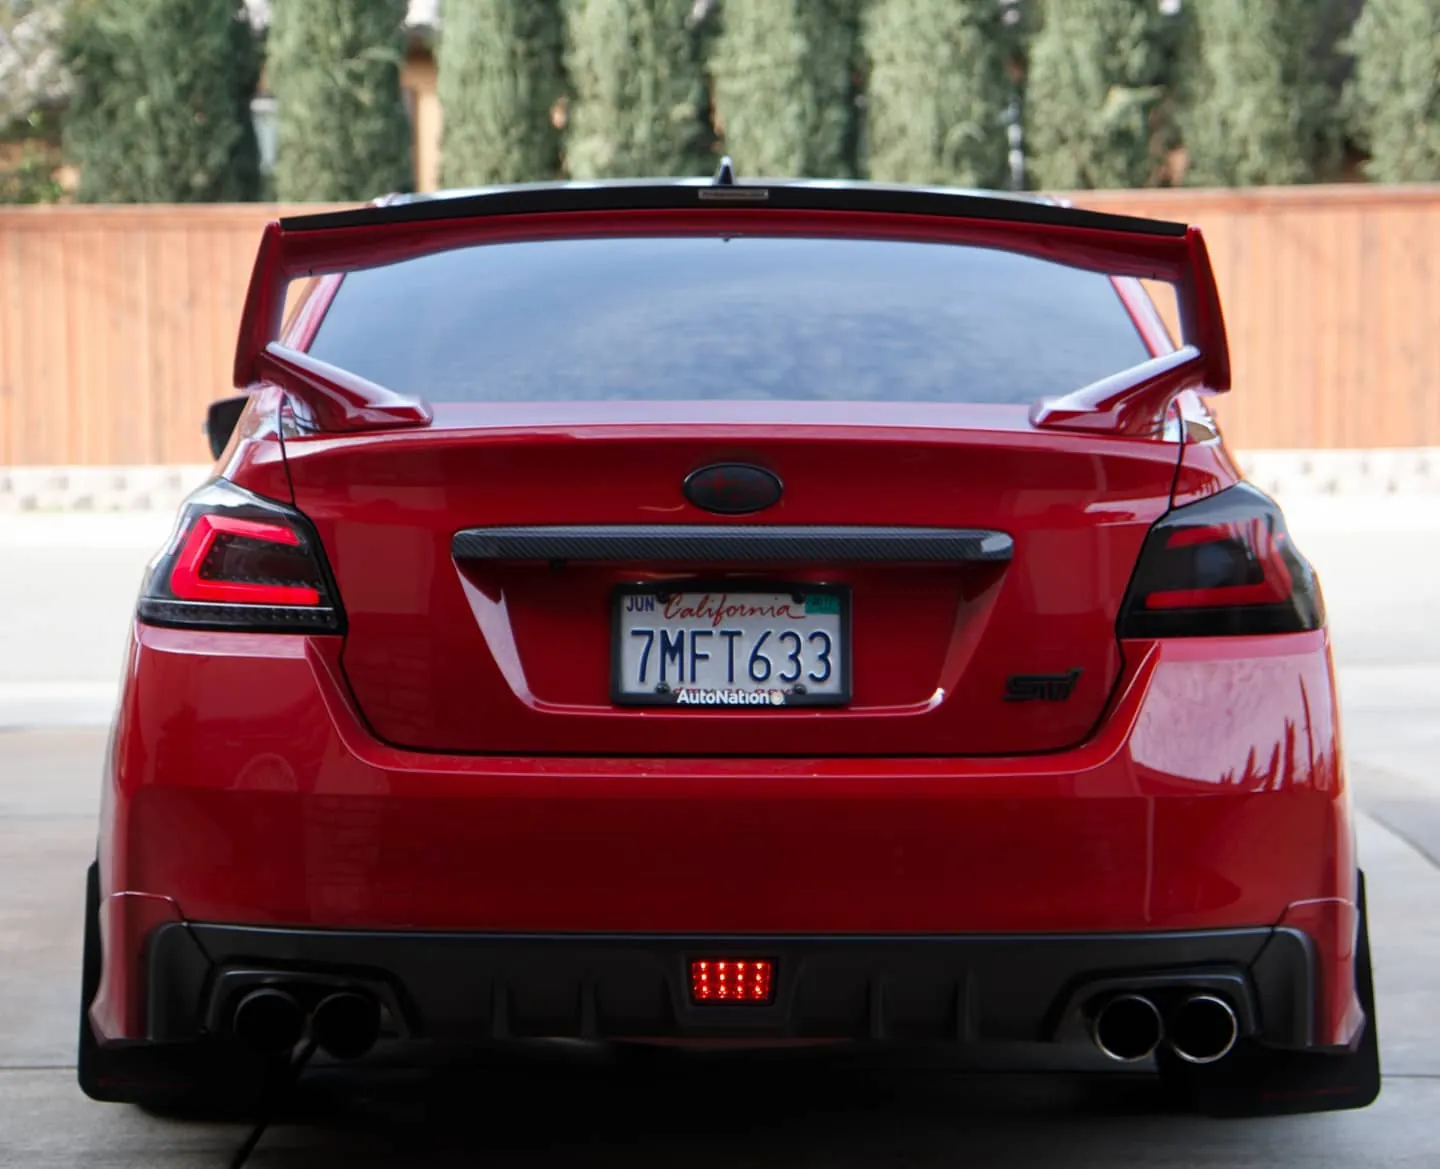
Photos from @ngooyen on Instagram. Follow for more.
Full transcript
Show the full transcript (59 lines) +
0:00hey what's up guys it's your boy John and today we're going to do a comprehensive install on a Subaru WRX and this will work with the STI and even some foresters if you're you know trim kind of looks similar to this they're gonna be set in wow what an upgrade now
0:17this head unit right here already has you know an aftermarket one but we're gonna be replacing it and look at the difference in screen size it's gonna be amazing so stay tuned alright so going over the
0:35head unit real quick we have the traditionals power home button back and then the volume up and volume down no knobs on this bad boy right here moving to the sides this is again by i doing look how look at the fitment difference I mean this already has a pretty cool
0:51aftermarket head unit but look at the difference in screen size and quality it definitely makes it look a lot more modern now judging back from just looking at side by side this is the I doing it's just all the wiring harness and stuff like that now if you're
1:06getting a subaru everything is gonna have the harnesses and stuff for ready for you to go so you don't have to splice anything or you don't have to do anything like that so it's gonna be a pretty straightforward install without any you know mix-match things looking around too though I don't see any
1:22microSD card slots or anything like that so everything's I have the built-in memory things that were also including the box so if you want to see how the box looks like this is where the wiring
1:37harness is and it has the GPS the Wi-Fi extra USBs and then you know more stuff like that so time you know this feels really good take a last I have right here this is a 2.5 D I'm gonna show you a video of what
1:542.5 D is basically it's similar to your smartphone where you have Gorilla Glass like feel and like toughness so it's somebody really scratch resistant but you voila so let's just knock all these panels out and then bring out the
2:09previous unit and then move forward from there alright to pop this out I'm just gonna use my fingernails I already kind of popped it out but I just use my fingernails so no tools here just pop it out like this this has all the vents now you want to transfer also want to clean these vents because they haven't been
2:24cleaning but you want to transfer these vents to your your new one of course his vents are not in the best conditions because you can see they're off the rail so let's see if we can fix that for him real quick too but these vents are good this one's kind of off the rail yeah I transfer over to
2:42the newer unit then just take this out which is just held by some screws right here oh just unscrewing these so now it's a really good time to clean your interior nodes it's been super eat fast to do
2:58something like this also keep your screws on that place you'll remember one more this one's kind of loose already of course you don't want it to drop so take
3:13your time to get a rush it's old things be very careful and watch the where the metal is hitting that as a skateboard as
3:29a USB back there isn't that cool look at this little gem we found he was a skater boy he was said
3:45see you later boy so I'll keep this in a safe spot of course just in case now looking at the back of this you can see this was done by an aftermarket a little bit wires are kind of a little more janky looking if I were you if you were
4:03working on this take a picture because if sometimes other installers have like different wiring and stuff like where does the green wire go we have no idea in a camera it can cause problems later
4:24on Revere reverse gear sigmund foot sooner so I'm guessing this goes to the reverse gear break so the green ones like break but we're not gonna use that all this
4:39should be good just uses the older Subaru style I think this is a 20 pin it's really in there of course I get some more wiring it's kind of messy and
4:57this is not plugged into anything interesting when I was reversing this card I didn't see a backup camera either
5:12but it's interesting just say the lease all right so get the new unit right here voila we're gonna have the harness we're
5:28gonna do this together okay a lot of people like this style where it's more vlog and more raw this is how we're getting the harness comes with the this is gonna be your radio antenna this is if you have an amp you want to
5:43power the amp you have reverse break and the actual unit right here this was plugged into a red one alright let's reuse
6:02let's not reuse it let's unplug the radio it's always cooking so this is a subaru style radio maybe you can see that it's all the way tooked in there so
6:21that's how it looks like we're just gonna take that off plug in the new one alright so the one the radio antenna I'm gonna try it one more time but it looks slightly different so you should be a little retro or some like that you can
6:38see how the pins are a little bit different it was so different a good thing you have the yeah this is like a $5 part that I'm gonna link below so if you need a song if you listen to radio I'll link below but yeah it's not I'm
6:56trying to plug it into here I know it's really dark in there but it's not fitting that's how it is to fit with this one yeah snaps up really really nicely so this is a player that we're not gonna use I'm just gonna play it to
7:13the back and that's it let's fire up the car and see what kind of sounds doesn't make so this would be
7:31the initial boot nice so the nice big old Subaru logo we have the lights
7:47this is changeable so if you're looking for RGB goodness you'll be able to do that for the initial boot it does take the longest it's been like off this whole like three five you know two months it's been you know just stored in the box so it's gonna be booting up for
8:03the first time when you're driving day to day everyday every week you're not gonna have this kind of loading the loading will take a point one to two seconds so here we go we have the unit operational this does have apple carplay
8:20and all that so if you're looking for apple carplay which this user does use he uses an iPhone which is great to set up bluetooth let's go to the Bluetooth app and let's pair a phone I'm just
8:35sorry it's right here so see will pay over my phone that's scan finds my note had it
8:53confirms it's my phone Sousa is trying to connect and yeah so now it's pair pretty simple
9:15there you go and things bassy so that's a good step right here we have all the audio pieces going on so next up we'll move to the next part so this is the only pin you
9:32need for the Subaru and of course you have the antenna now the I just called the owner seeing like what about your subwoofers and all that he says hey I removed the sub and all that stuff this car does not have a reverse camera this unit is compatible reverse camera
9:47nothing's hooked up with this one so I took the back of the trunk doesn't even have a reverse camera anyways so we're just gonna kill with the audio and that's it these wires are left by the previous owner so he he's not messing with that so we'll just have to transfer
10:03the vents over and we'll be done so I gave it a quick wipe down of course make it look at least presentable and then there's just these two clips right there you see two for that clip we got two on the bottom two for that clip two on the bottom and we're just going to
10:18transfer it right over there you go so the thing is now out from the bezel let's store that somewhere safe given
10:34that quick wipe-down then we're just gonna transfer it over to this puppy right here it's so nice that's this well-integrated it's insane how it just snaps on wow
10:54that's just it's just so insane that it works just like that let me show you guys how it looks like oh this little sneak peek just a little sneak peek alright so next thing we're
11:11going to do is activate the GPS we have the GPS antenna here and we're just gonna it's labeled on the bottom right here it says GPS I want you think of that good metal screw in don't use any
11:26tools can't doing my hand is good enough do it till it's snug now the way I will have it is I generally like having the GPS I have been having great signal with
11:41just it being plopped up on the top so that's what exactly where I'm gonna put it here you could wire it like on top of this honestly I've been having great signal with this it's easier to do and also it's cleaner more and I just like a
11:59nice clean set up there you go you have the GPS hooked up next off we just have low Wi-Fi and it's just like Legos very fun easy to do we have a short stubby antenna here some of the bag of the harnesses I'm doing this step-by-step so
12:16you guys can I know it might be mundane a little bit but this way you guys know how to install it which is important now the Wi-Fi just screwing it by hand
12:32awesome there you go make sure it's nice and snug yeah and oh and you see these two wires these two wires have the amp con and stuff like that this car doesn't
12:49have any amplifiers or anything so we're good there next off so we have the mean power which is this one we have the Wi-Fi GPS and tech stuff on the harnesses
13:04we have USBs this is very important to wire because if you want apple carplay which is built into this unit you want to use these USBs you have USB oops USBs and USBs so i'm gonna wire this so it kind of goes down
13:19to the glovebox that's why it's nice and stealthy so I'm just gonna undo this twist tie so the u.s. piece that I had earlier they're gonna be wired through
13:34here and they're gonna be tucking out and now they live in a new home down here which is awesome now I can stow this and then when I need to charge I use apple carplay it's good to go you can also be creative and wire it down here or anywhere you want so those
13:50cables are actually pretty long so you get creative you have additional cables for you know right audio and video output now if you're looking to put more stuff like you want to put it look at Nintendo 64 or backup cameras front
14:06cameras you have all these yellow Jack's that you can fill your heart's content this car does not have a backup camera so we're not gonna deal with that it is possible to retrofit and make your own camera I am the sada and I doing do have that
14:22so if you want to buy stuff like that and Amazon store all things below if you want to add a backup camera but for this we're strictly just doing the head unit for today so let's wrap these wires back up
14:38just putting the unit back in with the appropriate antenna cable sure it's nice and there are this fitting it's going
15:06there yes and wallah it is done look at that thing's massive my gosh let's go get
15:25that quick wipe screen oh yeah look at that just blends in so nicely bringing it to the 2018 we're out here in 2018 make it look at the massive upgrade whoa wow
15:43this thing really woke up this interior I'm really happy with it dress it with it off it looks fantastic now of course having it on the resolution and the quality just speaks for itself it's insane how clear it
16:01looks now let's turn off the location X it's not trying to have this but it just looks amazing just fits into your so well guys remember things below if
16:18you're trying to buy this thanks you guys for watching peace out and keep moving forward
Machine-transcribed from the full-length video and lightly cleaned (product names fixed). Watch the video for exact wording.
Next step