DIY Paint Correction: Removing Swirl Marks from a WRX / STI Trunk
Take heavy swirls out of a used STI trunk with a dual-action polisher: wipe it down with a spray detailer, cut with a fine polish on an orange pad in small sections, then lock it in with a polymer sealant and a coat of wax.
Full video (12 min): Ep 21: Paint Correction! BIG DIFFERENCE. Diy Style Video on the Subaru Wrx STi's Trunk · John's YouTube channel
Get the parts
- PORTER-CABLE 7424XP 6-inch variable-speed polisher (Amazon, from the video description)Buy ↗
- Chemical Guys Hex-Logic medium-heavy cutting pad, orange (Amazon, from the video description)Buy ↗
- Astro 4607 5" hook-and-loop backing pad (Amazon, from the video description)Buy ↗
- Menzerna Medium Cut Polish 2400 (Amazon, from the video description)Buy ↗
- Power Lock Plus polymer sealant (Amazon, from the video description)Buy ↗
- Chemical Guys Hybrid V7 spray sealant & quick detailer (Amazon, from the video description)Buy ↗
- Meguiar's Gold Class carnauba liquid wax (Amazon, from the video description)Buy ↗
- Microfiber towels: Generic pickGeneric pickSearch on Amazon ↗
As an Amazon Associate I earn from qualifying purchases. Some links are affiliate links.
Take heavy swirls out of a used STI trunk with a dual-action polisher: wipe it down with a spray detailer, cut with a fine polish on an orange pad in small sections, then lock it in with a polymer sealant and a coat of wax. This 12 min guide covers the Works on any painted panel. Shown on a used.
Overview
John bought a used STI trunk online, and under a street light or in the morning sun it showed heavy swirl marks. In this video he shows his polishing steps. First he wipes the panel with a spray detailer to remove loose dirt. Then he uses a Menzerna polish, a very fine abrasive that cuts the paint and takes out most of the swirls, on a Chemical Guys orange pad on his Porter-Cable dual-action polisher (about a hundred bucks). Prime the pad with the spray, use a little polish (a little goes a long way), smear it on, and start on low speed so it doesn't sling. Work in small squares, check for grit in the pad, and be careful on edges, where you can burn through the paint. After polishing, the spider-web look is gone. He finishes with Menzerna Power Lock Plus polymer sealant on an applicator, wiped back and forth rather than in circles. Sealant lasts about 6 to 12 months, and a carnauba wax layer adds depth but fades in about a month. Take your time. Anyone can do it.
Vehicle & fitment
- Product
- Porter-Cable 7424XP dual-action polisher, Chemical Guys Hex-Logic orange pad, Menzerna polish, Power Lock Plus sealant, Meguiar's carnauba wax
- Shown on
- John's 2015 Subaru WRX with a used STI trunk
- Works on any painted panel. Shown on a used STI trunk on John's 2015 WRX
Always confirm fitment for your exact year and trim with the seller before buying.
Tools & parts
Tools
- Dual-action polisher
- Backing plate and orange cutting pad
- Microfiber towels
- Foam applicator pad
Parts
- Spray detailer
- Fine polish (Menzerna)
- Polymer sealant
- Carnauba wax (optional top layer)
Step by step
- 1
Inspect the swirls▶ 0:00
The used STI trunk had heavy swirl marks you could see under street lights and in the sun.
- 2
Gather the products▶ 1:03
Spray detailer to wipe down, Menzerna polish to cut, polymer sealant to protect, and a dual-action polisher with an orange pad.
- 3
Wipe down▶ 2:47
Spray the panel generously and wipe off loose dirt with a microfiber towel.
- 4
Prime the pad▶ 3:34
Mist the pad with the same spray, then add a small amount of polish. A little goes a long way.
- 5
Spread on low speed▶ 4:07
Smear the polish onto the paint and start on low speed so it doesn't sling.
Tip: Check the pad for little rocks before every section.
- 6
Work in squares▶ 5:07
Polish one small square at a time. Be careful on edges and body lines, where you can burn through the paint.
- 7
Check the result▶ 6:08
The spider-web swirls are gone. A big difference already.
- 8
Apply sealant▶ 7:01
Apply the polymer sealant with an applicator pad, back and forth rather than in circles, in an even coat. It lasts about 6 to 12 months.
- 9
Optional wax layer▶ 7:59
Add carnauba wax on top for a deeper finish. Wax mostly fades in about a month.
Get the parts
- PORTER-CABLE 7424XP 6-inch variable-speed polisher (Amazon, from the video description)Buy ↗
- Chemical Guys Hex-Logic medium-heavy cutting pad, orange (Amazon, from the video description)Buy ↗
- Astro 4607 5" hook-and-loop backing pad (Amazon, from the video description)Buy ↗
- Menzerna Medium Cut Polish 2400 (Amazon, from the video description)Buy ↗
- Power Lock Plus polymer sealant (Amazon, from the video description)Buy ↗
- Chemical Guys Hybrid V7 spray sealant & quick detailer (Amazon, from the video description)Buy ↗
- Meguiar's Gold Class carnauba liquid wax (Amazon, from the video description)Buy ↗
- Microfiber towels: Generic pickGeneric pickSearch on Amazon ↗
As an Amazon Associate I earn from qualifying purchases. Some links are affiliate links.
FAQ
What vehicle does this install fit?
It is shown for the Works on any painted panel. Shown on a used STI trunk on John's 2015 WRX. Always confirm your exact year, trim and factory audio with the seller.
How long does the install take?
John's full video is 12 min. Plan on that much time for a careful DIY install, plus extra if you are new to dash work.
What tools do I need?
Tools called out in the guide: Dual-action polisher; Backing plate and orange cutting pad; Microfiber towels; Foam applicator pad.
Where do I get the parts?
Use the buy links on this page for the unit and any harnesses John used. Some links are affiliate links.
Is this beginner-friendly?
The guide breaks the job into 9 steps with timestamps into the video. If you can remove trim panels carefully, you can follow along.
John's Subaru WRX
More photos →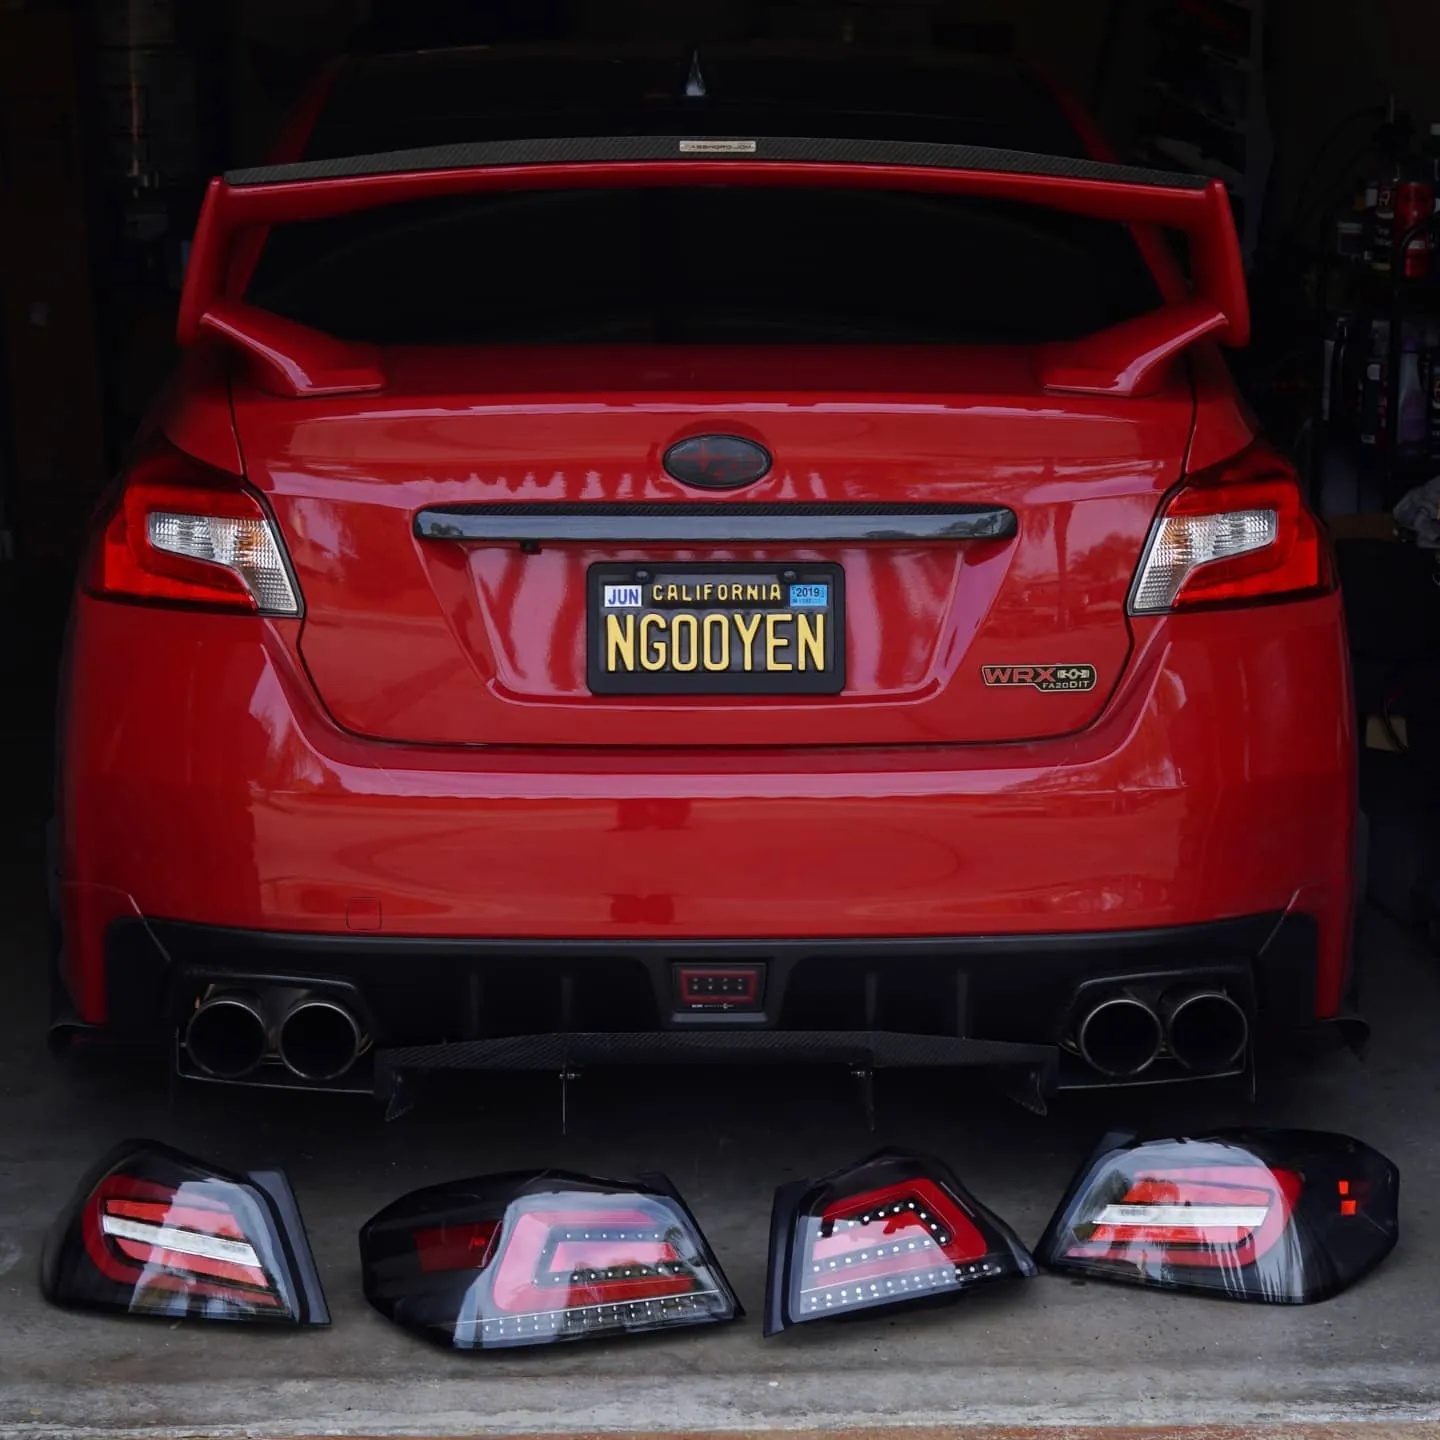
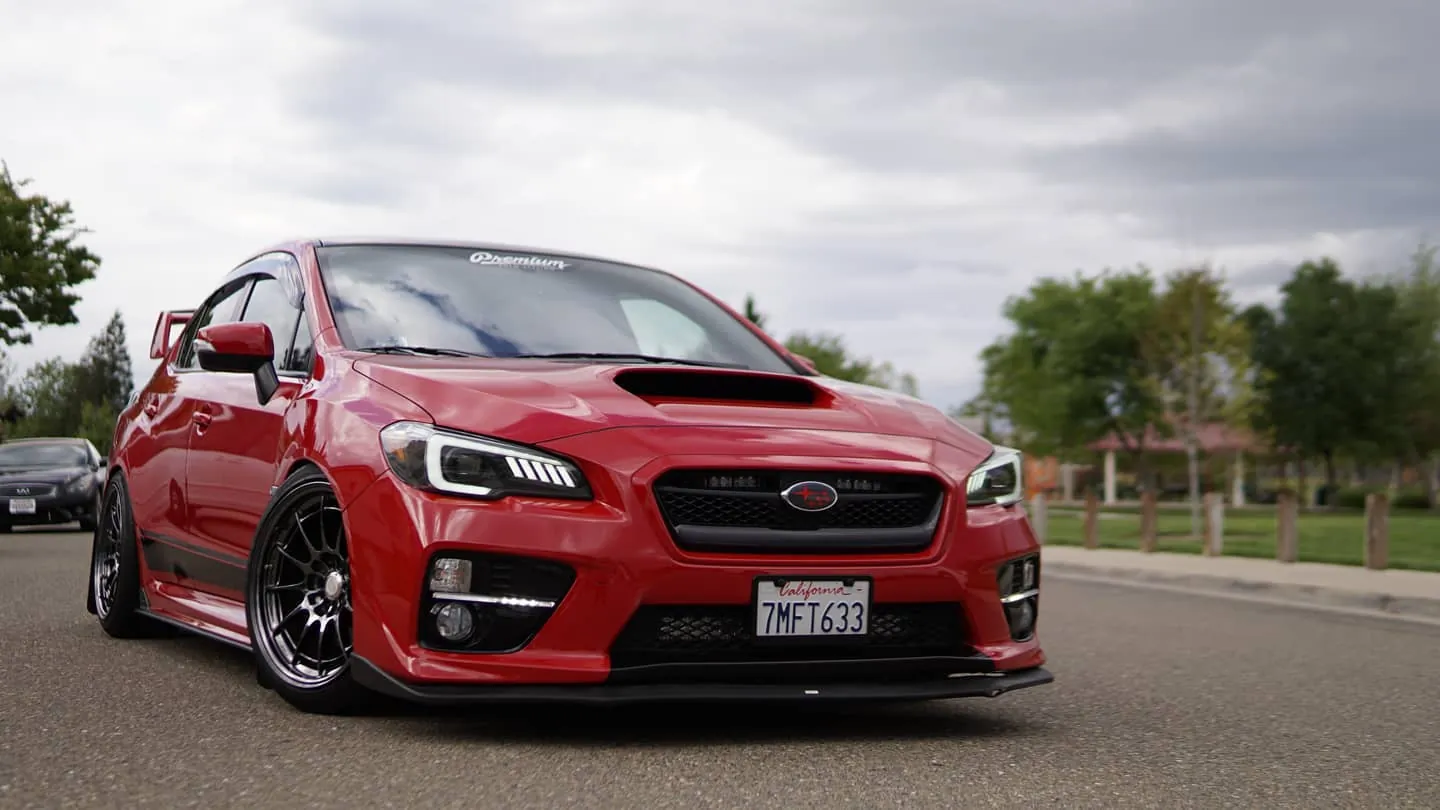
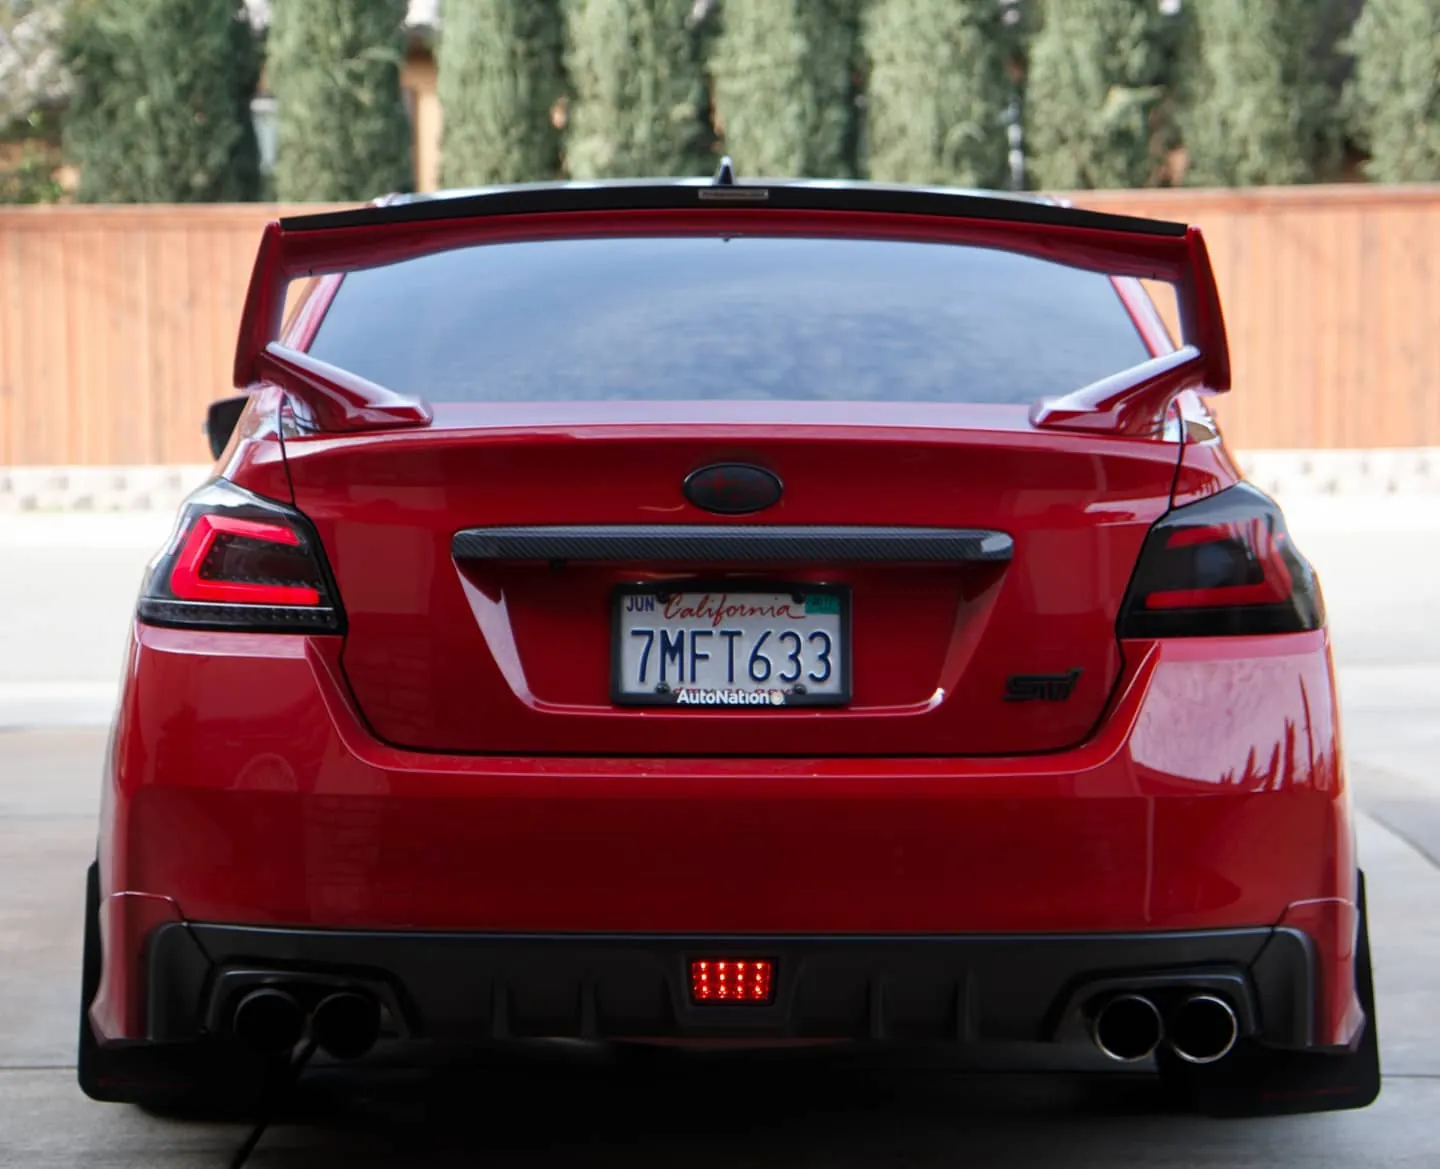
Photos from @ngooyen on Instagram. Follow for more.
Full transcript
Show the full transcript (68 lines) +
0:00What's up guys, as you can-can-see there's a lot of swore-marks and this is on my trunk.
0:11So today what I'm gonna do is a quick polishing tutorial that how I do it to
0:18get rid of my car. Everything else on my car looks this trunk though.
0:24I bought it online online so it was a used trunk. I had it shipped to my house and the paint conditions
0:34and the previous owner or maybe the guy shipping it you can tell did not treat their paint with extra care.
0:42So what I'm gonna do today is show you some process of how to clean clean it,
0:47and then the steps I use to level up these scratches as well as how to protect it. So stay tuned.
1:03Alright so the things I want to use is pretty simple. This is just going to be used to wipe down my car.
1:11It my car. It's kind-like a detail spray, and it also has a sealant but I
1:11I'm not going to be knocking out the sealant anyways, but this is going to be used to wipe down any kind of loose dirt or debris.
1:22This right here is my Menzerna high polish finish. It's basically an abrasion, very fine sandpaper.
1:31So what we're going to do with this is this is what is going to be cutting the paint and taking away most of the swirl marks you see.
1:39After the marks are gone, you need to protect it.
1:42This is what I use this is what I use right here. It's a polymer sealant.
1:47What happens is you put it on, you let it on, you let it cure a little bit.
1:51Then it bonds to the paint, keeping it protected, makes it a like a hydrofobics.
1:56That's what I use here. You could you do this by hand, but I'm going to use this bad boy right here.
2:06It's my porter cable. It's a dual action.
2:08polisher. It's like a hundred bucks. It's cheap.
2:13This pads from chemical guys, but I use in late country pads, but these are orange, but I use late country pads, but I
2:15these are an orange pad too.
2:18These are orange pads too. It works really well.
2:20With these tools a lot of these tools, you can do your whole do your whole car. I'm just going to do the trunk because it's
2:23really bad compared to the rest of the rest of my car.
2:26I can tell, not a lot of people can tell your car looks really clean, but deep down inside I know this trunk has a lot of swirl marks.
2:38It's a way, it doles the finish a little bit. As a detailer, I just can't keep going.
2:47I'm going to spray it. I'm pretty generous with the amount
3:01I'm not going to I'm going to spray it any more than it is and this is my microfiber towel. Also, just use what you like.
3:15The cheap ones work well, but they're kind of throw waste this one right here. It's. It's just a blast to.
3:26Next off is using the machine, the. the pad. I'm just going to do the trunk. I actually already the spoiler and stuff had great results.
3:34So what I do first is I prime the pad trying to know that same spray. Get the pad nice and lubricated and then put on your compound shouldn shouldn't take too long.
3:49So a little bit goes a long way. So you don't need too much. The next thing some people do is they use their hands to rub in their compound.
4:00You can. You can do that. You can do that and then you can also smear it onto your paint too.
4:07Something like this. This is what I like doing, smear it on and I have it on low speed because you don't want all the compound to sling waste this product and also.
4:17If you have one of these little tags. I usually pull them off because. Because these ones. It's pretty aggressive abrasive. So we're just going to check our work right here.
4:36Make sure there's no little rocks in our pads
5:07On this area and we can move on to the next area. You can work in squares like boom boom and really be throw over your job.
5:17So I'm just going to keep polishing the rest of this and then we'll move on to do the sealant face.
5:23So I'm going to do this part next. I already started working on a little bit. It's really hard to reaching these areas. Just be
5:30careful. You don't want to hang your polish on these edges because it will basically burn through the paint really good. So just be careful.
5:53This is what we're going to do with this.
6:08As you can see it's a big difference already. You can tell it used to
6:08have that spider web effect and
6:38unwanted because when the light hits it. If it is going through the scratches it doesn't really look pleasant to your eye.
6:44So this is a good improvement. I'm going to finish it off with wax or sealant other than wax.
6:49And it's going to even fill in all the nukes and cranes even more
7:01So I'm finishing it off. I'm going to use the sealant right here. Menzerna I like that stuff. You're going to use an applicator pad.
7:10We're just going to hit it up with that same technique. Keep it kind of lubricated a little bit so I know it's
7:15is very softer. But I just like to have those layers of protection. Put some of the sealant on.
7:24So sealant is kind of like wax. Keep your paint protected protected.
7:54It's a good foundation because you want your base looking nice and good. Good foundation.
7:59Then add layers to it. Add the canoob or wax with a nice deep finish.
8:04Sealant usually lasts like 6 to 12 months. So
8:08it's tougher. Wax you. Generally most of its effectiveness goes away after like a month.
8:14So and if you notice how I do I do it is I don't do little circles. I like to do back and forth.
8:21This people say if you ever watch an ammo pretty much it just reduces the
8:28reduces world marks. And it's easy to check check your work.
8:35So just get a nice even coat. It'll be good.
8:41As you can see the sealant is on there. Did the whole trunk.
8:47Now what we
8:48have to do is, I'd fold the persons who
9:47have the sealant on. So this is pretty much the.
9:52The sealant on
10:17so-and all. And all in all. It's an easy model that anyone can do.
10:47Yeah.
10:51The car looks better than brand new when it comes to the paint finish. Anyone can do
10:58it. Have a clean car. Have a nice and shiny.
11:17Because you don't want it to have a lot of sling on to your car. So yeah it's
Machine-transcribed from the full-length video and lightly cleaned (product names fixed). Watch the video for exact wording.
Next step