How to Vinyl Wrap the WRX / STI Trunk Trim (Premium Auto Styling Carbon Film)
Wrap the 2015+ WRX / STI trunk trim in carbon-look vinyl: remove the trim, clean it on the bench, lay the film, use a little lubricant to work out bubbles, trim the excess with a hobby knife and screw it back on.
Full video (5 min): How to Vinyl Wrap the Trunk Trim wrx/sti (Premium Auto Styling Film/Wrap) · John's YouTube channel
Get the parts
- Precision hobby knife (X-Acto style): Generic pickGeneric pickSearch on Amazon ↗
- Vinyl wrap squeegee: Generic pickGeneric pickSearch on Amazon ↗
- Premium Auto Styling 2015–2021 WRX / STI trunk trim vinyl overlay (current listing at the store from the description)Buy ↗
- Premium Auto Styling store (link from the description)Buy ↗
As an Amazon Associate I earn from qualifying purchases. Some links are affiliate links.
Wrap the 2015+ WRX / STI trunk trim in carbon-look vinyl: remove the trim, clean it on the bench, lay the film, use a little lubricant to work out bubbles, trim the excess with a hobby knife and screw it back on. This 5 min guide covers the Shown on the trunk trim of a 2015 WRX with an STI.
Overview
John got a box of vinyl from Premium Auto Styling and tried it on his trunk trim. He could have wrapped it on the car, but for the best fit he took the whole trim off and worked on a bench. Clean every corner with a towel first. He laid the vinyl on bubble wrap to protect it, then put it on the trim, used a little sealant/lubricant so he could slide and work it, and pushed out the bubbles again and again. Then trim the excess with a hobby (X-Acto) knife. He says he's bad at wrapping and always struggles at corners, and one edge lifted a little. It gets screwed back in, so it holds, and the finish has great reflections. On the car it changes the rear end more than he expected. Red or carbon? He asks viewers to decide.
Vehicle & fitment
- Product
- Premium Auto Styling carbon-look vinyl wrap on the 2015+ WRX / STI trunk trim
- Shown on
- John's red 2015 Subaru WRX (STI trunk)
- Shown on the trunk trim of a 2015 WRX with an STI trunk; Premium Auto Styling lists a trunk trim overlay for the 2015–2021 WRX / STI
- The trim comes off the car so you can wrap it on a bench
- The description links the Premium Auto Styling store (its old www link no longer loads, so the current address is used); its Amazon link is for an unrelated head unit and isn't listed
Always confirm fitment for your exact year and trim with the seller before buying.
Tools & parts
Tools
- Hobby (X-Acto) knife
- Squeegee
- Towel for cleaning
- Screwdriver to remove and reinstall the trim
- Bubble wrap or a soft surface for the bench
Parts
- Carbon-look vinyl from Premium Auto Styling
- Wrap lubricant / sealant
Step by step
- 1
The plan▶ 0:00
Vinyl from Premium Auto Styling on the trunk trim. You'll need a hobby knife to trim the excess.
- 2
Remove the trim▶ 0:34
Take the whole trim piece off the trunk. It's much easier to get a good fit on the bench.
- 3
Clean it▶ 1:12
Use a towel to clean the corners you can't reach with it on the car.
- 4
Lay the vinyl▶ 1:21
Set the vinyl on bubble wrap so it doesn't get scratched, then put it on the trim.
- 5
Lubricate and work out bubbles▶ 2:13
A little sealant/lubricant lets you work the film. Push out the bubbles again and again.
- 6
Trim the excess▶ 2:52
Cut off the extra with the hobby knife.
Tip: Corners are the hard part. Go slow and keep the blade sharp.
- 7
Check it and reinstall▶ 3:21
One edge lifted slightly, but the trim screws back in so it holds. The finish has great reflections.
- 8
Result▶ 4:12
It changes the look of the rear end more than John expected.
Get the parts
- Precision hobby knife (X-Acto style): Generic pickGeneric pickSearch on Amazon ↗
- Vinyl wrap squeegee: Generic pickGeneric pickSearch on Amazon ↗
- Premium Auto Styling 2015–2021 WRX / STI trunk trim vinyl overlay (current listing at the store from the description)Buy ↗
- Premium Auto Styling store (link from the description)Buy ↗
As an Amazon Associate I earn from qualifying purchases. Some links are affiliate links.
FAQ
What vehicle does this install fit?
It is shown for the Shown on the trunk trim of a 2015 WRX with an STI trunk; Premium Auto Styling lists a trunk trim overlay for the 2015–2021 WRX / STI. The trim comes off the car so you can wrap it on a bench Always confirm your exact year, trim and factory audio with the seller.
How long does the install take?
John's full video is 5 min. Plan on that much time for a careful DIY install, plus extra if you are new to dash work.
What tools do I need?
Tools called out in the guide: Hobby (X-Acto) knife; Squeegee; Towel for cleaning; Screwdriver to remove and reinstall the trim; Bubble wrap or a soft surface for the bench.
Where do I get the parts?
Use the buy links on this page for the unit and any harnesses John used. Some links are affiliate links.
Is this beginner-friendly?
The guide breaks the job into 8 steps with timestamps into the video. If you can remove trim panels carefully, you can follow along.
John's Subaru WRX
More photos →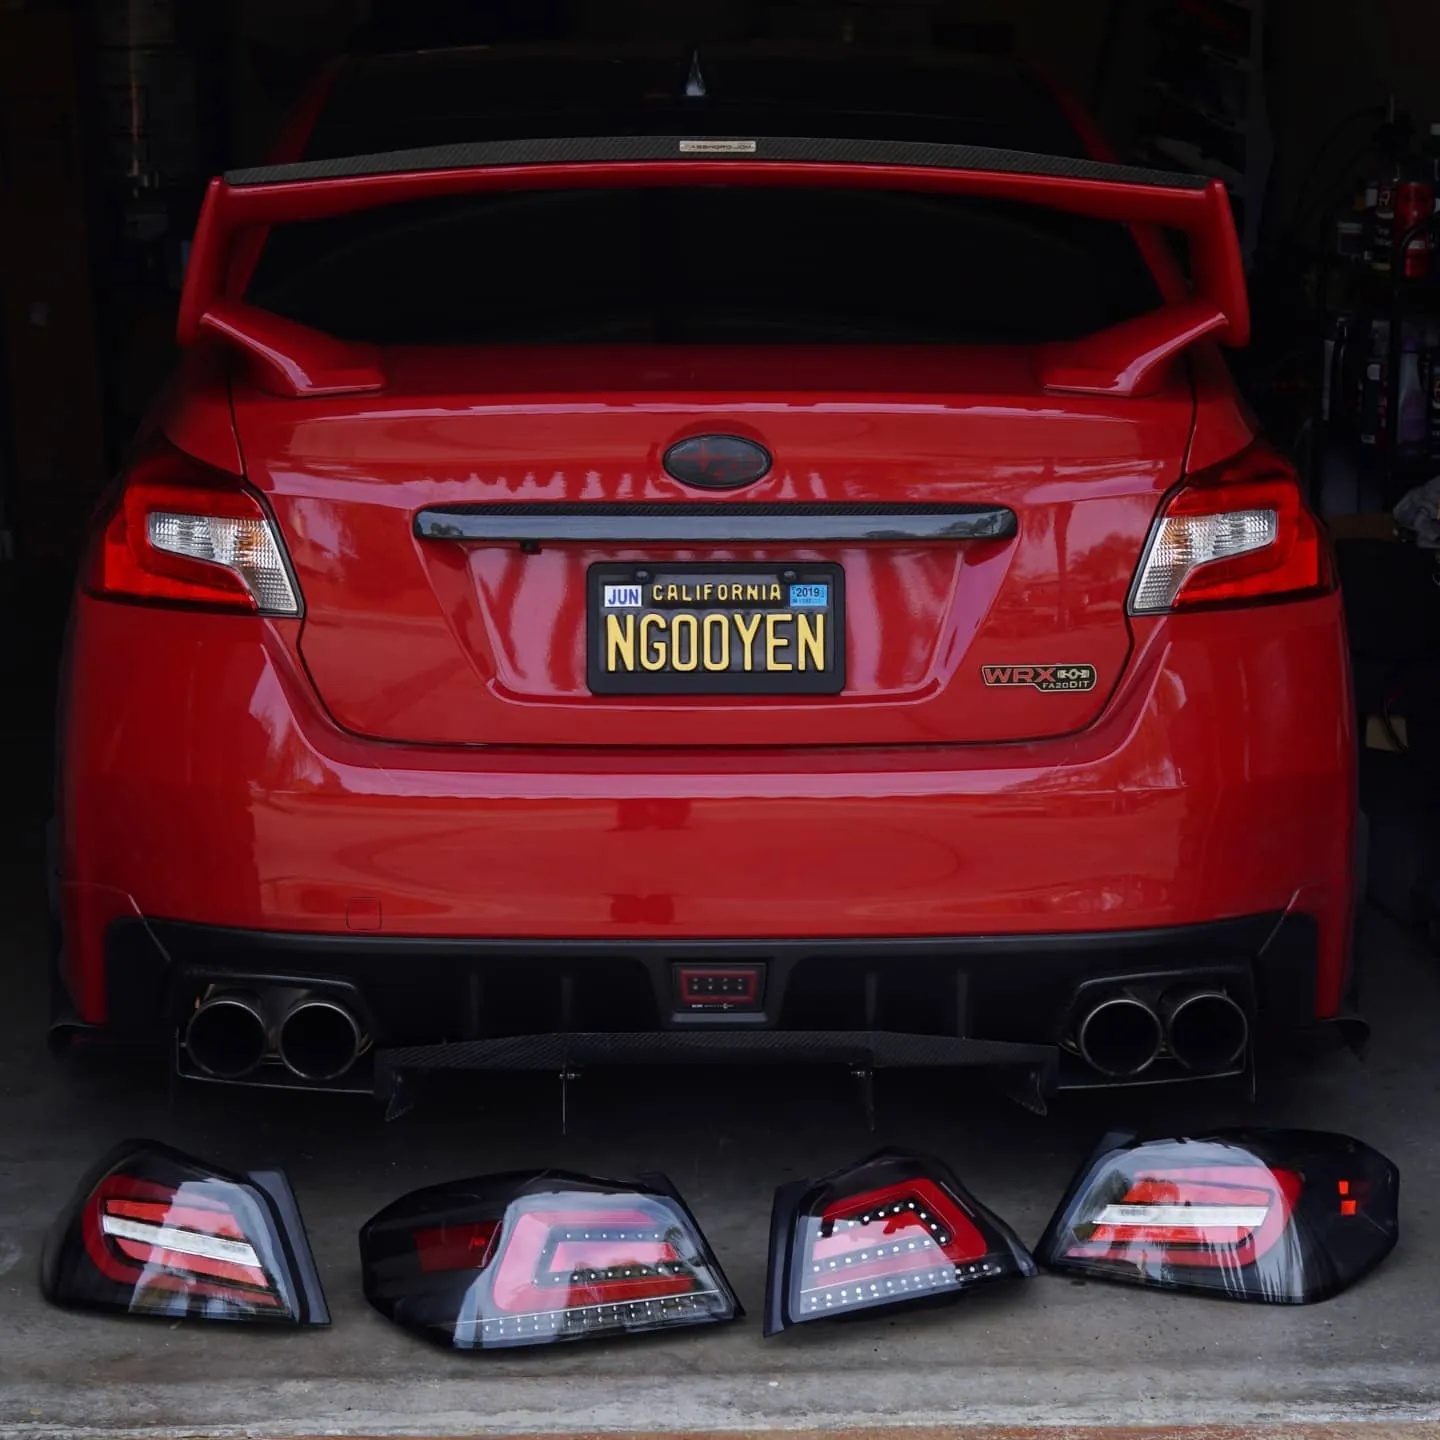
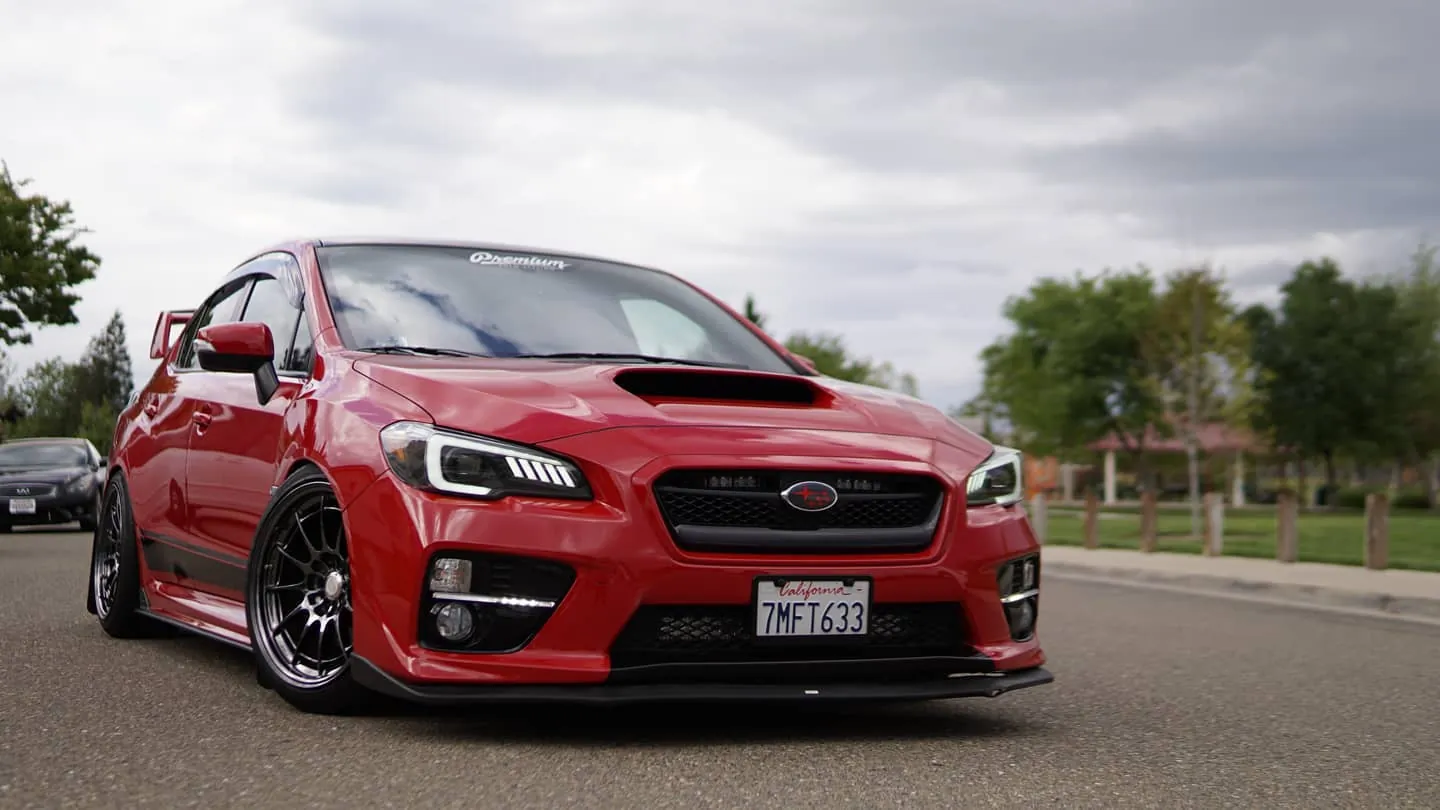
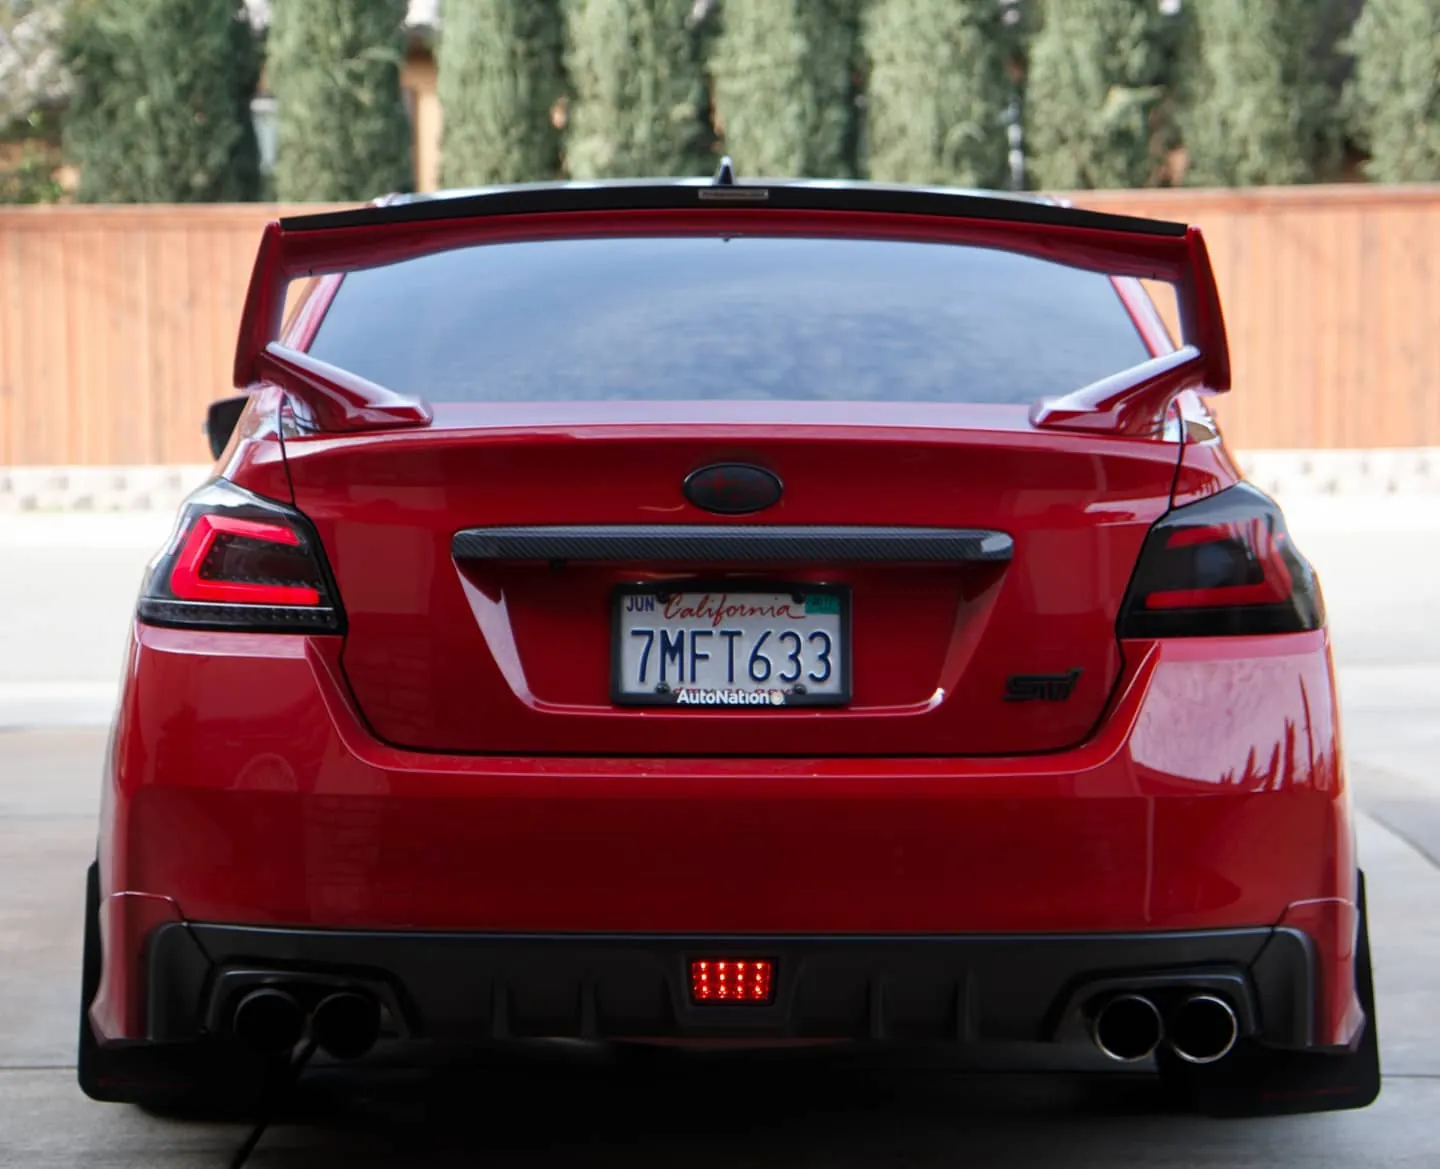
Photos from @ngooyen on Instagram. Follow for more.
Full transcript
Show the full transcript (27 lines) +
0:00Alright fam so I got a bunch of good stuff from Premium Auto Styling, we're gonna test
0:07it on the whip, I was debating whether I should, if this trim piece to get get a really good fit,
0:18but I think just doing like this should be fine, you need an exacto knife too, I bought
0:28one earlier this week, that way I can trim any excess vinyl.
0:34Alright so now we can drop this piece,
0:59I got the whole trim off, that way I can get a really nice, of course I want a really good
1:10fit on this piece, don't want a half acid.
1:12Alright so I got got my little workbench here, gotta use a towel to clean any corners that I
1:21can't really get with it on, nice and clean, here is the vinyl, gonna sit on some bubble wrap
1:43this is what I like to do, and here is my take, putting this bad boy on,
2:13I'm going to use some sealant, hit it up a little bit, that way it's nice and lubricated,
2:43make sure there is no bubbles, again, and again.
2:52So right now I'm just cutting the excess, just making sure it's up to my standards, again I really
3:05suck at wrapping, but I'm kind of happy with how it is right now, it doesn't look
3:10and then when it's on, I think it doesn't even look better, push this down,
3:21alright so here it is boys, so here is the piece that I wrapped, I don't really
3:40really wrap things, but you can see it lists right here a little bit, I can,
3:52I was thinking about when I put it in, it's going to be screwed in so I
3:57don't worry, but the finish looks amazing, great reflections, and I'm a new, let's see how it
4:12looks like when it's on the car, alright so I finally finished the install on the vinyl
4:18wrap that you can get from Premium Auto Styling, check out the finish I did, I am not a wrapper,
4:26actually really bad at it, and I think this turned out really good, I always struggle
4:33around the corners, so you can see my corners right there, let me know what you guys think,
4:49I think it looks really good, it really makes the rear end different, the small, I didn't think it
4:58would make it this big of a difference, but it has, let me know what you
5:06you guys think down below, is this something that you, it will look that you guys like, is the all red
5:12bet look better, let me the video get to the end, let me know!
Machine-transcribed from the full-length video and lightly cleaned (product names fixed). Watch the video for exact wording.
Next step