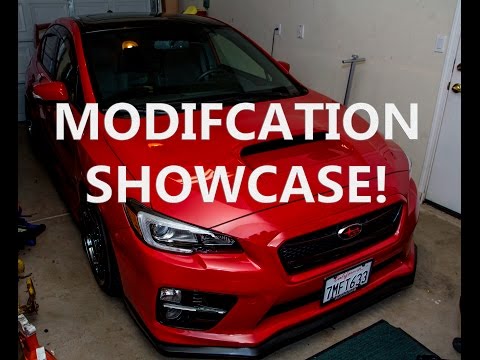
Tinting Subispeed Tail Lights with Vinyl Film: First-Timer Results (WRX)
A first attempt at smoking aftermarket Subispeed tail lights on a 2015 WRX with Premium Auto Styling tint film: prep and clean, lay the film over the lens's tricky shape, then compare how the gloss film dims and diffuses the LEDs.
Full video (5 min): Tinting The Subispeed Tail Lights (Premium Auto Styling Vinyl/Film) · John's YouTube channel
Get the parts
- Vinyl wrap squeegee: Generic pickGeneric pickSearch on Amazon ↗
- Precision hobby knife for trimming: Generic pickGeneric pickSearch on Amazon ↗
- Premium Auto Styling tint film and overlays (store link from the description)Buy ↗
As an Amazon Associate I earn from qualifying purchases. Some links are affiliate links.
A first attempt at smoking aftermarket Subispeed tail lights on a 2015 WRX with Premium Auto Styling tint film: prep and clean, lay the film over the lens's tricky shape, then compare how the gloss film dims and diffuses the LEDs. This 5 min guide covers the Shown on Subispeed aftermarket tail lights for the 2015+ WRX / STI; the.
Overview
John's first time ever tinting tail lights with vinyl, and the Subispeed lens shape is crazy, so he knew it wouldn't be perfect. He calls the result okay and recommends Premium Auto Styling's own videos for a cleaner job. You can buy these lights already smoked, but that version is darker. He wanted a lighter smoke that reminded him of the old Subaru bug-eye and hawk-eye tail lights. Clean the lens well first so there's no gunk under the film, then lay the film and work it over the curves. Afterward the LEDs are definitely harder to see. The gloss film looks a bit like a sticker, and a textured film diffuses the LEDs a little, if you like that look. He might change it up later.
Vehicle & fitment
- Product
- Premium Auto Styling smoke tint vinyl film applied by hand to Subispeed tail lights
- Shown on
- John's red 2015 Subaru WRX with Subispeed sequential tail lights
- Shown on Subispeed aftermarket tail lights for the 2015+ WRX / STI; the film was trimmed to fit, not a pre-cut kit for these lights
- Subispeed also sells a smoked version of these lights, which is darker than this film
- The description links the Premium Auto Styling store (its old www link no longer loads, so the current store address is used); the description's Amazon link no longer points to a product
Always confirm fitment for your exact year and trim with the seller before buying.
Tools & parts
Tools
- Squeegee
- Precision knife to trim the film
- Cleaner and microfiber towel
Parts
- Smoke tint vinyl film (Premium Auto Styling)
Video chapters
- 0:00Introduction to taillight tint
- 0:48Cleaning and preparation
- 2:15Applying the tint
- 2:39Results and comparison
- 3:40Final review and closing
Step by step
- 1
Why tint instead of buying smoked▶ 0:24
Subispeed sells a smoked version of these lights, but it's darker. Film gives a lighter smoke.
- 2
Clean and prep▶ 0:48
Clean the lens thoroughly so there's no gunk under the film.
- 3
The film▶ 1:07
Smoke tint film from Premium Auto Styling. The look reminded John of the old bug-eye and hawk-eye Subaru tail lights.
- 4
Apply it▶ 2:15
Lay the film and work it over the lens. The shape is tricky, so expect some imperfections on a first try.
Tip: Premium Auto Styling's own tint videos show the technique in more detail.
- 5
Compare▶ 2:39
With the film on, the LEDs are definitely harder to see.
- 6
Gloss vs textured▶ 4:18
The gloss film looks a bit like a sticker. A textured film diffuses the LEDs a little, if you like that look.
Get the parts
- Vinyl wrap squeegee: Generic pickGeneric pickSearch on Amazon ↗
- Precision hobby knife for trimming: Generic pickGeneric pickSearch on Amazon ↗
- Premium Auto Styling tint film and overlays (store link from the description)Buy ↗
As an Amazon Associate I earn from qualifying purchases. Some links are affiliate links.
FAQ
What vehicle does this install fit?
It is shown for the Shown on Subispeed aftermarket tail lights for the 2015+ WRX / STI; the film was trimmed to fit, not a pre-cut kit for these lights. Subispeed also sells a smoked version of these lights, which is darker than this film Always confirm your exact year, trim and factory audio with the seller.
How long does the install take?
John's full video is 5 min. Plan on that much time for a careful DIY install, plus extra if you are new to dash work.
What tools do I need?
Tools called out in the guide: Squeegee; Precision knife to trim the film; Cleaner and microfiber towel.
Where do I get the parts?
Use the buy links on this page for the unit and any harnesses John used. Some links are affiliate links.
Is this beginner-friendly?
The guide breaks the job into 6 steps with timestamps into the video. If you can remove trim panels carefully, you can follow along.
John's Subaru WRX
More photos →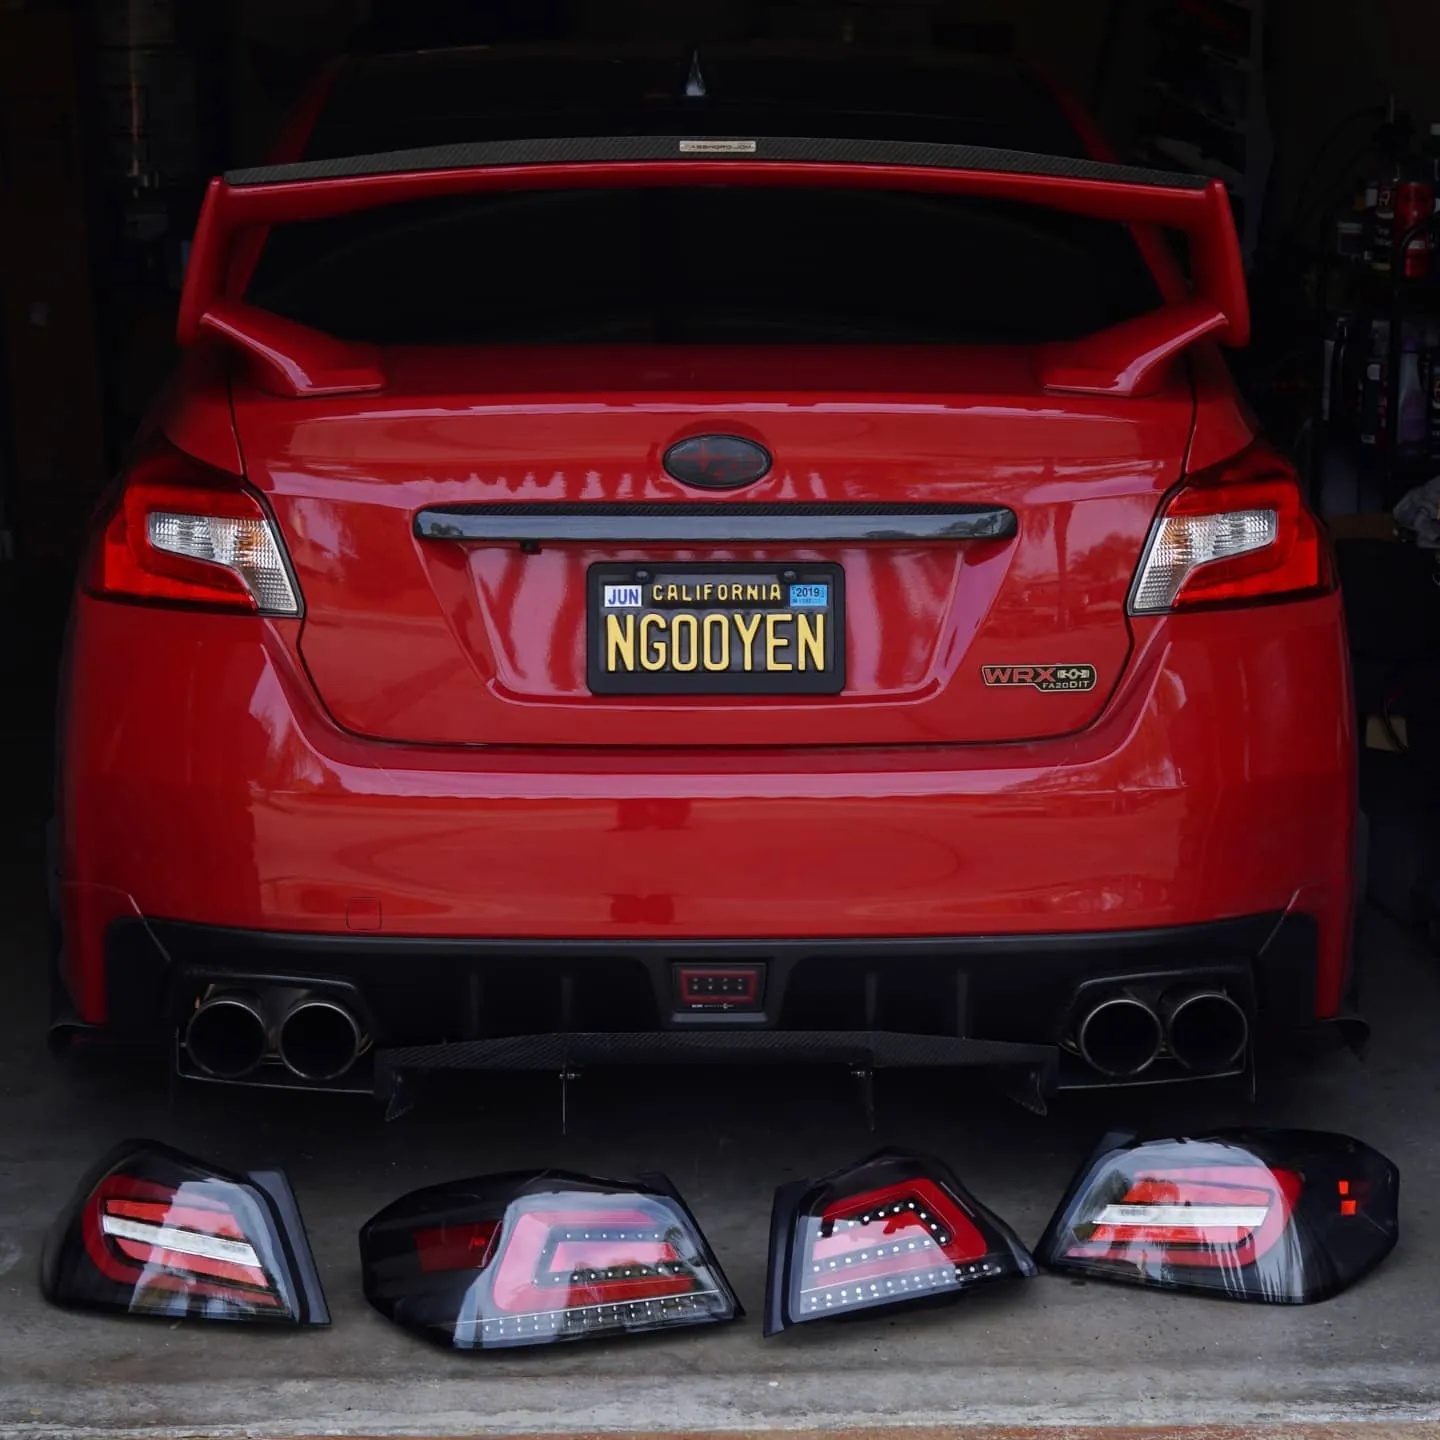
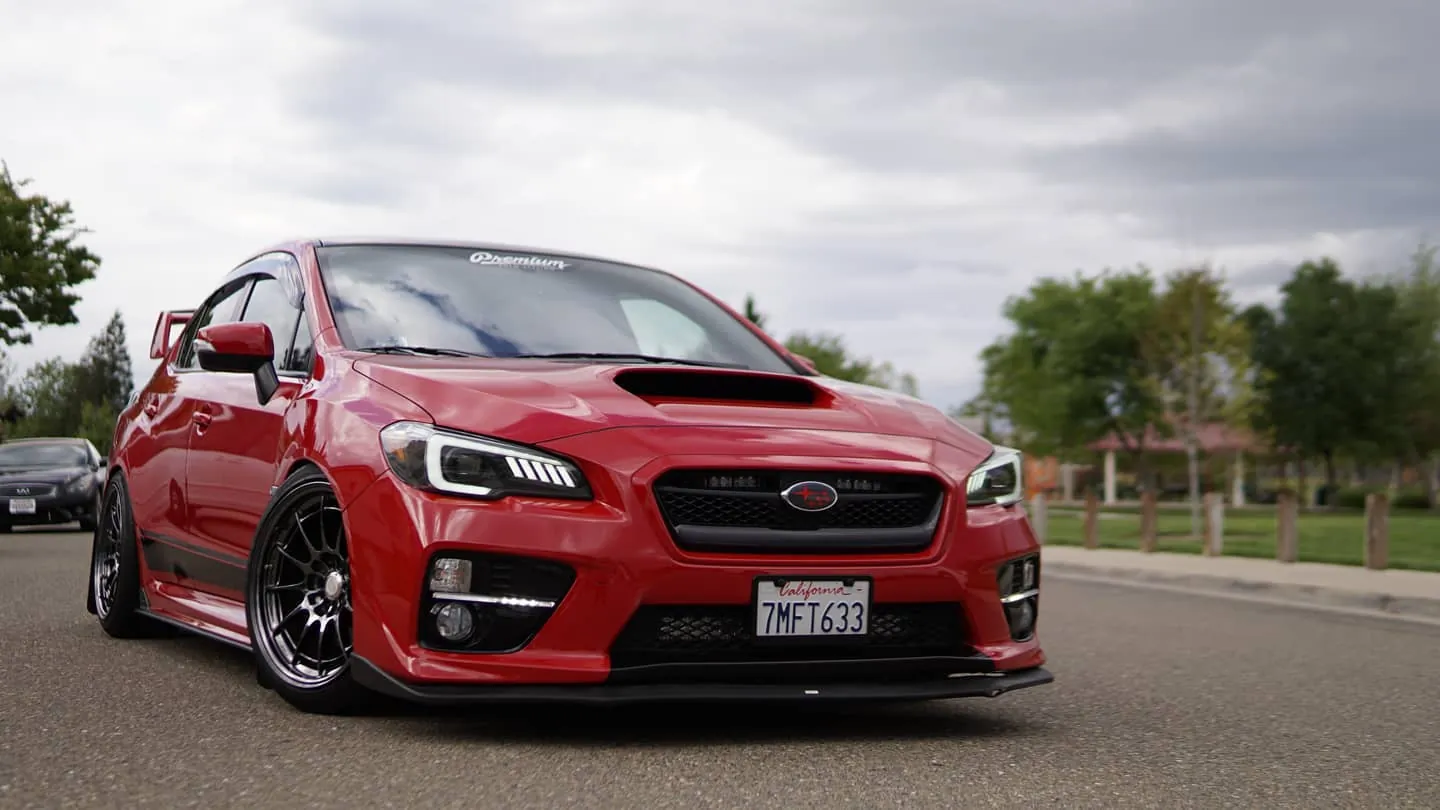
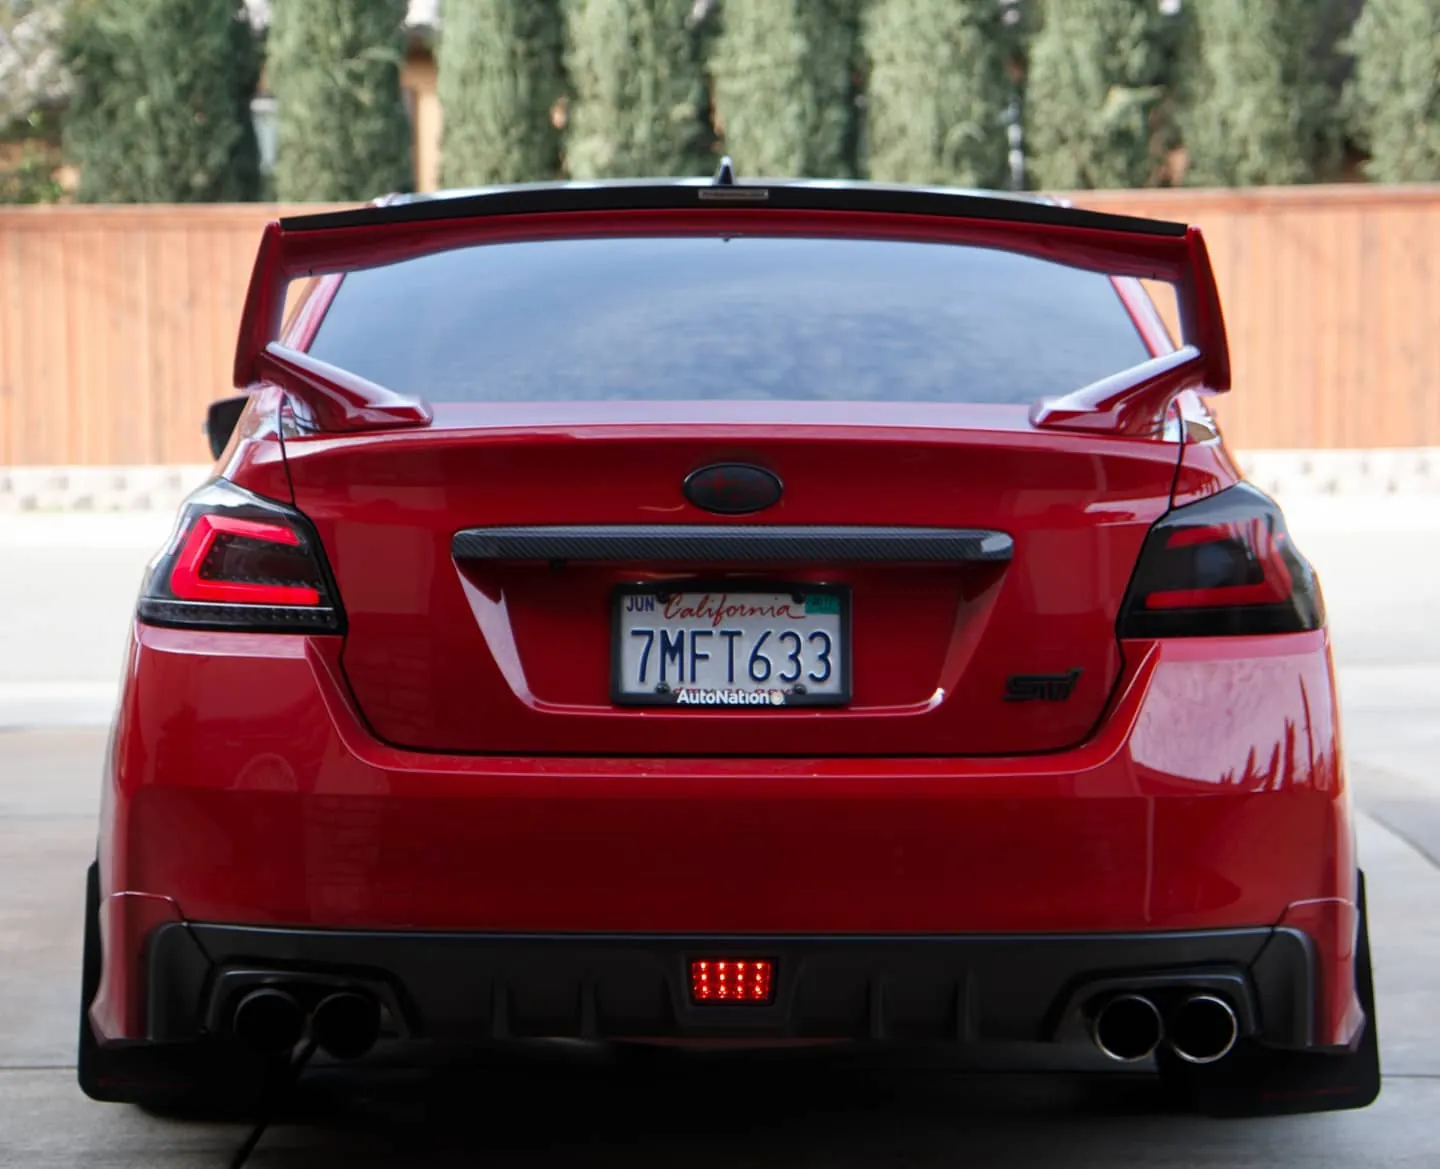
Photos from @ngooyen on Instagram. Follow for more.
Full transcript
Show the full transcript (19 lines) +
0:00Alright, what's up guys, today what we're going to do is we're going to tend to speed
0:22C, C lights.
0:24I haven't seen it.
0:25They're tinted.
0:26You can buy the smoke-version of this car, or this taillight, but the smoke one is a little
0:32bit darker.
0:33also has
0:53down. Make sure there's no gunk. That. Let me show you guys the tail lights or the tint.
1:07So I got the tint from, uh, Premium Auto Styling, so check it out. It kind, kind of reminds me of the,
1:15I mean, old Subaru tail lights, you know, like the bug eye and the haw and, and whatever, whatever.
1:50of the, of, of,
2:20I'm gonna really, this shape
2:50Smoked-looking
3:50Alright, so this is without the
4:18LED's are definitely harder to see and also because it's gloss it's kind of like a sticker
4:39and it's kind of textured it actually diffuses the LEDs a little bit so if you like that.
4:48. the other one is diffused.
4:55So there you guys have it hopefully you guys give this video a like because you know I spent some time on this video other than that
5:04give me your thoughts below on these smoked taillights I might change it up
Machine-transcribed from the full-length video and lightly cleaned (product names fixed). Watch the video for exact wording.
Next step