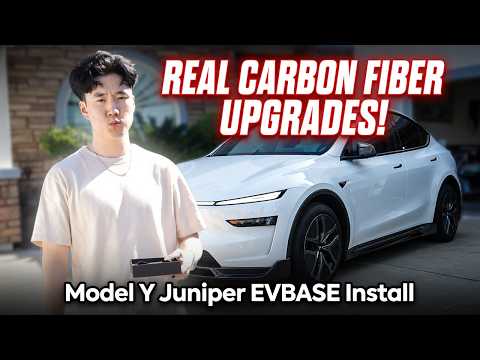
EVBASE Mini Dash Display: Tesla Model 3 / Y Instrument Cluster Install
John installs EVBASE's small behind-the-wheel display on a Model Y: trim off on the passenger side, one harness to the blue plug in the passenger footwell, and it keeps the AC vents clear.
Full video (13 min): Plaid in Y/3! Tesla Model 3 Y Mini Head-up Display Instrument Install | EVBASE · John's YouTube channel
Get the parts
- Search Amazon for EVBASE Tesla Model YSearch on Amazon ↗
- Find EVBASE Model 3 Y mini dash display on eBayBuy ↗
- EVBASE Model 3 / Y mini dash displayBuy ↗
- EVBASE storeBuy ↗
CodeEVBASE codes JOHN20 / JOHN15 — JOHN20 / JOHN15
DEALCode "JOHN15" at EVBASE (per the video description)
As an Amazon Associate I earn from qualifying purchases. Some links are affiliate links.
John installs EVBASE's small behind-the-wheel display on a Model Y: trim off on the passenger side, one harness to the blue plug in the passenger footwell, and it keeps the AC vents clear. This 13 min guide covers the Product listing names the Tesla Model 3 / Y with tools, parts links and the full video.
Overview
Many people want a driver display on the Model 3 or Y that doesn't block the vents. This EVBASE mini display is about three fingers tall and sits behind the wheel, so the AC vents keep working. The kit includes a trim tool, a hex key and harnesses for both the AMD and Intel platforms. John pries off the passenger-side trim and the top dash piece, routes the long cable, moves the cloth piece over to the new trim and plugs the harness into the blue plug in the passenger footwell. He says it's easier than kits that need both sides, since you only work on the right. Settings let you pick the UI (one shows tire pressure, his favorite for winter), temperature, time zone and units. He found the screen sharp with good viewing angles.
Vehicle & fitment
- Product
- EVBASE Model 3 / Y mini HUD dashboard screen
- Shown on
- Tesla Model Y (John's car; the product is listed for the Model 3 / Y)
- Product listing names the Tesla Model 3 / Y
- Harnesses for both the AMD (Ryzen) and Intel platforms are included, per John
Always confirm fitment for your exact year and trim with the seller before buying.
Tools & parts
Tools
- Trim tool (included)
- Hex key (included)
- Flashlight
Parts
- Mini display
- Long display cable
- AMD and Intel harnesses
- Splitter (used by John between the plugs)
Video chapters
- 0:00Introduction to mini display
- 1:21Preparation and tools
- 2:22Removing interior trim
- 5:22Wiring and installation
- 8:30Display features and review
Step by step
- 1
What's in the box▶ 0:48
The display (packed in foam), a label showing which platform each cable fits (AMD/Ryzen or Intel), a small hex screw and tool, and one long cable. Both harnesses are included.
- 2
Passenger-side trim▶ 2:21
Pop the glove-box side piece with the included trim tool. John found it stubborn from the top. Do both sides, then lift the top piece where the vent goes.
- 3
Release the clips▶ 3:14
Pry off the next pieces and press the little button to release the clip. Keep the parts neatly together. Near the steering wheel there are small top pieces to pry open; go carefully.
- 4
Move the cloth piece▶ 4:41
Pinch the small clips together to move the cloth piece from the old trim to the new one. It's the same steps in reverse.
- 5
Plug into the passenger footwell▶ 5:31
You don't need to remove the A-pillar for this harness; it all happens on the right side. Use the AMD harness (or Intel if that's your car) and plug it into the blue plug behind the big red plug in the passenger footwell. John put a splitter between the two plugs.
Tip: Bring a light; the plug is hard to see.
- 6
Settings and UI▶ 9:23
Hold right to enter settings: temperature, time zone, theme, tire pressure, mileage and format. UI 1 shows tire pressure, speed in the middle, range and clock. UI 2 is simpler with battery range and odometer. John prefers UI 1 to watch tire pressures in winter.
- 7
Verdict▶ 11:01
Easy install, very sharp for its size, and the bezel matches the Tesla's. It's on evbase.com; code JOHN15 saves 15%.
Wiring notes
- Use the harness that matches your car's platform (AMD/Ryzen or Intel); both are included.
- Connect to the blue plug behind the large red plug in the passenger footwell.
- John added a splitter between the two plugs.
Get the parts
- Search Amazon for EVBASE Tesla Model YSearch on Amazon ↗
- Find EVBASE Model 3 Y mini dash display on eBayBuy ↗
- EVBASE Model 3 / Y mini dash displayBuy ↗
- EVBASE storeBuy ↗
CodeEVBASE codes JOHN20 / JOHN15 — JOHN20 / JOHN15
DEALCode "JOHN15" at EVBASE (per the video description)
As an Amazon Associate I earn from qualifying purchases. Some links are affiliate links.
FAQ
What vehicle does this install fit?
It is shown for the Product listing names the Tesla Model 3 / Y. Harnesses for both the AMD (Ryzen) and Intel platforms are included, per John Always confirm your exact year, trim and factory audio with the seller.
How long does the install take?
John's full video is 13 min. Plan on that much time for a careful DIY install, plus extra if you are new to dash work.
What tools do I need?
Tools called out in the guide: Trim tool (included); Hex key (included); Flashlight.
Where do I get the parts?
Use the buy links on this page for the unit and any harnesses John used. Some links are affiliate links.
Is this beginner-friendly?
The guide breaks the job into 7 steps with timestamps into the video. If you can remove trim panels carefully, you can follow along.
John's Tesla Model Y
More photos →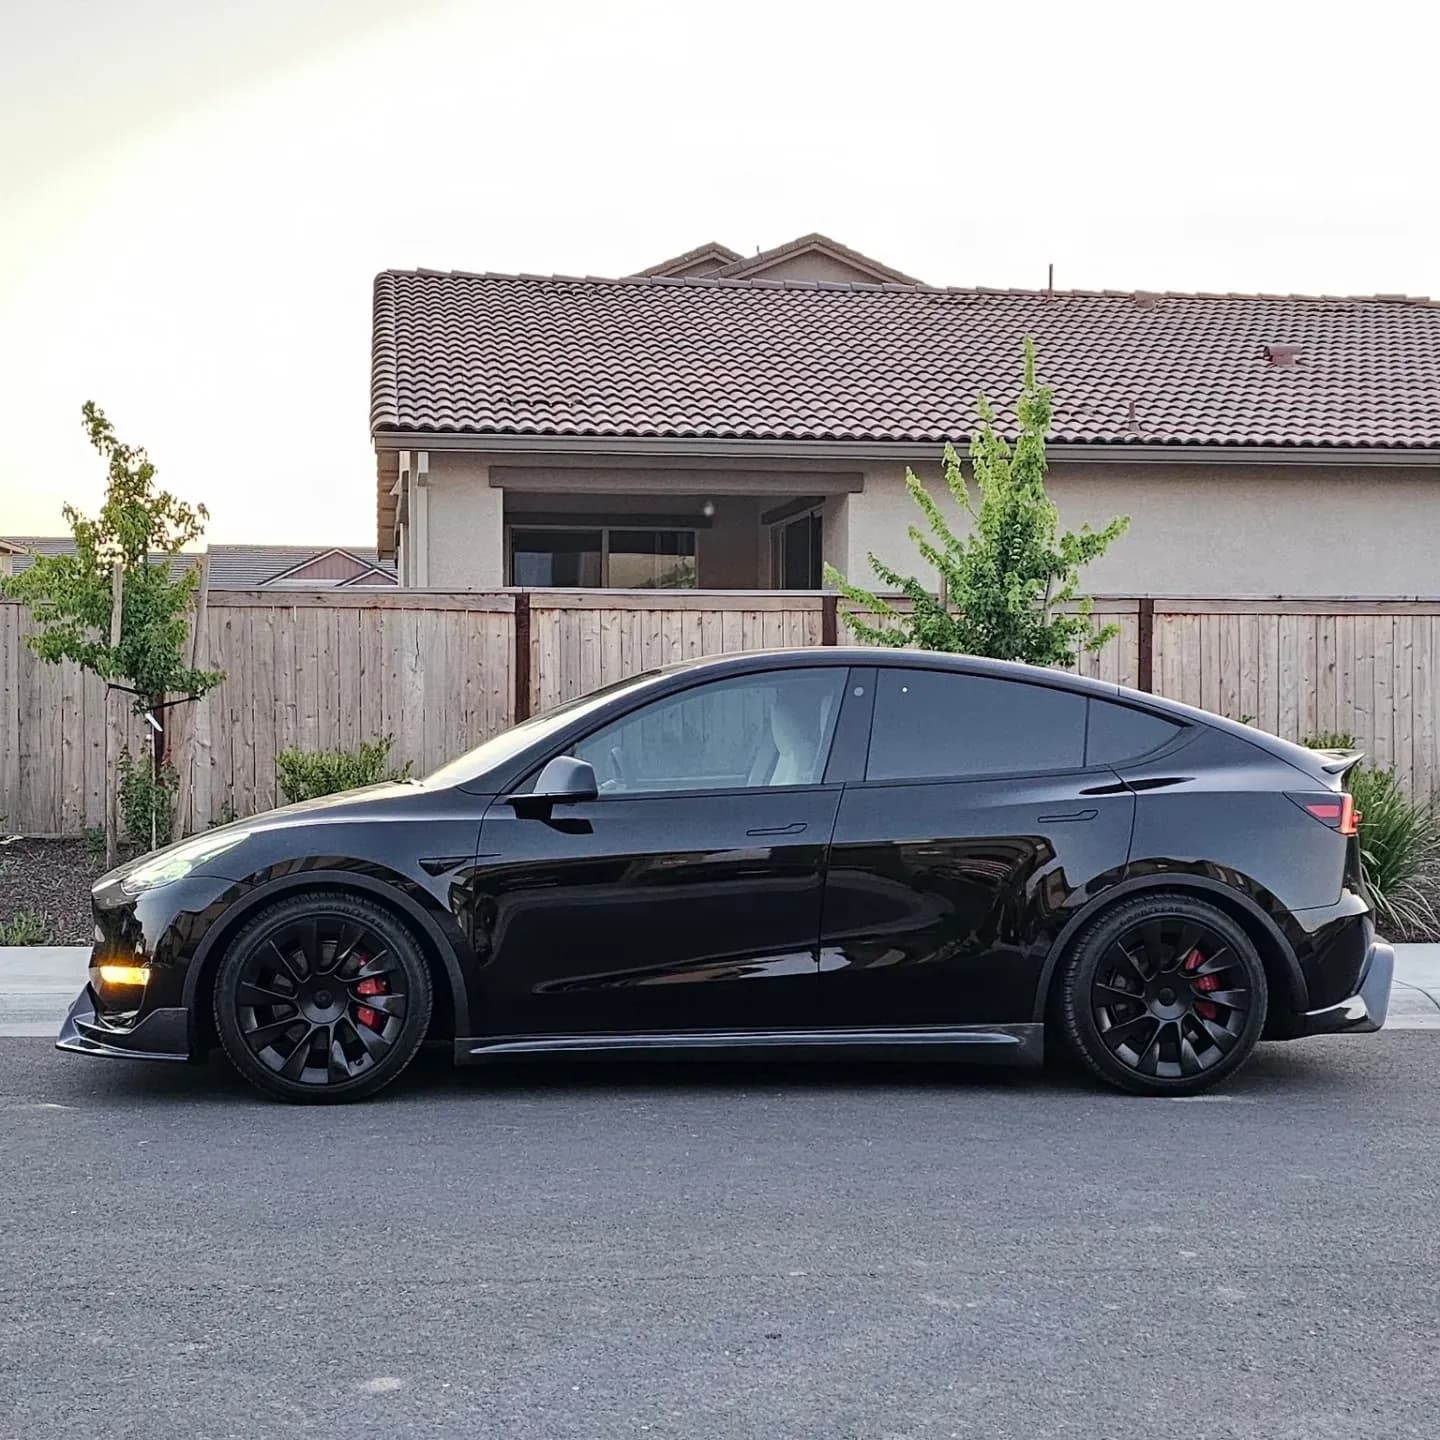
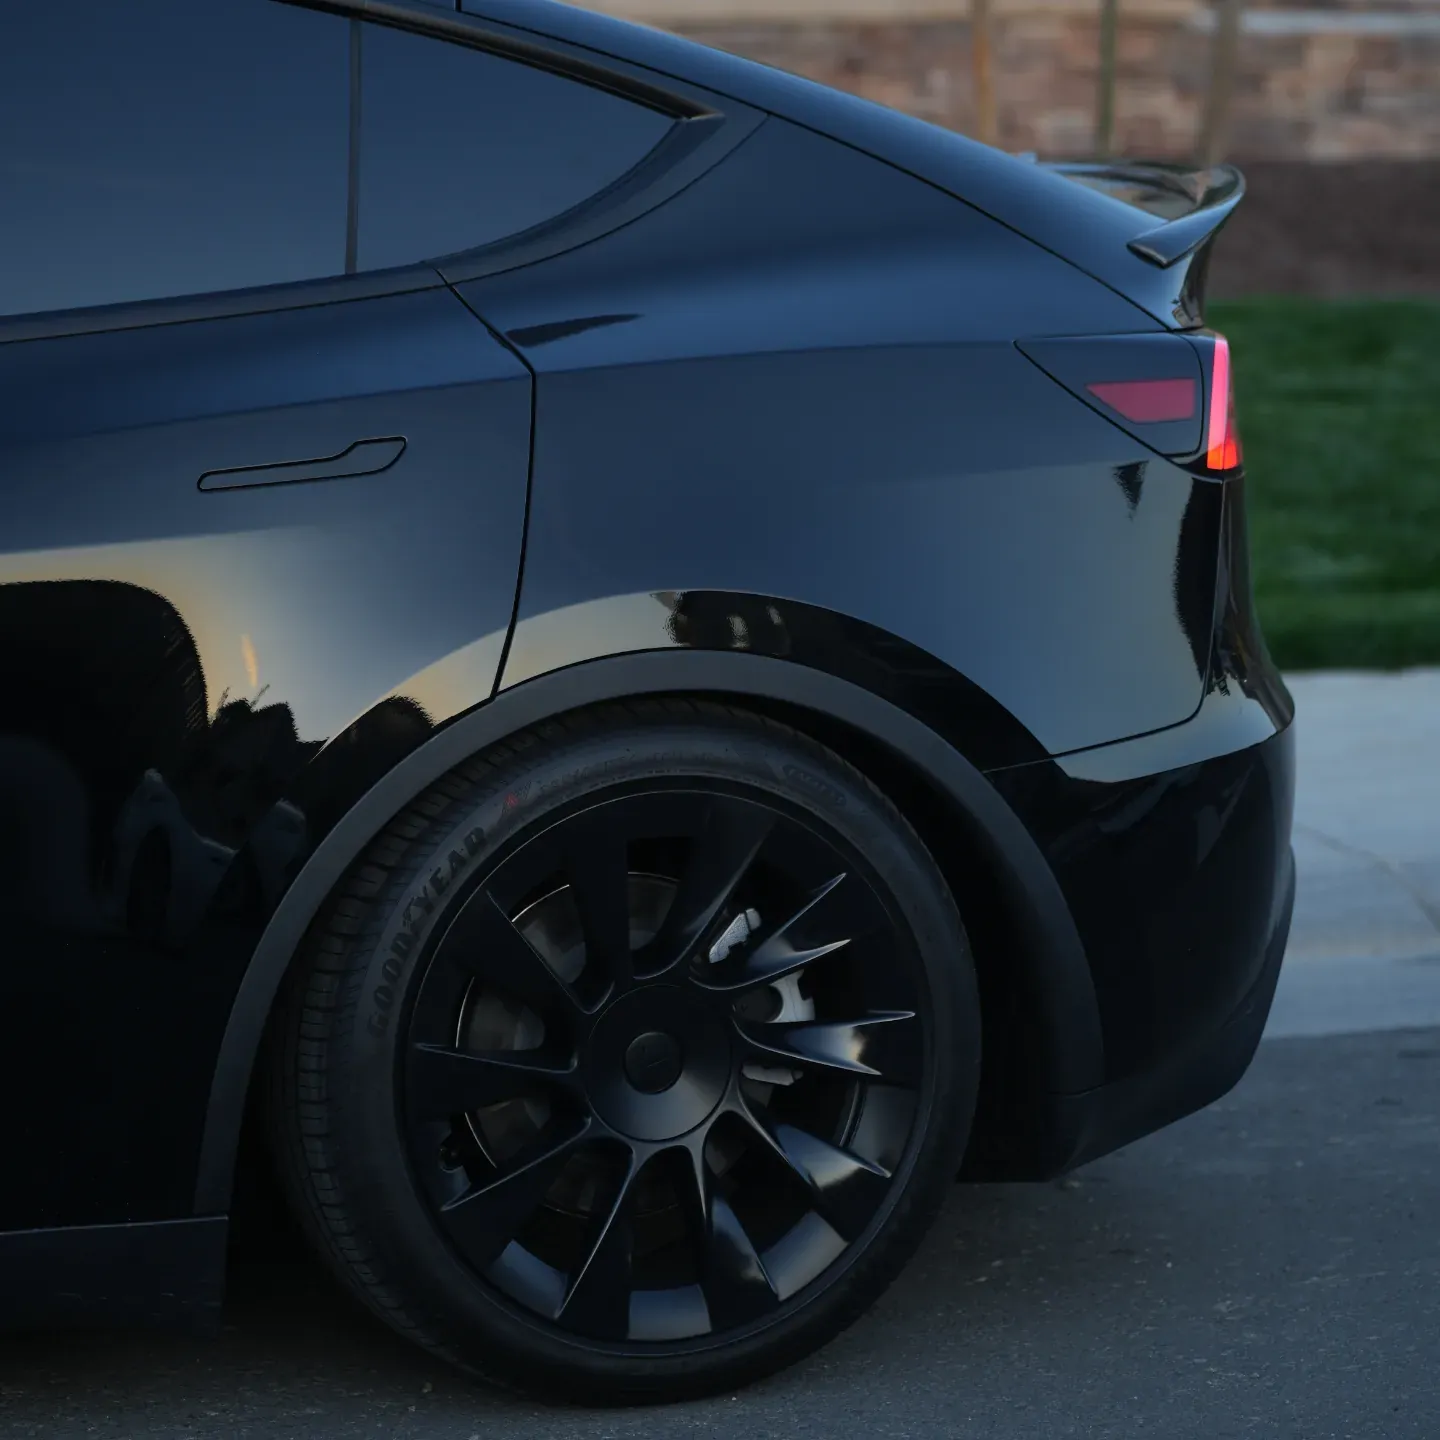
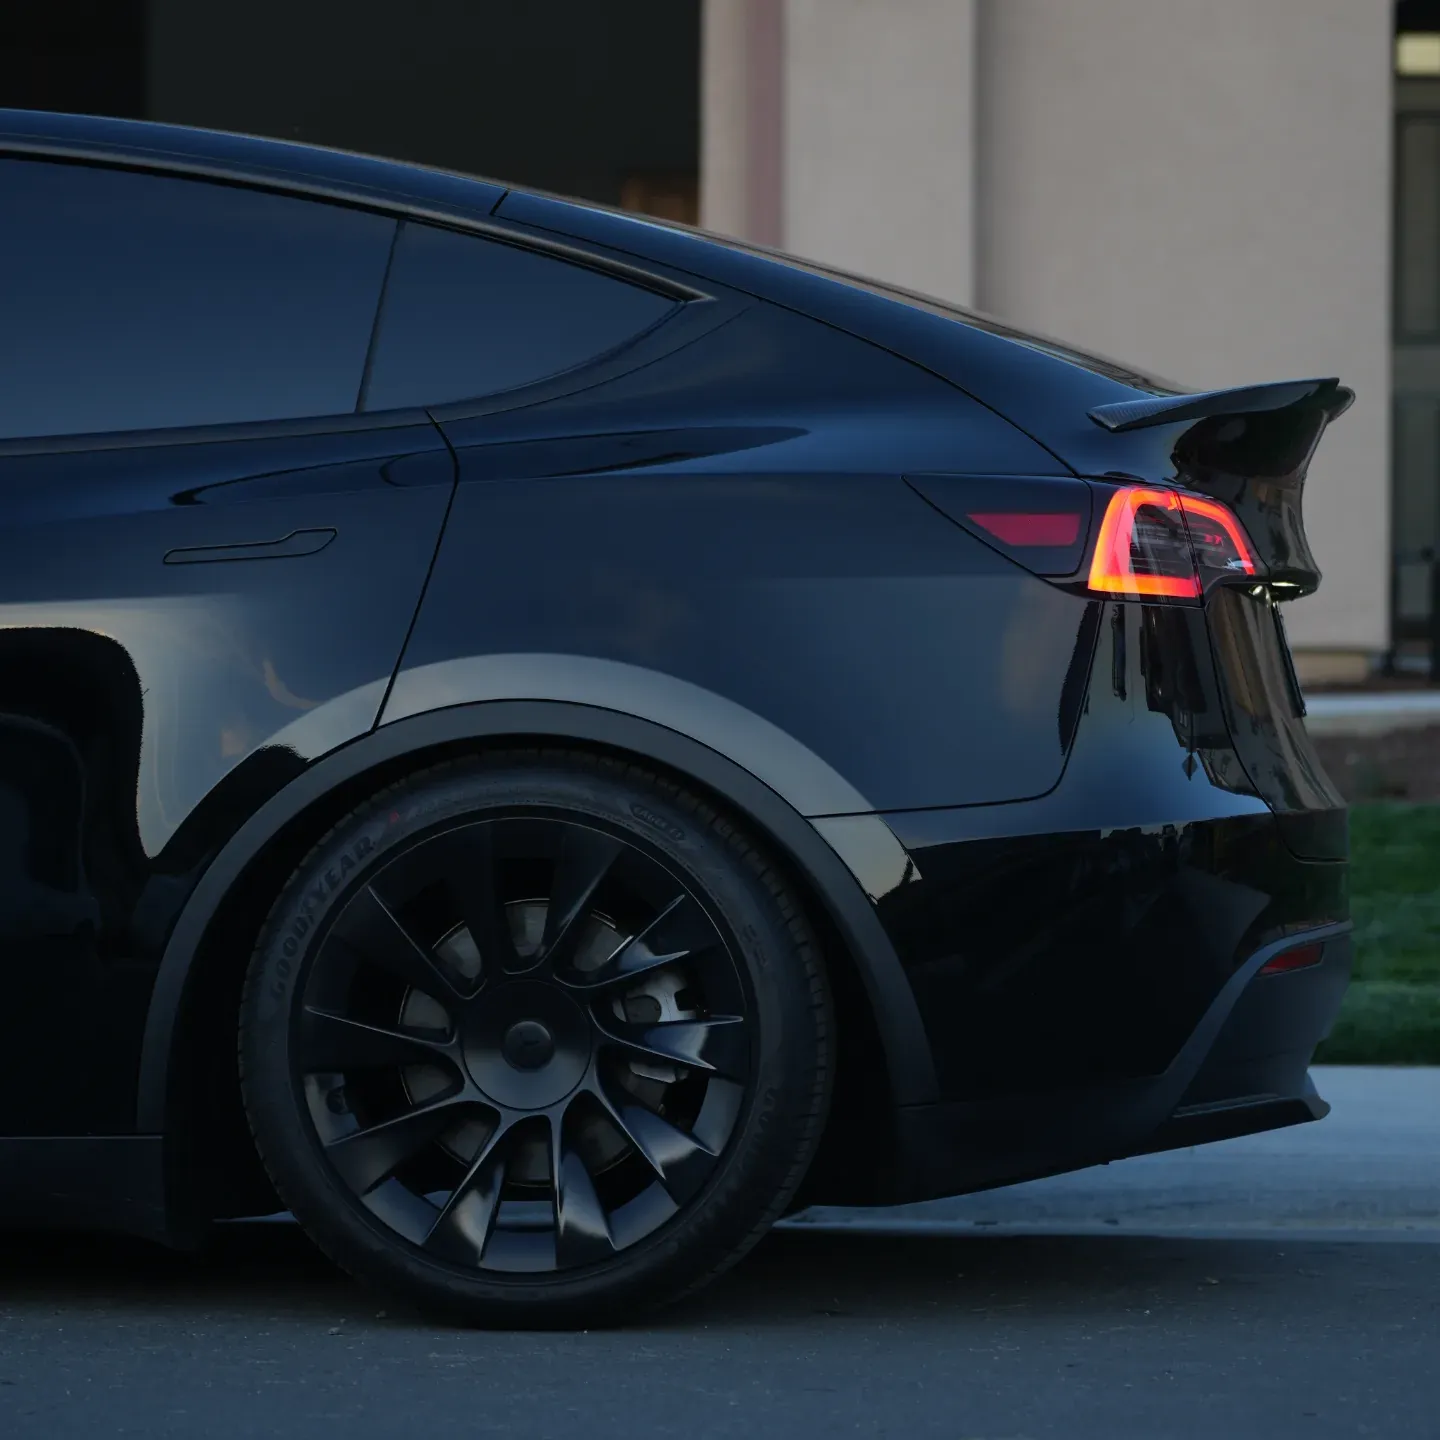
Photos from @ngooyen on Instagram. Follow for more.
Full transcript
Show the full transcript (135 lines) +
0:03Finally finished the install
0:13We have an eb base base
0:15all ebes and tesla accessories check out. The website it's awesome, and I'll put a link down below if you're interested in this product
0:23But a main concern of a lot of people is I want to display a front cluster
0:30For the model Y or 3 so this
0:34Doesn't block the vents doesn't do anything like that. So we'll be-able to retain that
0:41Functionality of the AC vents and you'll still have this very small but useful screen
0:48So it's packaged in some really nice foam
0:53Here it is. It is actually pretty tiny. It's called the me
0:56It's called the main display for a reason so
0:59Here we go check that out. So this is like
1:03three fingers tall
1:06And you had a little wiring on the bottom. This shows what's it- compatible with Adam or the Ryzen?
1:14And it shows you the resolution so
1:17Very cool
1:20Set that aside get one of these little tools
1:24it's a
1:26little hex screw
1:34Which is also very important so
1:39Take it separate them or do I need a separate metal?
1:44No, I don't need to
1:46So it's actually a long cable that will, plug in
1:52Looks like you plug it in like this
1:55So we have the Intel cable here and then the AMD one is also included
2:08as well so they
2:11include both cable
2:13Both harnesses in one
2:16There you go so I want to install it right now and
2:19Tell you how it goes
2:21All right, so we, are in the outer side
2:24We are going to remove this trim piece right here what you could do also is
2:32Pop the glove box
2:34You want to pop this side piece right here
2:37And I'm gonna use this trim that it's included to get
2:41Right so this pop goes out I actually had it pried from this top part which is
2:49Kind of stubborn after that
2:52Piece comes you want to do that to both sides
2:56After you both sides you should be able to lift this bad boy up
3:07Alright, so we got that those two trim pieces off and then you have the top piece off where the vent goes now
3:14We can fish the wiring but you want to
3:18Also remove these pieces right here. This is where that trim again comes in handy by the pry
3:25You'll see that there's little button right here
3:37This is where you need to hit
3:38So the clip is kind of a wishful thinking but
3:47There you go, that's the clip you need to remove. I'm gonna keep it all kind of neatly back right
3:54Then this piece can come out
4:03Steering wheel again
4:06There are some top little pieces you need to remove right right here and
4:13One right here. You can also
4:16in a pry right here too to pop it open
4:20Hopefully you can get a good view of that. There you go. I'm just trying to be careful
4:41Go see remove this piece right here. And now you want to transfer these pieces over
4:55This little cloth piece to the new piece. So you just kind of pinch these together these little clips
5:04And you'll be able to transfer it over. So this basically the same thing but in reverse
5:16And now you're ready to transfer it over
5:19Which is great
5:22Alrighty so here is
5:26The
5:28Process
5:29Anyways, I thought
5:31You get to remove this a pillar
5:34The where the foot well is so the a pillar goes the way it goes down to here and you get access to some plug here
5:39But for my harness we don't need to use that
5:43Apparently ever all the magic happens over here on this side
5:50So
5:54The harness that I had right there you guys can see the video
5:59It contains the
6:04AMD power a pillar this one right here
6:08It contains the
6:10The Intel stuff which I'm not going to use
6:13Should-have like a blue wire. So you'll see like a blue wire and that also plugs into the
6:30Passenger foot well, which is this area here?
6:33so
6:36behind this
6:38You will see a blue
6:41Kind of thing you can kind of catch it here. It's a little bit dark. Let me strain some light
6:46You see that blue plug right there behind that big red plug
6:52so you want to plug in that and
6:54then you want
6:56To plug in the other things. So I'm gonna do that real quick
7:00That cable is so I have that plug in there
7:18Rita says AMD
7:21and
7:34um
7:35two plugs technically and I'm gonna show that again
7:44All right, so I put a little splitter in between these
7:49That's like a
8:15Kind of maybe show you guys that in a fast way finally finished the install
8:32Now I just want to do a quick video because I was going through all the tutorials
8:36Look at this. This display is so cute and small, but it's perfect because it's so minimal
8:44It's in right in just品 get you guys all the angles and check it out. If you're seeing right here
8:50Is it too small to read? No, it's not. Let me see if I can
8:55Show you it's
9:01It is a really high resolution display for the screen size. So think pixel density. It looks cool
9:09I'm surprised and the viewing angles and colors are really nice
9:15so
9:16Wow, I'm kind of shocked. I'm kind of shocked but yeah
9:20Just looking at it. Everything fits in
9:23To go through the settings let me try to zoom in you hold
9:28right
9:30And you're go through the setting menu. Let me see if I get this in focus for
9:34For you guys so you have temp time zone theme tire
9:38pressure can
9:39mileage, English format and I just want to show you guys the UI you can change the UI as well and
9:47This says plaid and it says on right now. So don't know what it is,. But I want to show you the UI
9:51So right now the UI looks like this with the tire pressure means
9:57Spedometer in the middle shows you like your follow to instance range range clock
10:02But if you hold right
10:05If you look at UI2
10:08I'm just using the scroll wheel to navigate and then I'm using left and right
10:15So UI2
10:18So UI2 looks like this
10:22awesome on this lead to it looks a little more simplified but
10:26D because it doesn't have the car
10:29More hidden shows the battery range and a domiter a dom is actually wrong because I actually have about 300 miles on this car
10:38but just a different look I
10:42Kind of prefer the other one so I'm gonna go for the other one because I'd like to see tire pressure
10:47As a especially in the winter time
10:50Like if you're at 40 or 38 you just want to make sure your tire pressures are clean
10:54But wow install was easy looks amazing and I just want to get some beauty shots of it
11:01Overall if you guys were looking to buy something like this
11:04It's from eeveebase.com the harness they provide for the AMD platform Intel platform
11:10Super easy. I seen some other ones where you have to install it down here
11:14This one you literally you don't have to do it both sides
11:16You just do on the right and that's it saves you the hassle making the install a little bit easier and
11:23Yeah, go eeveebase.com. I'll put I'll link them down the below if you use John 15
11:28john 15 you save 15% which is huge
11:33And you can buy some more other products since you're saving more money like
11:39Screen protectors and accessories from that website, so yeah, just whoo
11:44I'm just shocked how clean and just
11:49People people say like hey wish it was more bezel-as
11:51But honestly it matches with the Honda the Tesla's bezels right here
11:57So it integrates real nice and I just hope I can with this camera
12:03I'm you holding right now and can demonstrate how actually pretty awesome. this is
12:08Yeah, but the thank you guys for watching. I'll catch you guys in the next one. See you guys later
Machine-transcribed from the full-length video and lightly cleaned (product names fixed). Watch the video for exact wording.
Next step