Hansshow H6 Instrument Cluster + Front Camera: Tesla Model 3 / Y Install
Plug-and-play dash cluster with a front camera: wire the harness for your AMD or Intel car, then fish the camera through the front grille.
Full video (16 min): Not relying on Tesla Vision | Install a Front Camera on the TESLA · John's YouTube channel
Get the parts
- Plastic trim removal tool: Generic pickGeneric pickSearch on Amazon ↗
- Wire fishing tool: Generic pickGeneric pickSearch on Amazon ↗
- Find Hansshow Tesla Model 3 Y 9 inch CarPlay dashboard screen on eBayBuy ↗
- Hansshow F9 9" CarPlay dashboard screen with front camera (Model 3 / Y)Similar pick: successor to the discontinued H6Buy ↗
CodeHansshow discount code (20% off) — JOHN
DEALCode "JOHN" for a discount (per the video description)
As an Amazon Associate I earn from qualifying purchases. Some links are affiliate links.
Plug-and-play dash cluster with a front camera: wire the harness for your AMD or Intel car, then fish the camera through the front grille. This 16 min guide covers the Tesla Model 3 / Model Y with tools, parts links and the full video.
Overview
John adds a Hansshow H6 dash cluster that also has a front camera, so he isn't relying on Tesla Vision alone at the front of the car. It's bigger than his previous cluster. The harness covers both AMD and Intel cars, so most of it goes unused. Behind the dash you plug in the camera lead, the power and a splitter. The camera is fished through the front grille and is barely noticeable. No cutting is required, and John is a huge fan of the UI.
Vehicle & fitment
- Product
- Hansshow H6 instrument cluster display with a front camera: USB-C port, reset button, small speaker, several layouts plus a night mode
- Shown on
- Tesla Model Y (John's car)
- Tesla Model 3 / Model Y (per the product link)
- The harness works with both AMD and Intel cars (per the video)
Always confirm fitment for your exact year and trim with the seller before buying.
Tools & parts
Tools
- Plastic trim tool
- 10mm socket
- Flathead screwdriver (or your fingernails) for the washer-line clip
- Wire or fish tape to pull the camera cable
Parts
- Hansshow H6 cluster with front camera
- Main harness (AMD and Intel connectors)
- Splitter (included)
Video chapters
- 0:00Product overview
- 1:03Dashboard disassembly
- 2:06Wiring and connection
- 4:30Initial testing
- 5:45Front camera installation
- 8:58Camera finalization
- 10:10UI and settings review
Step by step
- 1
Check the unit and harness▶ 0:08
The cluster has a USB-C port with a reset button, what looks like a small speaker, and pins on the bottom. The harness works for both AMD and Intel versions of the car.
- 2
Remove the dash panels▶ 1:25
Remove the front panels, the main bar and the steering-column trim to reach the wiring. You'll reinstall the small fabric piece later.
- 3
Start with the big harness▶ 1:50
Do the hard part first. The harness looks big, but most of it won't be used: one set is for Intel cars and the other for AMD, for compatibility.
- 4
Connect the camera lead▶ 2:25
Connect the camera wire: a plug on one end and a small white plug on the other. Clip it in.
- 5
AMD connections▶ 3:13
On an AMD car, the blue plug goes in behind the red wire. A white cable also has to be connected, and one plug needs the included splitter for power.
- 6
Power on and test▶ 4:30
With those plugs in, the cluster powers on. It shows doors opening and closing, and you can set it to change modes when you put the car in drive. There are several layouts and a night mode.
- 7
Open up the front▶ 5:46
To reach the front, lift the panel off and remove the 10mm bolts. Pop off the cover held by clips, unplug the connector and remove the additional bolts.
- 8
Release the washer line▶ 6:54
Release the windshield-washer line clip (John used his fingernails; you may need a flathead). This gives you room to fish the wire.
- 9
Fish the camera through the grille▶ 7:29
Push the camera through the grille while holding back the rubber flap with your other hand. Use a wire to fish the cable through. You can run it under the flap or cut a small hole.
Warning: Pull the cable through slowly so you don't cut the wire.
- 10
Plug in the camera▶ 9:04
Route the cable up to the cluster and plug it in. Line up the notch. Hold the steering-wheel button to switch to the front camera, then reassemble everything in reverse.
- 11
Check the camera▶ 10:14
The camera is very inconspicuous from outside. John says the resolution is not too bad.
- 12
Menu settings▶ 11:25
Hold left on the steering-wheel knob to open the menu: language, time zone, Fahrenheit, speed-limit signs and updates. Press right on the knob to confirm and save.
- 13
Layouts and night mode▶ 12:18
The full UI only shows once the car is in drive. Hold right to switch layouts. Some show Autopilot status, battery, tire pressure, following distance, power output and the light status. John likes the night mode's black levels and may run it all the time.
Wiring notes
- Harness has separate connectors for AMD and Intel cars; only one set is used.
- AMD: blue plug behind the red wire, plus a white cable and a splitter for power.
- Front camera cable runs through the grille and up to the cluster (notched plug).
Get the parts
- Plastic trim removal tool: Generic pickGeneric pickSearch on Amazon ↗
- Wire fishing tool: Generic pickGeneric pickSearch on Amazon ↗
- Find Hansshow Tesla Model 3 Y 9 inch CarPlay dashboard screen on eBayBuy ↗
- Hansshow F9 9" CarPlay dashboard screen with front camera (Model 3 / Y)Similar pick: successor to the discontinued H6Buy ↗
CodeHansshow discount code (20% off) — JOHN
DEALCode "JOHN" for a discount (per the video description)
As an Amazon Associate I earn from qualifying purchases. Some links are affiliate links.
FAQ
What vehicle does this install fit?
It is shown for the Tesla Model 3 / Model Y. The harness works with both AMD and Intel cars (per the video) Always confirm your exact year, trim and factory audio with the seller.
How long does the install take?
John's full video is 16 min. Plan on that much time for a careful DIY install, plus extra if you are new to dash work.
What tools do I need?
Tools called out in the guide: Plastic trim tool; 10mm socket; Flathead screwdriver (or your fingernails) for the washer-line clip; Wire or fish tape to pull the camera cable.
Where do I get the parts?
Use the buy links on this page for the unit and any harnesses John used. Some links are affiliate links.
Is this beginner-friendly?
The guide breaks the job into 13 steps with timestamps into the video. If you can remove trim panels carefully, you can follow along.
John's Tesla Model Y
More photos →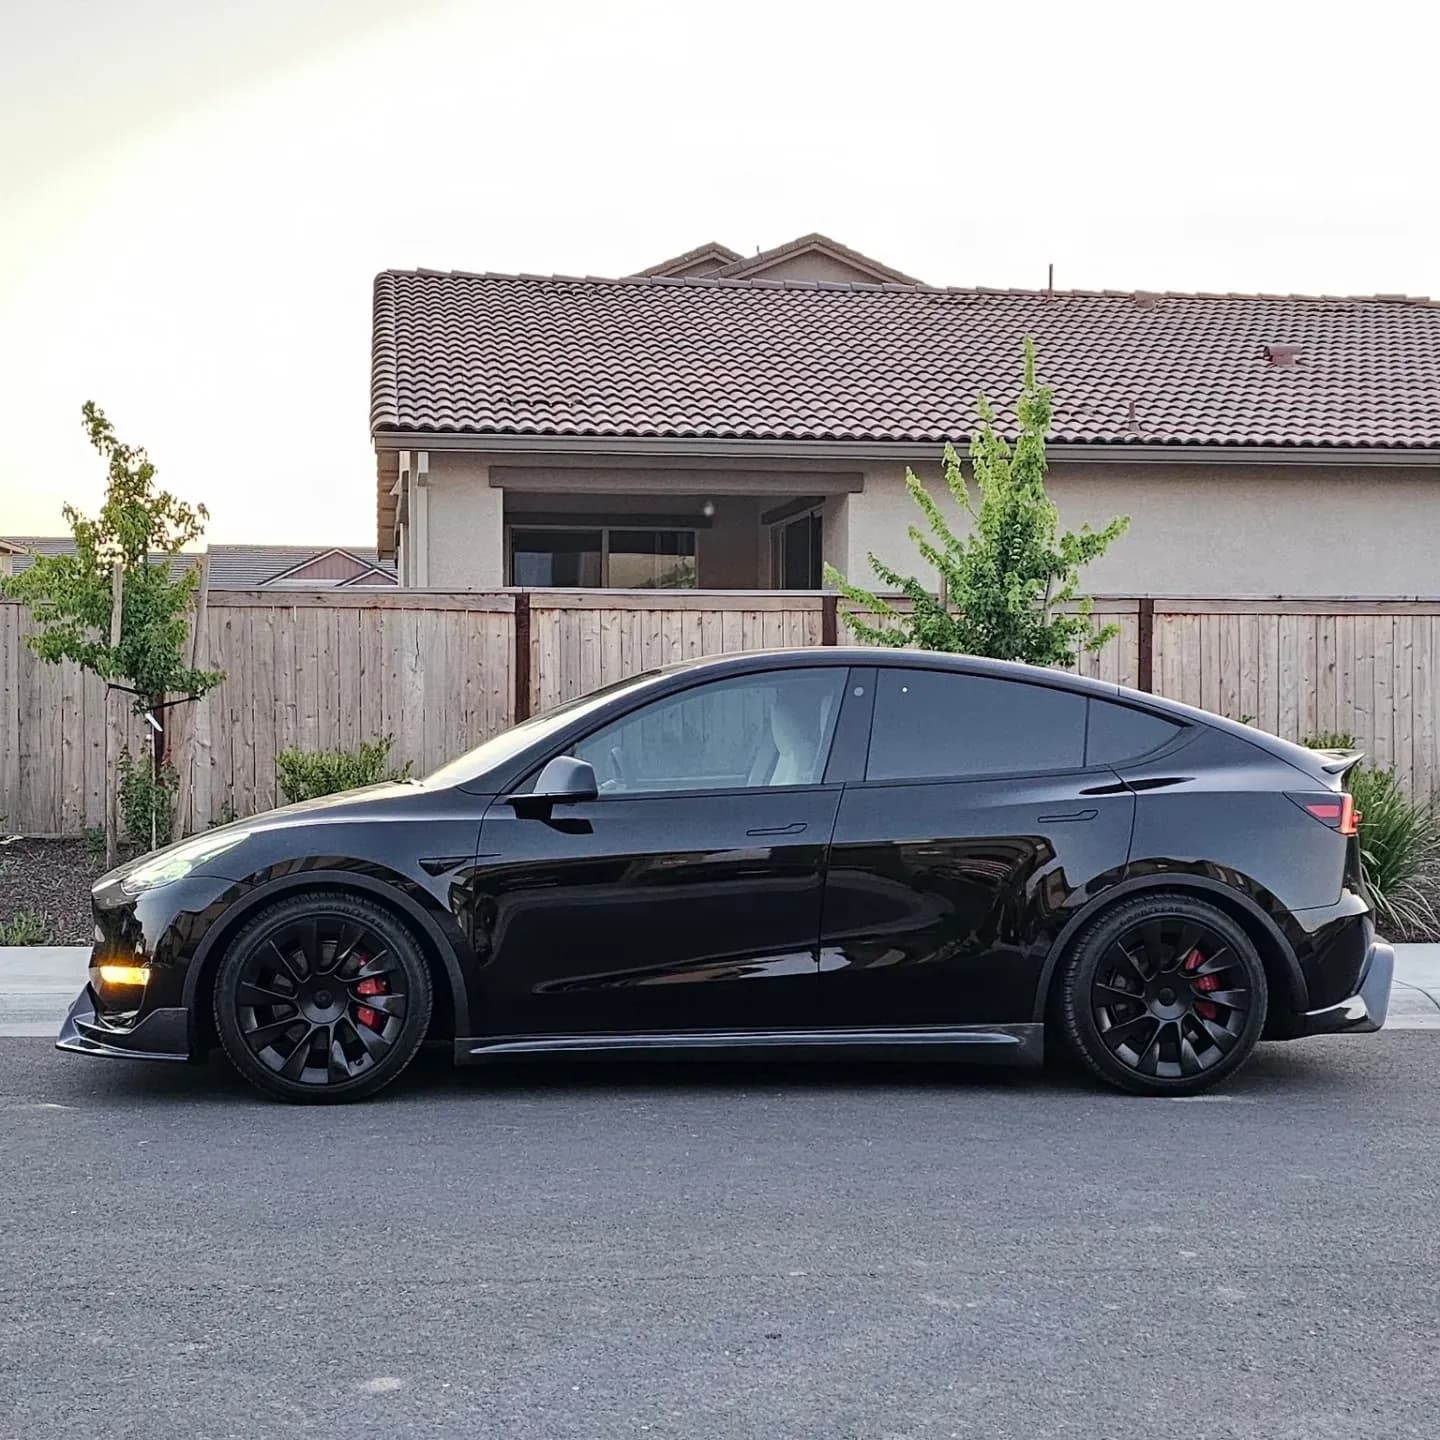
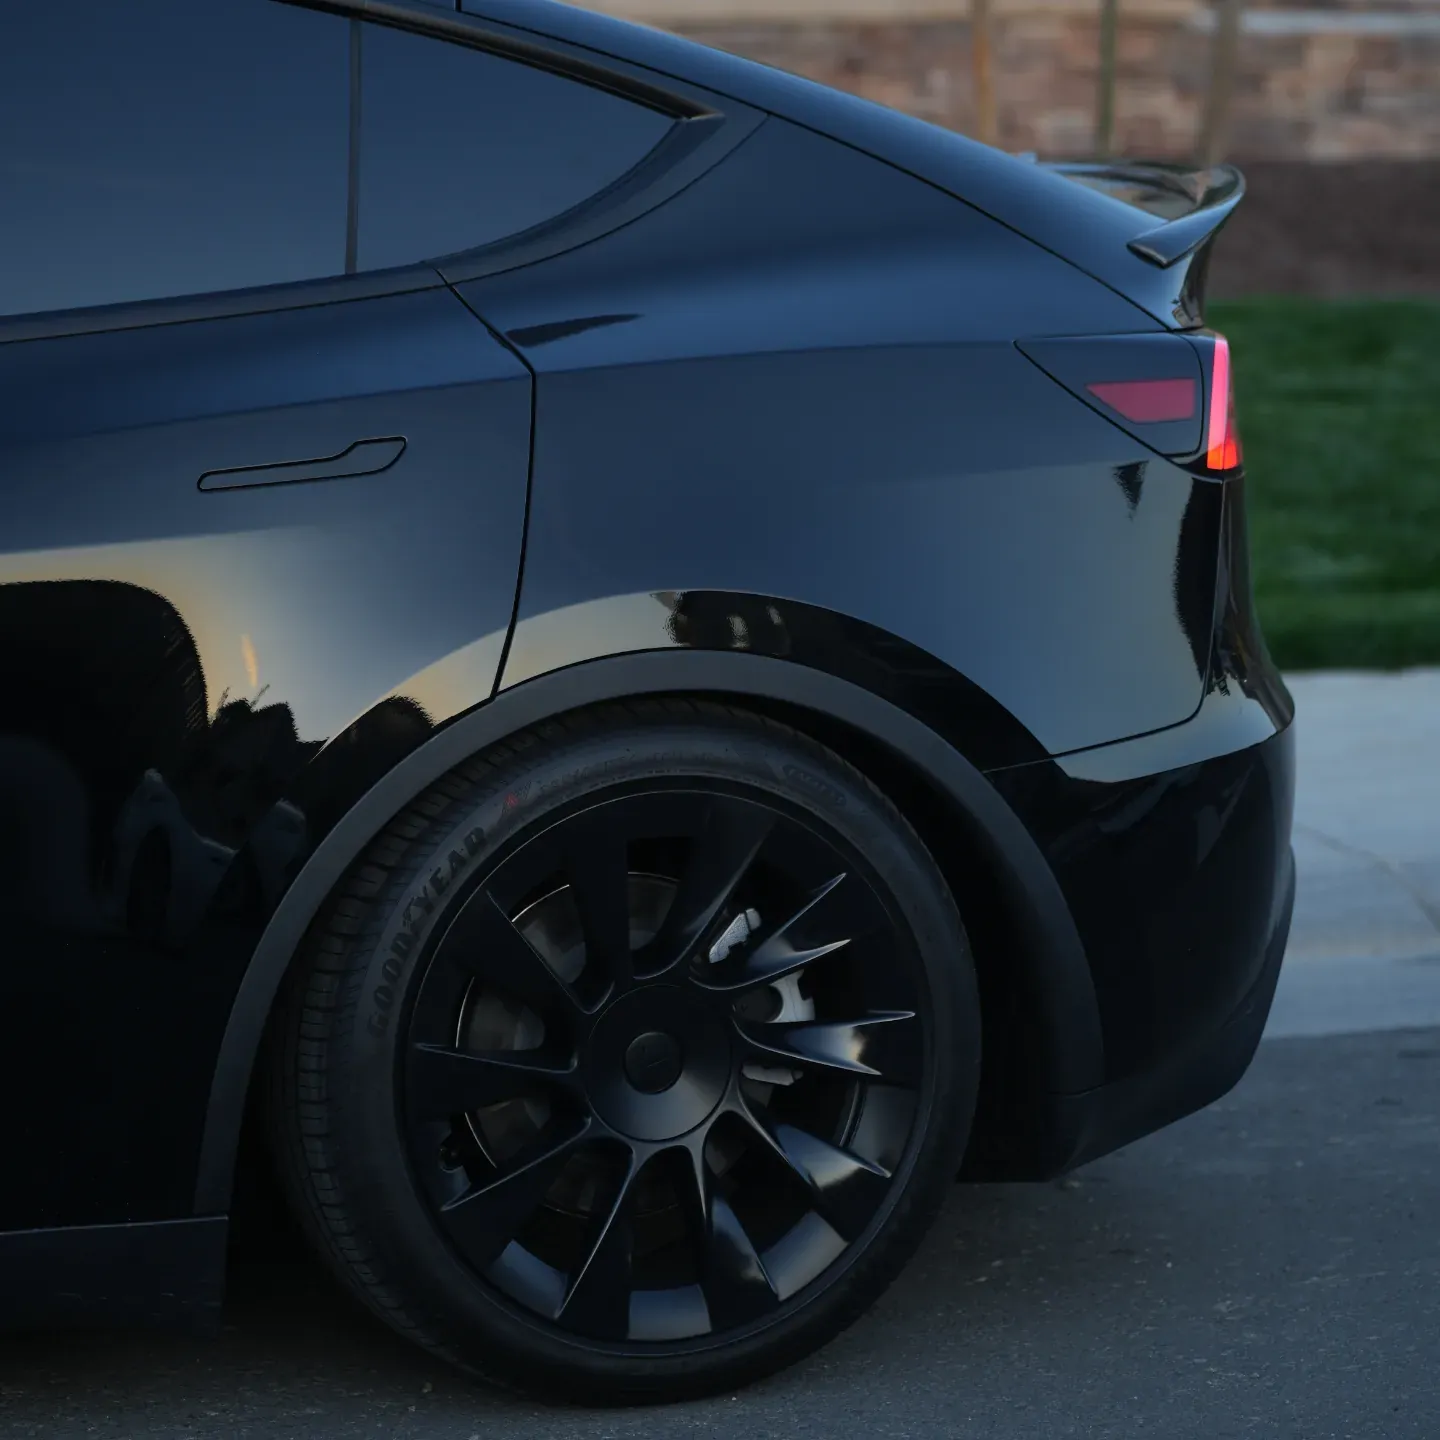
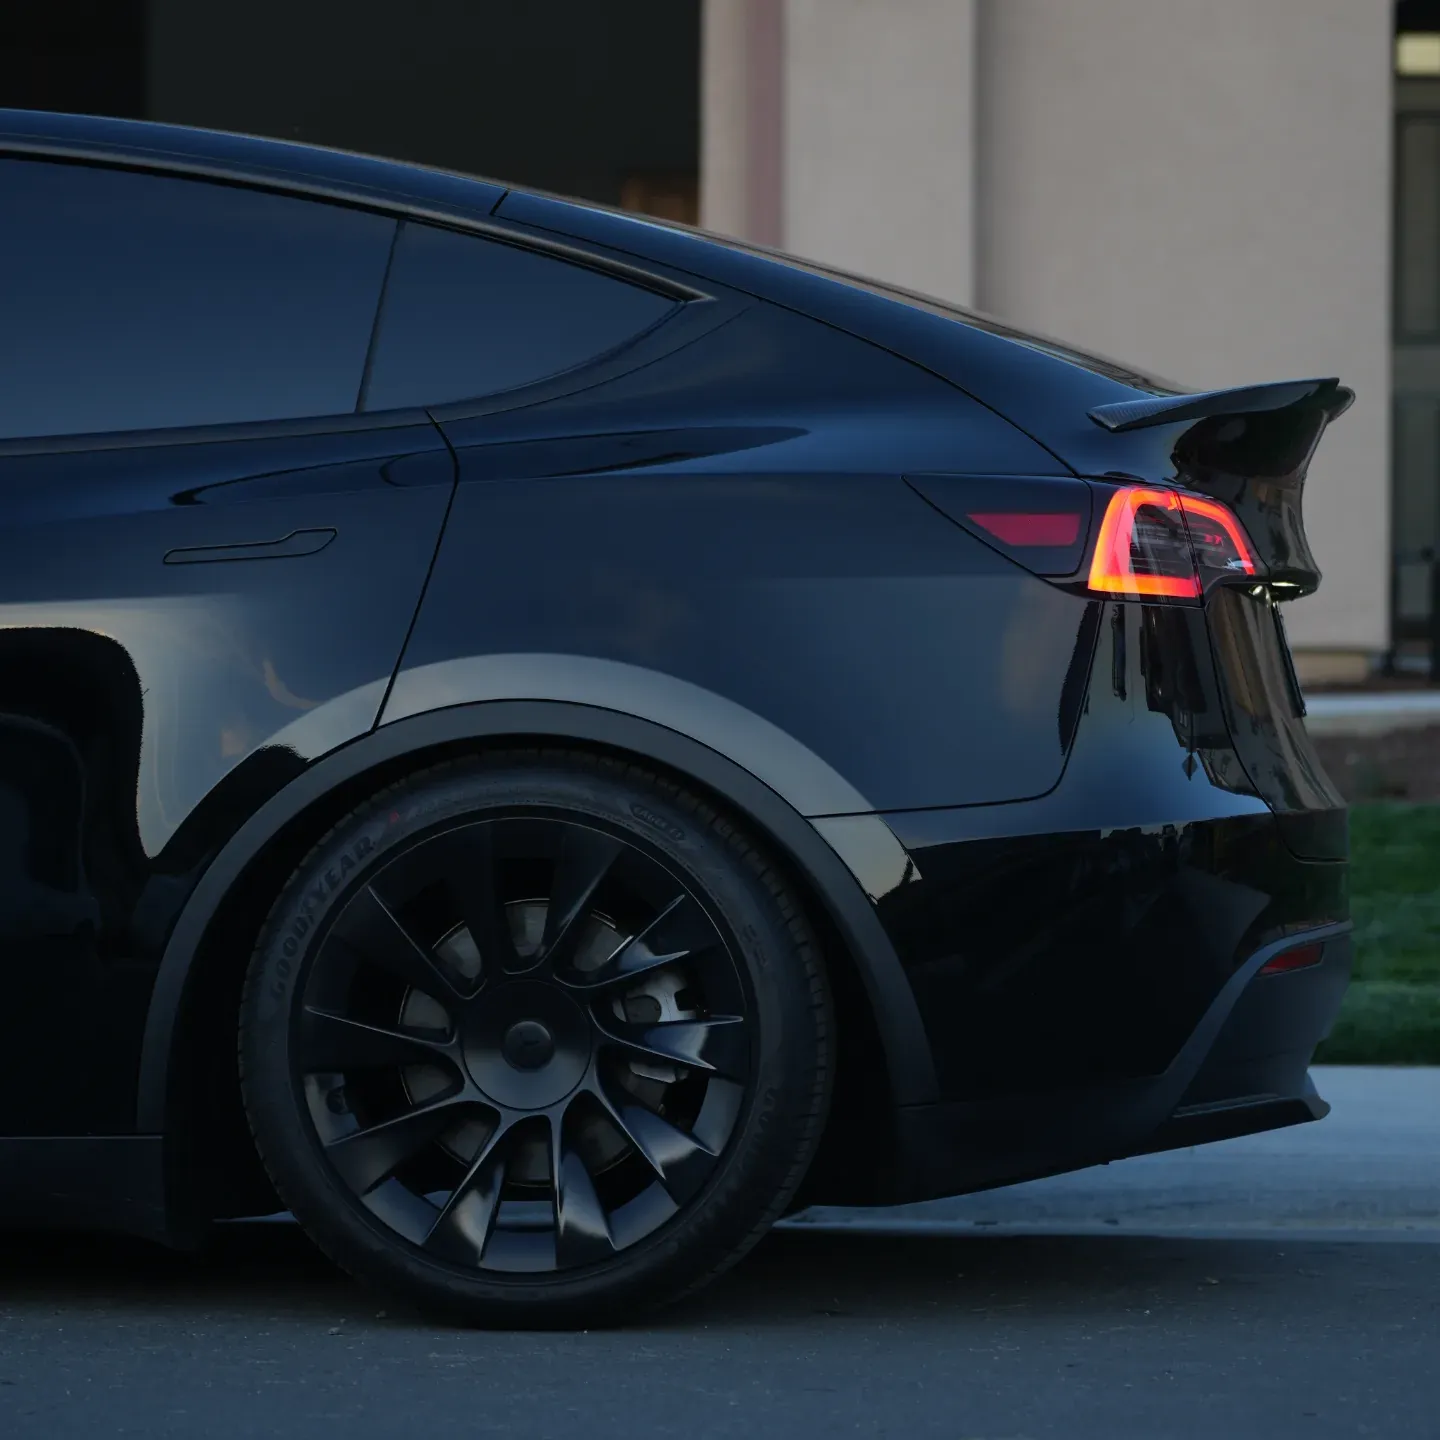
Photos from @ngooyen on Instagram. Follow for more.
Full transcript
Show the full transcript (168 lines) +
0:00What's up guys, it's your boy John with back again here with. With another video today. We're taking a look at a Hansshow's cluster
0:08That has a camera so it has a front camera you can use here it is it is
0:15Pretty nice. It's bigger than, than my current one. I love having a cluster and has a bunch of
0:22There's like USB-C right there with like a reset button. It looks like there's a little speaker
0:29Bottom has the pins very similar to the
0:34So that's nice and then we have the harness that works for both AMD and Intel. So if you have different versions of your model Brio-O-Y
1:01Screws just
1:25All right so with the panels all disassembled front
1:31Main bar the steering wheel column and I have this part also removed now
1:38We can workflows on piecing everything together. Obviously, thiss this one goes over there and you would have to reinstall
1:44The little
1:46Little fabric thing right there, but let's get through the meat and potatoes
1:50This is what's gonna be plugging and powering the brain. So what I like to do is
1:56Do the big stuff the hard stuff?
2:00So I'm gonna take. Take it part
2:02And it's gonna have a really big harness
2:07But don't be afraid because most of this stuff you're not gonna use why because
2:13One of it is for Intel and the other one is for
2:19something else
2:21AMD so depending it's more for compatibility
2:25So let's hook up this wire right here. It has a there's the camera and then some kind of like
2:31Plug on one end and the other plug is a little white guy here
2:38So you plug that in
2:40Boom on this and notice I return you can do that under security by the way on
2:49This end a plug in
2:52This bad boy clip it and we are gonna be installing the front
3:13Which is useful and then right here. It's gonna say AMD and the AMD one is pretty easy
3:19I'll show you where to plug that one in
3:23So there is a blue
3:26one right here that goes behind this red wire
3:31Is he plugging right there and then you also have this white cable that needs to be plugged in
3:42somewhere
3:49I definitely know you for this one you need to plug in this right here, too
3:53So we are gonna do a little splitter action kind of hard to do this one-handed
4:10Then you want to split that into here
4:15The power
4:22All right
4:24Set you guys down for a second
4:27And boom that should do it
4:30All right, we're just those two plugs we are in now. I still have the screen protector
4:36But let me show you some options when you open the door
4:39It shows the doors open and you close the door close which is
4:44Great, and then you can change your settings a little bit right there
4:47But I just wanted to show that everything's powered on and you can
4:51Do these things here's the menu that you can set
5:02Follow I believe is just whatever the screen is when over here and when you put it in drive
5:11That's when it' switches its mode
5:20Here is one of the options
5:24And you can choose
5:26What lay out you would want and they also have like its own night mode and stuff
5:34So this one's pretty cool. Okay, so let's get that front camera going
5:46All right, so we are going to be installing the front-camera on the Tesla
5:52Model Y this is gonna be an awesome thing got the power from we are going to have to remove some of these screws
6:00But it's super simple
6:02So
6:03You just pop this panel off by lifting it up some bolts. They're 10 mils
6:09Hole front comes out then you'll be able to fish that water
6:15All right, so there are two tents right here and then two tents in there
6:22But let's remove this cover first
6:31So popping that off you also have to pop this off right here, too
6:38It is being held by
6:41You guessed it you guessed it clips
6:45Because you have to unplug this
6:47And after you unplug it you can remove these additional bolts, but I have to use two fans
6:54You can see more in the clip for the windshield washer
7:10Right here. I just use my nails, but you might have to use a flat head
7:14This will review
7:17Or give you access to more room to
7:21Fish wires and what our objective is to fish it through here
7:27This is gonna be a little bit awkward
7:29Once you have the camera you have this portion right here
7:34We're gonna stick it through this grill
7:38And use your other hand you have to pull back this like a little flat
7:44This river flap
7:46So
7:51We're gonna use this wire here to fish it through
7:56This main harness is a little bit dark
8:00Let me see if I can
8:02Increase the brightness
8:05Wash down
8:07See what is big old wires
8:10Fish the thing through it. You can put it under the flap or cut a little hole
8:16I'm do I'm gonna kind of pull it back
8:34Fish it down it will just come out on this side right here
8:38So there's this and of course you want this to kind of go up?
8:43So, keep fishing it through pull it through
8:49Slowly you don't want to cut the wire
8:54So it's enough or you can plug the screen in
8:58After that you should be able to fish it up here and
9:04For this
9:06Demonstration I'm gonna plug it in
9:09Into here
9:11Now make sure there's a little notch
9:14Looking into the notch and now we should have a front camera believe you hold this
9:22button down
9:24You can see
9:26That we have a camera
9:49And we got a little front camera right there sweet, so I'm just gonna wrap everything up do anything and reverse
9:56And you'll will be fine
10:11Alright finishing up
10:14We have this beautiful camera. It's actually very inconspicuous
10:20Can't really see it now. You can see it
10:25But not too bad, doesn't look like an ice or anything and the. Whole reason in why-
10:35So we can have this front camera
10:39So you hold this button right here
10:43And now it'll switch to the front camera
10:48Very cool. Now the resolution is
10:50Not too terrible
10:52If I me say so
10:55Alright, so you can press left on the steering wheel. Maybe I should show you the steering wheel a little bit too
11:01and
11:02I'm looking at the air flow
11:09Still have a little bet right here
11:11So where my head is my head's kind of like right here. You can still see that event. I actually don't have it directly
11:19Low towards me anyways
11:21But yeah, that's for people who are curious
11:25And let me go through the menu you hold. Hold this left and you'll see all these functionalities
11:35English time zone
11:39Fahrenheit
11:40And you just use the steering wheel to
11:44Change it speed limit if you want to speak speed sign. I don't really
11:59The less the better for me and you can also update it
12:03So to confirm press right on this little knob
12:09It says save-okay, and they
12:14Reset now. I'm just gonna show you some of the UI
12:18You need to put this car in drive or it'll never show like the UI, which is I think that's a nice touch
12:23So once you put the car in drive
12:26you'll get this interface and
12:29depending on
12:38Actually
12:39All right. I don't know how to go dark mode on here. So
12:42Never mind. I was gonna show the dark mode functionality usually when you turn your headlights on
12:47It's enough, but Tesla's too smart I guess
12:52but to change it
12:54Okay, that's not it. I believe it's the hold right and there's different UI's
13:05We have
13:08The first one not bad
13:13now
13:14It's clean
13:16Shows the autopilot shows the battery levels and all that which is cool. I do wish if all distance
13:23Using the scroll wheel
13:25You see other stuff like PSI
13:28Falling distance. Okay. Just want that one right there
13:34Let's check out another one. Yeah, this one. I actually kind of like this. It looks super kind of clean
13:41Does show the autopilot speed on the right left right to the zero pop up up up
14:03The the UI does change a little bit. I like that one and
14:10Then you have these little circles, which is also nice
14:17Looks cleaner than I thought it would and honestly you're gonna be sitting this far back
14:22Now I do want to see how it looks like in
14:25Night mode
14:27So you can change it here. The best
14:34The UI is not that intuitive daytime. There's the nighttime interface black levels are actually pretty good
14:52Kind of like that right there. I might just run night mode all the time. I just like more neutral colors
15:02So the other ones are usually a kind of
15:06It's not like Tesla white. It's like this beige color
15:10This one's pretty nice to show you how much horsepower you're putting which is kind of cool
15:23So all the parking signal stuff or is right there?
15:34Can't really auto-steer, but
15:36When you're moving
15:38You're moving
15:40Actually shows the lights right there, which is cool. See if headlights on and off
15:45It's cool. So this is a really tight UI. I'm actually a' a huge fan
15:50And I mean if you look at the install was actually pretty easy
15:55No cutting was required plug-and-play
15:58And if you were interested in this a
16:01I'll leave a link down below in the description and you can use my affiliate code
16:06I get like a small kickback and you get a discount yourself. So if you're interested check it out
Machine-transcribed from the full-length video and lightly cleaned (product names fixed). Watch the video for exact wording.
Next step