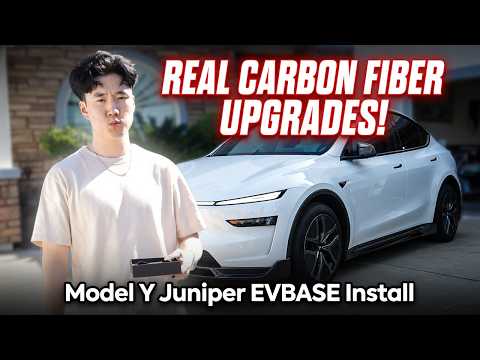
Hansshow Full-Width Cyber Tail Lights: Tesla Model Y DIY Install
Pull both factory tail lights and the trunk-lid trim, plug in the labeled left/right harnesses, snake the wires up to the light bar, and fit the full-length center piece with a helper.
Full video (14 min): Tesla Model Y Full-Length Taillight Mod | Ultimate Customization Guide & Impressions · John's YouTube channel
Get the parts
- Ceramic coat for the Tesla interior (Amazon)Buy ↗
- Clip and trim removal tool set: Generic pickGeneric pickBuy ↗
- The CF kit (AliExpress)Buy ↗
- Find Hansshow full-width strip tail light Model 3 Y on eBayBuy ↗
- Hansshow full-width strip tail light for the Model 3 / YBuy ↗
- Hansshow tail lights (second link in the description)Buy ↗
- Want a Tesla? John's referral linkBuy ↗
- Hansshow yoke-style steering wheel (also in the description)Buy ↗
- Power frunk (also in the description)Buy ↗
- Door sills (also in the description)Buy ↗
- Rear screen (also in the description)Buy ↗
- Alternative: Hansshow F9 9" CarPlay dashboard with front camera, Model 3 / Y (successor to the discontinued H6)Buy ↗
- EVBase suede center console wrap (also in the description)Buy ↗
- Maxpeedingrods adjustable coilovers for the Model Y (also in the description)Buy ↗
CodeDasaita coupon code (8% off) — JOHNNGUYEN
CodeHansshow discount code (20% off) — JOHN
CodeEVBASE codes JOHN20 / JOHN15 — JOHN20 / JOHN15
CodeTLYARD coupon code (25% off) — JOHNN
DEALCode "JOHN" for a big discount at Hansshow (per the video description)
DEALCode "JOHN15" for the EVBase item (per the video description)
As an Amazon Associate I earn from qualifying purchases. Some links are affiliate links.
Pull both factory tail lights and the trunk-lid trim, plug in the labeled left/right harnesses, snake the wires up to the light bar, and fit the full-length center piece with a helper. This 14 min guide covers the Hansshow full-width strip tail light for the Model 3 / Model Y (store link in the description) with tools, parts links and.
Overview
John installs the Hansshow full-width tail lights on his Model Y. The kit ships in two boxes because the center bar is so long, and the packaging is very well protected. The smoked tail lights look like a premium OEM part, and John points out you could run just the two tail lights without the center bar, since there are no extra holes or fitment changes. The install is all clips, two 8mm bolts per light and plugs: pop the trim tab, remove the two 8mm bolts behind the rubber trim, unplug and pull each tail light, then pry off the trunk-lid trim to reach the factory lights there (one screw and one plug each). The kit's harness bags are labeled left and right; they plug in alongside the OEM plugs and get snaked up through the grommet into the trunk lid, zip-tied so they don't rattle. The driver-side run is longer. The center bar is shaped like an upside-down trapezoid, and John strongly recommends a second person to hold it while you seat the tail lights and feed the wire into its slit. He finishes with a full light test: animation, brake lights, both turn signals, hazards and reverse.
Vehicle & fitment
- Product
- Hansshow full-width "cyber" tail light set for the Model Y: two smoked replacement tail lights, a full-length center light bar for the trunk lid, and labeled left/right plug-in harnesses
- Shown on
- Tesla Model Y (John's car, US market)
- Hansshow full-width strip tail light for the Model 3 / Model Y (store link in the description)
- John notes the Model 3 and Model Y center light bars are different sizes, so order the one for your car
- US-market cars: the turn-signal section lights red by default; Hansshow supplied amber turn signals for John on request
Always confirm fitment for your exact year and trim with the seller before buying.
Tools & parts
Tools
- Plastic trim / clip removal tool
- 8mm socket (with an extension to reach behind the rubber trim)
- Pry tool for the trunk-lid trim
- Zip ties
- A helper for fitting the center light bar
Parts
- Hansshow left and right tail lights
- Full-length center light bar for the trunk lid
- Labeled left and right harness bags
Video chapters
- 0:00Unboxing and introduction
- 2:57Removing original tail lights
- 4:20Removing upper trunk trim
- 6:45Installing new tail lights
- 8:55Securing wiring and fitting
- 12:26Final test and showcase
Step by step
- 1
Unbox and check the parts▶ 0:37
Two boxes: one just for the long center piece. The tail lights have a smoked look and a big set of full-color instructions. On US cars the turn-signal section lights red; John asked Hansshow for amber turn signals and they supplied them.
Tip: You could run just the two tail lights without the center bar: there are no extra holes or fitment changes.
- 2
Keep the protective plastic on▶ 2:47
Leave the center bar in its plastic while you work so it doesn't get scuffed during the install.
- 3
Pop the trim tab▶ 3:04
Pop off the small trim tab beside the tail light with a plastic trim / clip removal tool.
- 4
Remove two 8mm bolts▶ 3:14
Pull the rubber trim up and reach through with an extension: two 8mm bolts hold each tail light. They aren't torqued much.
- 5
Unplug and pull the tail light▶ 3:30
The tail light is held by clips once the bolts are out. Pull it out and unplug the harness connector: it's locked in, and pulling the release frees it. On the charge-port side there's enough room to unplug it right there. Repeat on the other side.
- 6
Open up the trunk-lid trim▶ 4:20
You don't need to strip the whole trunk lid, just enough to get behind the lights. Remove the two clips, then pry the trim off from the back and keep working it until it pops off.
- 7
Remove the trunk-lid lights▶ 5:49
Once the trim is off, each factory light comes out with one screw and one plug. Press on the retaining clips while you pull it out.
- 8
Plug in the new harnesses▶ 6:52
Plug the OEM plug back in, then plug in the kit's harness. The bags are labeled left and right, and the cables are long because they run all the way up to the center bar.
- 9
Test before closing up▶ 8:17
Connect the two wires (blue/yellow and white) and the light-bar lead and test one side before you route everything. John ran a quick test with the bar dangling to confirm it all works.
- 10
Route and secure the wiring▶ 8:59
Unplug, snake the wire through the small hose / grommet up into the trunk lid, and zip-tie it so it doesn't rattle. The driver (left) side run is longer because it travels further.
- 11
Feed the wire through the slit▶ 9:54
Before mounting the tail light, feed its wire through the small slit so it's in place. Clean the area first.
- 12
Fit the center bar the right way round▶ 10:24
The bar matches the tail lights: it's an upside-down trapezoid shape. Line it up, then seat the tail lights with the wires snaked in and clip everything in.
Tip: John highly recommends a second person to hold the bar while you fit the tail lights.
- 13
Finish and align▶ 11:25
Feed the remaining wire into its crevice on both sides, tighten everything down and press from the back so the bar sits symmetrical. On John's car one corner sat slightly low, so he pulled it a little for better fitment.
- 14
Light test▶ 13:16
Startup animation, brake lights, left and right turn signals, hazards and reverse all checked out.
Wiring notes
- Each tail light: OEM plug back in, plus the kit's labeled left/right harness.
- Harness leads (blue/yellow and white) connect to the kit wires; the center bar has its own lead.
- Route the leads up through the hose / grommet into the trunk lid and zip-tie them; the driver side run is longer.
Get the parts
- Ceramic coat for the Tesla interior (Amazon)Buy ↗
- Clip and trim removal tool set: Generic pickGeneric pickBuy ↗
- The CF kit (AliExpress)Buy ↗
- Find Hansshow full-width strip tail light Model 3 Y on eBayBuy ↗
- Hansshow full-width strip tail light for the Model 3 / YBuy ↗
- Hansshow tail lights (second link in the description)Buy ↗
- Want a Tesla? John's referral linkBuy ↗
- Hansshow yoke-style steering wheel (also in the description)Buy ↗
- Power frunk (also in the description)Buy ↗
- Door sills (also in the description)Buy ↗
- Rear screen (also in the description)Buy ↗
- Alternative: Hansshow F9 9" CarPlay dashboard with front camera, Model 3 / Y (successor to the discontinued H6)Buy ↗
- EVBase suede center console wrap (also in the description)Buy ↗
- Maxpeedingrods adjustable coilovers for the Model Y (also in the description)Buy ↗
CodeDasaita coupon code (8% off) — JOHNNGUYEN
CodeHansshow discount code (20% off) — JOHN
CodeEVBASE codes JOHN20 / JOHN15 — JOHN20 / JOHN15
CodeTLYARD coupon code (25% off) — JOHNN
DEALCode "JOHN" for a big discount at Hansshow (per the video description)
DEALCode "JOHN15" for the EVBase item (per the video description)
As an Amazon Associate I earn from qualifying purchases. Some links are affiliate links.
FAQ
What vehicle does this install fit?
It is shown for the Hansshow full-width strip tail light for the Model 3 / Model Y (store link in the description). John notes the Model 3 and Model Y center light bars are different sizes, so order the one for your car Always confirm your exact year, trim and factory audio with the seller.
How long does the install take?
John's full video is 14 min. Plan on that much time for a careful DIY install, plus extra if you are new to dash work.
What tools do I need?
Tools called out in the guide: Plastic trim / clip removal tool; 8mm socket (with an extension to reach behind the rubber trim); Pry tool for the trunk-lid trim; Zip ties; A helper for fitting the center light bar.
Where do I get the parts?
Use the buy links on this page for the unit and any harnesses John used. Some links are affiliate links.
Is this beginner-friendly?
The guide breaks the job into 14 steps with timestamps into the video. If you can remove trim panels carefully, you can follow along.
John's Tesla Model Y
More photos →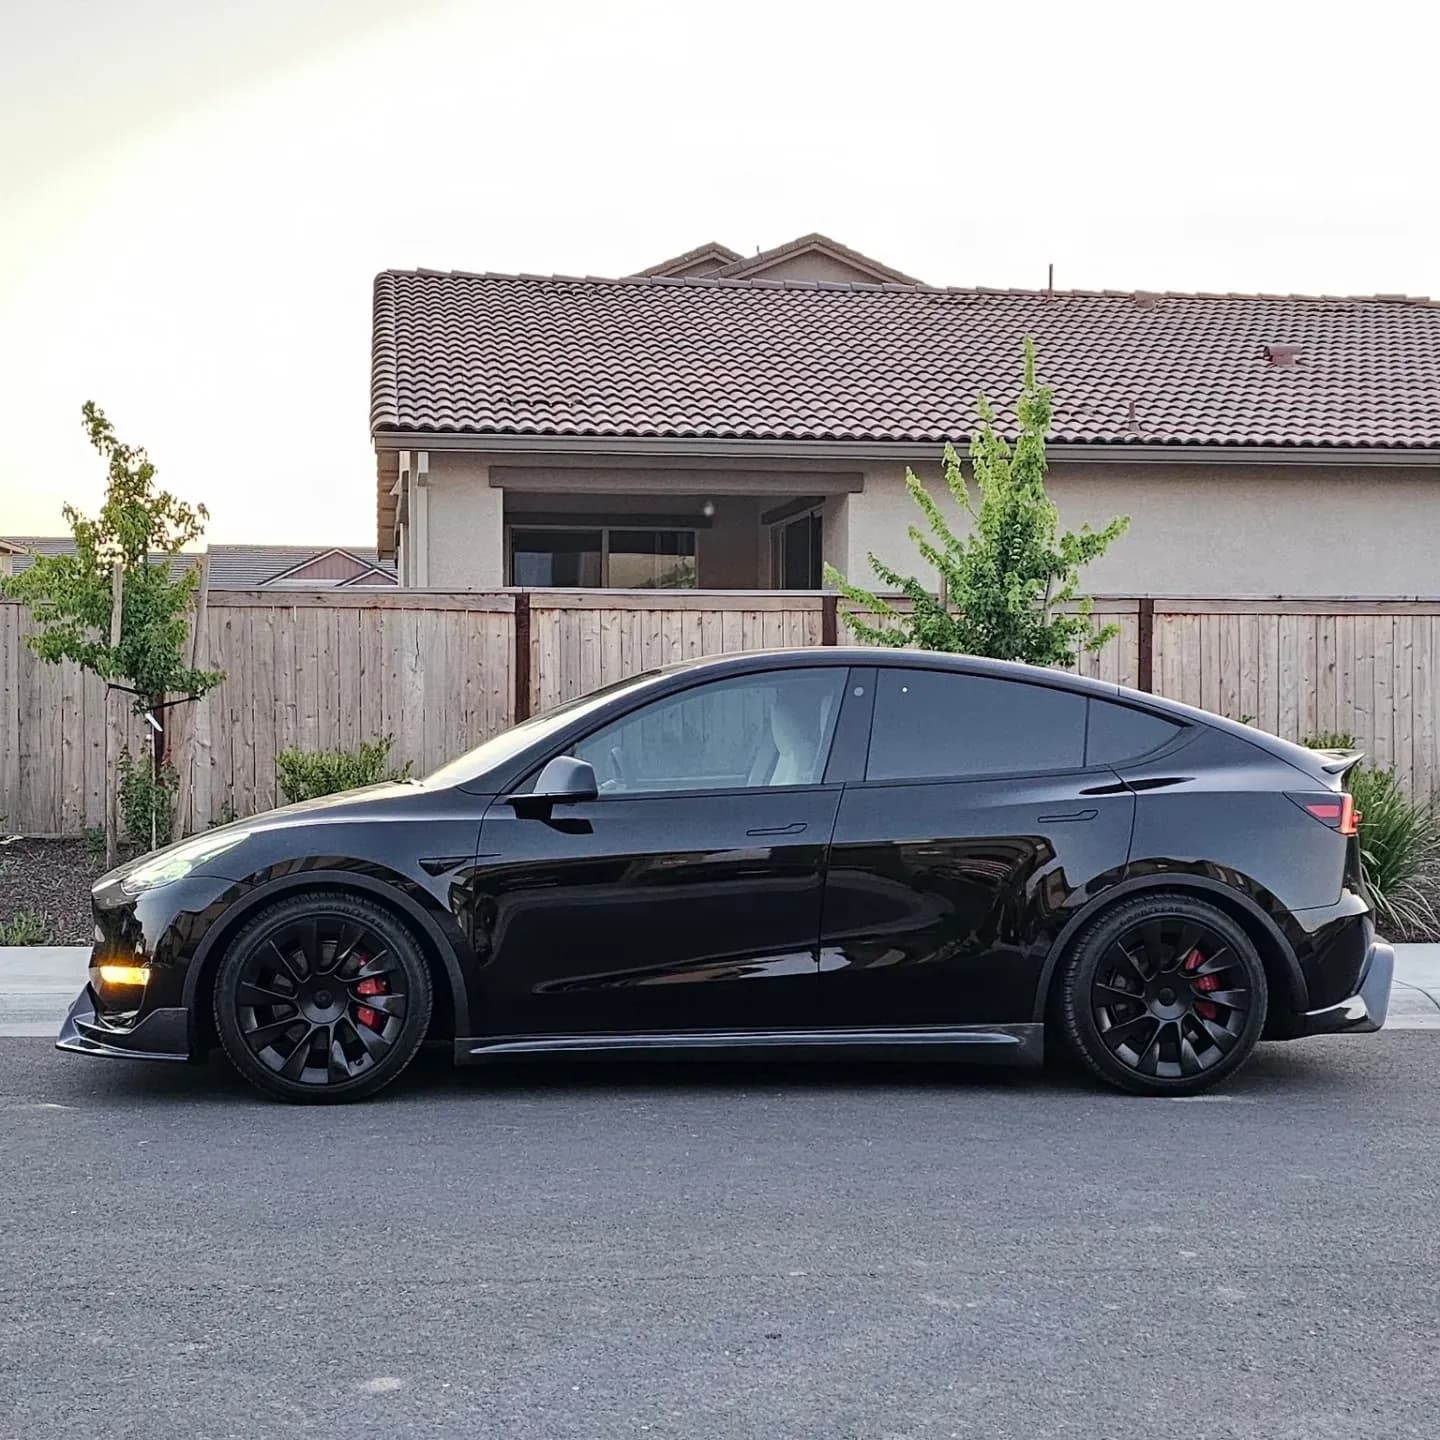
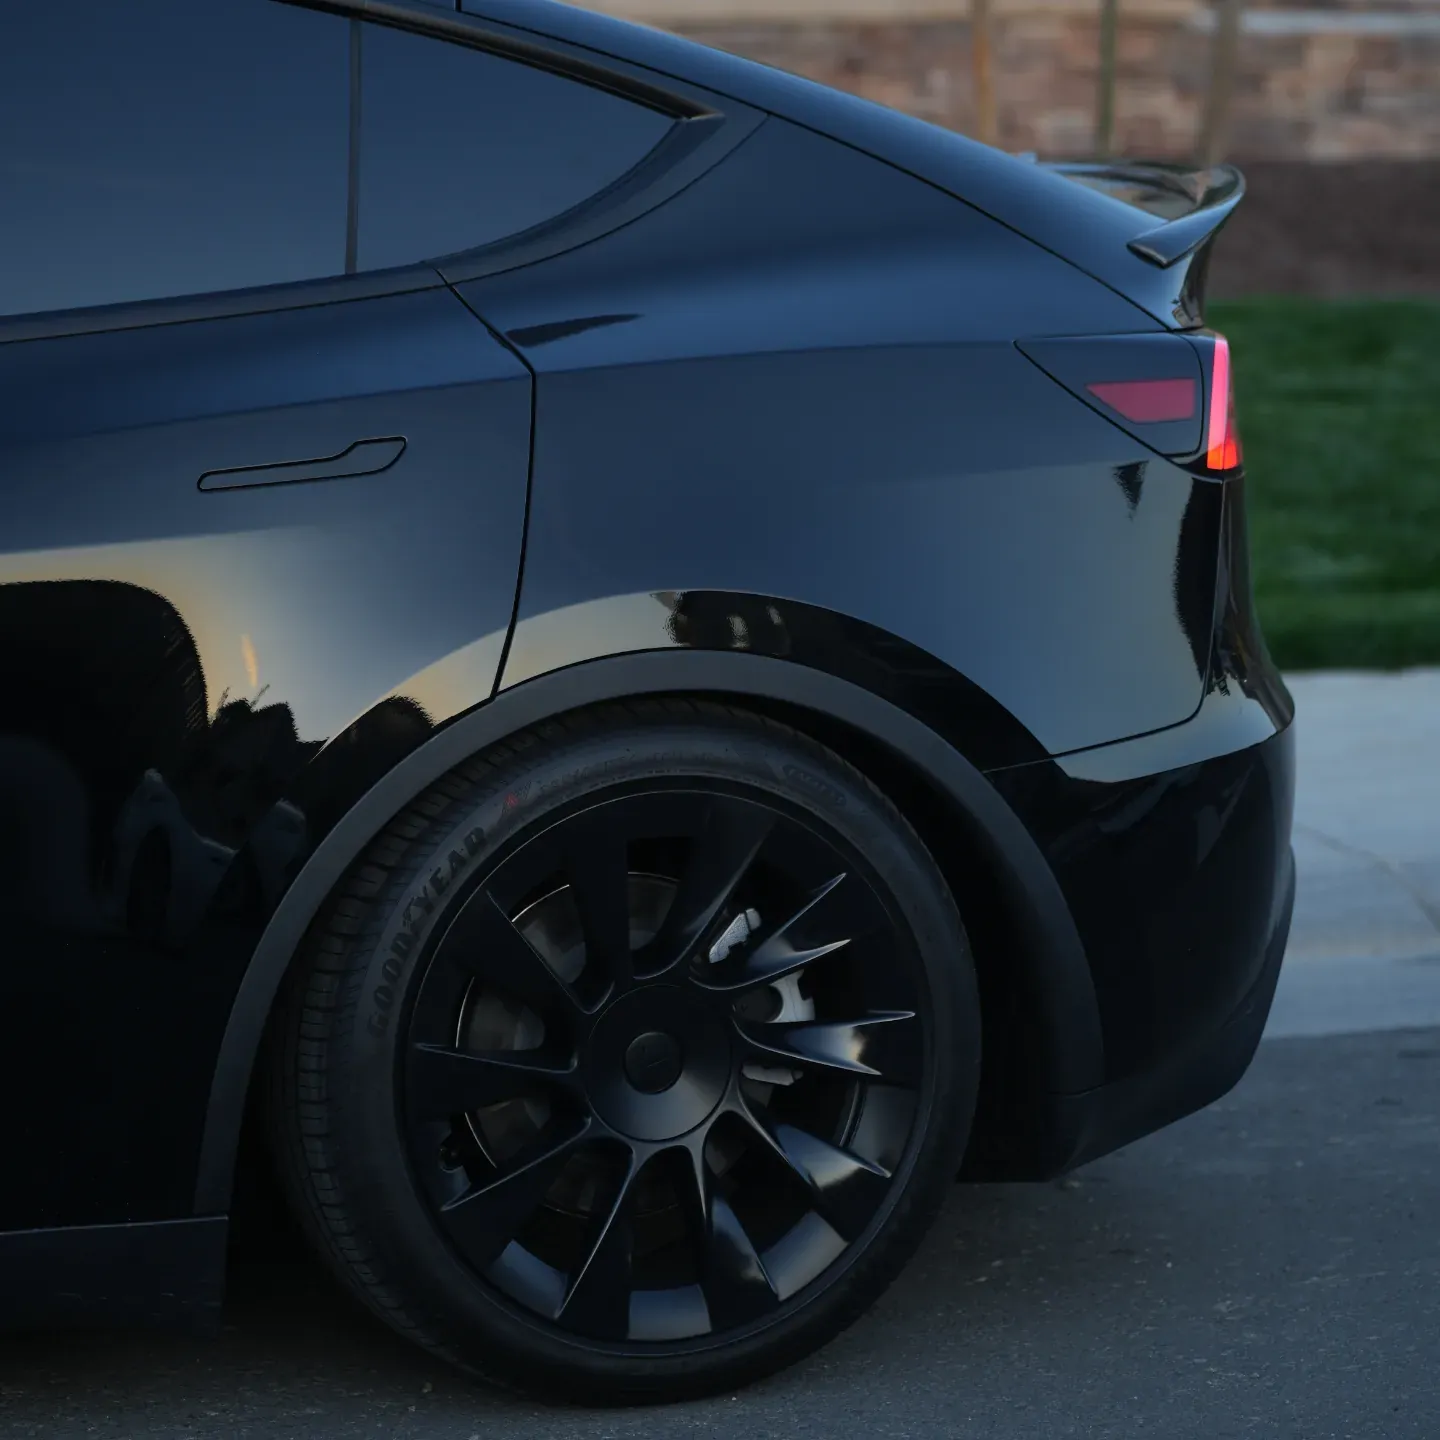
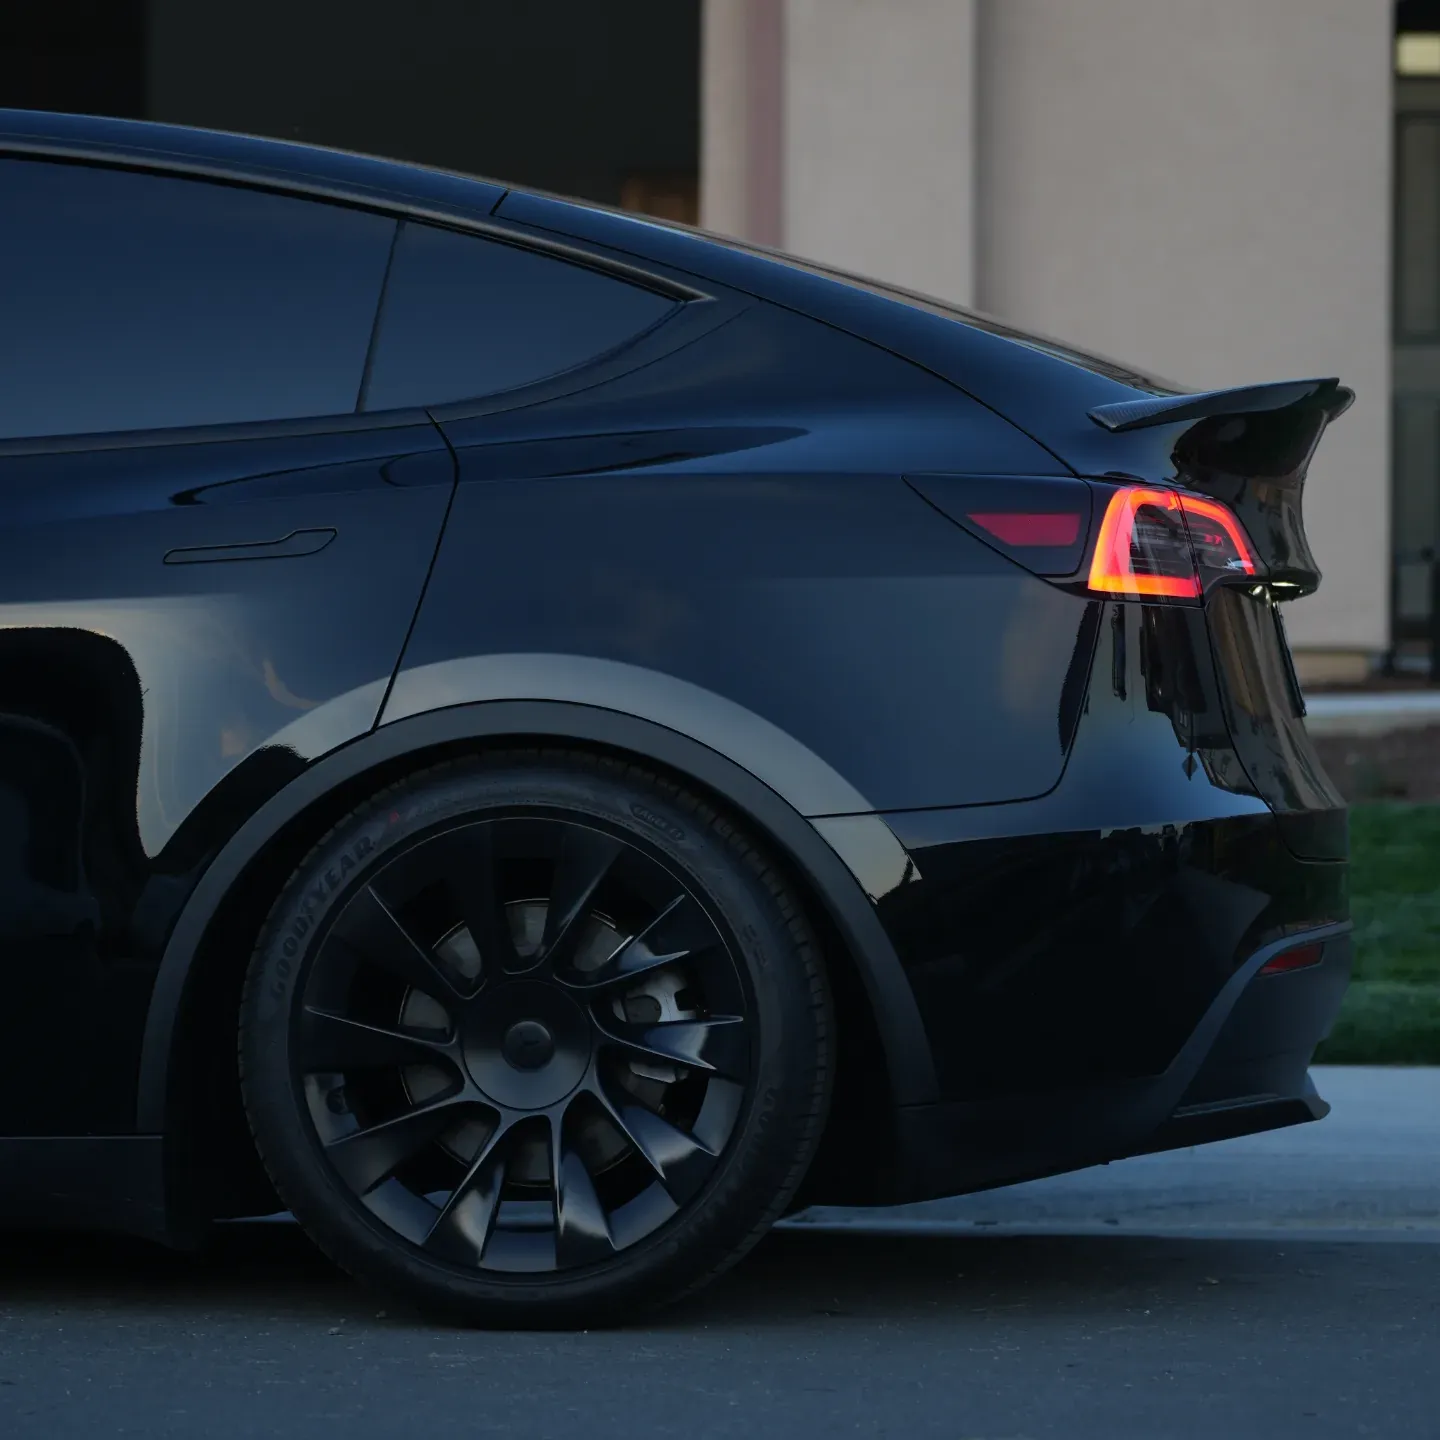
Photos from @ngooyen on Instagram. Follow for more.
Full transcript
Show the full transcript (134 lines) +
0:28Alright, it's your boy John, back again here with another video. Today we're going to be doing
0:31Today we're gonna be doing something crazy,
0:33the Hansshow Cyber Tail Lights for the Model Y.
0:37I'm gonna do a quick unboxing.
0:39one carrying that center piece so it's pretty long other than the taillights
0:44itself. I already have it kind of unboxed already on the top just so it's going to
0:49take these bad boys out. The packaging is amazing, you got the good foam around and
0:55you have the taillight number one.. This is going to be on the passenger so so that that looks
1:03great. It has this nice kind of cool smoke look to it so it does look
1:08more premium and then we have highlight number two. Lots of instructions and stuff
1:18stuff like that I was so excited it's already unboxed at first but a lot of
1:23instructions fully colored also has one of these neat little, hey thank you for
1:29by Poncho. Poncho's customer service has been amazing I ask them like hey
1:35I asked them like, hey, can I get the amber turn signals because we got 20.3 these,
1:42these this part right here will light up red for the US market, which I'm in
1:47but they were able to get this in amber so I'm going to try that, that out build.
1:56You don't even need the if you just want to run these taillights which look like a very smoke OEM look
2:01lights which look like a very smoke OEM look that's perfectly fine because I
2:07would thought that there would be some kind of wiring right there because if you
2:30coolest part. can't believe they've made this. like that's just insane. full length, full width.
2:41so there it is. it's all in that plastic traveling. I'll take it out so you can see it a little
2:49bit better. so we can install it. you shouldn't want to put it back on just so when you're
2:54installing it it doesn't get scuffed up. so first thing you want
2:58want to do is pop this, bad boy. we're going to be taking out these taillights first.
3:00We're gonna be taking out these, these tail lights first.
3:02Should be pretty easy.
3:04You just pop this tab off, the clip tool Remover,
3:08plastic trim remover, and it just pops off.
3:11Pumps it off.
3:14And there are two eight millimeter bolts
3:17in the back here.
3:18All I did was pull this little rubber trim up,
3:21and then I just had this snake through there,
3:23and you don't, it's not torqued too much,
3:25but you have two little eights millimeters.
3:30And then you just pull the tail light out and this is how I do it, I'm just the charger for that.
3:43It's going to be plugged in, so you want to unplug it too.
3:49There's actually enough room to unplug it right here.
3:53Here a better look of the two, it's actually on this side, the two 8
3:59like this. These are just clips that you just need to pull out. And for the harness connector,
4:07all you have to do is pull it. So I just, it's usually locked in and you just pull it out.
4:14And when you're pulling it it out, it also releases it. Do that for the other side and we're pretty
4:19much. halfway done. Alright, so you already see me remove this.
4:25area is more the same two plugs pull this back you don't have to take everything
4:32Just enough to get to the back. And now we can start working on the upper..
4:41Alright, so, next we need to remove
4:43This head goes out of the brake light and goes in here, let's slowly, it's just held by clips.
4:58All right so the next thing I'm
5:05and you just pop it off, get something under there and then you go whoop.
5:10You want to pop this bad boy off, just use a pry tool, you can pry it kind of like this
5:18and you just pry it from the back too.
5:20So,d you just keep on, keep on working at it until it.
5:25So, this here pops
5:30It just came straight out.
5:38All right, so the whole thing kind of just popped off. There was this one clip right here that
5:44kind of stuck it everything together. Right in the middle, but after that, there's this one clip
5:49right here. Everything starts to fall off.
5:53Backness to it the
6:02After that, there's just that one screw right there and a similar plug.
6:09That is yours.
6:11All right.
6:12So after everything's unplugged, you know, there's those two little clips.
6:17stick something, I'm not gonna use two hands, but you pretty much, I'm gonna put some pressure
6:22on this one little bolt that was holding it. While I'm doing that, I'm it, I'm gonna clip it out.
6:47assembling.
6:52So of course we're going to snake this wire through here and it's going to expose these
6:56extra wires.
6:58So plugging the OEM plug, you wanna do that, but then you wanna snake these two inside that little hole as well, but you also wanna plug in the wires that are included. So the bagspie are labeled right, left, left, right. So I have the left bag,
7:01You wanna do that.
7:03Open and you wanna snake a
7:18So the bags are labeled right, left, left, right.
7:27So I have the left bag, which is on the left side.
7:34So here's the bag and this is going to connect all the way up.
7:43So that's quite the long cable.
7:58And you just plug it in these little wires.
8:08We're going to do the same for the other side,
8:10and then this gets snaked all the way back up to the trunk.
8:17Alright anyhow, I'm just testing it.
8:19We plugged in the two wires here,
8:22and we just have to snake it up,
8:24but I just want to make it so I can see what's going on.
8:28those two wires plug into these two wires right here there's like the blue and
8:33There's like the blue and yellow and there's this white one and then the
8:36cyber bar connects to another. I only, that's only shown half right now which is super
8:43cool though. I know it's dangling but I just want to make sure everything
8:50works, it works properly. So I just did a little test run for just this side, everything looks
9:01is to have to run this wire pretty much unplug it of course.
9:05And then have it sneak through this little hose right here.
9:08Go into here, snake it to this right, right here.
9:12Zip tie so it doesn't rattle. Do the same for the other side.
9:16The. The driver side or the left side is going to be longer because it has to travel further,
9:23but other than that it looks fantastic. So I really like the fitment. It's really hard
9:33to not change the fitment once it's in. Right here does hang out a little bit lower than
9:39I wanted to, but it's fine. Let's see if you can like add something because right
9:48here fitment is great. You just need to pull this a little bit to make it
9:52fit a little bit better. Before I install
9:54this tail light there is a little wire that it needs to go through. Let's see
9:58if I can tbar right here. There's a little slit so you could bring that
10:00here, there's a little slit. So it's best to do this right now. What you have to do is
10:10make sure you have it nice and clean. Now it is time to bring out the goodies. Now with
10:23the way the taillight works, it goes like this. This way is the wrong way. You to
10:30You want to match it up with the tail light.
10:33The taillight is going to be like this, and you see how it's
10:34the taillight is going to be like this, and you see how it's a trapezoid, upside down trapezoid.
10:43All right, so we're just messing with the fit mitt, and definitely I would highly recommend
10:49someone else coming because you need this part to go in here and then put the taillight
10:55N on this side, so we snake those wires in, that way we can line it up on this side.
11:06No, you probably don't have the best of you, but it would kind of go like this.
11:15Just make sure everything is clipped in and you will be able to push in.
11:25All right, but then you have this wire, you see how I have it pushed in but right here
11:37I don't have it screwed in all the way yet. So you want to feed that wire in that little
11:43crevice and do that to both sides
12:03Everything is wrapped up
12:07Beautiful. Beautiful. Make sure you get this fit this nice and good good. I, try to
12:15have it so it's symmetrical.
12:23Pressure from the back. All right, that concludes it. We have the Han
12:29shows cyber-tail lights installed and it looks great. I know my car is a
12:35dirty.
12:37Just know that the model 3 and the, the model Y cyber part right here are different sizes
12:43If you're interested in buying this product hit down in the links below where I have a little coupon code and you can
12:50Purchase the cyber light yourself on show has everything packaged really nice
12:55Very good packaging. That's it amazing packaging foam
12:59Saram wrap and then more so
13:02Yeah, she rides good
13:04Anyways, thank you guys for watching. Catch you guys in the next one. Peace!
13:11Get this going.
13:16student-only animation
13:21Let me know what it's done.
13:22Yep.
13:24Bright lights.
13:30Again.
13:34We have the turn signal left. Turn signal right. Hazard, both will go on. I will have reverse on.
14:04Let go of the brakes and I'll turn it up.
14:11Put it on one more time.
Machine-transcribed from the full-length video and lightly cleaned (product names fixed). Watch the video for exact wording.
Next step