Hansshow Phantom Animated Tail Lights: Tesla Model Y Install + Light Test
Swap the Model Y's four tail lights for Hansshow's Lexus-style phantom units: two 8mm bolts per lower light, one screw per trunk-lid light, daisy-chain the left/right harnesses, run the white link wire across, and test the animation, sweeping signals, brake and reverse.
Full video (10 min): Luxury Tesla Taillight | Animated Phantom Lexus like Taillights · John's YouTube channel
Get the parts
- Hansshow phantom-style tail lights, Tesla Model 3 / Y (Amazon)Buy ↗
- Plastic trim removal tool: Generic pickGeneric pickSearch on Amazon ↗
- Find Hansshow phantom tail lights for the Model Y on eBayBuy ↗
- More Hansshow productsBuy ↗
- John's previous full-width strip tail lights (Hansshow)Buy ↗
- Want a Tesla? John's referral linkBuy ↗
CodeHansshow discount code (20% off) — JOHN
DEALCode "JOHN" for 20% off at Hansshow (per the video description)
As an Amazon Associate I earn from qualifying purchases. Some links are affiliate links.
Swap the Model Y's four tail lights for Hansshow's Lexus-style phantom units: two 8mm bolts per lower light, one screw per trunk-lid light, daisy-chain the left/right harnesses, run the white link wire across, and test the animation, sweeping signals, brake and reverse. This 10 min guide covers the Hansshow phantom-style tail light assemblies for the Tesla Model 3 / Model.
Overview
John replaces his Hansshow full-width light bar with Hansshow's newer phantom-style tail lights, which he says look more luxurious and less Tesla (more like a Lexus). The install is a few bolts and clips. For each lower tail light, pop the small trim tab with a plastic trim tool, lift the rubber trim and remove two 8mm bolts (not torqued much), then pull the light and unplug it; there's room to reach the connector. For the trunk-lid lights, remove two clips and pry the trim panel off from the back; once one center clip lets go the panel drops, and each light is one screw and one plug. The new lights bolt in with two bolts and snap in; feed the small wire through its hole. Hansshow's harnesses sandwich between the OEM plug and the new light (left goes on the driver side), and the trunk-lid lights get the same daisy-chain, which means fishing the wire up into the lid. A single white wire links one tail light to the other. Zip-tie everything. The test shows the unlock/lock animation, bright sweeping turn signals (more signal area than stock, so John calls it safer), hazards, running lights, brake lights and reverse.
Vehicle & fitment
- Product
- Hansshow phantom-style LED tail light assemblies for the Model 3 / Y: animated lock/unlock sequence, sequential sweeping turn signals, running, brake and dual reverse lights, with plug-in left/right harnesses
- Shown on
- Tesla Model Y (John's car); the listing covers the Model 3 / Model Y
- Hansshow phantom-style tail light assemblies for the Tesla Model 3 / Model Y (Amazon link in the description)
- Plug-and-play with the supplied harnesses; the description says they're SAE / DOT compliant
- Replaces both lower tail lights and both trunk-lid lights
Always confirm fitment for your exact year and trim with the seller before buying.
Tools & parts
Tools
- Plastic trim / clip removal tool
- 8mm socket with extension
- Pry tool for the trunk-lid trim
- Zip ties
- A helper to work the brake, reverse and signals for testing
Parts
- Hansshow phantom-style lower tail lights (left and right)
- Hansshow trunk-lid lights (left and right)
- Left / right plug-in harnesses
- White link wire between the lights
Video chapters
- 0:00Introduction to tail lights
- 1:11Removing stock tail lights
- 2:58Removing upper tail lights
- 4:28Installing new tail lights
- 6:05Finalizing the installation
- 7:30Testing the new lights
Step by step
- 1
Old vs new▶ 0:27
John's old Hansshow lights were one full-width bar. The new phantom style looks more luxurious and less Tesla. The install is just a few bolts.
- 2
Pop the trim tab▶ 1:15
Pop the small tab beside the lower tail light with a plastic trim / clip removal tool.
- 3
Remove two 8mm bolts▶ 1:32
Pull the rubber trim up and snake an extension through: two 8mm bolts hold each light, and they aren't torqued much.
- 4
Pull and unplug▶ 1:49
Pull the tail light out. The harness connector locks in; pulling the release frees it, and there's enough room to unplug it right there. Do the other side.
- 5
Remove the trunk-lid trim▶ 3:19
Remove the two clips, get a pry tool under the panel and work it from the back until it pops. Once the one clip in the middle lets go, the panel comes off.
- 6
Remove the trunk-lid lights▶ 4:20
Each is one screw and a plug. Press the two retaining clips while you pull the light out.
- 7
Mount the new lights▶ 5:06
Two bolts per lower light, then snap it in. Feed the small wire through its hole as you go.
- 8
Daisy-chain the harnesses▶ 5:28
Use the Hansshow harness (left goes with the driver side): one end to the new light, the other to the OEM plug, so it sandwiches between them. Do the same for the trunk-lid lights.
- 9
Fish the wires up▶ 6:50
The tedious part is fishing the harness up into the trunk lid. John runs it up, then straight back.
- 10
Link the two sides▶ 7:05
Plug the single white wire from one tail light to the other, then tidy everything with zip ties.
- 11
Test everything▶ 7:38
Unlock and lock animation, bright sweeping turn signals (left to right), hazards, running lights, brake lights and reverse all work. With more signal area, John says they're safer than stock.
Wiring notes
- Each light: Hansshow harness between the OEM plug and the new light (daisy chain); left harness on the driver side.
- Trunk-lid lights: same sandwich, with the lead fished up into the lid.
- One white link wire between the left and right lights.
- Zip-tie all leads so nothing rattles.
Get the parts
- Hansshow phantom-style tail lights, Tesla Model 3 / Y (Amazon)Buy ↗
- Plastic trim removal tool: Generic pickGeneric pickSearch on Amazon ↗
- Find Hansshow phantom tail lights for the Model Y on eBayBuy ↗
- More Hansshow productsBuy ↗
- John's previous full-width strip tail lights (Hansshow)Buy ↗
- Want a Tesla? John's referral linkBuy ↗
CodeHansshow discount code (20% off) — JOHN
DEALCode "JOHN" for 20% off at Hansshow (per the video description)
As an Amazon Associate I earn from qualifying purchases. Some links are affiliate links.
FAQ
What vehicle does this install fit?
It is shown for the Hansshow phantom-style tail light assemblies for the Tesla Model 3 / Model Y (Amazon link in the description). Plug-and-play with the supplied harnesses; the description says they're SAE / DOT compliant Always confirm your exact year, trim and factory audio with the seller.
How long does the install take?
John's full video is 10 min. Plan on that much time for a careful DIY install, plus extra if you are new to dash work.
What tools do I need?
Tools called out in the guide: Plastic trim / clip removal tool; 8mm socket with extension; Pry tool for the trunk-lid trim; Zip ties; A helper to work the brake, reverse and signals for testing.
Where do I get the parts?
Use the buy links on this page for the unit and any harnesses John used. Some links are affiliate links.
Is this beginner-friendly?
The guide breaks the job into 11 steps with timestamps into the video. If you can remove trim panels carefully, you can follow along.
John's Tesla Model Y
More photos →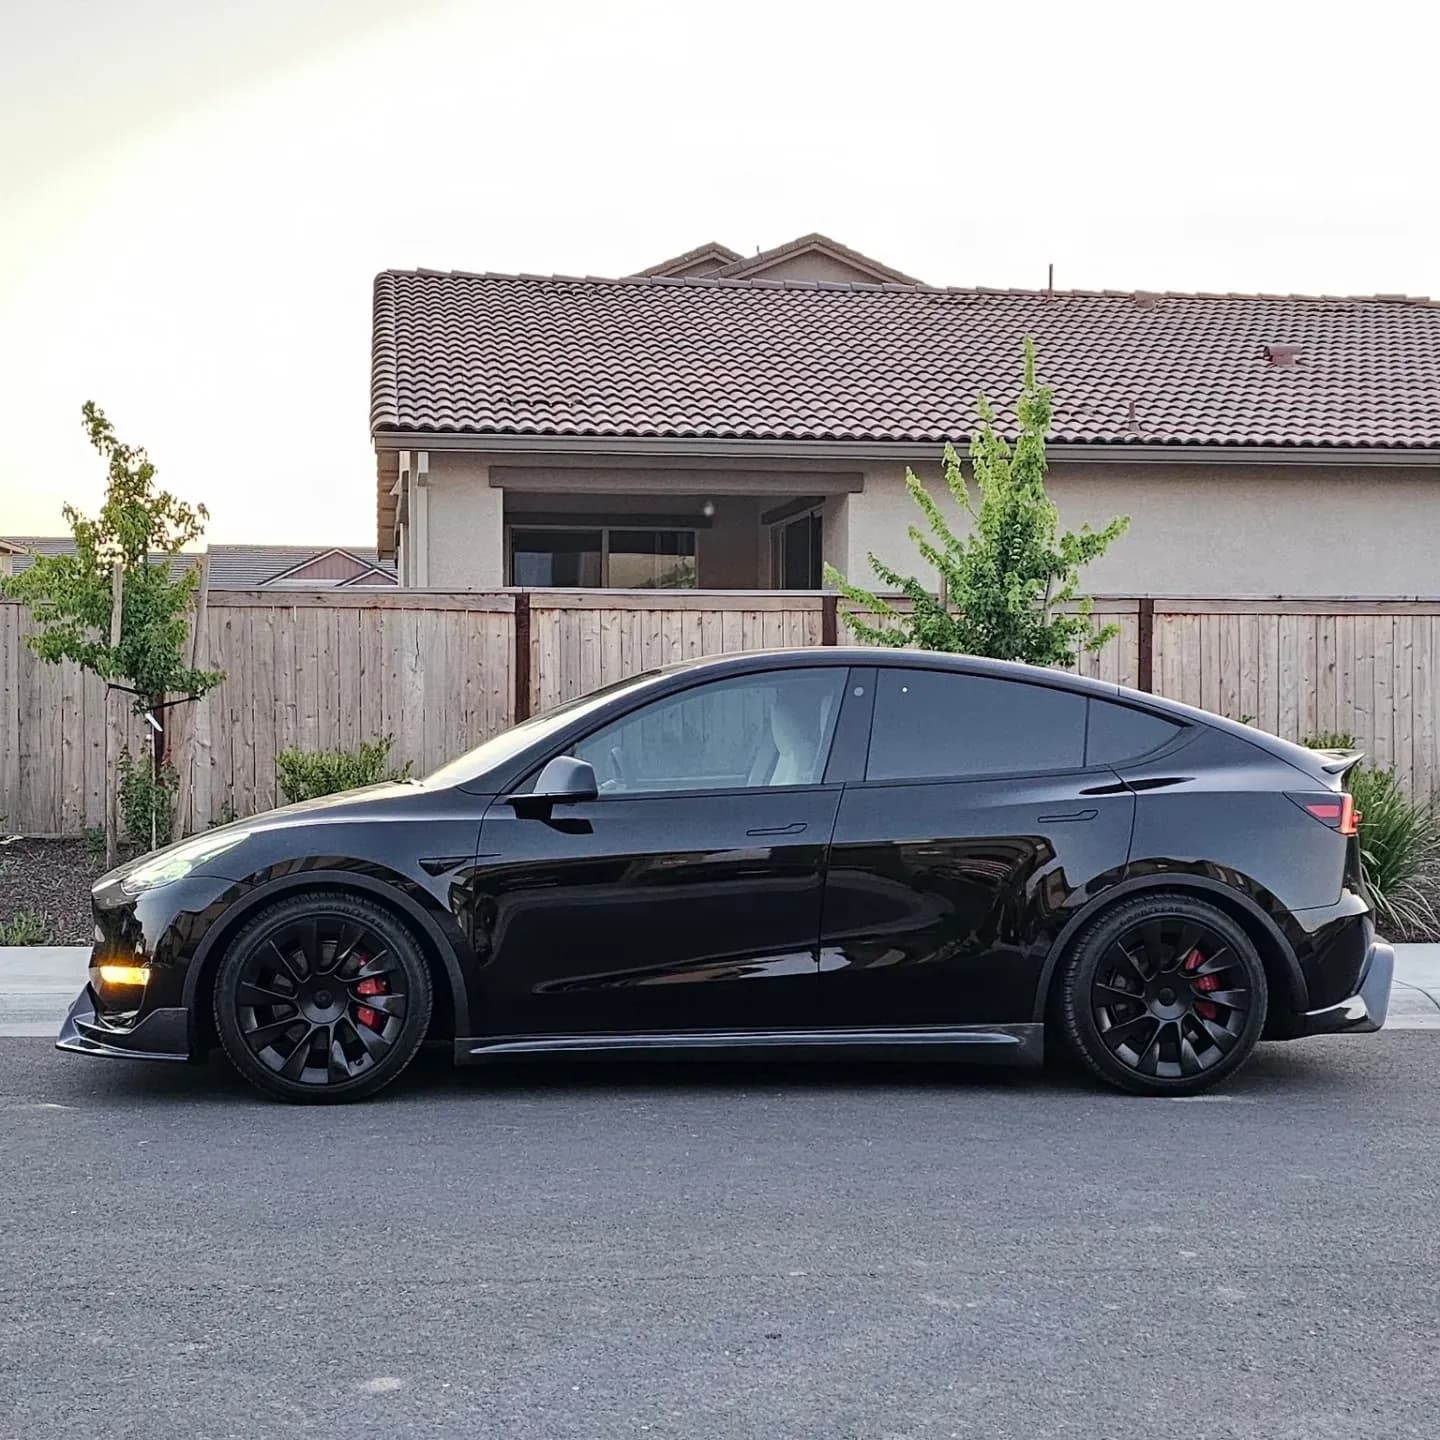
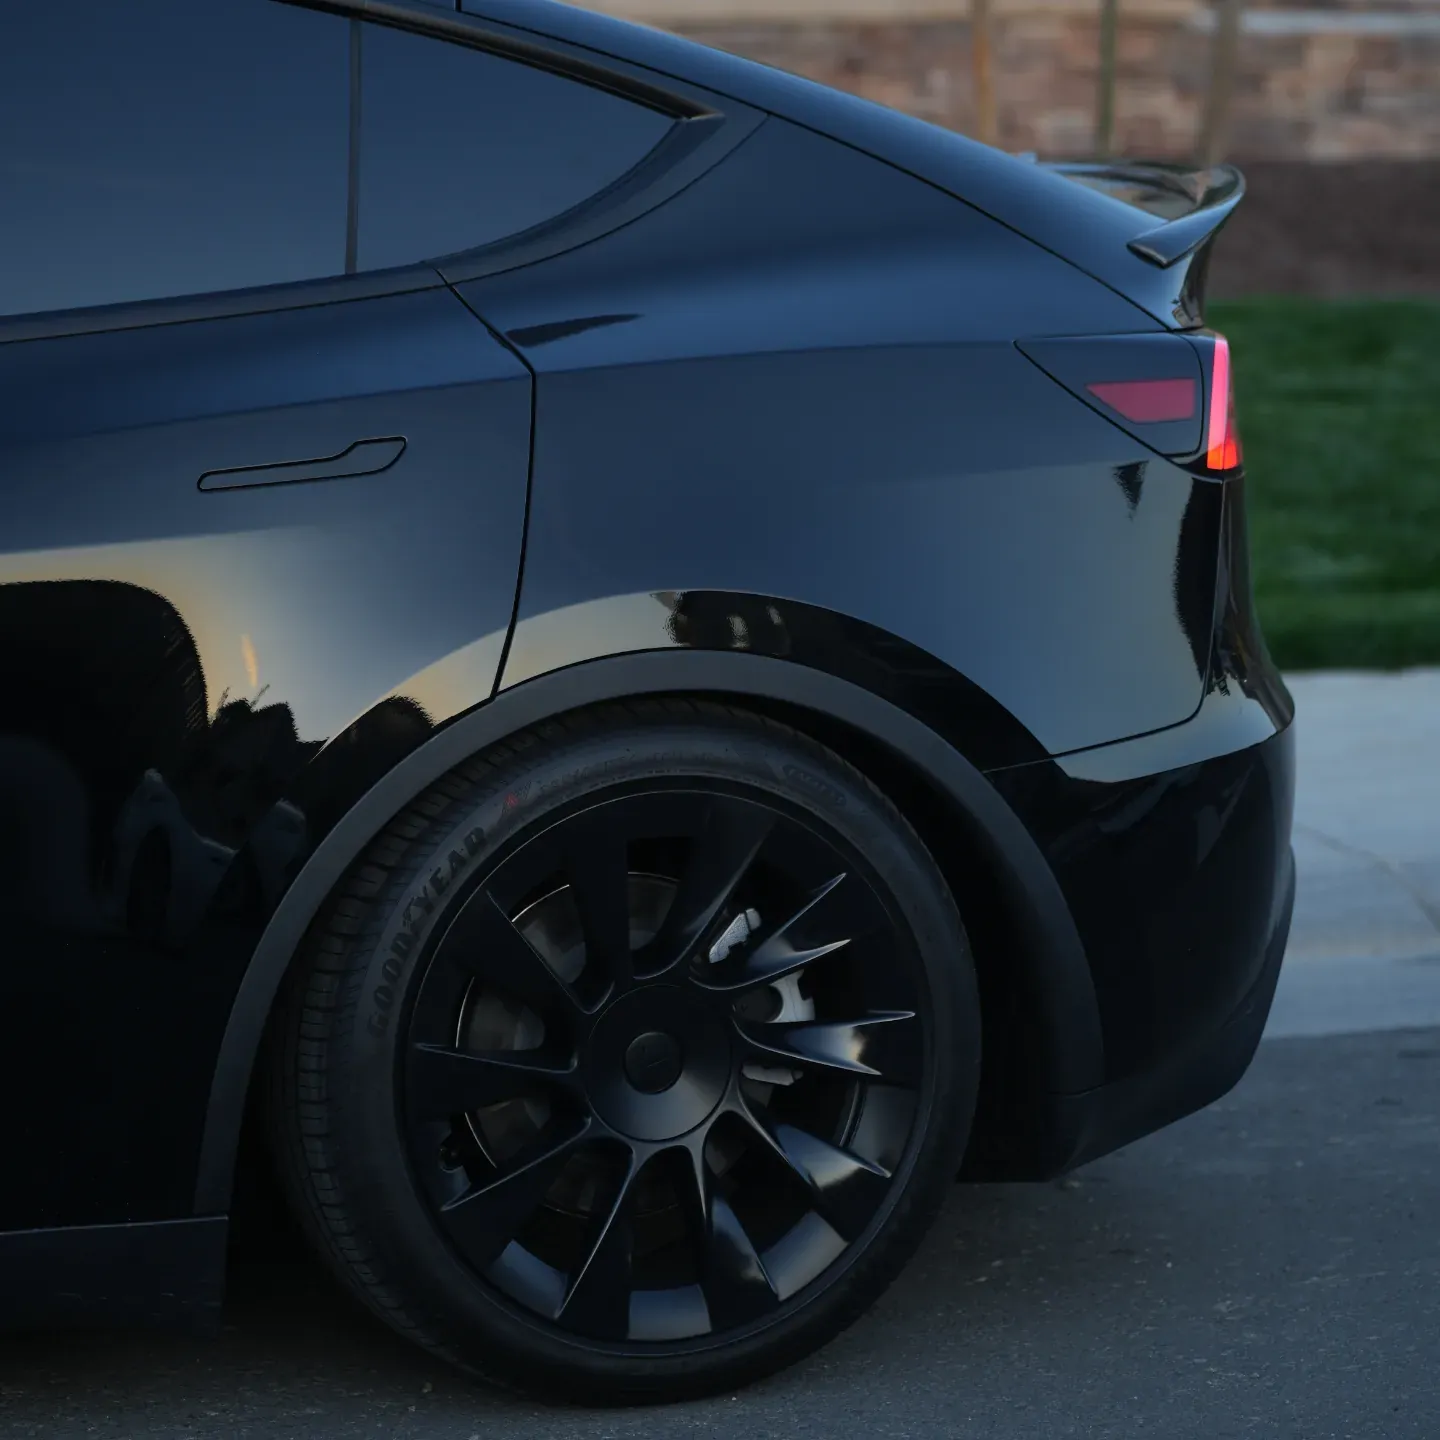
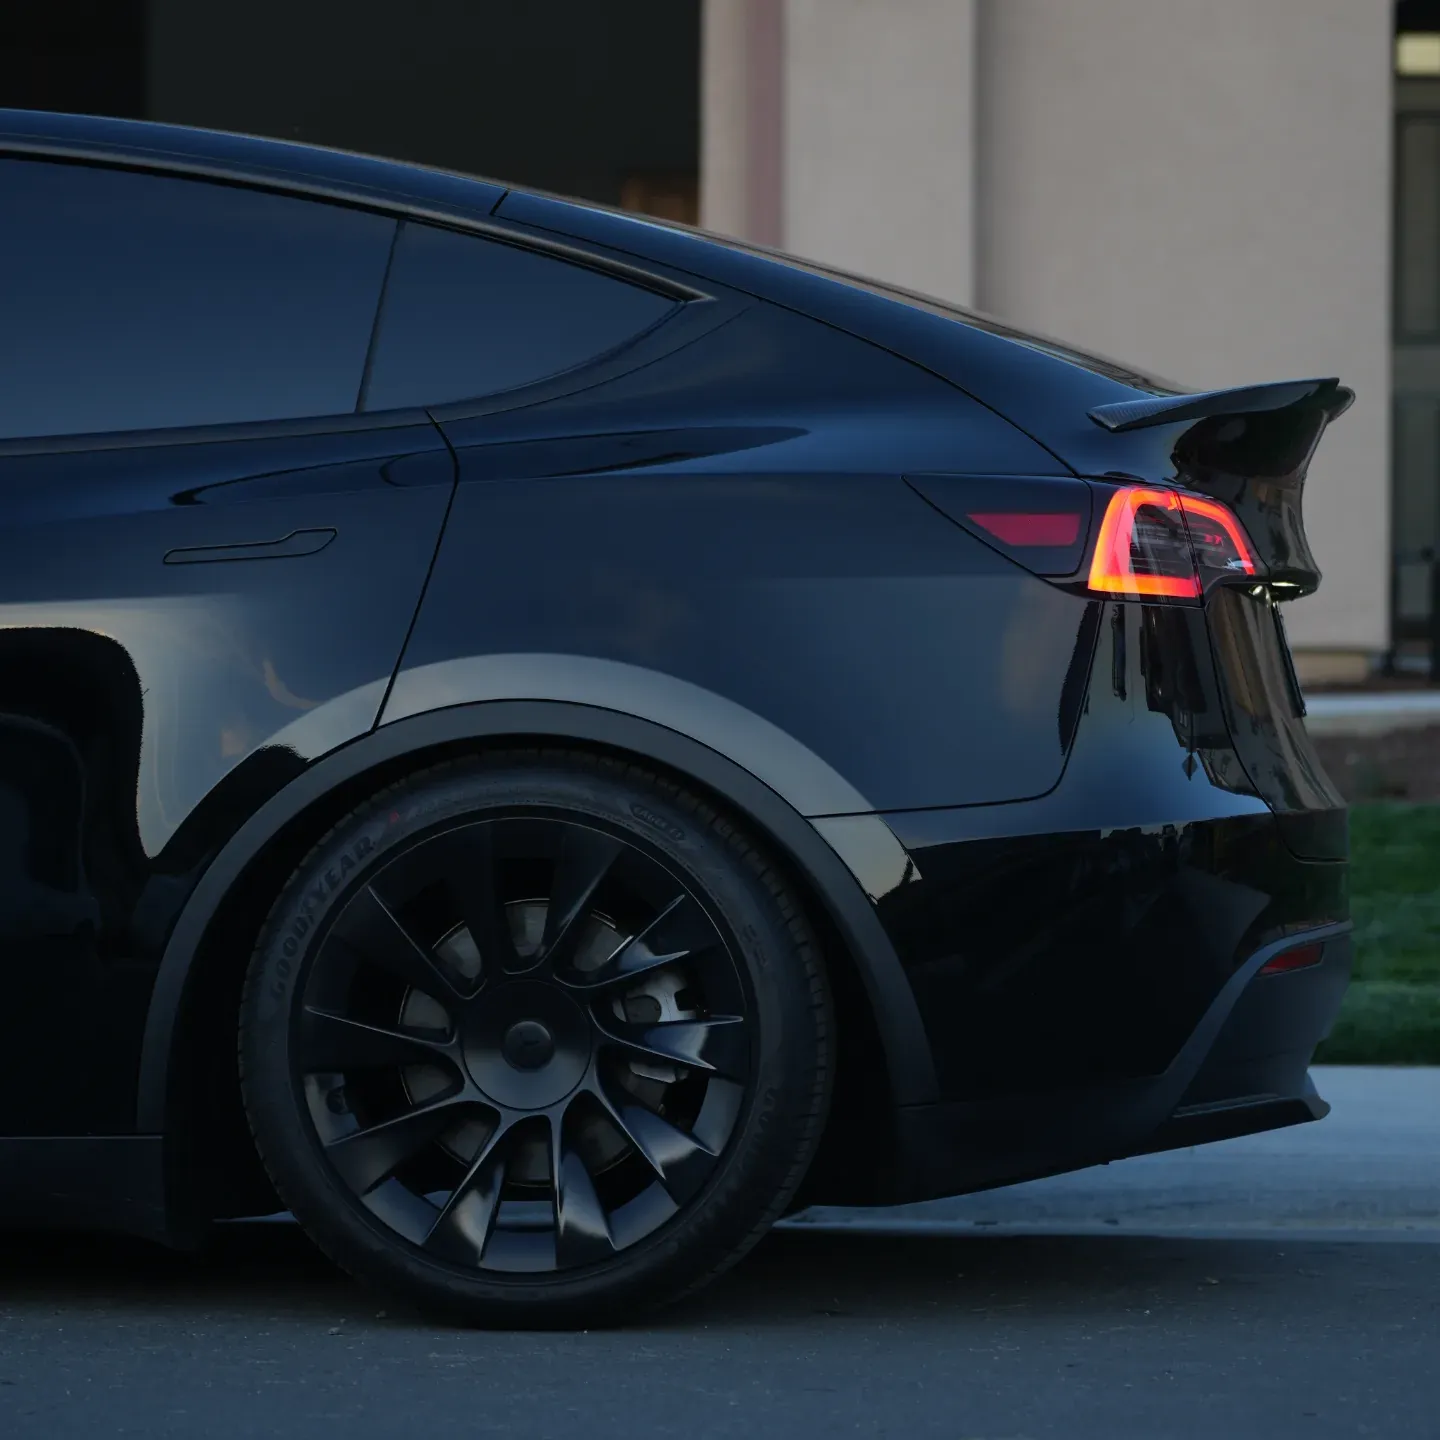
Photos from @ngooyen on Instagram. Follow for more.
Full transcript
Show the full transcript (123 lines) +
0:00What's up guys it's your boy John we are back again here with another video today
0:27Today we'll be taking a look at the Tesla Model Y.
0:30We'll add some new taillights in.
0:32These are also from Hansshow,
0:34so if you're interested in picking up these new taillights,
0:36they are their newer model.
0:38It's gonna be supposedly brighter, more, I don't know,
0:43awesome.
0:44The current ones I have right now
0:45are also from Hansshow as well,
0:47and they're actually very awesome as well.
0:49They are the, the taillight,
0:53so it's like one full bar,
0:55and then we have the new one right here,
0:57which is, it looks kind of more luxurious and less Tesla.
1:01So if you like the more Tesla look,
1:04I really am a fan of these.
1:05So leave a link down below,
1:07comment below if you were,
1:09you say, tell me which one looks better to you.
1:11So the install is actually pretty easy, speach.
1:13Just a few bolts, and here we go.
1:15All right, so the first thing you wanna do is pop this bad boy.
1:18We're gonna be taking out these taillights first
1:23Just pop this tap off with a clip tool remover,
1:26plastic trim remover, and it just pops off.
1:29Pumps it off.
1:32And there are two eight millimeter bolts
1:36in the back the back here.
1:37All I did was pull this little rubber trim up
1:40and then I just had this snake through there
1:42and it's not torqued too much
1:44but you have two little eights millimeters.
1:49And then you just pull the tail light out.
1:52And this is how I do it.
2:11It's going to be plugged in. So you want to unplug it too. There's actually enough room to unplug it right here.
2:11Here's a better look of the two, it's actually on this side, the two eight millimeters because it goes
2:20and for the harness connector all you have to do is pull it so I just it's
2:30usually locked in and you just pull it out and when you're pulling it out it
2:33also releases it do that for the other side and we're pretty much halfway done
2:38alright so you already see me remove this this area is more the same two
2:45plugs pull this back you don have to take everything off you don't have to
3:01Move this head, go back to the brake light, you can do
3:07Just slowly you pour, it just helped my clips.
3:16Alright, so the next thing after you do is remove those two clips, then you look like this,
3:23Get something under, under there
3:28You want
3:29You want to pop this bad boy off
3:31Just use a pry tool
3:33You can... kind of like this
3:36, and you just pry it from the back too
3:38So you're just going to keep it at it until it pops off
3:43So this actually pops out really easy
3:46After a certain amount of pressure
3:48It just came straight out
3:56All right,
3:57So the whole thing kind of just popped off. There was this one clip right here.
4:00right here
4:02that kind of stuck it everything together
4:05right in the middle but after that there's this one clip
4:08right here
4:09everything starts to fall off
4:11and now you have access to the toilets
4:13it's crazy how all the speakers and the water
4:17and it's, it's all powered by the one clip.
4:20After that, there's just that one screw right there
4:23and a similar plug.
4:27And that and tail light is yours.
4:29All right, so after everything's unplugged,
4:32you know there's those two little clips in there.
4:36I'm gonna have to use two hands,
4:38but you pretty much,
4:38I'm gonna put some pressure on this one little bolt
4:42that was holding it.
4:43While I'm doing that, I'm gonna clip it out.
4:47Alright, welcome back to the present.
5:06Now if you see here I have removed all the OEM stuff and we're going to start clean.
5:12These are actually pretty easy to install, there's two bolts so you just put them in.
5:17snap right in. And just make sure you feed this little wire into the little hole as well.
5:28All right, so once you have it kind of mounted in
5:32you want to use this harness right here. As you can tell right there, that's
5:37and you want to use the harness that was supplied by Hansshow.
5:42and left goes with the driver side and you want to
5:47match the pins in and you plug in the new side. You basically sandwich this new
5:53harness so this one goes to the back of this tail light and this side goes to the
6:01OEM harness. All right after you hook up the plugs on both sides of that little
6:10harnesses, that plugs into the back of this taill aight to the front, you will get a right and a left right
6:16would be passenger side and you plug in this one plug right here and you're gonna have to be you're gonna have to
6:21fish it all the way up here and you want to meet it right here the other side of part similar to what
6:29we did to the bottom tail light you want to basically a sandwich this or daisy chain it so the
6:33sandwich this or Daisy chain it, so the harness, and then this part is OEM wire that goes
6:42into the harness, definitely you're, you're going to the same for the both side right here.
6:46So hopefully you can see that it's just Daisy chain.
6:50And I guess the more tedious part is fishing this all the way up.
6:56So what you want to do up, up up here and once you get up to here, I like to put
7:01to put it up here and then go straight back. Alright I also have to hook up from
7:08one there's a one wire I don't know if you can see that but there's a white
7:11little one right there and you want to plug it from one tail light to the other
7:16after that you want to tidy up everything up with some zip ties and just
7:22wrap it up.
7:24Alright, so we have the new taillights are installed and now it's a little bit dark, but
7:30So we have the new, new taillights, installed and now it's a little bit dark but we will see the unlock function there's a little animation right there here just a lock function unlock.
7:55walk again, very cool. You got turn signals, very bright. Then I have my eye so you guys
8:01You got turn signals, very bright, and I have my ISO fixed so you guys don't, it doesn't
8:14change.
8:15It's very bright, you need the right one, nice, alright you can turn that off, let's
8:26Let's try hazards.
8:32Sweet.
8:36They're very bright and they sweep from left to right
8:39so it's actually more safe than the OEM one
8:41in one because there's more turn signal. All right, can you turn those off? Can you
8:48turn your headlights on?
8:50And then can you have the brake lights on?
9:06Brake lights off, brake lights on, brake lights off, try that again.
9:18So they do light up a little bit more.
9:21All right.
9:23Can you have your reverse on?
9:32Oh, the reverse isn't on.
9:36There's the reverse lights.
9:41Okay, you can turn those off.
9:43And then can you have turn signals
9:45with hazard lights with brake light?
9:48Click go, press it again, okay.
Machine-transcribed from the full-length video and lightly cleaned (product names fixed). Watch the video for exact wording.
Next step