Hansshow Power Frunk: Tesla Model Y (2023) DIY Install
John installs the Hansshow power frunk on a 2023 Model Y: new struts and brackets, a soft-close latch motor, a plug-in harness and a speed setting. No more fingerprints or dents on the hood.
Full video (14 min): Transform Your Tesla Model Y with this Game-Changing Power Frunk Upgrade | ByeBye Fingerprints/Dents · John's YouTube channel
Get the parts
- Search Amazon for Hansshow Tesla Model Y, 2023 with the lithium-ion 12V batterySearch on Amazon ↗
- Find Hansshow Tesla Model Y power frunk on eBayBuy ↗
- Hansshow power frunk (Hansshow store)Buy ↗
DEALCode "JOHN" at Hansshow (per the video description)
As an Amazon Associate I earn from qualifying purchases. Some links are affiliate links.
John installs the Hansshow power frunk on a 2023 Model Y: new struts and brackets, a soft-close latch motor, a plug-in harness and a speed setting. No more fingerprints or dents on the hood. This 14 min guide covers the Kit shown is the Hansshow power frunk for the Tesla Model Y with tools, parts links and the full video.
Overview
John hated pressing on the Model Y's frunk lid (fingerprints and dents), so he added the Hansshow power frunk. The kit has two power struts with R/L brackets, a soft-close mechanism that pulls the lid down the last inch, a water-resistant control box, a plug-in harness that intercepts the OEM signal, and an emergency release. You remove the frunk tub and the factory struts, mount the new brackets and struts, add the soft-close bracket to the latch, then plug everything in: strut leads, B+ power, ground, the D5 soft-close plug, the D2 speaker and the daisy-chained latch plugs. Test with the button, set the speed, then tidy the wiring. John says it worked right out of the box with no adjustments.
Vehicle & fitment
- Product
- Hansshow power frunk kit (power struts, brackets, soft-close latch motor, control box, plug-in harness, emergency release)
- Shown on
- Tesla Model Y, 2023 with the lithium-ion 12V battery (pre-Juniper)
- Kit shown is the Hansshow power frunk for the Tesla Model Y
- The power lead mounts differently on cars with the older lead-acid 12V battery, per John
- For the Model Y Juniper refresh, see John's separate Juniper power frunk guide
Always confirm fitment for your exact year and trim with the seller before buying.
Tools & parts
Tools
- 10 mm socket
- 13 mm socket
- Hex key (supplied for the bracket bolts)
- Flat-head screwdriver or trim tool
- Zip ties
Parts
- Two power struts
- R and L strut brackets
- Soft-close latch mechanism with motor and bracket
- Control box (labeled Model Y Frunk)
- Plug-in wiring harness
- Emergency release
- Zip ties and 3M tape
Video chapters
- 0:00Introduction to frunk kit
- 0:31Unboxing the components
- 2:13Disassembling the frunk
- 5:11Installing the new struts
- 7:00Upgrading the latch system
- 8:32Wiring the control system
- 10:23Testing the functionality
- 11:43Tidying and final assembly
- 12:34Final review and conclusion
Step by step
- 1
What's in the box▶ 0:33
Emergency release, two power struts, harness wiring that intercepts the OEM signal, a soft-close mechanism with a small motor for the OEM latch (the struts bring the lid to the last inch and this pulls it shut), the control box, strut brackets, zip ties and 3M tape.
- 2
Remove the frunk tub▶ 2:13
Open the frunk and remove the 10 mm bolts. Unplug the connector, remove the plastic trim that holds the washer reservoir, and the whole tub comes out. Remove a few more 10s to reach the factory struts at the back.
- 3
Remove the factory struts▶ 3:51
Pop the lower ball joint off with a flat-head or trim tool. For the top, work a thin blade in, twist slightly and give it a smack with your other hand so it pops off. The other end is a 13 mm that isn't very tight.
Tip: Prop the lid before you remove the second side.
- 4
Mount the brackets and struts▶ 5:11
R and L are as seen from the driver's seat, not facing the car. Bolt each bracket with the supplied hex bolt where the 13 mm used to be; each one only fits one way. Clip the new strut in at both ends until you hear a click. With both struts in, they hold the hood by themselves.
- 5
Add the soft-close latch bracket▶ 7:00
Remove the two 10s, remove the original spring, install the small bracket for the motor (side facing out), hook it in, put the original spring back and remount the latch in its original spot.
- 6
Plug everything in▶ 8:32
Two leads per strut, then the red B+ power lead and the ground on a 10 mm. Next the D5 plug (the thicker one) to the soft-close motor and D2 to the small speaker. At the latch, daisy-chain the main control box into the plug, then the OEM plug, then the last small lead.
Warning: Power mounting differs between the 2023 lithium-ion 12V battery (shown) and the older lead-acid battery.
- 7
Test and set the speed▶ 10:23
Use the switch to test before tidying up. Hold the small white button on the control box to change speed; six beeps is the fastest setting. John runs it fast.
- 8
Safety pull and tidy up▶ 11:24
John wired a safety release to the tow hook. He zip-tied the soft-close latch to the metal rail and placed the control box at the back so it doesn't interfere with the air box, then put the panels back.
- 9
Verdict▶ 12:34
John has installed power frunks since the Model S and 3. This one needed no adjustments and worked right out of the gate, and he says Hansshow keeps refining the brackets to make it more reliable.
Wiring notes
- Each strut: two leads.
- Red B+ power lead to the 12V positive (mounting depends on lithium-ion vs lead-acid battery).
- Ground to a 10 mm chassis bolt.
- D5 (thicker plug) to the soft-close latch motor; D2 to the speaker.
- Latch: daisy-chain the control box in line with the OEM plug, plus one small sensor lead.
Get the parts
- Search Amazon for Hansshow Tesla Model Y, 2023 with the lithium-ion 12V batterySearch on Amazon ↗
- Find Hansshow Tesla Model Y power frunk on eBayBuy ↗
- Hansshow power frunk (Hansshow store)Buy ↗
DEALCode "JOHN" at Hansshow (per the video description)
As an Amazon Associate I earn from qualifying purchases. Some links are affiliate links.
FAQ
What vehicle does this install fit?
It is shown for the Kit shown is the Hansshow power frunk for the Tesla Model Y. The power lead mounts differently on cars with the older lead-acid 12V battery, per John Always confirm your exact year, trim and factory audio with the seller.
How long does the install take?
John's full video is 14 min. Plan on that much time for a careful DIY install, plus extra if you are new to dash work.
What tools do I need?
Tools called out in the guide: 10 mm socket; 13 mm socket; Hex key (supplied for the bracket bolts); Flat-head screwdriver or trim tool; Zip ties.
Where do I get the parts?
Use the buy links on this page for the unit and any harnesses John used. Some links are affiliate links.
Is this beginner-friendly?
The guide breaks the job into 9 steps with timestamps into the video. If you can remove trim panels carefully, you can follow along.
John's Tesla Model Y
More photos →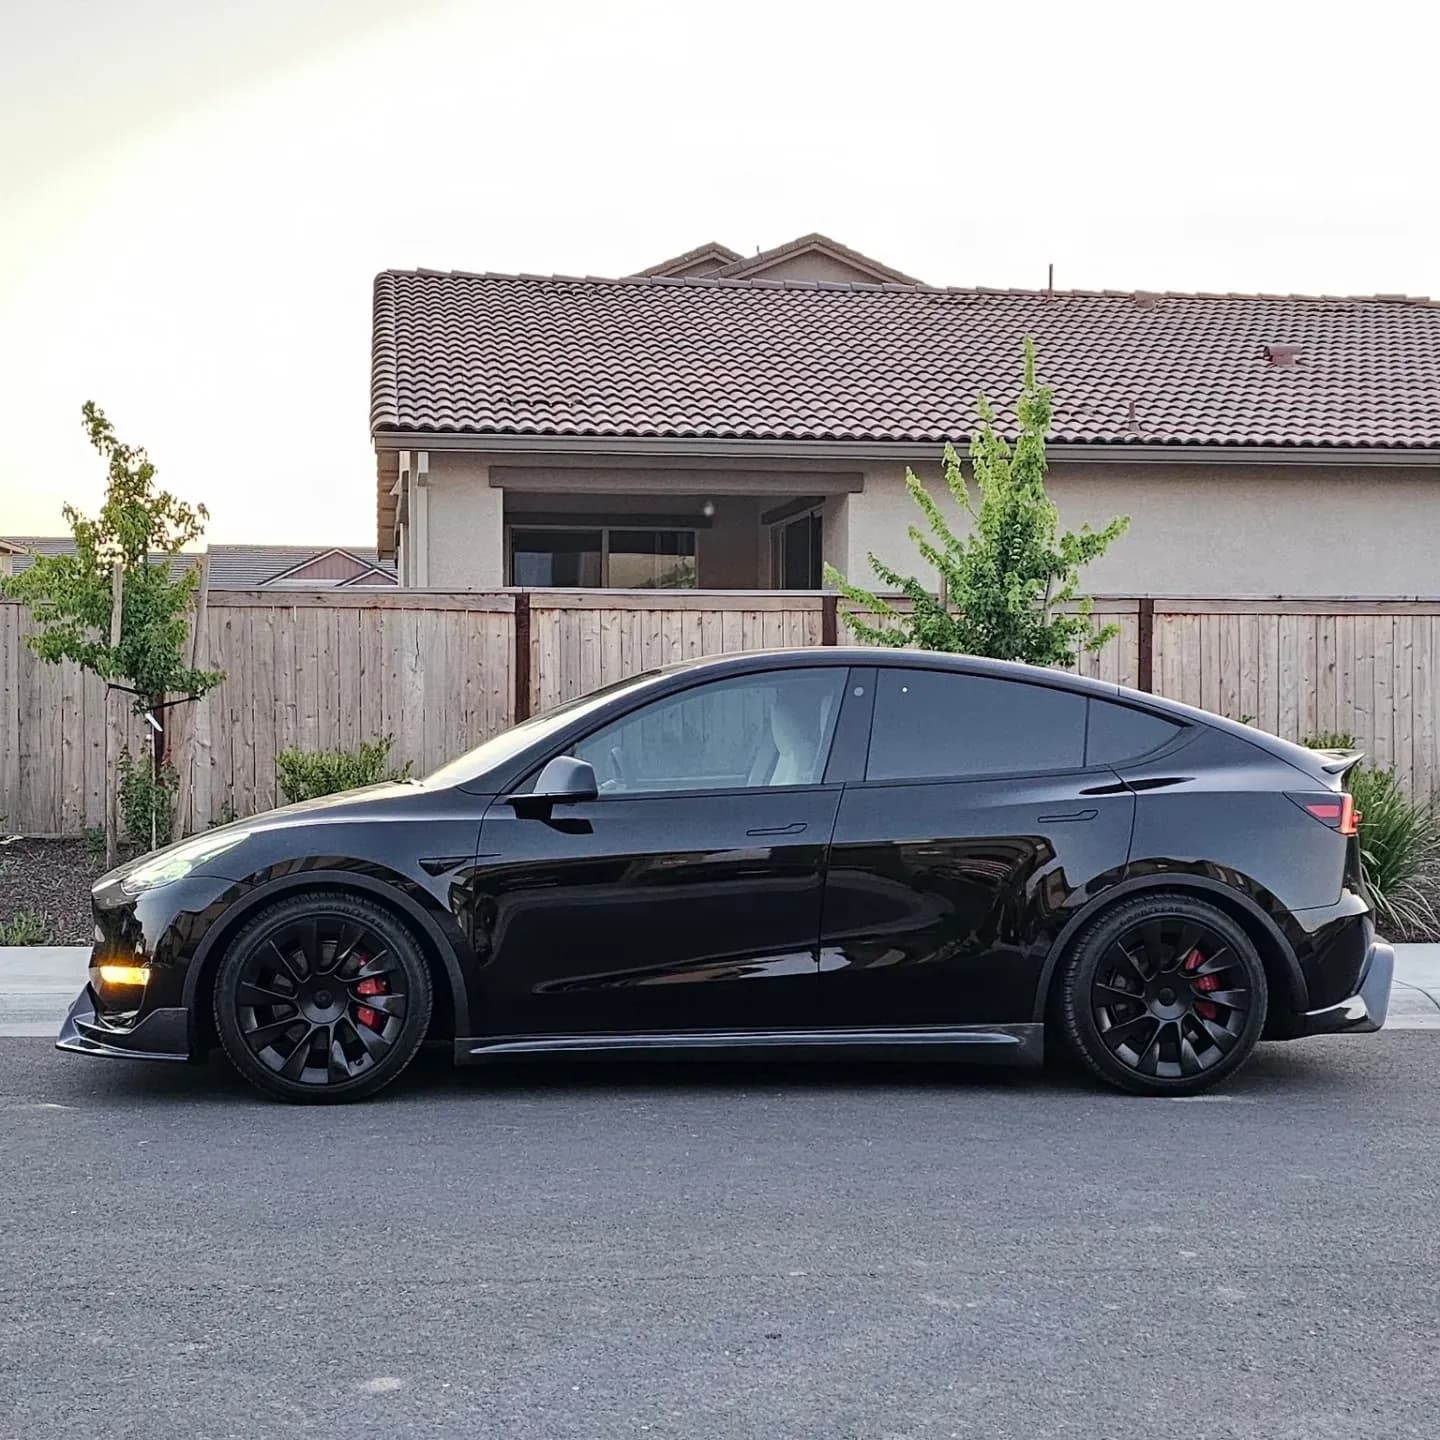
Photos from @ngooyen on Instagram. Follow for more.
Full transcript
Show the full transcript (115 lines) +
0:00in the front.
0:01Non-powered.
0:02I had it being held by a prop right there as you can see.
0:20What's up guys?
0:21It's your boy, John.
0:22it's back we're back again here with an awesome product for the Tesla Model Y, Hansshow Smart Your
0:27Vehicle Power Frunk in Power Trunk.
0:30So we're going to do a little unboxing.
0:33Alright.
0:34So we have a emergency release bag, these struts, those very high quality wires, again the
0:49strut again, very high quality, this is what goes into your car.
0:59Wiring harness pretty much intercepts the OEM signal, this right here is the mechanism that
1:07goes onto your OEM latch and pretty much gives it that soft close.
1:11So the strut brings it all the way down to like the very last inch, but then this
1:16kind of pulls it and then gets a nice and tucked in.
1:22So there's a little motor here and then we've got the brain of the unit.
1:28So this is labeled Model Y Frunk and it's supposed to be water resistant so that's
1:36not a great proposal.
1:40These rackets hold the power struts, got some zip ties, some 3M tape, and this is just the
1:49emergency release.
1:53So very cool, the parts aren't too bad, it's very simple.
1:58I've installed these power frunks before on a Model S, Model Y, it's going to
2:03be a new one for me but I also did it on the Model 3 and it's straight forward.
2:11Alright so we're going to be installing a front trunk, so we just have to go to the controls,
2:16pop the pop it, alright so we're in front of the front, let's open the front, non-powered
2:27to remove these, it's actually very simple, just some 10mm meters, first remove this,
2:32it's just held like this, and there's two inside the thing, I just like to leave the bolts,
2:44just so the whole thing comes out pretty easily, now there's a plug right here that you need
2:56to remove, and I forgot there's a plastic trim piece right here that holds the water
3:11reservoir for your windshield wipers, take that back out, voila the whole thing
3:20comes out, next off there are some more 10s, we have to remove the biodefense airfoam, alright
3:40so you do see the innards of everything here, you see that strut right there, that's why
3:47you need to remove, it's actually very far in the back, so it's this thing coming up
3:51here, there's a little ball joint, you can use a flat head or trim tool to remove,
3:59and that piece will come off, alright so this part is out and you can see
4:09originally this thing was attached to the top, this way I can demonstrate it a lot easier,
4:15I can show you guys, so boom, to remove the top you get like a flat head, in this case I used
4:24a knife so my flat head was just too big and then I put it through here, you just need to have it enough
4:33like this, so I kind of just twisted my wrist and then I smacked it with my other hand, so one hand
4:39I have it kind of like this, the other hand I go wham, and then it pops out because
4:45if you can see the inner side but when you do this it opens it up a little bit,
4:50see it, barely, I barely twisted it and it's enough for spew it, and it's enough for you to whack it,
4:54it comes out, this side you hit a 13mm, get loose, it's actually not that tight and then you start unscrewing it,
5:03that's it, this whole piece comes out, do it to the other side,
5:07before I do the other side, I have it being held by a prop right there, as you can see,
5:12you want to install this bracket, I want to install one side of the strut so it's more or less
5:17it's being held by something else, but R means right, but when you're in the driver's seat,
5:23right, not when you're facing the car, but when you're inside of it, so there's an R bracket, an L bracket,
5:29right, left, use this little hex thing, kind of go in there where the existing 13mm used to be,
5:37and you want to tighten it into spec, pretty simple, do it in that the same area,
5:43okay, that little bracket right there, let me see if I can get that focus for you guys,
5:50so it only goes, that's the, remember, that's the R bracket, and it's going on the passenger side,
5:57and it only fits in one way, but you can tell that's where the new struts are going to go,
6:03and it's gonna hold the top of this bad boy, they're gonna hook up the strut from that little ball socket
6:11all the way down there to the one that you removed over here, now, Hansshow provides excellent
6:24instruction, so now I'm just gonna slither this thing in, so let's see right there,
6:35so that's popped in, clipped, you'll hear like a satisfying click, and all the way in the bottom,
6:41that bracket you just mounted, it's also, clipped in there too, okay, after you install both the
6:53struts facing down, it has enough force to hold the hood by itself, next thing we want to tackle
7:02is this electronic trunk, frunk system, there's going to be two 10s right here,
7:10so one, two, remove those, and we'll move forward, the next thing you want to do is remove the original
7:20blocking block spring, and then we have to install the small bracket for the electronic
7:25and the side will face outwards, so you should have something like
7:49that one goes right behind it, and it kinda hooks up to this hook right here.
7:56And that's it, so you have this little black hook, hooks right here, you put the original
8:01spring back, everything is locked down, and you should be able to kind of just mount it
8:06to its OG spot and we should be set. Now, it's a matter of installing it,
8:16in... in reverse, this bad boy back here, all right, so I'm just gonna go one by one of everything
8:35that's plugged in, I think this is gonna be a lot easier doing about one by one by one,
8:38so I'm just gonna go everything at once, first thing you need to plug in are the struts,
8:42so there are two wires that every strut has, boom boom, same with this one, boom boom,
8:48the next one is the red, the power, the b plus, you hook it up there, I have it screwed on
8:55here, now it depends if you have a lithium ion like me, 2023, or you have the older lead acid
9:01battery, so if you have a lithium that's how you're gonna mount it, now if you have red,
9:06then where's the black, the next thing off we have is the ground, so take a 10 millimeter,
9:11unscrew it, put the ground in your set, followed by this little machine right here,
9:18this is gonna be the D5 plug, it's gonna be a little thicker plug
9:20this plugs into the soft closing motor, then we have D2 which is a little speaker and we're already
9:33halfway done with all the plugs, next off let's go to more of the lever situation, now as you can see
9:39here there's gonna be a plug right plug in and you're gonna daisy chain the main control box,
9:48into here, so there's one plug, next off again another daisy chain, this is gonna
9:54gonna be the OEM one, then you have to unplug and then daisy chain, lastly there is this wire,
10:03not this is this, it's only little unit that goes right here, those are all the plugs,
10:09as you can see I have the little switch right here, this is just from the trunk liner
10:14so you can get power so you can test it, now after everything is, you can wrap
10:19wrap it up, clean it up, make it look nice and pretty, but just as a test you can press a button
10:27and you can see it goes down, now you can change the speed of this based off of, as you can see
10:36I have it on wicked-fast, but you can change the speed using this white, this little button right
10:43here, hold it down, when you hold it down, if it beats six times that's super fast, five
11:19but when you open it up it kind of shoots right up, which is great,
11:24so you pretty much want to tidy everything up from here, I do have a safety switch
11:29that I wired and it goes to the toe hook, so there's gonna be a little safety pool you can
11:34have for the toe hook, but yeah let's mount it, make it will make it look pretty, all right
11:43so after I mounted everything, I mounted the soft closing latch right here, you can see the little x
11:51pretty much just use zip ties to hold it on this metal rail and then for the computer
11:59I have it all the way back here, so it shouldn't interfere with the big old air box
12:05and I have it
12:09I did zip tie some wires just to clean it up, this extra wire here is for that plug for the
12:15frunk, but overall it looks great, happy with the results and just gonna put all
12:21the panels back I should be ready to go, all right so that
12:34that concludes the install for the Hansshow power frunk, now it's been amazing from the install to
12:41the way it works, I haven't had any issues which is just really nice, now I've been
12:45installing power frunks since the model s3 and all of that, this one has I didn't need to do
12:52any adjustments it just works right out the gate and it's
13:16continue to iterate through their versions and I think it gets better and better
13:21I know these brackets are a little bit different, so they make little small tweaks to
13:24make it more reliable and just just better, now I guess if you guys were interested in the
13:29power frunk I'll leave a little link in the description, it's Hansshow's website and also
13:36they have if you use my code johnjohn you will get a pretty
13:40big discount and on top of that they're doing an easter sale so I don't know if you're not
13:45watching it right now turn easter it's fine but they are doing they're throwing sales all the
13:49time and then if you use that affiliate code it gives me a kick back and it helps out the
13:52channel so I really do appreciate it if you guys will do that but uh yeah my favorite mod is now
13:59in the car so that's perfect thank you guys for watching I'll catch you guys in the next
14:03model y video see ya
Machine-transcribed from the full-length video and lightly cleaned (product names fixed). Watch the video for exact wording.
Next step