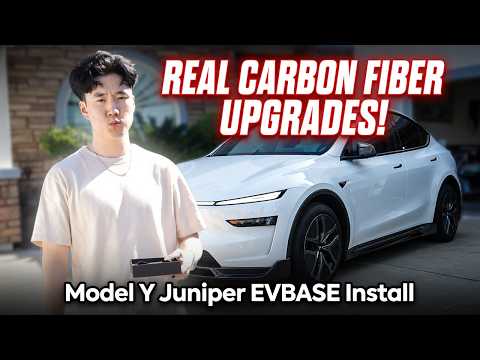
Hansshow White Yoke Steering Wheel: Tesla Model Y / 3 Install + First Look
Power the car off, release the airbag with a small hex through the two holes behind the wheel, unplug it, remove the single center bolt, move your original buttons into the Hansshow yoke, swap the airbag cover, then bolt it back on and test the horn and controls.
Full video (9 min): New White Tesla Yoke for Y/3 - Is It Worth the Hype? | With LED DOOR HANDLE! · John's YouTube channel
Get the parts
- Torque wrench: Generic pickGeneric pickSearch on Amazon ↗
- Needle-nose pliers: Generic pickGeneric pickSearch on Amazon ↗
- Find Hansshow yoke steering wheels for the Model Y on eBayBuy ↗
- Hansshow yoke steering wheel, Model 3 / Y (white Nappa leather)Buy ↗
- Hansshow colorful auto door handles V5 Pro (also in the description)Buy ↗
- Want a Tesla? John's referral linkBuy ↗
CodeHansshow discount code (20% off) — JOHN
DEALCode "John" at Hansshow (per the video description)
As an Amazon Associate I earn from qualifying purchases. Some links are affiliate links.
Power the car off, release the airbag with a small hex through the two holes behind the wheel, unplug it, remove the single center bolt, move your original buttons into the Hansshow yoke, swap the airbag cover, then bolt it back on and test the horn and controls. This 9 min guide covers the Hansshow yoke steering wheel for the.
Overview
John fits Hansshow's white yoke steering wheel to his white-interior Model Y. It's a straightforward swap with one main bolt. First power the car off from the safety menu to be safe. Behind the wheel are two small holes, one on each side; push a small Phillips or hex in, feel for the metal clip and push it to release the airbag, then pop it out. Unplug the two airbag plugs and the middle connector (John used needle-nose pliers to grab both tabs and pull straight out). Remove the center bolt with a large wrench; John thinks it's torqued to about 42 ft-lb, so check your spec. Side by side, the yoke is a couple of inches wider. Hansshow includes everything, including buttons, but John transfers his original ones: remove the screws, press the retaining clips and pry them out. The airbag cover is held by clips on the side, so pry it open and slip the factory airbag into the new one. Reassemble in reverse and torque the bolt back down. The result is very white (it makes the screen look a little yellow by comparison), the fitment is great, and the horn and controls work. The video also shows his Hansshow LED door handles and front camera.
Vehicle & fitment
- Product
- Hansshow Model X/S-style yoke steering wheel for the Tesla Model 3 / Y in white Nappa leather, with trim pieces and an airbag cover to transfer the factory airbag into
- Shown on
- Tesla Model Y (John's car with a white interior); the listing covers the Model 3 / Y
- Hansshow yoke steering wheel for the Model 3 / Y, Model X/S yoke style in white Nappa leather (store link in the description)
- Comes with its own trim pieces and buttons; John moved his original buttons over
- A couple of inches wider than the stock wheel
Always confirm fitment for your exact year and trim with the seller before buying.
Tools & parts
Tools
- Small Phillips or hex key (for the airbag release holes)
- Needle-nose pliers for the airbag plugs
- Socket and a torque wrench for the center bolt
- Flathead or trim tool for the button clips and airbag cover
Parts
- Hansshow white yoke steering wheel with trim pieces and buttons
- Your factory airbag (moved into the new cover)
- Your original steering-wheel buttons (optional, John reused them)
Video chapters
- 0:00Introduction to Tesla Wheel
- 1:14Removing the original wheel
- 2:29Unbolting the steering column
- 3:40Comparing wheels and hardware
- 4:40Transferring components
- 5:51Installing the airbag
- 6:53Final installation and testing
- 8:03Showcase and conclusion
Step by step
- 1
What's in the box▶ 0:19
The Hansshow Model X/S-style yoke comes with its own trim pieces and buttons. It's a one-bolt install.
- 2
Release the airbag▶ 1:14
There are two small holes behind the wheel, one on each side. Push a small Phillips or hex in, feel for the metal clip and push it; the airbag pops out once both sides release.
- 3
Power off first▶ 2:18
Use the car's safety menu to power it off before unplugging the airbag, just to be safer.
- 4
Unplug the airbag▶ 2:30
Unplug both airbag plugs and the middle connector. John grabbed both tabs with needle-nose pliers and pulled straight out.
- 5
Remove the center bolt▶ 3:03
Use a large wrench on the center bolt. John believes it's torqued to about 42 ft-lb; check the spec for your car before reinstalling.
- 6
Compare the wheels▶ 3:55
Hansshow includes everything. The yoke is a couple of inches wider than the stock wheel.
- 7
Transfer the buttons▶ 4:32
John moved his original buttons over: remove the screws, press the retaining clips (a flathead or trim tool helps) and push the buttons out, then fit them to the yoke.
- 8
Swap the airbag cover▶ 5:41
The airbag cover is held by clips on the side. Pry it open and slip the factory airbag into the new cover.
- 9
Reinstall and torque▶ 6:56
Reassemble in reverse: seat the wheel, torque the center bolt back down, plug in the airbag and clip it in.
- 10
Test and first look▶ 7:24
It's very white (it makes the screen look a little yellow by comparison), the fitment is great, and the horn and controls work. The front camera helps John see the front lip.
Wiring notes
- Airbag: two plugs plus the middle connector; unplug with the car powered off.
- Steering-wheel buttons: transferred from the original wheel and plugged into the yoke.
Get the parts
- Torque wrench: Generic pickGeneric pickSearch on Amazon ↗
- Needle-nose pliers: Generic pickGeneric pickSearch on Amazon ↗
- Find Hansshow yoke steering wheels for the Model Y on eBayBuy ↗
- Hansshow yoke steering wheel, Model 3 / Y (white Nappa leather)Buy ↗
- Hansshow colorful auto door handles V5 Pro (also in the description)Buy ↗
- Want a Tesla? John's referral linkBuy ↗
CodeHansshow discount code (20% off) — JOHN
DEALCode "John" at Hansshow (per the video description)
As an Amazon Associate I earn from qualifying purchases. Some links are affiliate links.
FAQ
What vehicle does this install fit?
It is shown for the Hansshow yoke steering wheel for the Model 3 / Y, Model X/S yoke style in white Nappa leather (store link in the description). Comes with its own trim pieces and buttons; John moved his original buttons over Always confirm your exact year, trim and factory audio with the seller.
How long does the install take?
John's full video is 9 min. Plan on that much time for a careful DIY install, plus extra if you are new to dash work.
What tools do I need?
Tools called out in the guide: Small Phillips or hex key (for the airbag release holes); Needle-nose pliers for the airbag plugs; Socket and a torque wrench for the center bolt; Flathead or trim tool for the button clips and airbag cover.
Where do I get the parts?
Use the buy links on this page for the unit and any harnesses John used. Some links are affiliate links.
Is this beginner-friendly?
The guide breaks the job into 10 steps with timestamps into the video. If you can remove trim panels carefully, you can follow along.
John's Tesla Model Y
More photos →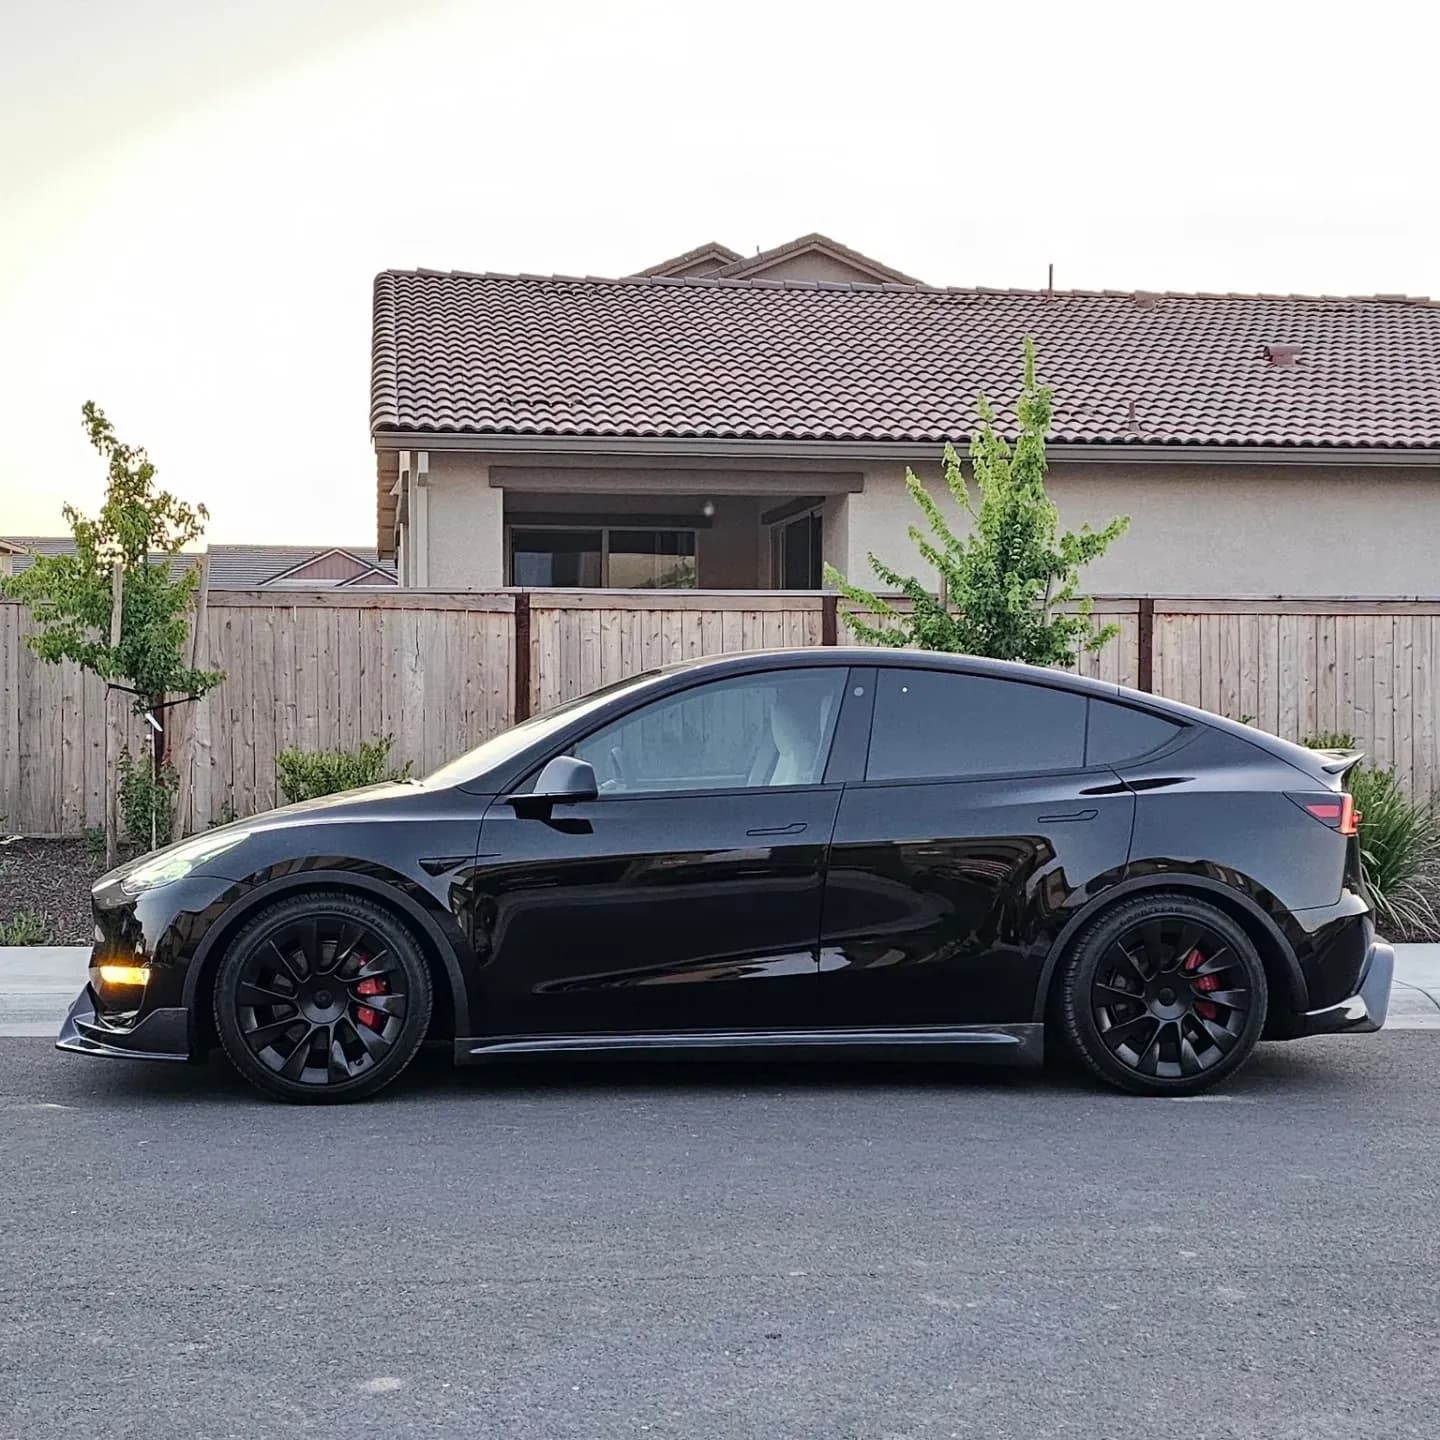
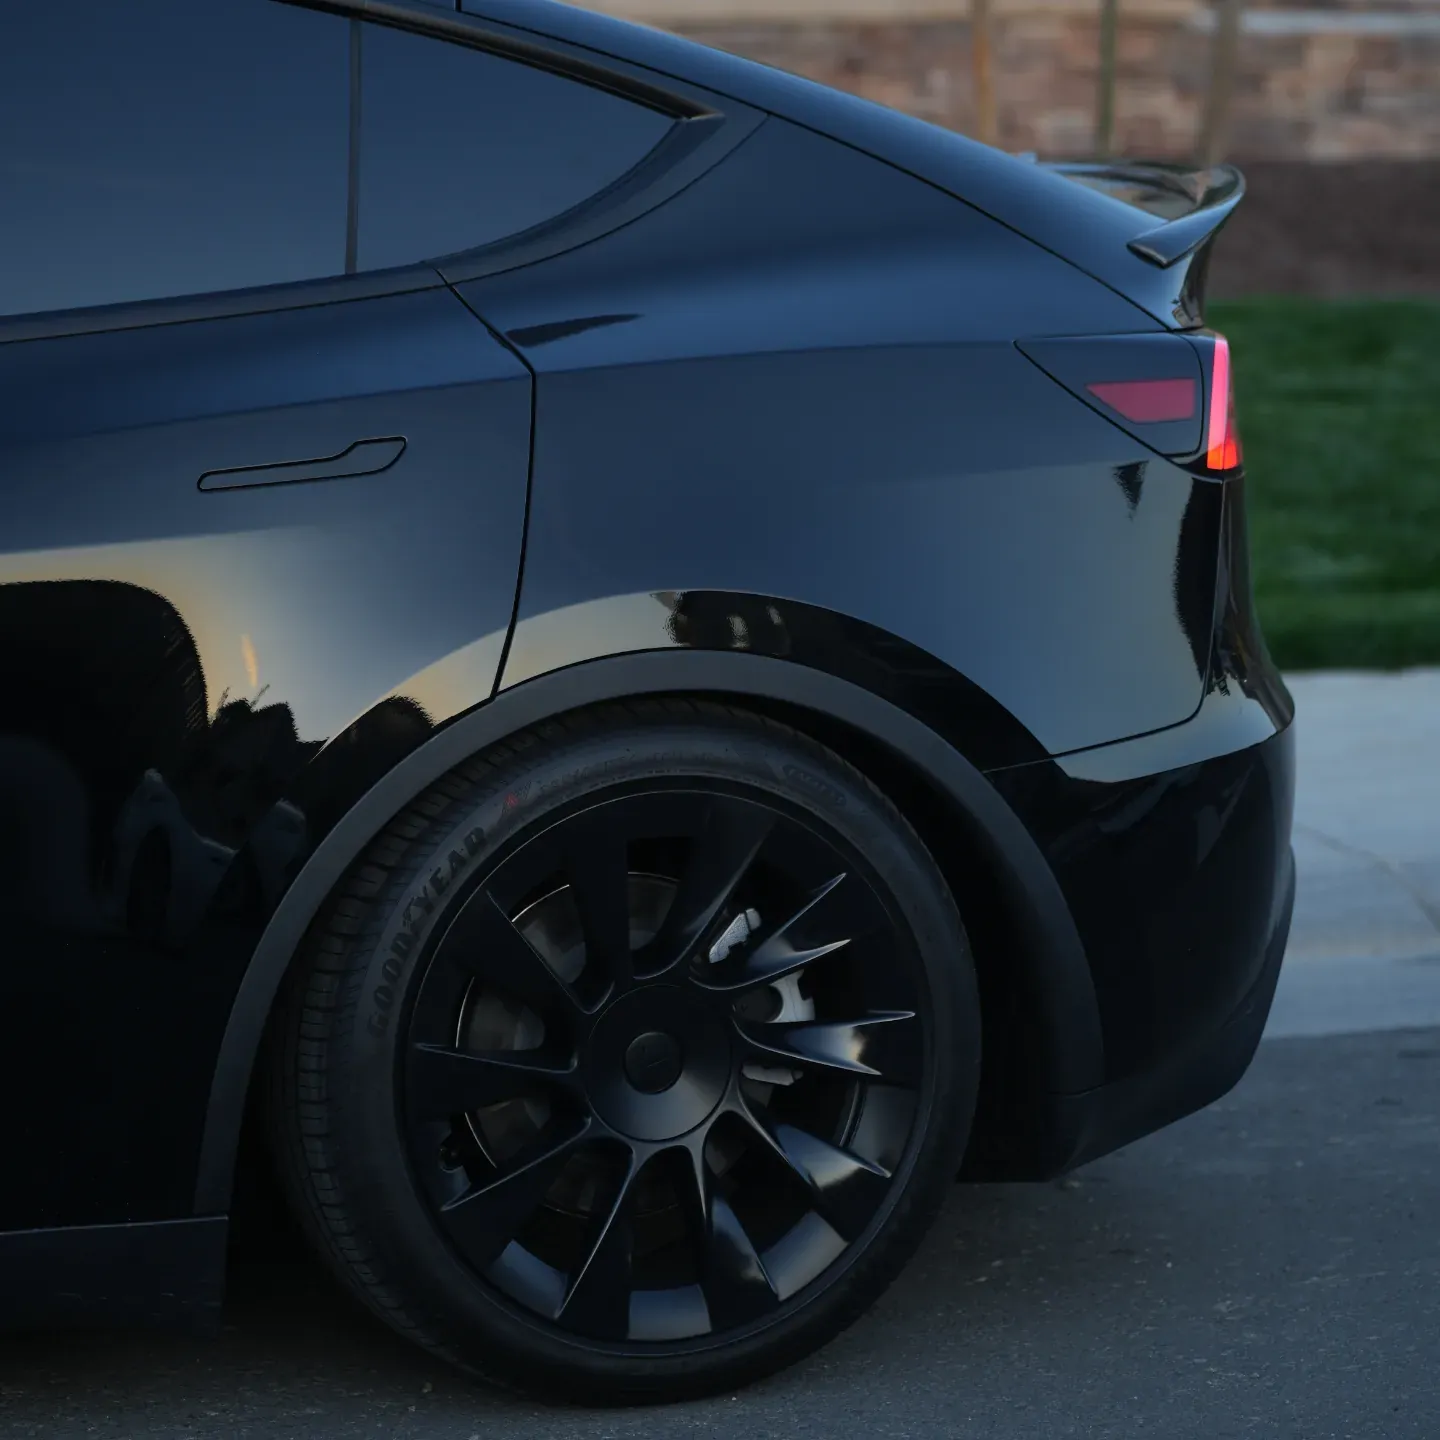
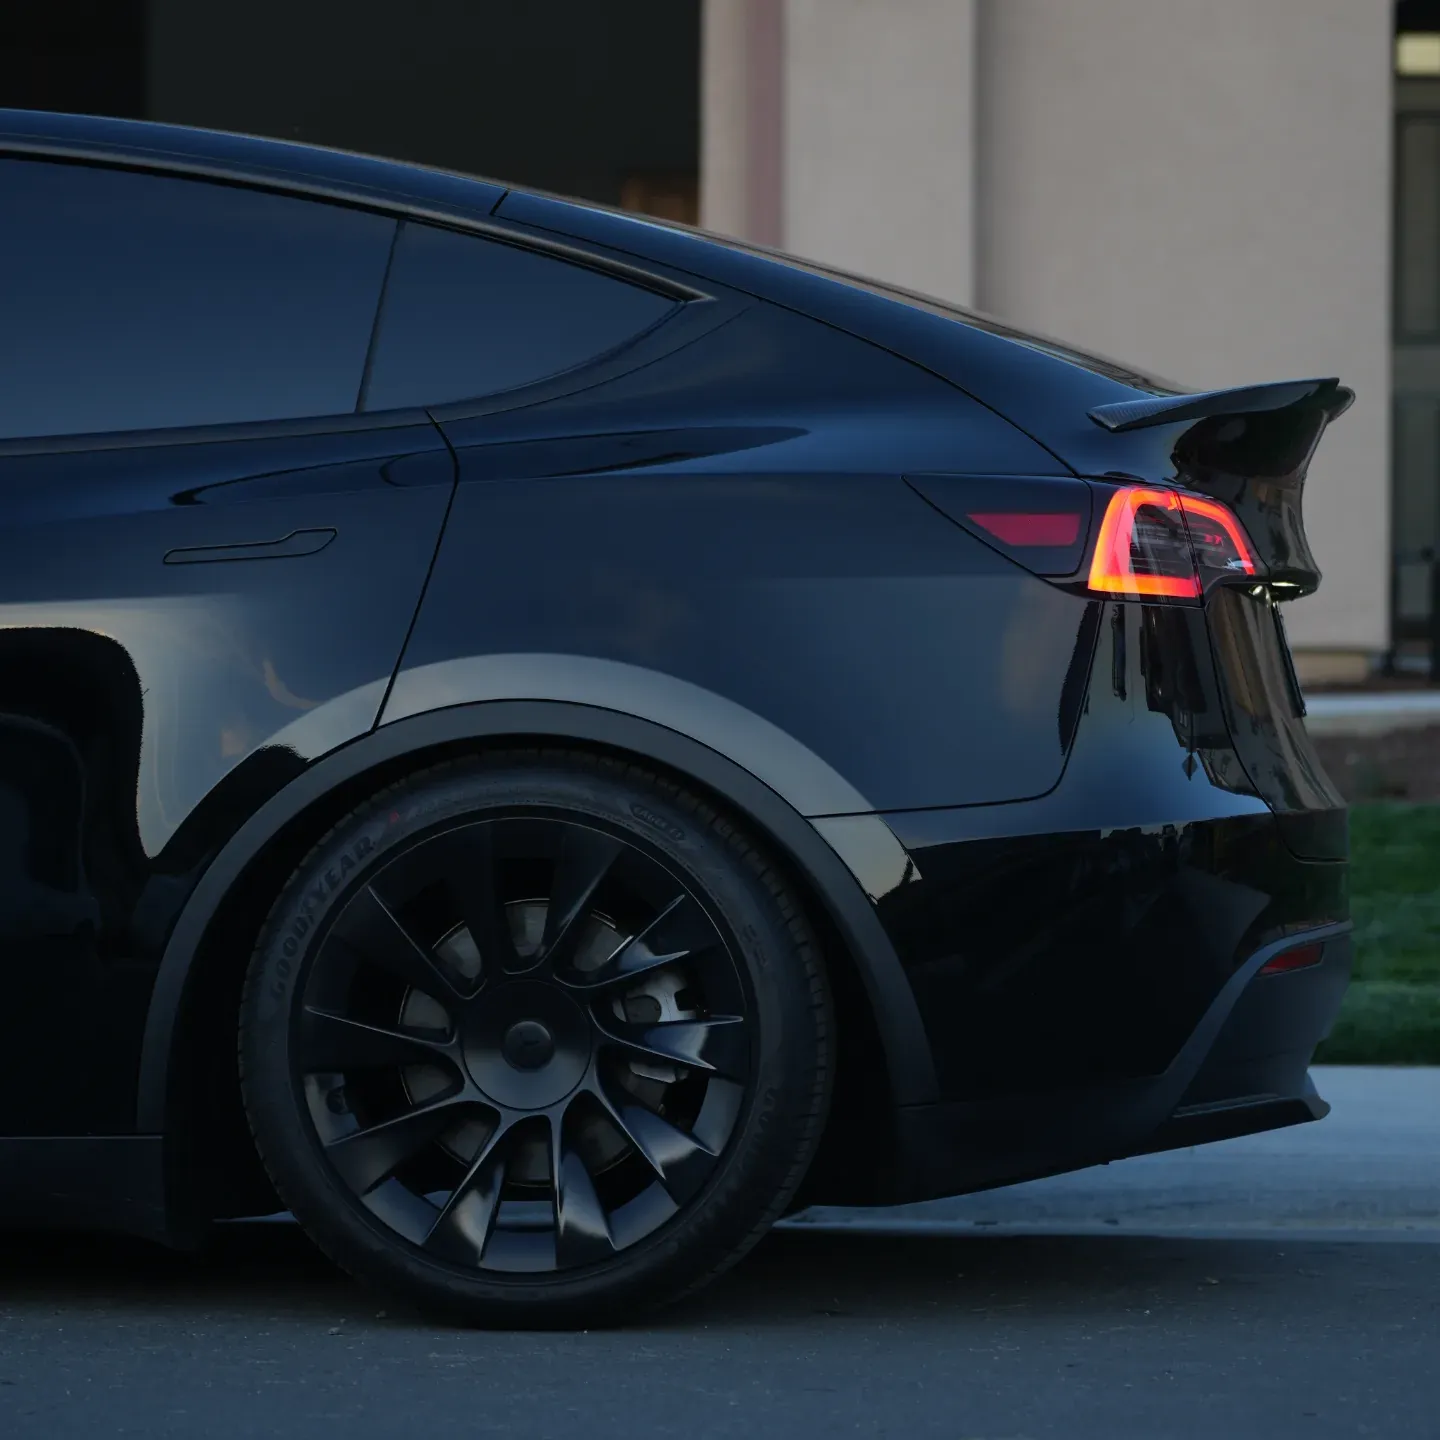
Photos from @ngooyen on Instagram. Follow for more.
Full transcript
Show the full transcript (54 lines) +
0:00All right, steering wheel is installed, check this out.
0:06Okay, we got the white door handles.
0:10Okay, we.
0:11We got the white interior, the white,
0:14is that a white steering wheel, white airbag?
0:17What's up guys?
0:18It's your boy John.
0:19Today we're taking a look at the Tesla
0:23Hansshow Model XS kind of steering wheel for the Model Y.
0:30can see here it has its own trim pieces, mine also came with its own
1:00can see, there's, there's a lot of different tools so you can help pop it out, but yeah, this is should be a very straightforward install about just one bolt, and everything, everything will come
1:10off, so stay to him
1:14all right, so we're going to use the tools of some like this, there's some two small Phillips, or in my case, they're a little hex, and there's going to be two little holes on the
1:23the one on the side, you put it in here, and you put it in here, and, and you feel the round, so
1:31so you, you feel like and you feel like metal clips, and, and, and then you push it, like this, after that, this will pop out, and I'll be able to show you what those things are poking at a little bit better since it's
1:45if you can kind of see the screwdriver right here, so you want to be hitting this metal
1:54little clip on both on both sides
1:57you could do it
2:18so what I'm going to do is, you can turn it off, so a software, safety, just turn off the blues, power off, just to be a little bit, safer, and you want to unplug both of these plugs, and then remove this, this, middle, right here
2:30safety, just to be a little bit safer and you want to unplug both of these plugs and then remove this middle one
2:43one right here. All right for me to remove the plug so they had to use a needle nose
2:49and I'm just going to show you an example like this.
2:53I attacked it like that so I got both of this
2:56and pulls straight out. Now after that we're going to need something to remove this. So
3:03Now, after that, we're gonna need something to remove this.
3:08So, I got this huge torque wrench.
3:15You can use something else if you wantto.
3:17I believe this is torqued to 42 foot-pounds but I can double check when I reinstall it.
3:28So I just like to put my, yep, and that's it.
3:55thing about the Tesla, a Hansshow kit is it includes everything already, so here's just a quick comparison of the two, see if we can get it all in one frame, massively different, see if we can get it overlaid way wider, not way, a couple inches wider, so that is going to be interesting, we can put this bad boy in now,
4:17about a quick couple that
4:32whoo, look at that, oh shoot, alright I'm going to transfer these buttons over, these are the old ones, or the one included with it, I'm going to actually put in the original ones, so I'm just going to remove these screws and pop it all out, also with these, I have these clips I need to remove to push it out, you just hit these clips, push it out, I kind of just use the flat
5:02I kind of just use the flat head or this tool to kind of pry the clips
5:07and that will pop up these little retaining clips.
5:10That way I can have access to the
5:41So, so you have it kind of sitting like this, and you have to reassemble everything backwards and it should be good. Alright, so we got the OEM bag right here. It's just held by these little clips on the side and you can just pry it open then slip the new one in. I am still prying. Think I'm making some progress. There you go.
6:09Alright so we got the OEM bag right here.
6:13It's just held by these little clips on the side and you can just pry it open then slip
6:56just fit it, working great, it looks good, just torquing this down to 80 new ones, alright, alright steering wheel is installed, check this out, okay we've got the white door handles, okay we've got the white interior, the white, is that a white steering wheel, white airbags, you know what I'm talking about, you know what I'm talking about,
7:09just torquing this down to 80 news.
7:24Alright, steering wheel is installed.
7:28Oh, okay, got the white door handles, okay, we got the white interior, the white, what's that
7:34we've got the white interior, the white, is that a white steering wheel OR white airbags, yo, and it's so white it makes the screen look kind of yellow, even though it's not, so you already know the screen is definitely not yellow, but because this thing is so icy white, looks good, love the design, looks good, fit me into's amazing, horn works, and yeah all this works too,
8:01And yeah, all this works too.
8:06Whoo!
8:07Amazing, amazing.
8:10Got the little camera right there
8:12because we we're interested in the Huncho front camera.
8:16Cause you can kinda see
8:20comes a handy to see the front lip.
8:24Thank you guys for watching.
8:25and I'll catch you guys in the next one. If you guys were interested in this product, of course I'll be building down below.
8:29I'll catch you guys in the next. If you guys were interested in this product, of course I'll be building down below.
8:31on and uh yeah look at that discount. Sweet. All right steering wheel is
Machine-transcribed from the full-length video and lightly cleaned (product names fixed). Watch the video for exact wording.
Next step