Maxpeedingrods Coilovers & Rear Camber Arms: Slammed Tesla Model Y DIY
John lowers a Model Y on $590 Maxpeedingrods 24-way coilovers plus adjustable rear camber arms, with the torque specs from the description and his ride impressions.
Full video (8 min): INSANE Tesla Model Y Transformation! You Won't Believe How LOW It Goes! 😱 | Slammed Tesla for $590 · John's YouTube channel
Get the parts
- Maxpeedingrods 24-way coilovers, Model Y AWD (Amazon)Buy ↗
- Maxpeedingrods 24-way coilovers, Model Y RWD (Amazon)Buy ↗
- Maxpeedingrods 24-way coilovers, Model Y AWD (AliExpress)Buy ↗
- Find Maxpeedingrods 24-way coilovers Tesla Model Y AWD/RWD on eBayBuy ↗
- Maxpeedingrods 24-way coilovers, Model Y 2020+ AWD (about $590)Buy ↗
- Maxpeedingrods 24-way coilovers, Model Y 2020+ RWDBuy ↗
- Maxpeedingrods adjustable rear camber arms, Model 3 / Y 2017+ (about $173)Buy ↗
- EVBASE Tesla accessoriesBuy ↗
- Hansshow Tesla accessoriesBuy ↗
CodeDasaita coupon code (8% off) — JOHNNGUYEN
CodeEVBASE codes JOHN20 / JOHN15 — JOHN20 / JOHN15
DEALCode "JOHN15" at EVBASE (per the video description)
DEALCode "JOHN" at Hansshow (per the video description)
As an Amazon Associate I earn from qualifying purchases. Some links are affiliate links.
John lowers a Model Y on $590 Maxpeedingrods 24-way coilovers plus adjustable rear camber arms, with the torque specs from the description and his ride impressions. This 8 min guide covers the Coilover links are listed for the Tesla Model Y 2020+ AWD and RWD (separate kits, per the description) with tools, parts links and the full video.
Overview
John slams a Model Y on Maxpeedingrods 24-way adjustable coilovers (about $590 for AWD) and adds Maxpeedingrods adjustable rear camber arms, since the front already has some adjustment but the rear needs that piece. He picked Maxpeedingrods over Tein because they're big in the drift scene. Starting from about 31" fender height at every corner, he works one wheel at a time on jack stands with the wheels chocked: rear shock and camber arm first, then the front strut after removing the plastic trim and the sway-bar end link. It ended up very low with a two-finger gap and tucked tire, and rubbed on speed bumps, so he plans to raise it a little. Ride is comfortable; he moved damping from 1 to 12 of 24. The full torque specs are in the description.
Vehicle & fitment
- Product
- Maxpeedingrods 24-way adjustable damper coilovers and adjustable rear camber arms
- Shown on
- Tesla Model Y AWD (2023, on the factory Induction wheels)
- Coilover links are listed for the Tesla Model Y 2020+ AWD and RWD (separate kits, per the description)
- The rear camber arm kit is listed for the Tesla Model 3 / Y 2017+
Always confirm fitment for your exact year and trim with the seller before buying.
Tools & parts
Tools
- Floor jack and jack stands
- Wheel chocks
- Torque wrench
- Wrenches and sockets (13, 14, 15 and 18 mm, T50, per the torque specs)
- Tape measure
Parts
- Maxpeedingrods 24-way adjustable coilovers (AWD or RWD kit)
- Maxpeedingrods adjustable rear camber arms
- OEM nylock nut for the top shock mount (reused, per the description)
Step by step
- 1
The parts▶ 0:25
Maxpeedingrods coilovers plus adjustable rear camber arms. The front already has some adjustment; the rear needs the camber arm to adjust camber after lowering. John chose Maxpeedingrods over Tein for their drift-scene reputation and looks.
- 2
Measure first▶ 1:12
Measure fender height at every corner before you start; John's car sat at about 31" all around. His goal was roughly a two-finger gap with a flush look on the stock Induction wheels (OEM plus).
- 3
Lift safely▶ 2:26
Do one wheel at a time. The car is on jack stands with a jack supporting it, and the other wheels are chocked front and back.
- 4
Remove the rear shock and upper arm▶ 3:11
Remove the two lower bolts holding the shock, holding the nut side with a wrench so it doesn't spin. Then remove the upper camber arm (needed only if you're adding camber adjustment) and the two upper bolts; the whole assembly comes out.
- 5
Install and torque the rear▶ 3:48
Install the coilover and camber arm, jack the hub up to ride height and torque the bolts to spec. With the rear shocks done, the car sat at about a two-finger gap.
Warning: Use the torque specs from the description (listed under Wiring & notes below) rather than the numbers called out in the video.
- 6
Front: trim and end link▶ 4:29
Pull off the plastic trim (one clip by the water hole), then remove the sway-bar end link (John thinks it's 18 or 19 mm; the description lists 18 mm).
- 7
Front strut▶ 5:03
Remove the bottom bolt and the three top nuts; that's all the front needs to come out. Install the coilover the same way and torque to spec.
- 8
Results and adjustments▶ 5:47
Very low with tucked tire, and it rubbed on speed bumps, so John is raising it a bit. The ride is comfortable. Damping has 24 settings; he went from 1 to 12. You can go even lower, but he says that's madness.
Wiring notes
- Torque specs from the description: 14 mm top shock nut 25 ft-lbs (add the OEM nylock first, before the provided 14 mm nut).
- Three 13 mm nuts securing the front upper control arm assembly to the strut assembly: 12 ft-lbs.
- Two 15 mm upper bolts: 46 ft-lbs. Two 13 mm upper bolts: 26 ft-lbs.
- 15 mm nut and T50 bolt: 41 ft-lbs. 18 mm end-link nut: 73 ft-lbs.
- Recommended preload is preset; you may need to adjust preload for your vehicle.
Get the parts
- Maxpeedingrods 24-way coilovers, Model Y AWD (Amazon)Buy ↗
- Maxpeedingrods 24-way coilovers, Model Y RWD (Amazon)Buy ↗
- Maxpeedingrods 24-way coilovers, Model Y AWD (AliExpress)Buy ↗
- Find Maxpeedingrods 24-way coilovers Tesla Model Y AWD/RWD on eBayBuy ↗
- Maxpeedingrods 24-way coilovers, Model Y 2020+ AWD (about $590)Buy ↗
- Maxpeedingrods 24-way coilovers, Model Y 2020+ RWDBuy ↗
- Maxpeedingrods adjustable rear camber arms, Model 3 / Y 2017+ (about $173)Buy ↗
- EVBASE Tesla accessoriesBuy ↗
- Hansshow Tesla accessoriesBuy ↗
CodeDasaita coupon code (8% off) — JOHNNGUYEN
CodeEVBASE codes JOHN20 / JOHN15 — JOHN20 / JOHN15
DEALCode "JOHN15" at EVBASE (per the video description)
DEALCode "JOHN" at Hansshow (per the video description)
As an Amazon Associate I earn from qualifying purchases. Some links are affiliate links.
FAQ
What vehicle does this install fit?
It is shown for the Coilover links are listed for the Tesla Model Y 2020+ AWD and RWD (separate kits, per the description). The rear camber arm kit is listed for the Tesla Model 3 / Y 2017+ Always confirm your exact year, trim and factory audio with the seller.
How long does the install take?
John's full video is 8 min. Plan on that much time for a careful DIY install, plus extra if you are new to dash work.
What tools do I need?
Tools called out in the guide: Floor jack and jack stands; Wheel chocks; Torque wrench; Wrenches and sockets (13, 14, 15 and 18 mm, T50, per the torque specs); Tape measure.
Where do I get the parts?
Use the buy links on this page for the unit and any harnesses John used. Some links are affiliate links.
Is this beginner-friendly?
The guide breaks the job into 8 steps with timestamps into the video. If you can remove trim panels carefully, you can follow along.
John's Tesla Model Y
More photos →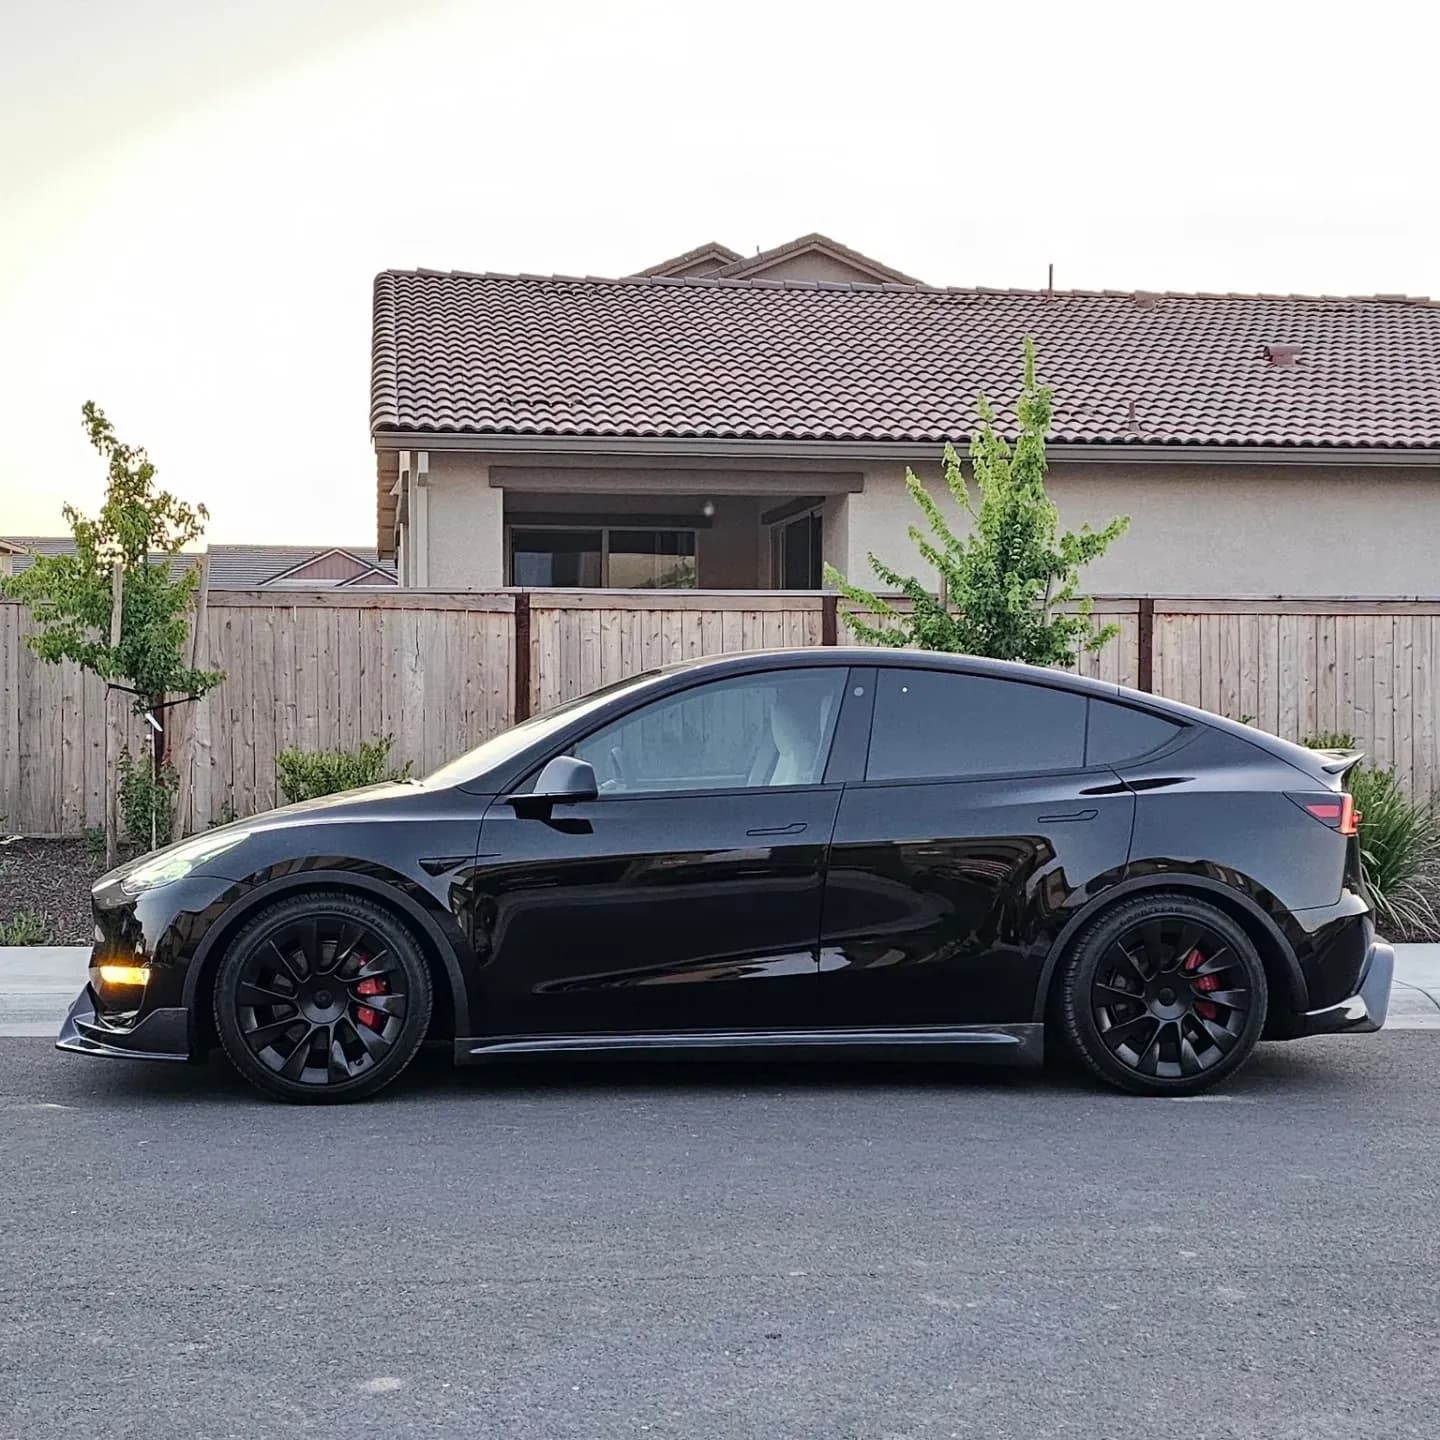
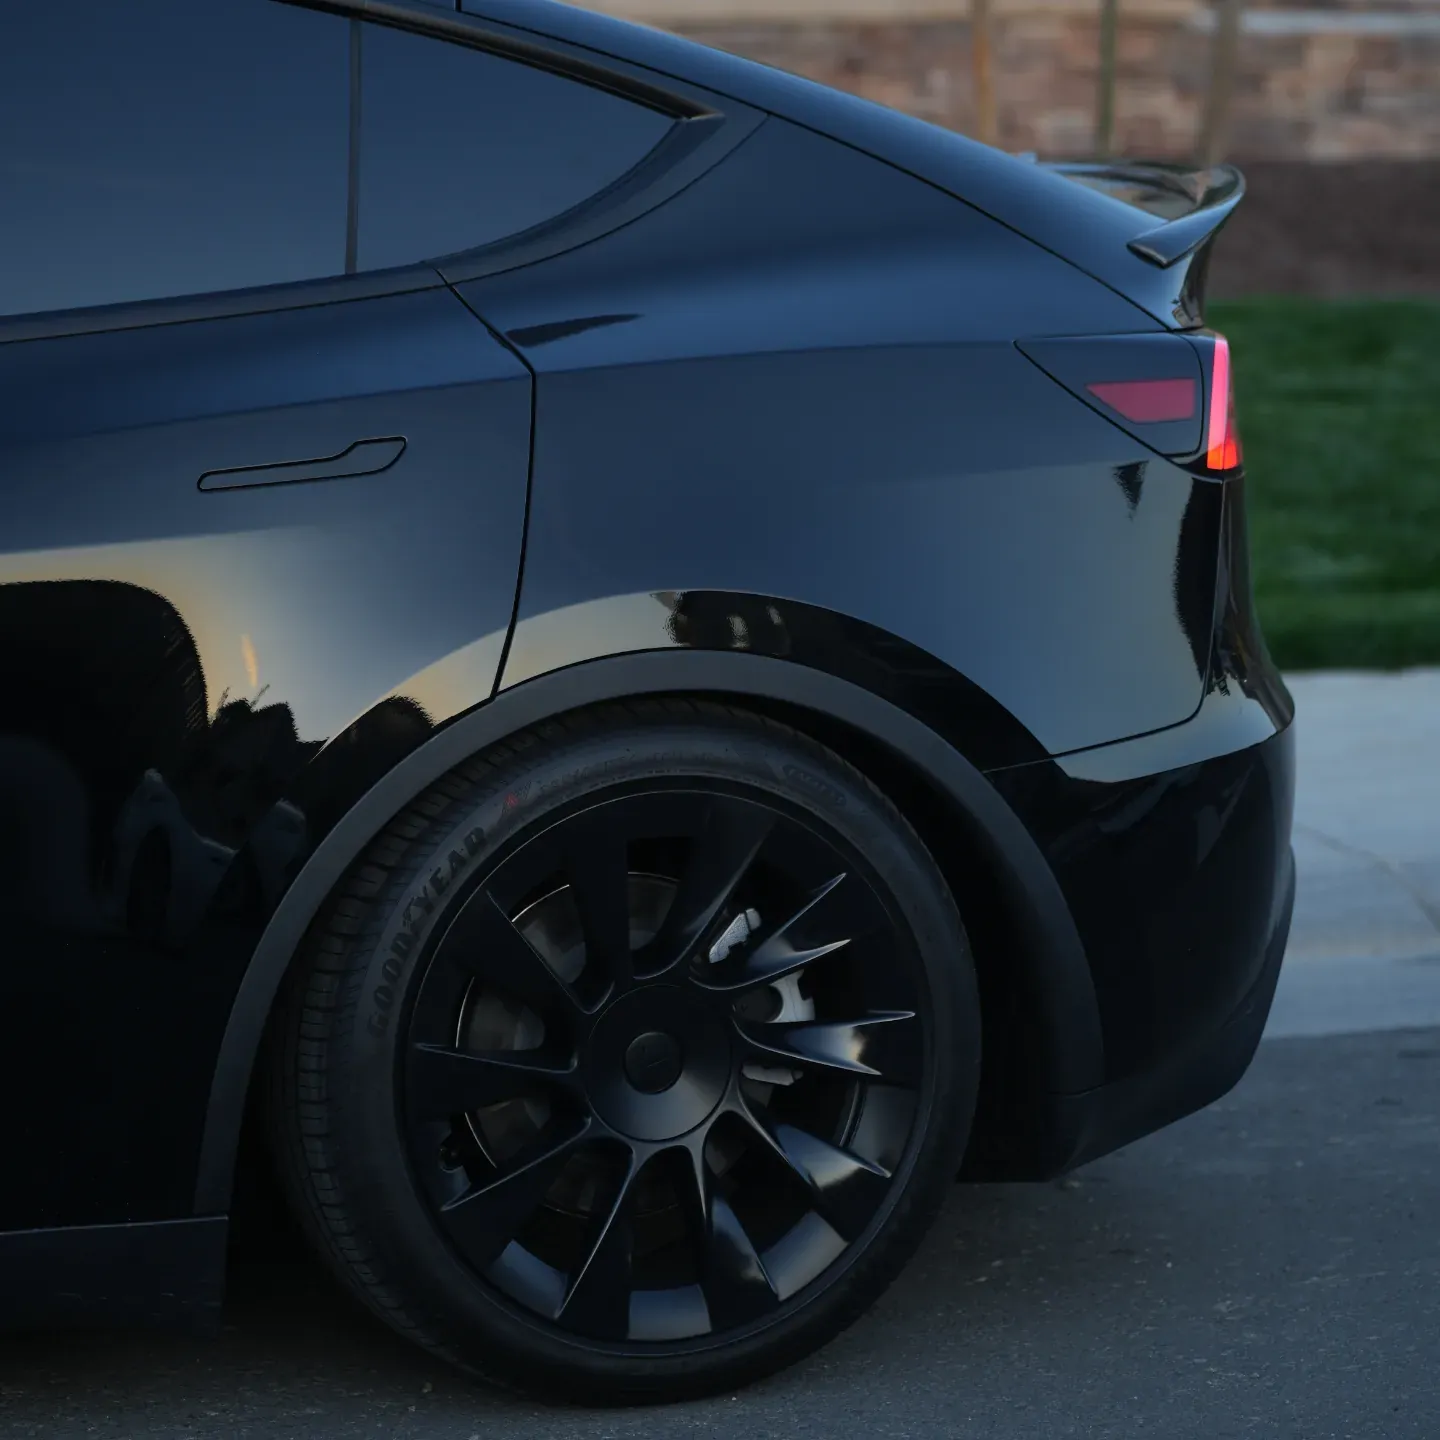
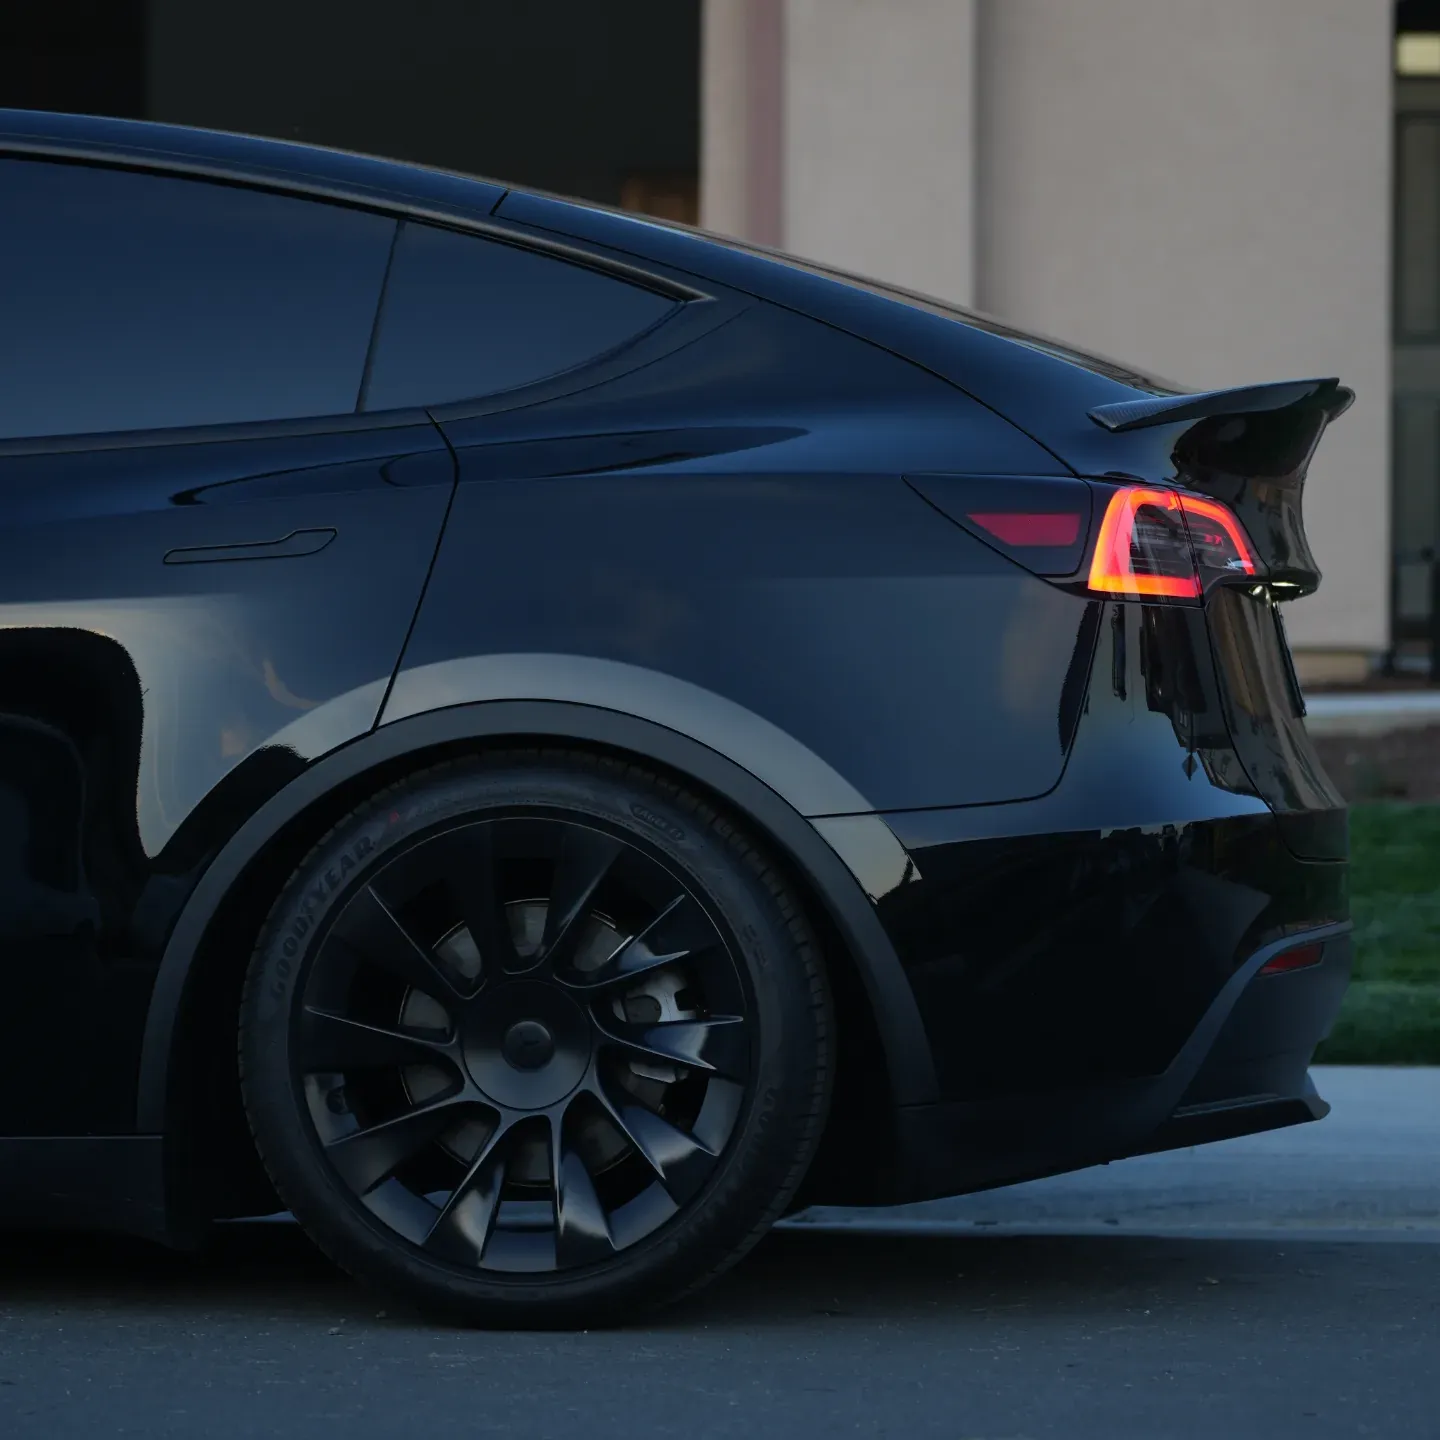
Photos from @ngooyen on Instagram. Follow for more.
Full transcript
Show the full transcript (59 lines) +
0:00So we have the Model Y right behind me. Check it out. And we're gonna do a big
0:25mod today. Maxpeedingrods rear camber adjustments. So that's awesome. The fronts
0:35you already have some adjustments and then the rear, you need that piece so you
0:40can adjust the rear camber. Then we have a big expansion right here. Now I was
0:47thinking between getting the Tein Flex coil kit or TN is whatever you want to call it.
0:53But I went for Maxpeedingrods because they are really big in the drift scene
0:58and they just look nice too. I had Tane in the past on the older cars. Check this
1:06out. Looking good. Top half that I already installed. Make that install super easy.
1:12So I'm gonna go around measure every little corner of the measuring tape. So
1:20from Fender we're looking at 31. A little bit less than 31. Almost basically 31.
1:26I already chalked the wheels. I'm gonna do one wheel at a time. This one's
1:33a little bit the same. 31. This one is a little bit 31. So there you go.
1:41We're gonna have this bad. It should be easy from what I've seen. Just
1:47to see finger gap. If you guys weren't just interested. At the bottom five I want
1:51to lower it to kind of like a tube finger gap. So I'm gonna wipe the drop. It's gonna
1:56suck the wheels a little bit. Add some camera to it. I like the flush look.
2:01So we'll see if I need to add spacers or anything. But I really like the
2:09induction wheels on the big fan of stock wheels. So that's why I like to keep it
2:15like that OEM plus look. Yeah. All right. Continuing lowering the model Y. We took
2:26the wheel off. I have it on jack stands and just a jack holding up the way a
2:30little bit. So it's a little bit more stable. Chalk the wheels in the back. If
2:34you guys don't know what chalk is. Chalking the wheel just basically means have
2:38some wooded or something like that to make it so it doesn't move. Just
2:42Just as an extra layer of security. So I have one in the front and one in the back.
2:46That way it falls forward with this. It's fine. It's chopped. Then it falls back. It's fine.
2:54Because it's that too. And it's just kind of held just with one bolt. All right.
3:11So we need to remove these two bolts right here to get this shock out out.
3:15In order to do that, you actually need to have on this side a wrench so it doesn't
3:21free spin. So I have it on the other side. So there's a bolt and there's a
3:25nut. Then we also need to remove the lower control. I guess this is an
3:31upper camber adjustment because we are it's not necessary. But for me I want
3:37to have rear camber adjustment. So I'm going to go right here. Then there are
3:42two bolts up there and this whole thing should come out. All right. So I have the
3:48unit installed. Okay the top nut right there needs to be at 20 a 15-foot
3:55Pounds. These these ones right here. There's two bolts on the side. So the
3:59top, the very top bolt one is 15. These are 40 on the these two. So you want to jack
4:08the thing real quick and then torque to spec 85 or these bolts. All right so we
4:22have it just for the shocks done so far and it's a two-finger gap. All right
4:29going through the front. This whole plastic trim comes off. You just pull it
4:33off and then right here there is a little water hole kind of like this and just
4:42clip it. Just one clip here and the whole thing pulls off. Just make sure you move
4:48this one. All right so I'm removing the end link. There's a end link right here
4:53from here to here which looks like this and I used to believe I forgot like
4:5918 or 19. So just removed it off the sway bar. Now I'm getting that bottom bolt and
5:06I already removed the three off the top and that's all you really need for the
5:10front one.
5:47So I really like the look. It is low and I was driving it and it did you know rub on
5:57the speed bumps and stuff so what's great about these coilovers is they are
6:03adjustable but man they are tucking tire and you can definitely see that like
6:11there's a little bit of lighting here. Really great product I was riding in it.
6:18It is quite comfortable. I would say they are adjustable. There are 24
6:29adjustables so I had it at 1 and now I'm gonna be driving it at 12. I had to
6:34report my findings with y'all but yeah I'm gonna raise it up a little bit because
6:40it is too low for my wife but that's great you can you can even make it
6:45lower you can make it on the ground but it's not look that's not something I'm
6:49trying to do, because this is this is madness. If you guys were interested, in this
6:54product again this coilovers is only 600 it's it's a very affordable. I wouldn't
6:59say it's cheaply build but Maxpeedingrods it's nice
7:06so thank you guys for watching. I'll catch you guys in the next one. The install was great.
Machine-transcribed from the full-length video and lightly cleaned (product names fixed). Watch the video for exact wording.
Next step