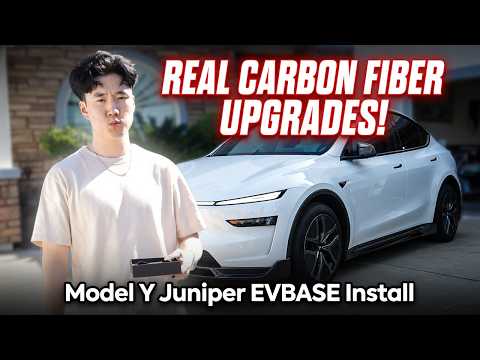
Tlyard Illuminated Door Sills: Tesla Model Y Install
Battery-powered light-up door sills: peel the two double-sided tapes, stick them on, then place the magnet piece so the door triggers them.
Full video (2 min): Illuminated Tesla Door Sills | Takes 1 Minute to install | Tlyard · John's YouTube channel
Get the parts
- Search Amazon for Tesla Model YSearch on Amazon ↗
- Find Tlyard Tesla Model Y illuminated door sills on eBayBuy ↗
- Tlyard illuminated door sillsBuy ↗
- Tesla door projector lightBuy ↗
CodeTLYARD coupon code (25% off) — JOHNN
DEALCode "JOHNN" for a discount (per the video description)
As an Amazon Associate I earn from qualifying purchases. Some links are affiliate links.
Battery-powered light-up door sills: peel the two double-sided tapes, stick them on, then place the magnet piece so the door triggers them. This 2 min guide covers the Tesla Model Y; same install for the front and rear doors with tools, parts links and the full video.
Overview
A quick install on John's Model Y. The illuminated door sills add "a touch of class" and are super bright. They're battery-operated, so there's no wiring: two strips of double-sided tape hold each sill, and a magnet piece on top makes them light up with the door. The fronts and rears install the same way. The description also links a Tesla door projector light.
Vehicle & fitment
- Product
- Tlyard illuminated door sills: battery-operated, magnet-triggered, mounted with double-sided tape
- Shown on
- Tesla Model Y
- Tesla Model Y (shown); same install for the front and rear doors
Always confirm fitment for your exact year and trim with the seller before buying.
Tools & parts
Tools
Parts
- Illuminated door sills (front and rear)
- Double-sided tape (two strips per sill)
- Magnet pieces
- Optional: door projector lights
Video chapters
Step by step
- 1
Same process front and rear▶ 0:14
John did the fronts first. The rears install exactly the same way.
- 2
Stick on the sill▶ 0:18
Each sill has two strips of double-sided tape. Peel both and stick the sill in place.
- 3
Place the magnet▶ 0:32
The sills are battery-operated and use a magnet to switch on. Put the magnet piece right on top, then close the door.
- 4
Check the glow▶ 0:54
They're very bright and sharp when lit.
- 5
Optional: door projector▶ 1:16
You can also add the Tesla door projector light.
Wiring notes
- None: battery-operated with a magnet trigger.
Get the parts
- Search Amazon for Tesla Model YSearch on Amazon ↗
- Find Tlyard Tesla Model Y illuminated door sills on eBayBuy ↗
- Tlyard illuminated door sillsBuy ↗
- Tesla door projector lightBuy ↗
CodeTLYARD coupon code (25% off) — JOHNN
DEALCode "JOHNN" for a discount (per the video description)
As an Amazon Associate I earn from qualifying purchases. Some links are affiliate links.
FAQ
What vehicle does this install fit?
It is shown for the Tesla Model Y; same install for the front and rear doors. Always confirm your exact year, trim and factory audio with the seller.
How long does the install take?
John's full video is 2 min. Plan on that much time for a careful DIY install, plus extra if you are new to dash work.
What tools do I need?
Basic hand tools and a plastic trim tool cover most of this install; see the Tools section for the full list.
Where do I get the parts?
Use the buy links on this page for the unit and any harnesses John used. Some links are affiliate links.
Is this beginner-friendly?
The guide breaks the job into 5 steps with timestamps into the video. If you can remove trim panels carefully, you can follow along.
John's Tesla Model Y
More photos →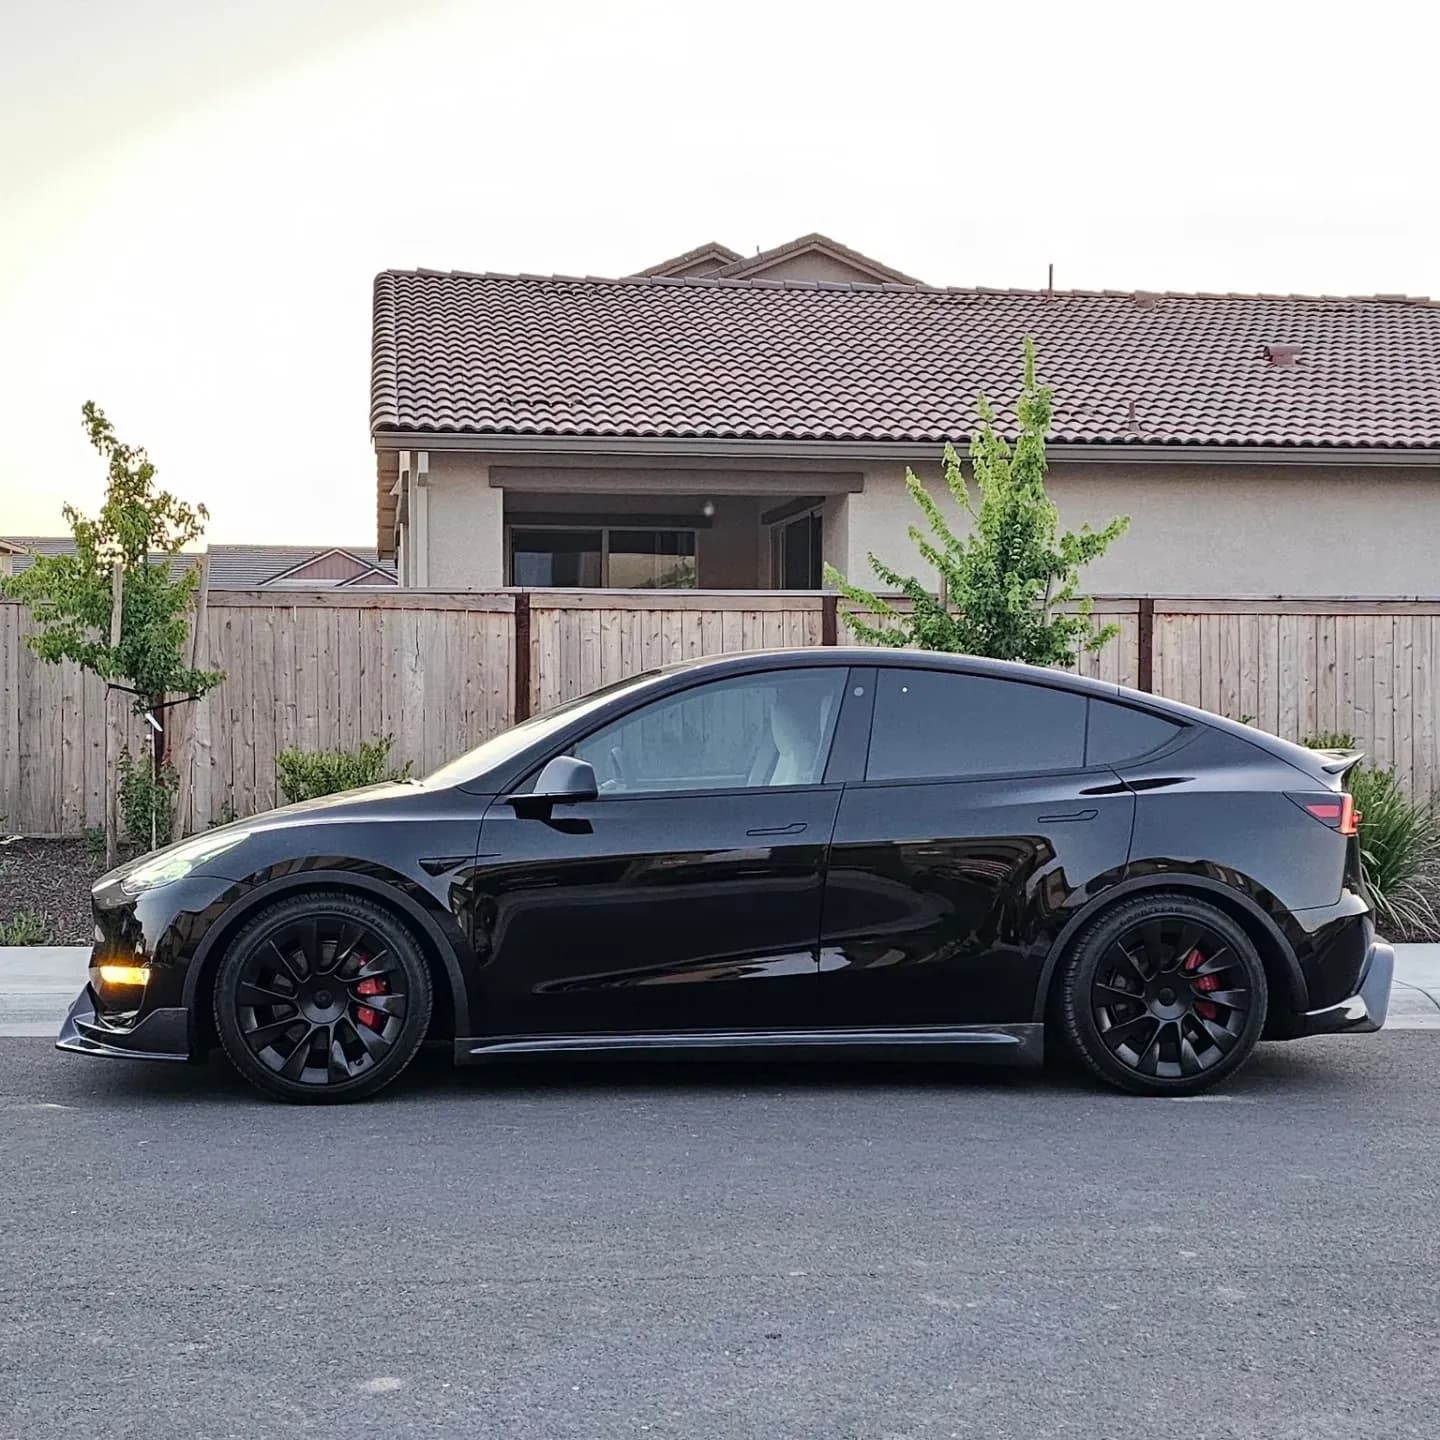
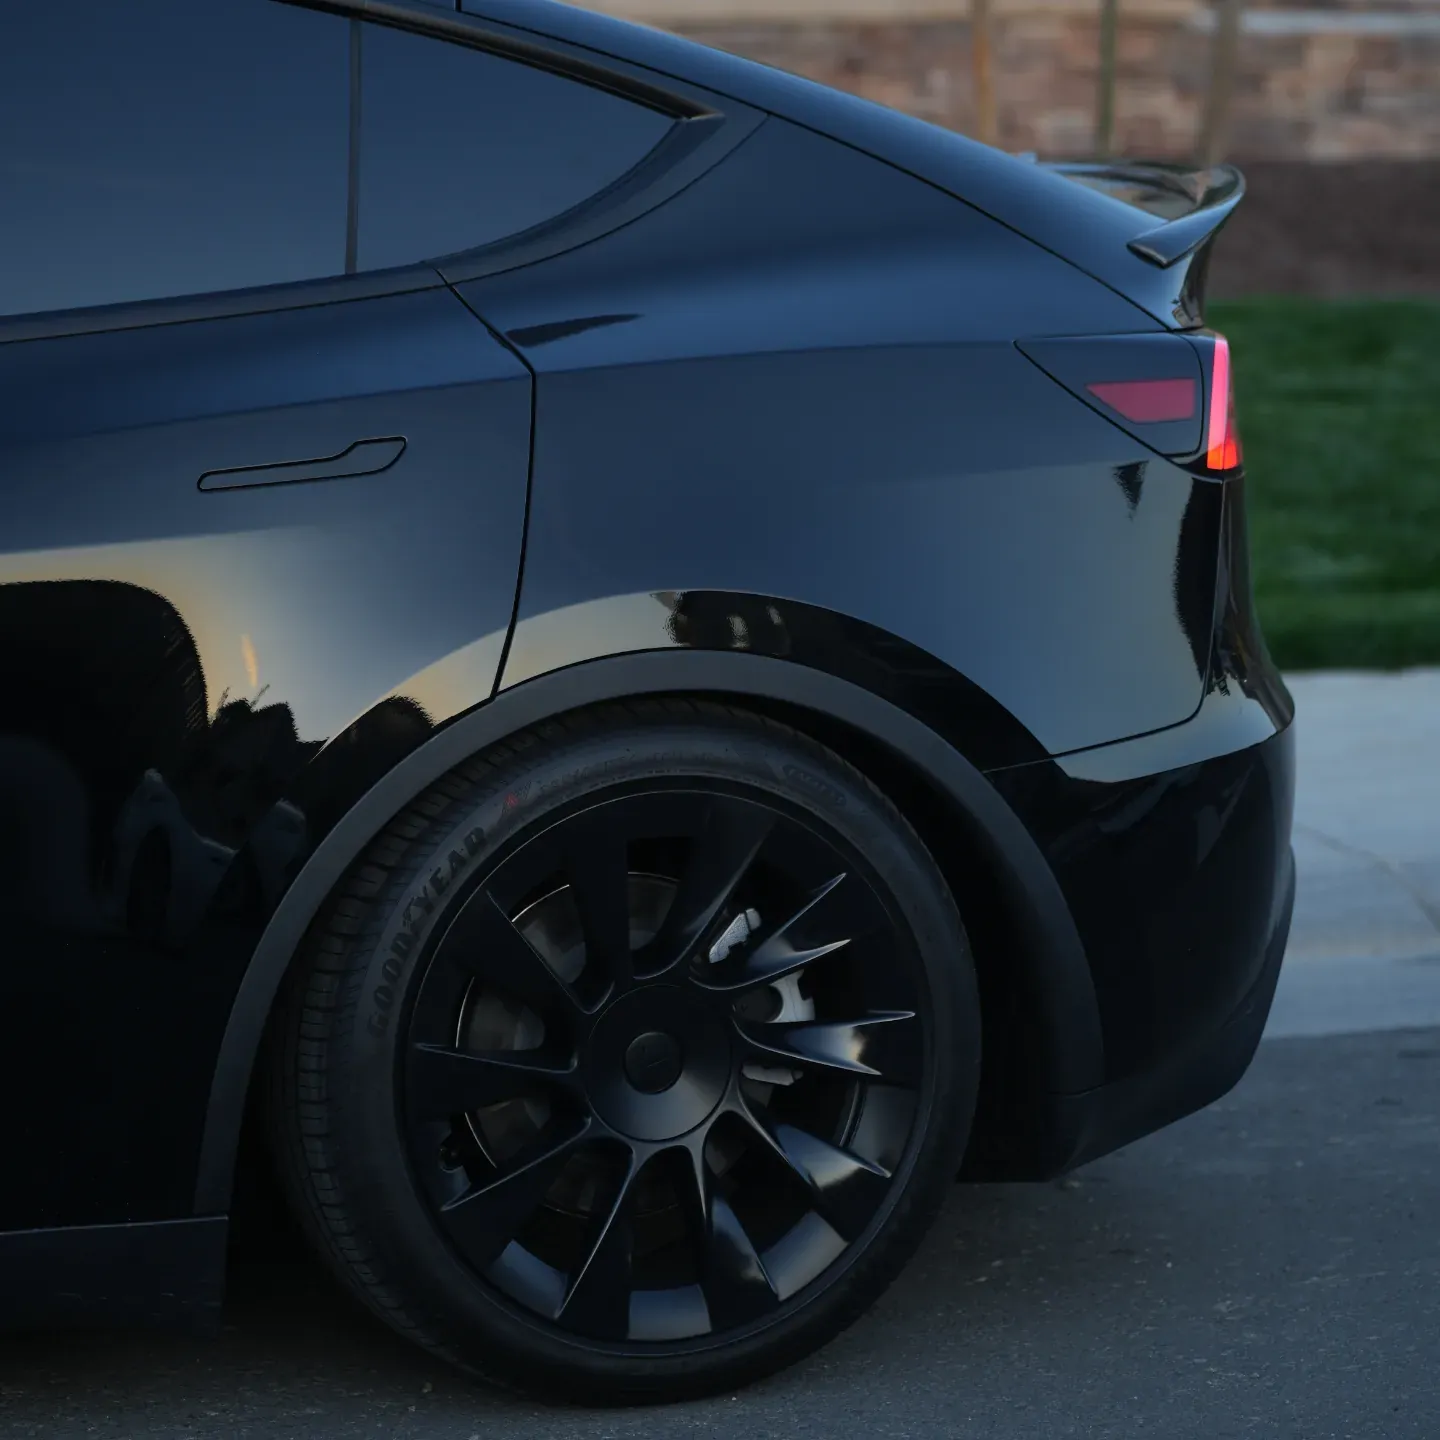
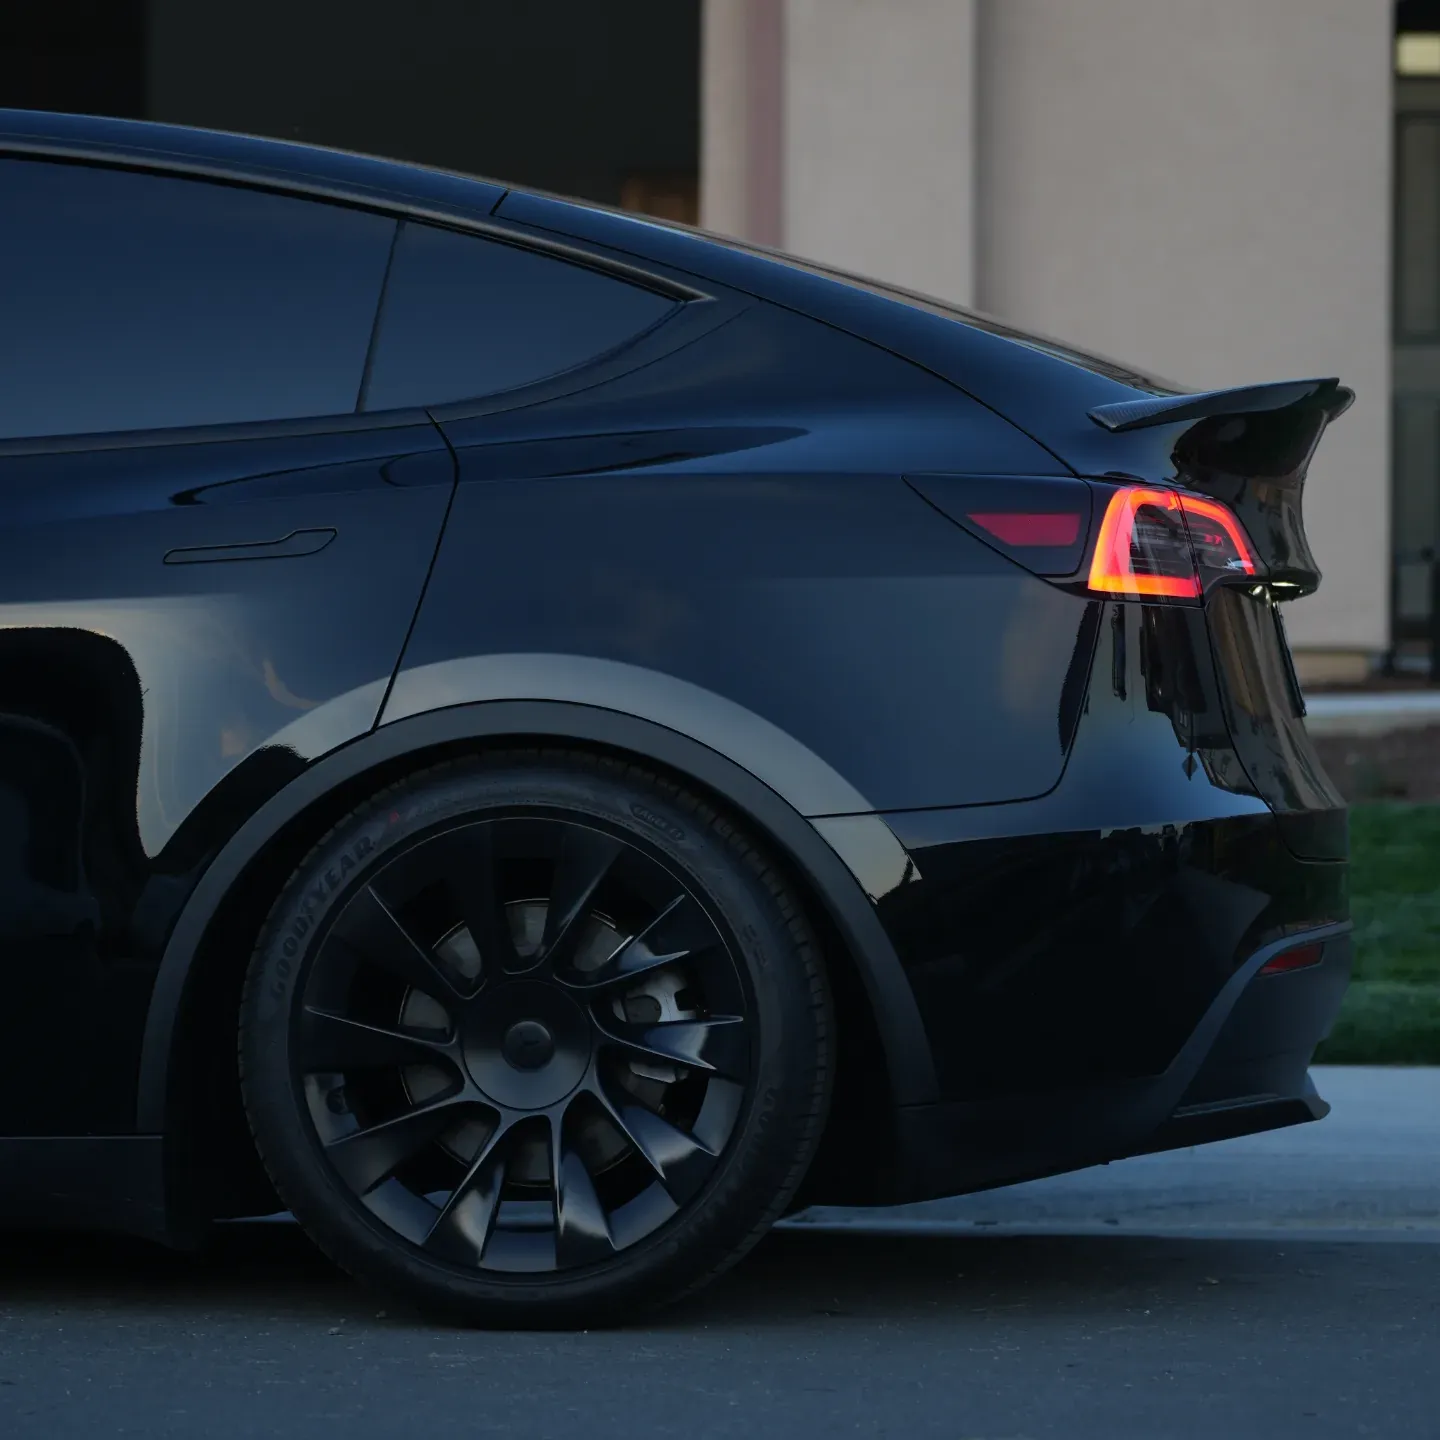
Photos from @ngooyen on Instagram. Follow for more.
Full transcript
Show the full transcript (24 lines) +
0:00What's up guys, it's your boy John, and we're just gonna do a quick install on
0:05The model Y now look at that look at those beautiful door seals that are illuminated
0:11I'll show you how to install them
0:12real quick
0:14So I did the fronts already rears are just the same
0:18You just stick on
0:21the door seal itself
0:25There are two double-sided tape
0:28One two peel them and stick them
0:32After you do that, I'll show you how to do the magnet part because these are battery-operated
0:37you just put it right on top and
0:40Close the door. It's very simple
0:49Finish the install on
0:54So these are in they look amazing
1:06They're super bright right now. Maybe I can make it look like more true to life
1:11question mark
1:13The more like that. They're super sharp
1:16And it was very install you can also get the Tesla
1:22projector here too, which is something you might consider
1:27the back I
1:30Have no just a regular light. It looks amazing. Now if you're interested in product
1:36I'll leave a links down below. It's varies install literally to double-sided. Tape and like a magnet
1:43So
1:45Thank you for watching. I'll catch you guys and the next one
Machine-transcribed from the full-length video and lightly cleaned (product names fixed). Watch the video for exact wording.
Next step