APR Pre-Preg Carbon Side Skirts: Acura Integra Type S Mod + Install Notes
APR's carbon side rocker extensions clamp onto the Integra Type S rocker, line up off an OEM hole, and bolt on with M6 hardware through drilled holes. John shows the fit, ground clearance and the optional splash-guard setup.
Full video (5 min): Integra Type S gets CF Side Skirts | APR | $2K Baller modification | pre-preg carbon · John's YouTube channel
Get the parts
- Drill bit set: Generic pickGeneric pickSearch on Amazon ↗
- Plastic trim removal tool: Generic pickGeneric pickSearch on Amazon ↗
- APR side rocker extensions FS-924008, Acura DE5 Integra 2023+ (eBay)Buy ↗
- Find APR carbon side skirts for the Integra Type S on eBayBuy ↗
As an Amazon Associate I earn from qualifying purchases. Some links are affiliate links.
APR's carbon side rocker extensions clamp onto the Integra Type S rocker, line up off an OEM hole, and bolt on with M6 hardware through drilled holes. John shows the fit, ground clearance and the optional splash-guard setup. This 5 min guide covers the APR side rocker extensions for the Acura DE5 Integra, 2024–current (store link in the description) with.
Overview
John felt the Integra Type S had black accents up front (with a carbon front lip on the way) and an aggressive rear diffuser, but nothing dark along the white sides, so he added APR's pre-preg carbon side skirts. The molded shape clamps right onto the factory rocker and sits exactly where it should. Mounting is standard and covered by APR's instructions: clamp it on, mark the holes, drill, then bolt through with the included M6 hardware (bolt, two washers and a nut sandwiching the OEM rocker and the skirt). APR uses an existing OEM hole as the reference point, so you line everything up off that. Once bolted, it isn't going anywhere. John measures the drop at about one and a half fingers below the rocker and notes a body line that hugs the skirt. It's an easy install with only a few clips to remove. If you run splash guards, APR's instructions show how to retain them, and John thinks they'd look even better and protect the doors, especially with a more aggressive wheel offset. He calls it expensive but quality.
Vehicle & fitment
- Product
- APR Performance pre-preg carbon fiber side rocker extensions (side skirts) for the Acura Integra Type S DE5, with stainless mounting hardware
- Shown on
- Acura Integra Type S (DE5, John's car)
- APR side rocker extensions for the Acura DE5 Integra, 2024–current (store link in the description)
- Pre-preg carbon fiber, autoclave cured; stainless bolts, nuts and washers included (per the description)
- APR's instructions also show how to keep mud/splash guards if you run them
Always confirm fitment for your exact year and trim with the seller before buying.
Tools & parts
Tools
- Drill and bits (for the mounting holes)
- Marker to mark the holes
- Wrench / socket for the M6 hardware
- Clip removal tool
Parts
- APR carbon side rocker extensions (left and right)
- Stainless M6 bolts, washers and nuts (included)
Step by step
- 1
Why side skirts▶ 0:21
The front has black trim (and a carbon lip coming) and the rear diffuser is aggressive, but the white sides have no dark accent. The APR skirts tie it together.
- 2
Check the fit▶ 0:53
The molded shape clamps right onto the factory rocker and sits exactly where it should before any hardware goes in.
- 3
Clamp, mark and drill▶ 1:13
Follow APR's instructions: clamp the skirt in place, mark the holes, then drill.
- 4
Bolt it on▶ 1:26
Each mount is an M6 bolt with two washers and a nut, sandwiching the OEM rocker and the APR skirt. Once tight, it isn't going anywhere.
- 5
Line it up off the OEM hole▶ 2:08
APR uses an existing OEM hole as the reference. Take out the factory fastener there and line everything up off it, then work back along the skirt.
- 6
Ground clearance▶ 2:28
There's a body line that hugs the skirt. It hangs about one and a half fingers below the rocker.
- 7
Splash guards (optional)▶ 3:05
The install is easy with only a few clips to remove. If you run splash guards, APR's instructions show how to keep them; John thinks they'd look better and protect the doors, especially with an aggressive offset.
Wiring notes
- No wiring: bolt-on carbon trim.
- Hardware stack per mount: M6 bolt, washer, OEM rocker, APR skirt, washer, nut.
Get the parts
- Drill bit set: Generic pickGeneric pickSearch on Amazon ↗
- Plastic trim removal tool: Generic pickGeneric pickSearch on Amazon ↗
- APR side rocker extensions FS-924008, Acura DE5 Integra 2023+ (eBay)Buy ↗
- Find APR carbon side skirts for the Integra Type S on eBayBuy ↗
As an Amazon Associate I earn from qualifying purchases. Some links are affiliate links.
FAQ
What vehicle does this install fit?
It is shown for the APR side rocker extensions for the Acura DE5 Integra, 2024–current (store link in the description). Pre-preg carbon fiber, autoclave cured; stainless bolts, nuts and washers included (per the description) Always confirm your exact year, trim and factory audio with the seller.
How long does the install take?
John's full video is 5 min. Plan on that much time for a careful DIY install, plus extra if you are new to dash work.
What tools do I need?
Tools called out in the guide: Drill and bits (for the mounting holes); Marker to mark the holes; Wrench / socket for the M6 hardware; Clip removal tool.
Where do I get the parts?
Use the buy links on this page for the unit and any harnesses John used. Some links are affiliate links.
Is this beginner-friendly?
The guide breaks the job into 7 steps with timestamps into the video. If you can remove trim panels carefully, you can follow along.
John's Acura Integra Type S
More photos →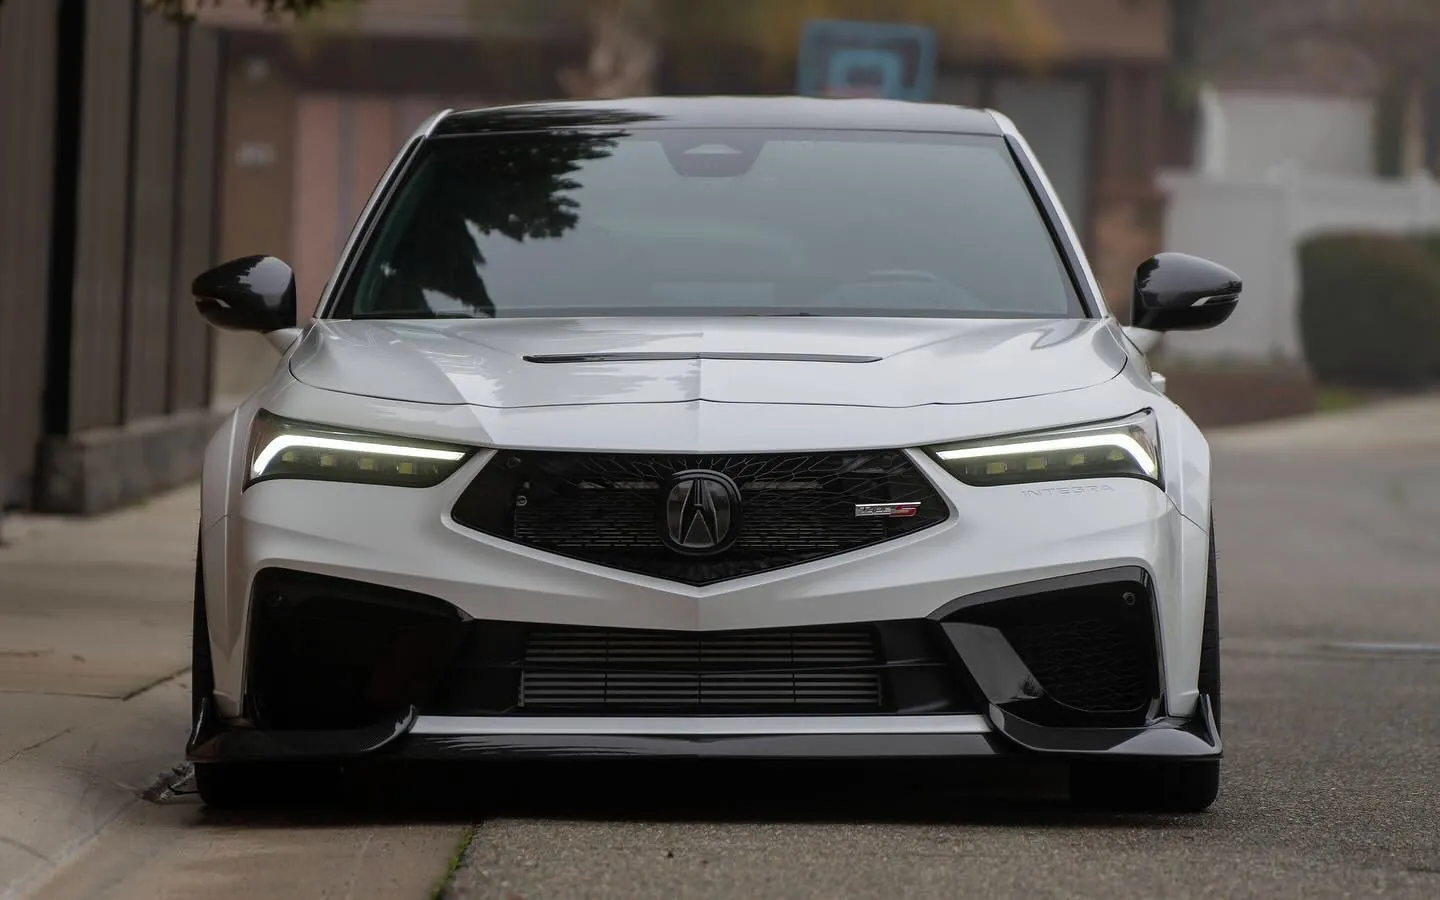
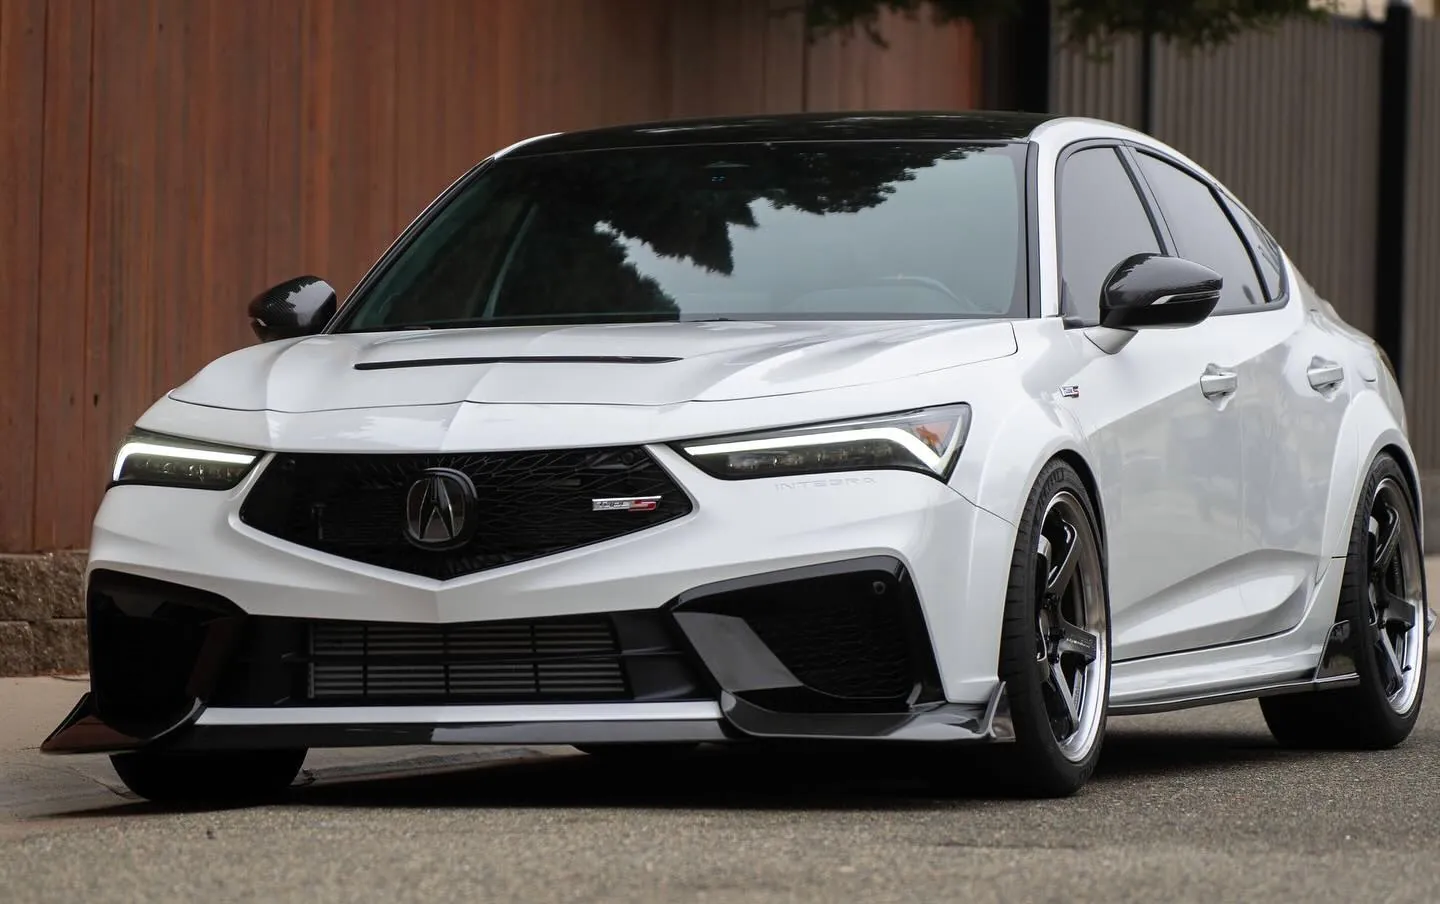
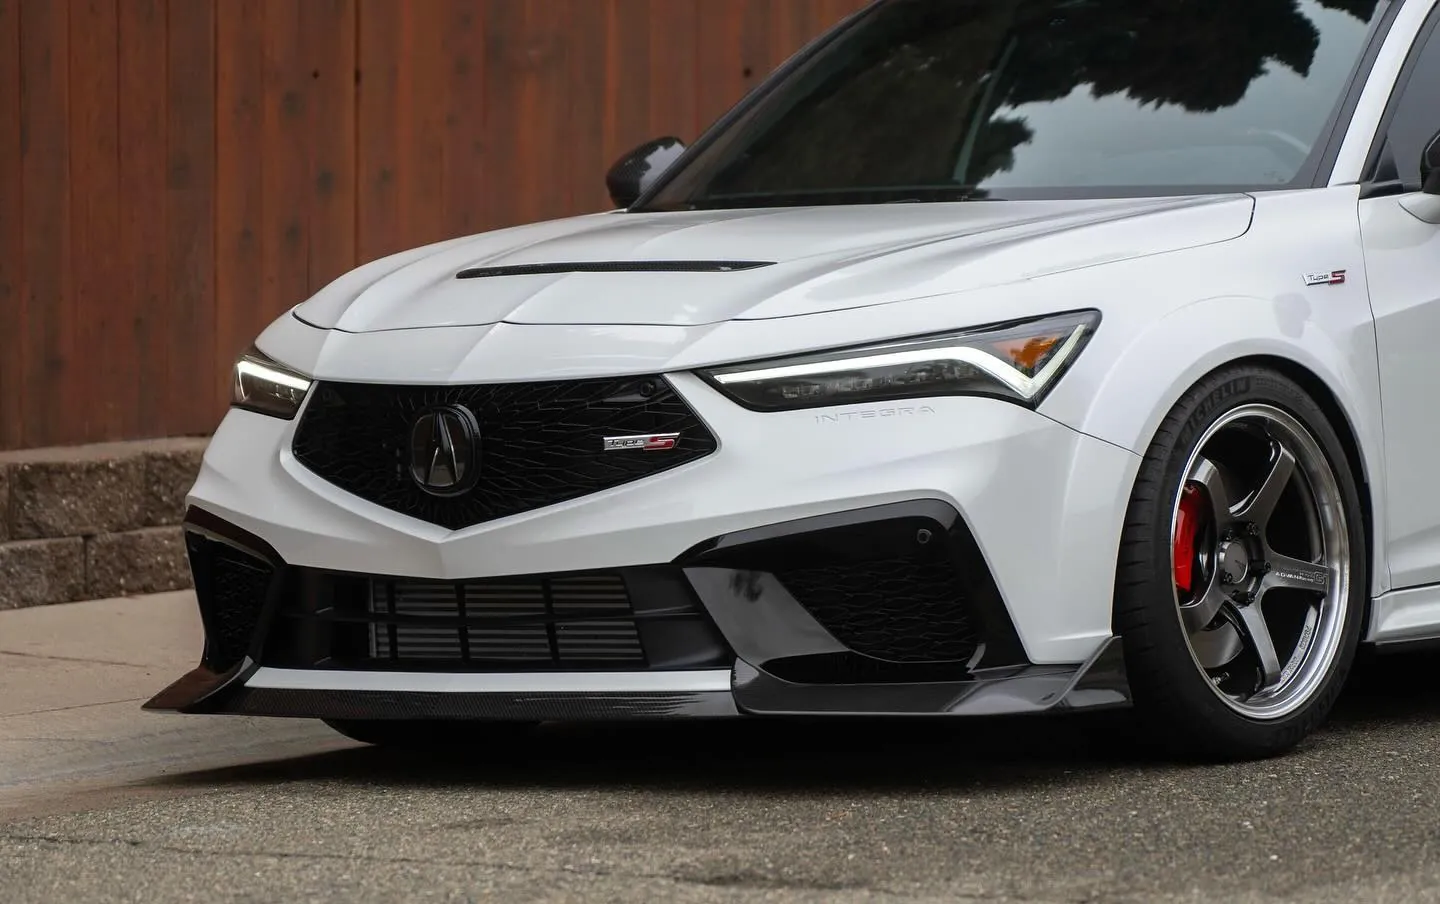
Photos from @ngooyen on Instagram. Follow for more.
Full transcript
Show the full transcript (54 lines) +
0:00What's up guys, it's your boy John.
0:19We are back again here with another video.
0:21Today we're going to be looking at something that I think is missing from the car.
0:28There's black trim in the front, which I'm also getting a front lip, which you've seen
0:30which i'm also getting the front lip which you carbon fiber but the white part right here
0:36there's no there's no black accents or a dark accent same with the back there's the diffuser
0:44er that's really
0:44sweet and very aggressive but the sign i feel like it needs some some work so we have the apr
0:53apr carbon fiber
0:55a side skirt. Sorry, catching my breath. And I love how this shape, this mold right here,
1:00Sorry, touching my breath.
1:01And I love how this shape, this mold right here, it just clamps right on.
1:08So, it just fits exactly where it should be.
1:13Alright, so the mounting is pretty standard.
1:20They come with instructions on how to do it.
1:22You can screw it and then you make these clamps and just mark the holes and then use the M6 bolts.
1:28And the bolt itself would look something like this.
1:33You have two washers and this will hold the OEM piece and the side skirt in place.
1:41So, you put this new M16 bolt, side skirt OEM piece and then you have a nut on top.
1:49And, yeah, after that,
1:52this thing ain't going nowhere like that.
1:57So, you just drill holes.
1:58It's kind of hard to show but after that you're pretty much golden and it kind of sits like this.
2:01And it kinda sits like this.
2:08There is a very good like OEM hold it.
2:12The APR uses right here.
2:14So you would take that one out right here
2:16and then you can line up everything off of this
2:18And you can kind of jet it back.
2:21Now, kind of see how it looks.
2:26It reminds me of like a, again, it does.
2:28There is a body line where it kind of hugs the side skirt.
2:30Where it kind of hugs the but the side skirt
2:36Because I do have a
2:40Child
2:42It sticks about
2:57about one and a half. fingers. All right. We have it all done.
2:58I'm not to tidy everything. I'll take the some glamour shots
3:01I'll take some glamour shots,
3:03but yeah, that's the APR lip.
3:05It's actually very easy to install.
3:06You don't have to remove too much.
3:07There's some clips here and there.
3:09And if you want to adapt the splash guards,
3:13So I know some people have splash cards.
3:15They actually have some guides on the instructions
3:20to show you how to retain the splash cards.
3:23If that's your jam.
3:25And I think if you put the splash cards, it'll look even better.
3:28It'll protect the side of
3:32especially, especially if you're running a more aggressive offset, and you know, it looks kind
3:38of cool too if that's your jam, but yeah, that is, let me just wrap this up, clean it
3:46up, but then when it gets sunny, I will show you the after photos and after videos of the
3:53New York so it's good.
Machine-transcribed from the full-length video and lightly cleaned (product names fixed). Watch the video for exact wording.
Next step


