Acuity Shift Knob: Integra Type S DE5 / Civic Type R FL5 Install
Pop the OEM collar, loosen the 13mm nut, swap to the Acuity adapter and weighted aluminum knob. Bigger grip, shorter throw feel, red anodized finish.
Full video (10 min): Installing a Shift Knob for the DE5/FL5 Integra Civic Type S/R | Acuity · John's YouTube channel
Get the parts
- Alternative: Acuity ESCO-T6 shift knob, satin black, M10x1.5 (Amazon; specific knob from Acuity's collection)Buy ↗
- Find Acuity shift knob (M10x1.5) on eBayBuy ↗
As an Amazon Associate I earn from qualifying purchases. Some links are affiliate links.
Pop the OEM collar, loosen the 13mm nut, swap to the Acuity adapter and weighted aluminum knob. Bigger grip, shorter throw feel, red anodized finish. This 10 min guide covers the Acura Integra Type S DE5 and Honda Civic Type R FL5 with tools, parts links and the full video.
Overview
The easiest of John's three shift-feel mods. The Acuity knob is larger, lower and better weighted than stock, so it's easier to grab and shifts feel shorter. Red anodizing matches the Type S interior better than the chrome OEM piece.
Vehicle & fitment
- Product
- Acuity anodized aluminum shift knob (teardrop / cylindrical weighted design) with adapters
- Shown on
- Acura Integra Type S (DE5)
- Acura Integra Type S DE5 and Honda Civic Type R FL5 (per the video title)
- Part one of John's three-part shift-feel series
Always confirm fitment for your exact year and trim with the seller before buying.
Tools & parts
Tools
- 13mm wrench / socket (12mm if your aftermarket nut differs)
Parts
- Acuity shift knob
- Correct adapter for your knob
- Optional retainer / collar
Step by step
- 1
Release the OEM collar▶ 2:36
Push down and rotate the collar (clockwise while pushing) until it drops to the notch, then lift the stock knob setup off after loosening the nut.
- 2
Fit the new retainer / collar▶ 4:18
Install the Acuity retainer. Don't overtighten or you'll wrinkle the boot — set height where it looks right.
- 3
Pick the matching adapter▶ 4:44
Acuity includes more than one adapter. Use the one that matches your knob, tighten it, then thread/pop the knob on and snug it (John used a 13mm).
- 4
Road-test▶ 7:46
Drive it. The bigger cylindrical grip is easier to grab and the lower height shortens the throw feel.
Tip: Optional: add a small charm/keychain for personalization.
Get the parts
- Alternative: Acuity ESCO-T6 shift knob, satin black, M10x1.5 (Amazon; specific knob from Acuity's collection)Buy ↗
- Find Acuity shift knob (M10x1.5) on eBayBuy ↗
As an Amazon Associate I earn from qualifying purchases. Some links are affiliate links.
FAQ
What vehicle does this install fit?
It is shown for the Acura Integra Type S DE5 and Honda Civic Type R FL5. Part one of John's three-part shift-feel series Always confirm your exact year, trim and factory audio with the seller.
How long does the install take?
John's full video is 10 min. Plan on that much time for a careful DIY install, plus extra if you are new to dash work.
What tools do I need?
Tools called out in the guide: 13mm wrench / socket (12mm if your aftermarket nut differs).
Where do I get the parts?
Use the buy links on this page for the unit and any harnesses John used. Some links are affiliate links.
Is this beginner-friendly?
The guide breaks the job into 4 steps with timestamps into the video. If you can remove trim panels carefully, you can follow along.
John's Acura Integra Type S
More photos →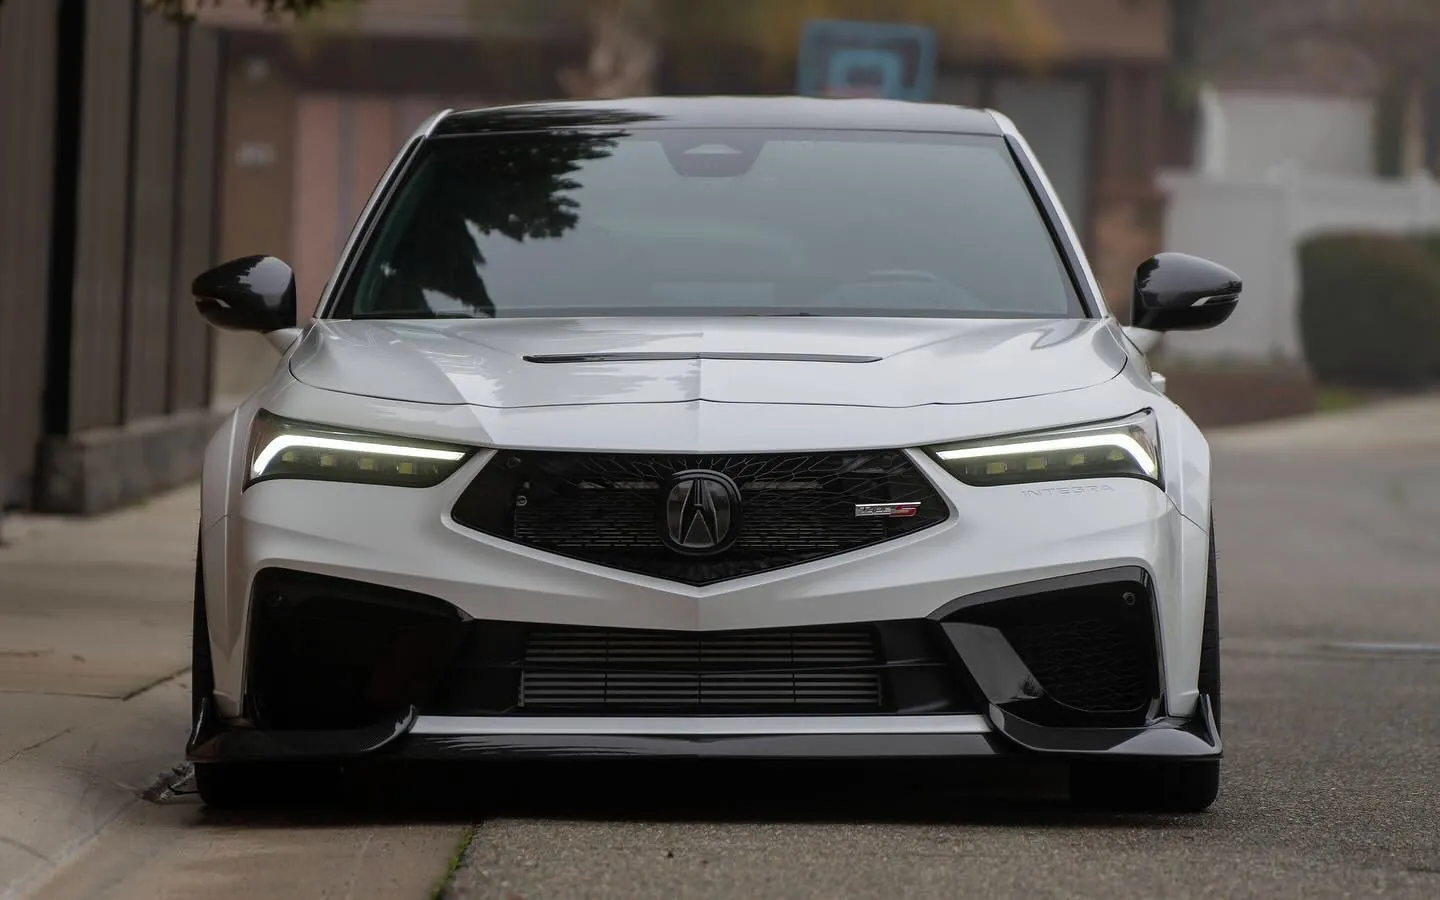
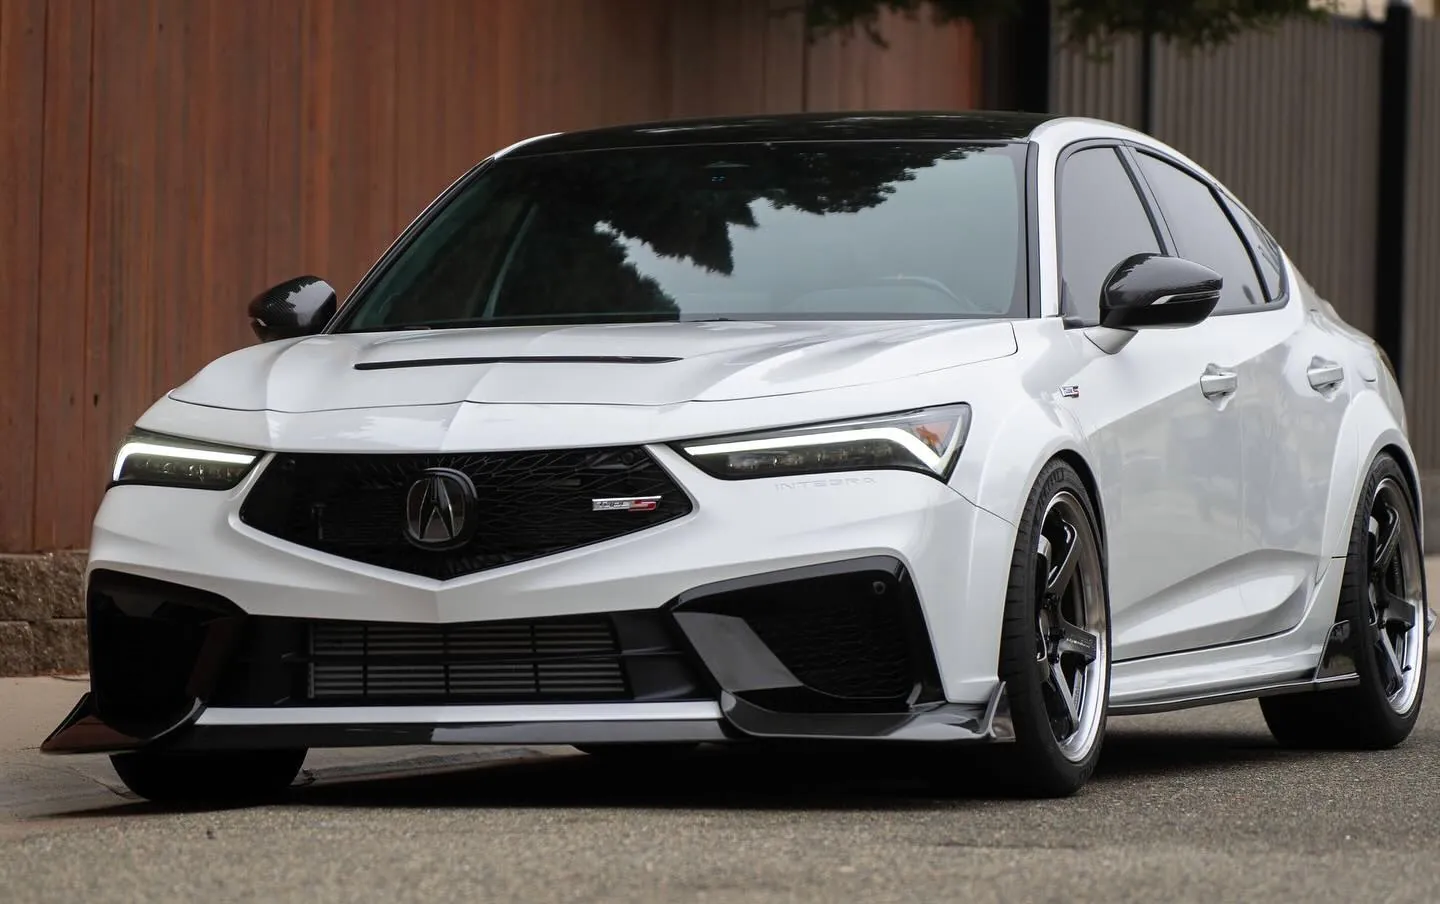
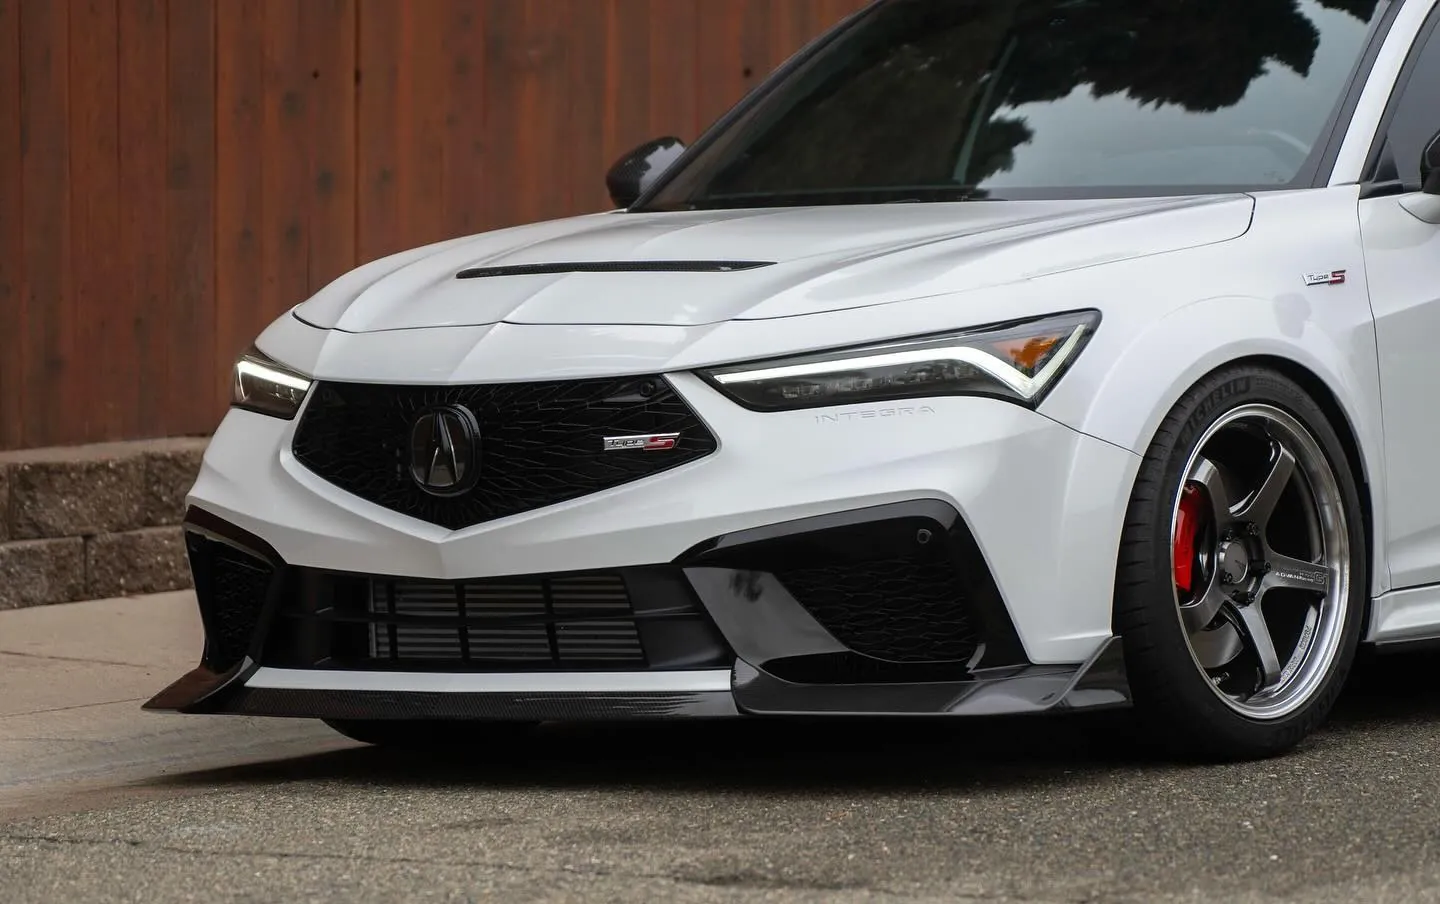
Photos from @ngooyen on Instagram. Follow for more.
Full transcript
Show the full transcript (125 lines) +
0:02I live inside my own world of make-believe
0:08Kids screaming in the cradle's profanities
0:14I see the art through ice covered in ink and bleach
0:20Cross out the one's who hurt my cries and watch-
0:25What's up guys, it's Subway!
0:27We are back again here with another video
0:29One of the greatest things about a manual is you can upgrade the shit feel
0:35So for the Integra Type S, we are going to do some mods
0:41I'm going to do a 3 part series because there's so many things you can do
0:44The most common one is to change your shift knob
0:47And then I have that with a little charm to it
0:51Just to feel a little cute
0:53There also is the shifter base bushings
0:56That we can change to something more solid
1:00And then there's also the shift linkage bushing that is in the engine bay
1:06Looks something like this, there's two of them
1:08We're going to do the 3 part series
1:13This is going to be its own video
1:17But today we're going to do the shift of the shift knob
1:20Because the quiddity, look at this
1:25It's beautiful, it's beautiful
1:28So we of going to do the shift knob just feels good
1:31A witty shift knob, it's going to feel a little more direct
1:34It's going to have a little more weight to it
1:37But the throws should feel like a bolt action rifle
1:41That's where I'm trying to go for
1:44Shift knob, shift charm, just a little fun thing you can do
1:55Then we are going to also upgrade that little thing that goes in between the shift boot
2:02Sometimes we'll have it saggy, our cars are brand new
2:05So you don't have to really worry about that, push that down here
2:09So we can change the base as well
2:15It says pull to release, pull to release both sides
2:19And then you have their brand
2:21So, depending the way depending on where you want to make it look
2:24That looks nice
2:29And we have some cable ties to get it all snug in there
2:35Alright, so the OEM shift knob isn't too hard to disassemble
2:42I find the easiest way to remove it is just pop this thing off
2:48Just twist it, basically loosens itself like that
2:54You don't have to be too forceful, you can see the little hooks right here
2:59I believe this is a 13, you can look just right here
3:05And this bad boy pops off,, whoo!
3:14Here it comes off too
3:23After that you can just pop this off by pulling up
3:39I'm going to be removing this
3:45This is held by a zip tie
3:48You can see right there
3:50So we're going to have to cut that zip tie out
3:54So I just snip the little zip tie
4:01This comes right out
4:12Oh, don't want to drop that
4:14So this the OEM one, it's a plastic retainer
4:18And now we're going to change it to this new one
4:31You don't want to do it too tight because it will add wrinkles
4:36So get it kind of in where you think it will look good
4:42And that looks perfect to me
4:44Now you're going to have two different adapters
4:47So do the one according to your shift knob
4:56And you just want to tighten this bad boy
4:59Shift knob in, should be able to just pop it in
5:41And voila!
5:43You've got your new shift knob
5:45Of course you want to tighten it
5:47You can tighten it by putting it down
5:50And let's see what the 13
6:24It's a lot easier to grab
6:29I didn't think it was going to make that big a difference
6:33Because aesthetically this matches a car really nicely
6:36But, wow
6:38Just like the way, my hands are not huge
6:42And this teardrop design is pretty good
6:46But man, I'm telling you this
6:49You can snap it, grab
6:51It's a lot easier to reach for
6:54It's so much bigger, it might not seem that much bigger
6:58But because it's like a cylinder and it doesn't taper off
7:03You can grab it a whole lot easier
7:06And then start going to town
7:10Now, I guess I'm going to show some glamour shots with it
7:15So you guys can see it
7:16And do the little charm just for fun
7:46Alright, let's test this shift knob
7:57First to second
8:01Second to third
8:05Now, I've been driving for a bit
8:08And I would say the shift knob actually makes a substantial amount of difference
8:13Because it's something you're actually holding
8:15The feel is better
8:18It's weighted better
8:19And it also sits lower, but it's also bigger
8:22So the shifts are shorter
8:24But it's easier to grab, so it feels
8:27It's just easier to shift into gear
8:29Now, this is going to be a three-part series
8:34This is the
8:43Shift callers and then the shift bushings
8:45Don't know what order I'm going to be doing that in
8:49But for my equity
8:53I don't even know how to say the names
8:55This is a great shift knob
8:57It's been an aluminum
8:58It's solid
9:03Feels great, it's anodized
9:11It matches the interior of the Type-S
9:13Kind of in that red
9:15Red on red on red
9:16Two-tone kind of going on right now
9:19I'm happy with the product
9:21And if you guys are interested again
9:23I'll leave a link down below
9:24This is great
9:26Easy mod to do
9:28And it personalizes the car a little bit
9:30You saw the charms and stuff like that
9:32A number of people like to make the car their own
9:36I like the OEM look
9:38But this look right here
9:56The color itself
9:58The little bottom part right there
10:03It just looks way better than that stock
10:05Chromy piece
10:07I'm happy overall
10:10Thank you guys for watching
10:11Catch you guys in the next one
10:13Peace.
Machine-transcribed from the full-length video and lightly cleaned (product names fixed). Watch the video for exact wording.
Next step


