Acuity Shifter Base Bushings: Civic Type R FL5 / Integra Type S DE5
Strip the center console like a knob swap, pop out the four OEM rubber base bushings, press in the stiffer Acuity pair (top + bottom) and re-torque gently.
Full video (10 min): Improving the Type R / S DE5 FL5 Shift Feel | DIY Install Shifter Base Bushings | Acuity · John's YouTube channel
Get the parts
- Acuity shifter base bushings, Civic 2016+ / Integra 2023+ (Amazon)Buy ↗
- Find Acuity shifter base bushings, Civic 2016+ / Integra 2023+ on eBayBuy ↗
As an Amazon Associate I earn from qualifying purchases. Some links are affiliate links.
Strip the center console like a knob swap, pop out the four OEM rubber base bushings, press in the stiffer Acuity pair (top + bottom) and re-torque gently. This 10 min guide covers the 11th gen Civic Type R FL5 and 5th gen Integra Type S DE5 with tools, parts links and the full video.
Overview
Replaces the soft OEM rubber mounts under the shifter base with stiffer Acuity bushings. Not a night-and-day change, but left-right slop cleans up and gear engagement feels sharper and more mechanical — still daily-able. Install is the same console teardown as other shifter work.
Vehicle & fitment
- Product
- Acuity 1954 shifter base bushings (harder mounts that replace the four chassis-to-shifter bushings)
- Shown on
- Acura Integra Type S (DE5)
- 11th gen Civic Type R FL5 and 5th gen Integra Type S DE5 (per the video)
- Part of John's three-part shift-feel series with the Acuity knob
Always confirm fitment for your exact year and trim with the seller before buying.
Tools & parts
Tools
- 13mm (or 12mm for an aftermarket knob nut)
- Trim tools
- Screwdrivers
- 10mm socket for the bushing bolts
- Small pry / pick to pop the bushings
Parts
- Acuity base bushings (four corners: hard top + soft-style bottom replacements)
Step by step
- 1
Remove the shift knob and collar▶ 1:34
On OEM, rotate the collar clockwise while pushing down to the notch. Loosen the nut (13mm OEM; John's aftermarket used 12mm) and lift the knob off.
- 2
Pull the shifter trim▶ 2:34
Pull the trim toward the rear. Tabs face backward. Unplug the harness clips as needed.
- 3
Remove console screws and cupholder▶ 3:34
Take out the cubby-tray screw and the screws it reveals, pull the cupholder straight out on its two tabs, then remove the last screws so the console can come out.
Tip: With the console out, it's a good time to add rear vents if you have kids.
- 4
Swap the four base bushings▶ 5:51
Two bushings are marked with blue. Remove each 10mm bolt, pop the hard top piece, slide out the soft bottom rubber, and install the Acuity top and bottom the same way.
Warning: These weren't torqued very tight from the factory — don't over-tighten. Do the hardest-to-reach (firewall side) first.
- 5
Reassemble and road-test▶ 7:55
Bolt everything back and drive. Expect a sharper "wall" when you hit a gear and less numbness side-to-side.
Wiring notes
- Reconnect any console harness plugs during reassembly
Get the parts
- Acuity shifter base bushings, Civic 2016+ / Integra 2023+ (Amazon)Buy ↗
- Find Acuity shifter base bushings, Civic 2016+ / Integra 2023+ on eBayBuy ↗
As an Amazon Associate I earn from qualifying purchases. Some links are affiliate links.
FAQ
What vehicle does this install fit?
It is shown for the 11th gen Civic Type R FL5 and 5th gen Integra Type S DE5. Part of John's three-part shift-feel series with the Acuity knob Always confirm your exact year, trim and factory audio with the seller.
How long does the install take?
John's full video is 10 min. Plan on that much time for a careful DIY install, plus extra if you are new to dash work.
What tools do I need?
Tools called out in the guide: 13mm (or 12mm for an aftermarket knob nut); Trim tools; Screwdrivers; 10mm socket for the bushing bolts; Small pry / pick to pop the bushings.
Where do I get the parts?
Use the buy links on this page for the unit and any harnesses John used. Some links are affiliate links.
Is this beginner-friendly?
The guide breaks the job into 5 steps with timestamps into the video. If you can remove trim panels carefully, you can follow along.
John's Acura Integra Type S
More photos →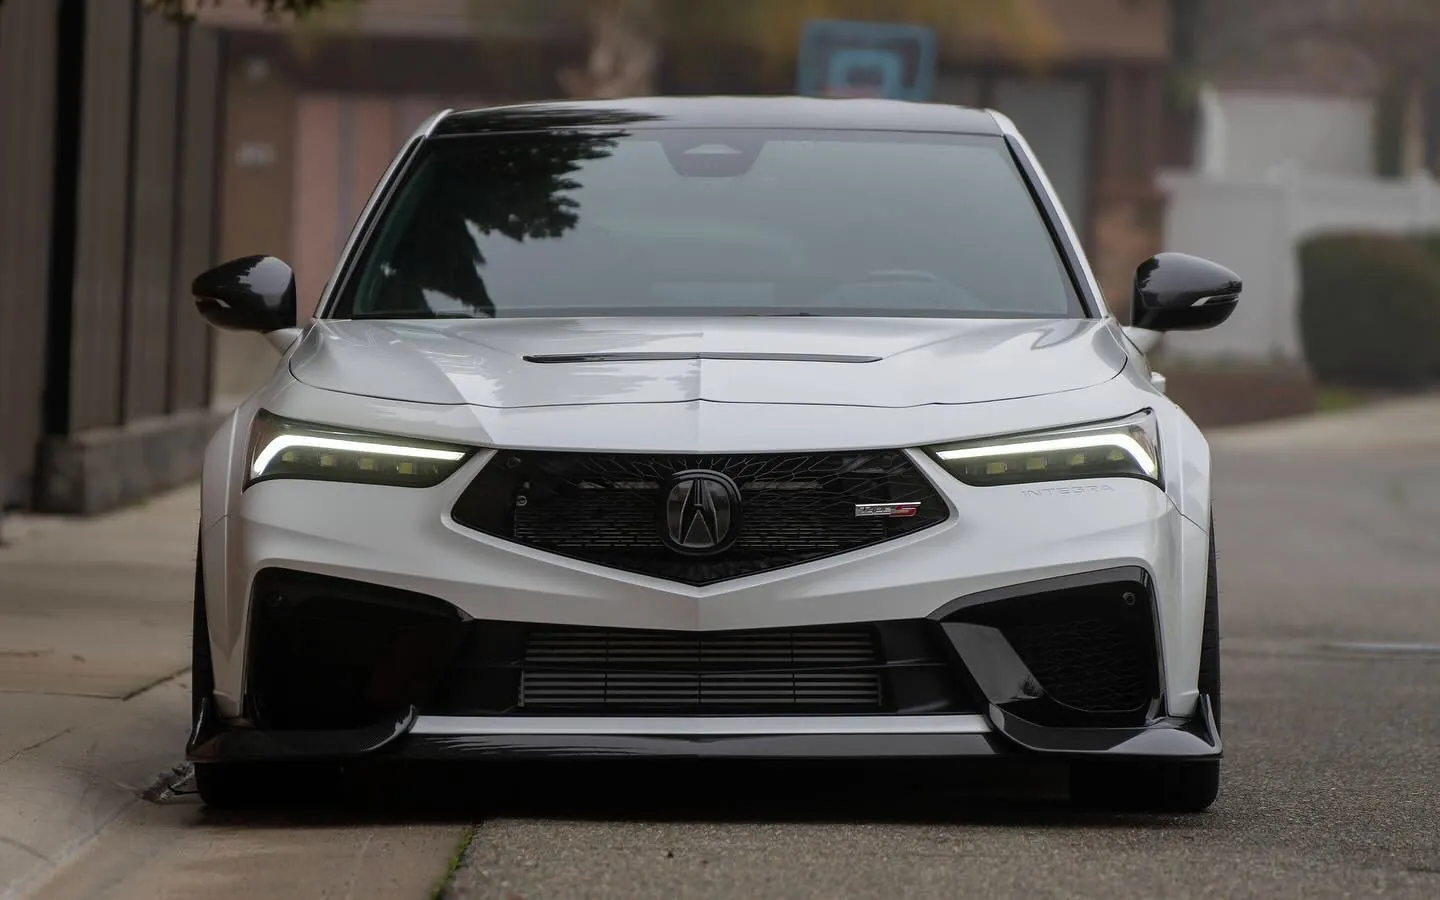
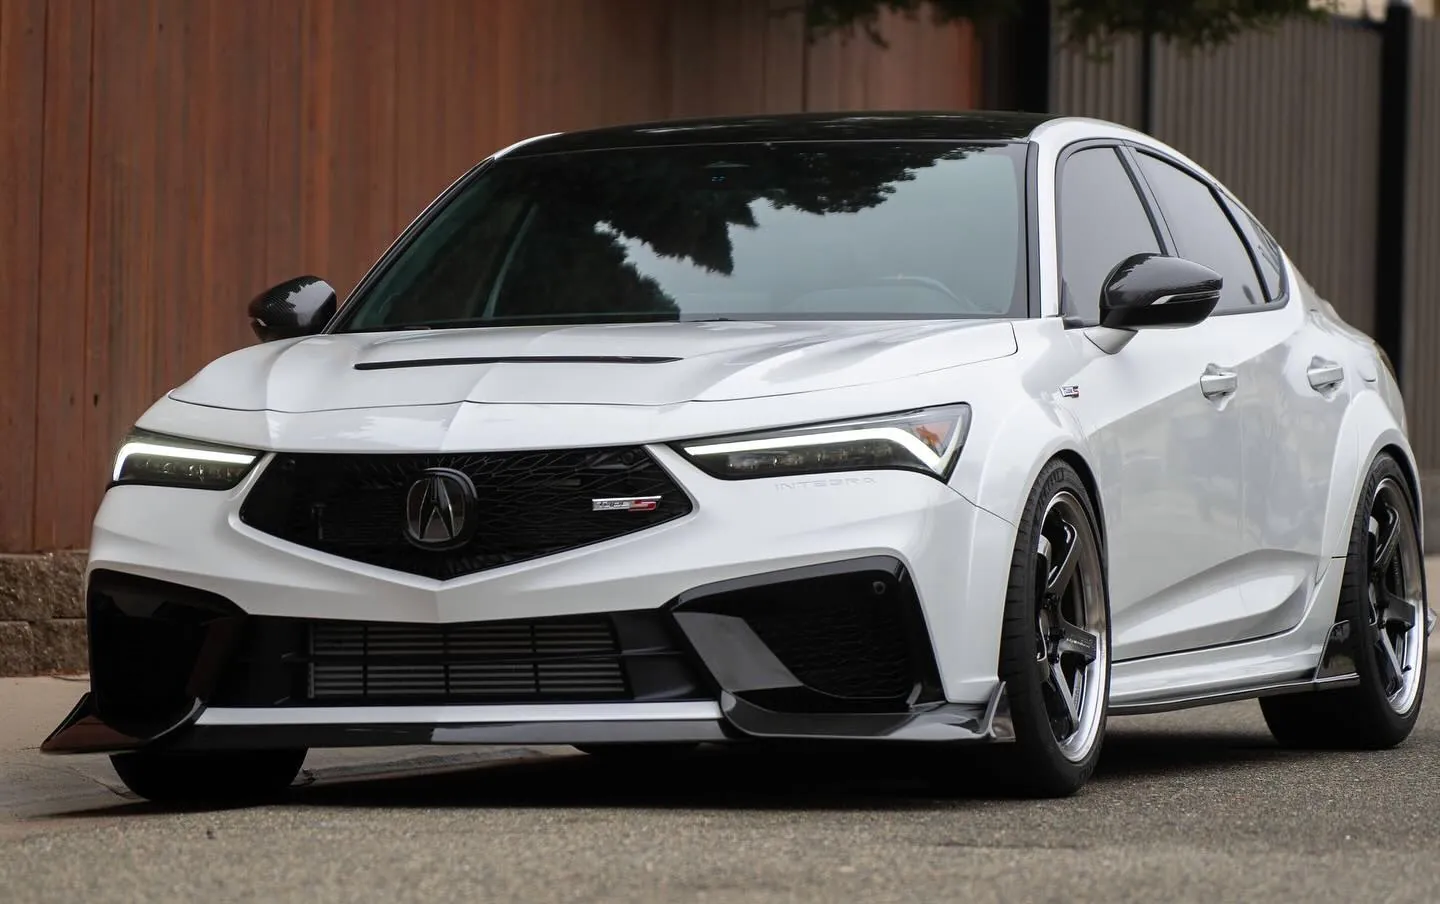
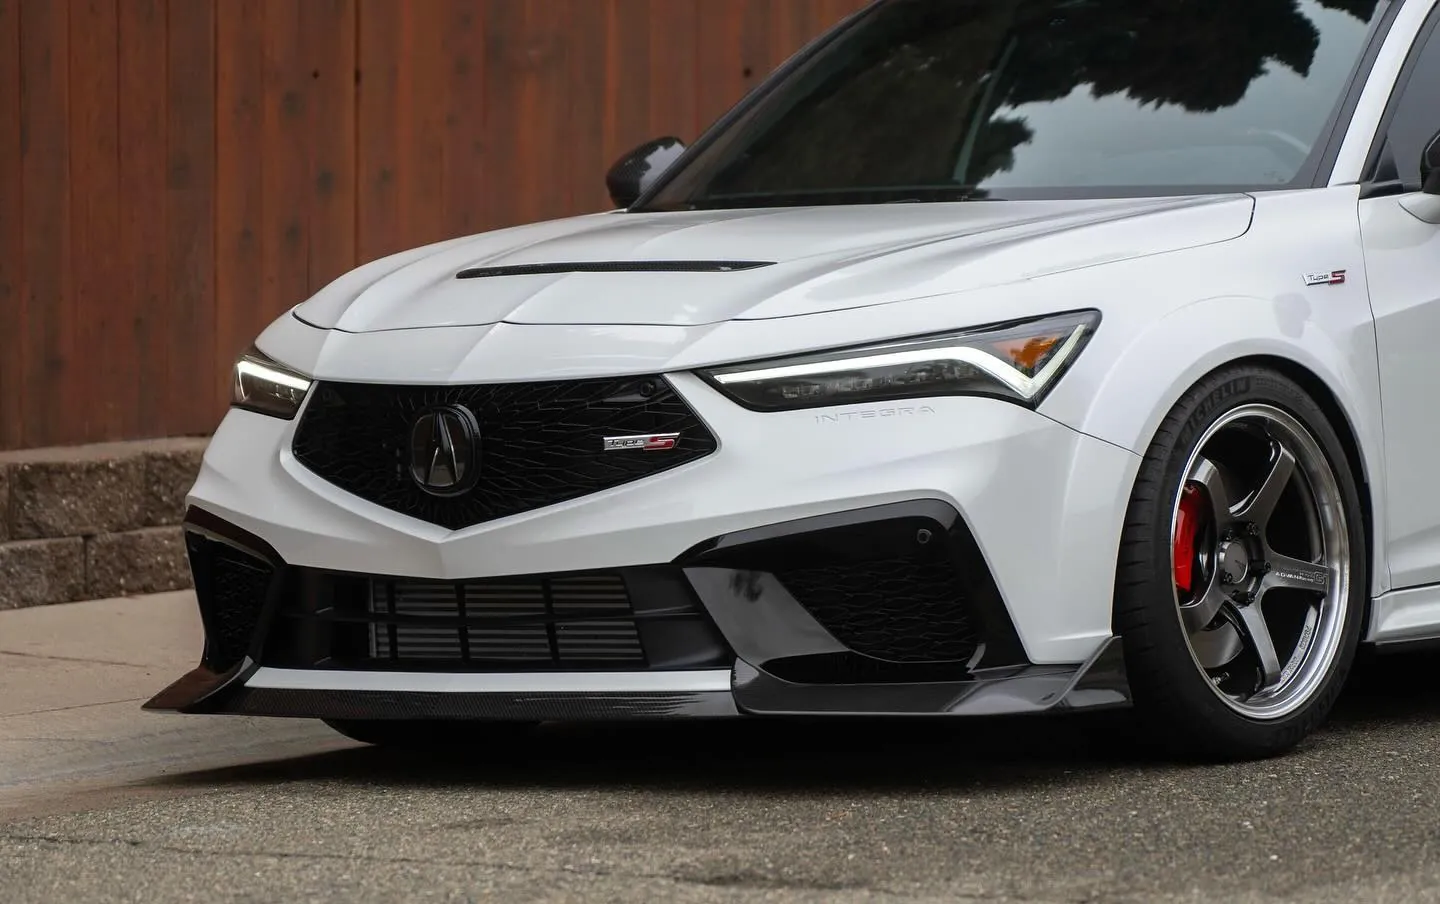
Photos from @ngooyen on Instagram. Follow for more.
Full transcript
Show the full transcript (160 lines) +
0:09but it is sharper, so there you have it.
0:16What's up guys, it's your boy John.
0:17We are back again with the Integra Type-S,
0:20like this, and yeah, we're gonna be working on the interior today
0:24because for the Integra Type-S,
0:26it's already one of the best shifting cars on the market,
0:29same with the Civic Type-R,
0:30but we can always improve on that,
0:32changing the shift knob, use a little bit more weight there,
0:34making the throws a little bit shorter and so forth,
0:37but we can also increase the rigidity
0:41with the mechanical feel with the equitieshipter base bushingsings.
0:46There are basically four things that bolt on the shifter onto the chassis,
0:51and if we replace it with these harder mounts bushings,
0:56it's gonna feel less rubbery, not that it feels that rubbery,
1:00but if you wanna feel that nice boom, boom, boom, boom,
1:04and less of that, there's some play, some rubber to it,
1:10cushiony to it, gumminess to it.
1:13It's already the best shifter, but we're just gonna improve on that.
1:16To remove this, it's not that hard, or to install this.
1:20You just gotta take the shift knob off to pull this piece off,
1:23and there's just some bolts, whole thing comes out.
1:25You know, it is a very easy Honda to work on.
1:30Slash, I grew..
1:31All right, so to remove this dash, it's pretty easy.
1:34First, you wanna pop this this little collar down.
1:38On the O.E.M. one, you wanna rotate it, I would say, clockwise,
1:41and then kind of like this, so you're rotating clockwise
1:44while pushing down, and you'll feel a little notch
1:49where you can actually push it down all the way.
1:51Then, there's gonna be a the little nut here.
1:53This is how the nut looks like.
1:54Cause this is an aftermarket one.
1:56This is a 13 mil.
1:57You kind of wanna just put it on it right here.
2:01Kind of like this, well, this is my 12,
2:04this is an aftermarket, and you just wanna
2:08let the loose see it upside down,
2:11so I guess righty tighty,
2:12and then you're basically applying force here.
2:15And this whole thing just comes out out.
2:19Now because we're gonna be putting this somewhere safe,
2:21you can put it on your seat.
2:24You don't wanna put in your cup holders.
2:26We're removing the whole bad boy anyways.
2:28Now, for this piece right here,
2:31it's also pretty easy as well.
2:34What you gotta do is you just pull, towards you,
2:38towards the back of the rear,
2:40so you just pull it, and the whole thing comes out.
2:43Of course, it's not gonna be that easy,
2:45but I already pulled it,
2:46and all the tabs are facing backwards.
3:05You can use a classic trim remover,
3:07if you need to have a little bit more leverage,
3:09and what I do, is I just pull it up,
3:15and there's gonna be retaining a harness,
3:21like a clip for the harness,
3:23and you can also unplug these bad boys as well.
3:31That's one way to remove it.
3:34All right, then there's gonna be some screws down here
3:41that you can pull out,
3:42and also, there's gonna be a screw
3:44in the cubby hole right here.
3:46So, you remove that little plastic, plastic tray on the bottom.
3:54Ooh, it's actually pretty tight.
3:56Little, there you go.
3:58And then you also have,
3:59oh, it's because it has this part kinda sunk in,
4:03and it's just gonna reveal two more screws,
4:05and you can pop that bad boy out right there.
4:08All right, let, let's go back here.
4:13Yeah, two of these bad boys.
4:38So, after you remove that one screw,
4:40and then you popped it up and pulled it out,
4:42it's gonna reveal two new screws right here,
4:44so we, we're just gonna take care of that, real quick, quick.
4:59All right, and there's this cupholder piece.
5:02There's two tabs holding it,
5:03you just kinda wanna pull it from here,
5:05and pull straight out,,
5:07after that, it will reveal two more screws,
5:10and this whole thing can come out.
5:12So, that's pretty awesome.
5:23Now, this is a good time.
5:24If you guys, were trying to do it,
5:26is you can put rear vents.
5:29Could be helpful if you have kids.
5:44This whole thing can come out.
5:49All right, so now we have everything accessible.
5:51We have two right here.
5:53We have two with the blue markers.
5:55Now, with the equities thing right here,
5:57we have the top part and,
6:00or the top part of the bottom part.
6:02Rubber, it's gonna be, we're gonna remove, so.
6:05I believe this is just a 10.
6:09Oh, let me use the two hands.
6:11But remove the bolts and replace them.
6:14All right, to take the bushings out,
6:16I'm just using like a little tool bit.
6:20Pop the top part, so this is like the hard mount part.
6:23But we're kinda, this part that goes on the bottom
6:26is the soft mount, and that just slides right out.
6:28So it goes on like this, and like this.
6:33That's how the OEM one is, so it does
6:36cushion it, and we're replacing it.
6:38So I'm gonna do that one more time,
6:39and you do that to all four of them.
6:40Just kinda pop it out. it doesn't.
6:44Take that much force.
6:46Then from the bottom, take up the rubber one.
6:50All right, with all of them removed,
6:58in the new stuff, this part we'll sit in the top,
7:03and then, sorry, a little disorganized.
7:11And the bottom will sit on the new bottom like this.
7:16And then we have the new equities thing.
7:20Goes like that.
7:22So that's a big difference.
7:27I'm gonna' gonna do the bottom, the foot wall first,
7:30because that one is the hardest to reach.
7:33So I just wanna do the hardest one first.
7:35But yeah, it would sit like this, this,
7:41like I can do.
7:42I remember these weren't torque very tight,
7:44so don't over-tighten them.
7:55All right, welcome back.
7:57I just installed the base bushings for the shifter.
8:02Just gonna' go for a quick drive.
8:09Reverse, first gear, second-gear, at low speeds.
8:13It feels like there's a wall that's sharper.
8:18So when you're in gear, you kinda know you're in gear.
8:21There's less of that numbness, like boom, boom, boom, boom.
8:29Like that.
8:30It's not dramatically night and day difference,
8:35but it does clean up some of that slop you would get
8:39when you're shifting left and right and you're shifting hard.
8:42So yeah, it's definitely sharper.
8:50So yeah, you'll get that sharper feel,
8:54more visceral, you kinda feel it in your gut
8:57when you're in gear and you're just, boom.
8:59Okay, I'm at fifth, I'm at sixth.
9:02Nothing dramatic, but still very daily-able.
9:08It's not gonna' be that much of a game-changer,
9:14but it is sharper, so there you have it.
9:18If you guys were interested in this product,
9:19I'll leave a link down below.
9:21It is a great product.
9:23There's one more thing I'm gonna' be doing.
9:25If I was a part three,
9:26it's gonna' be the shifter bushing in the engine bay.
9:36But now, I honestly didn't think it was gonna'
9:42be that much of a difference, but there is a difference.
9:45It is way sharper, it's a sharper feeling,
9:50and it's noticeable.
9:52But yeah, thank you guys for watching.
9:53Iint catch you guys in the next one.
9:54Peace, stay tuned for my other part three
9:57of making the OEM shifter better.
10:01Peace.
Machine-transcribed from the full-length video and lightly cleaned (product names fixed). Watch the video for exact wording.
Next step


