PRL High Volume Intake: Civic Type R FL5 / Integra Type S DE5
Swap the OEM airbox for the PRL HVI, reuse the OEM bottom mount and seals, route the MAF harness, then compare induction sound vs stock and the Sprint/Spoon filter.
Full video (10 min): PRL High Volume Intake for the TYPE R / S install | Stock vs Spoon vs PRL Sound Comparison | FL5 DE5 · John's YouTube channel
Get the parts
- PRL High Volume Intake FL5 / DE5 (Amazon search — Generic pick)Generic pickSearch on Amazon ↗
- PRL Motorsports (search FL5 / DE5 HVI)Generic pickSearch on Amazon ↗
- Find PRL High Volume Intake FL5 DE5 on eBayBuy ↗
As an Amazon Associate I earn from qualifying purchases. Some links are affiliate links.
Swap the OEM airbox for the PRL HVI, reuse the OEM bottom mount and seals, route the MAF harness, then compare induction sound vs stock and the Sprint/Spoon filter. This 10 min guide covers the 2023+ Honda Civic Type R FL5 and Acura Integra Type S DE5 with tools, parts links and the full video.
Overview
A full airbox swap that dumps induction noise into the cabin — louder than stock and louder than a Sprint/Spoon drop-in in the stock box. The PRL box reuses OEM mounts and seals, adds a lower snorkel that feeds straighter than the OEM path, and looks more OEM than a carbon open intake. Power feel is similar on a Stage 1 tune until you load a tune that accounts for the HVI.
Vehicle & fitment
- Product
- PRL Motorsports High Volume Intake (HVI) for FL5 / DE5 with airbox, filter, couplers, velocity-stack inlet and lower snorkel
- Shown on
- Acura Integra Type S (DE5)
- 2023+ Honda Civic Type R FL5 and Acura Integra Type S DE5
- Pairs with PRL titanium turbo inlet; John also compares Sprint/Spoon drop-in filters
Always confirm fitment for your exact year and trim with the seller before buying.
Tools & parts
Tools
- 10mm socket / basic hand tools
- Patience for the MAF harness plastic loom clips
Parts
- PRL HVI airbox and filter
- Couplers and clamps
- Lower snorkel piece
- Hardware / washers (included)
- OEM seals reused
Video chapters
Step by step
- 1
Unbox and inspect▶ 0:26
Textured plastic box, smooth interior, coupler, velocity-stack style inlet, hardware and the lower snorkel that feeds the bottom of the box.
- 2
Leave fasteners loose while seating the box▶ 3:46
Don't snug anything until the box is fully seated. Reuse the OEM bottom piece that aligns the drain hole, and the rear mount.
- 3
Route the MAF harness▶ 4:14
The OEM plastic loom that wrapped the stock box is a pain. John pops one pin and routes it along the PRL box instead of removing every clip — easier if you ever swap back to OEM.
Tip: Those clips are brittle; go slow if you fully remove the loom.
- 4
Free the stuck OEM fastener and seat seals▶ 5:18
Factory often peens one fastener so it won't unscrew — loosen the two OEM fasteners and pull the piece straight out instead. Push the OEM seals fully home; they take a firm shove.
- 5
Warm-up sound check▶ 6:30
Warm the car, then compare startup and revs to stock and to the Sprint/Spoon drop-in. Expect more cabin noise on the left side, audible with windows up.
Tip: John runs Honda Data Stage 1 (91) here; he notes a Fairable HVI-specific tune is coming.
- 6
Final thoughts▶ 8:24
Louder than stock and louder than Sprint/Spoon in the OEM box. Power feel is similar until you flash a tune that expects the HVI. Strong recommend if you want intake noise for the price.
Wiring notes
- MAF sensor stays plugged in; only the harness routing changes
Get the parts
- PRL High Volume Intake FL5 / DE5 (Amazon search — Generic pick)Generic pickSearch on Amazon ↗
- PRL Motorsports (search FL5 / DE5 HVI)Generic pickSearch on Amazon ↗
- Find PRL High Volume Intake FL5 DE5 on eBayBuy ↗
As an Amazon Associate I earn from qualifying purchases. Some links are affiliate links.
FAQ
What vehicle does this install fit?
It is shown for the 2023+ Honda Civic Type R FL5 and Acura Integra Type S DE5. Pairs with PRL titanium turbo inlet; John also compares Sprint/Spoon drop-in filters Always confirm your exact year, trim and factory audio with the seller.
How long does the install take?
John's full video is 10 min. Plan on that much time for a careful DIY install, plus extra if you are new to dash work.
What tools do I need?
Tools called out in the guide: 10mm socket / basic hand tools; Patience for the MAF harness plastic loom clips.
Where do I get the parts?
Use the buy links on this page for the unit and any harnesses John used. Some links are affiliate links.
Is this beginner-friendly?
The guide breaks the job into 6 steps with timestamps into the video. If you can remove trim panels carefully, you can follow along.
John's Acura Integra Type S
More photos →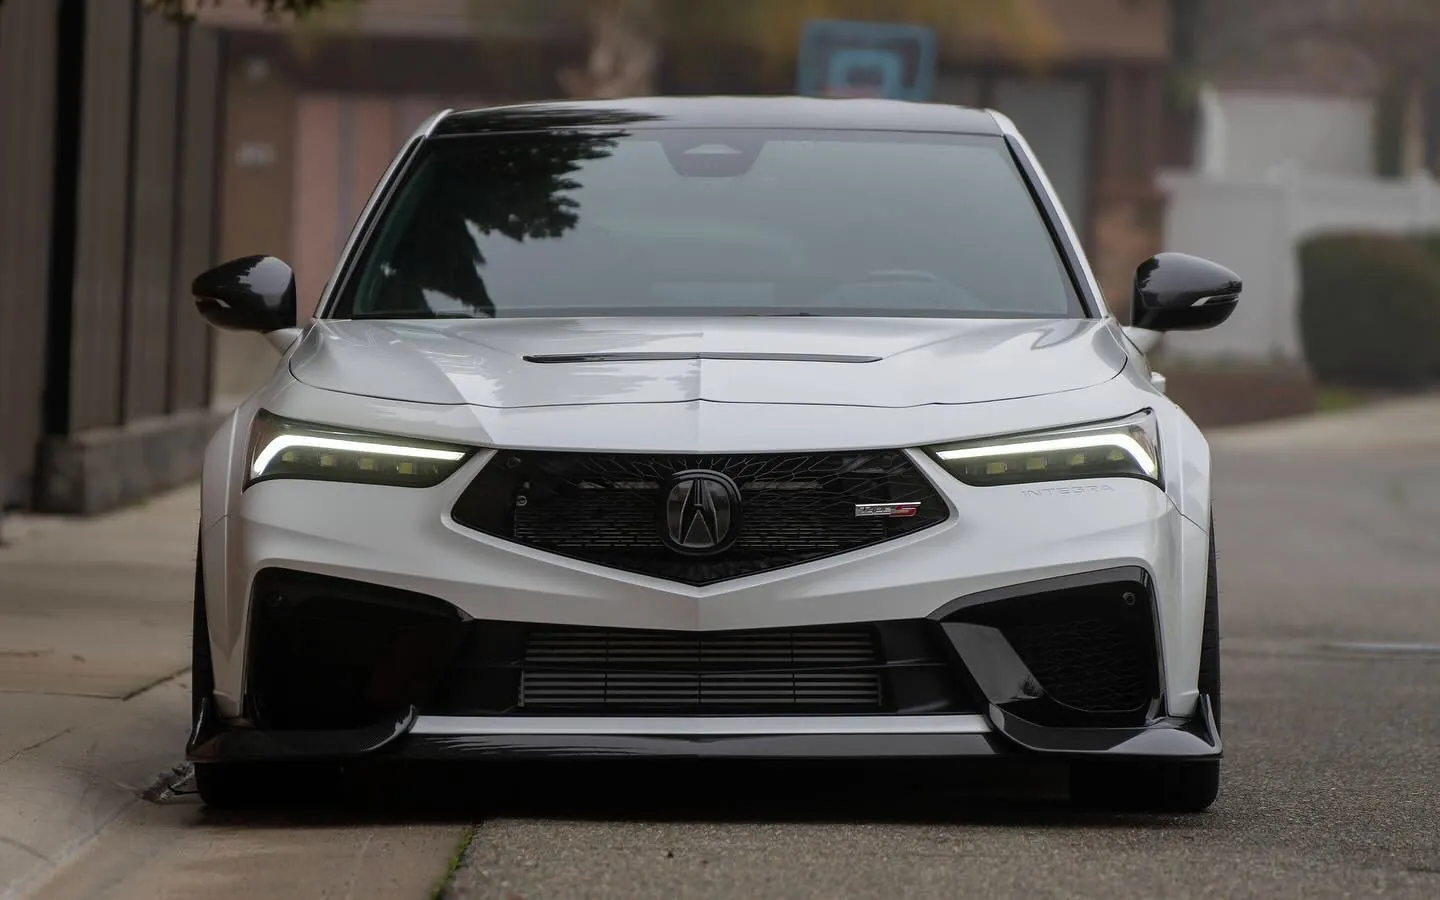
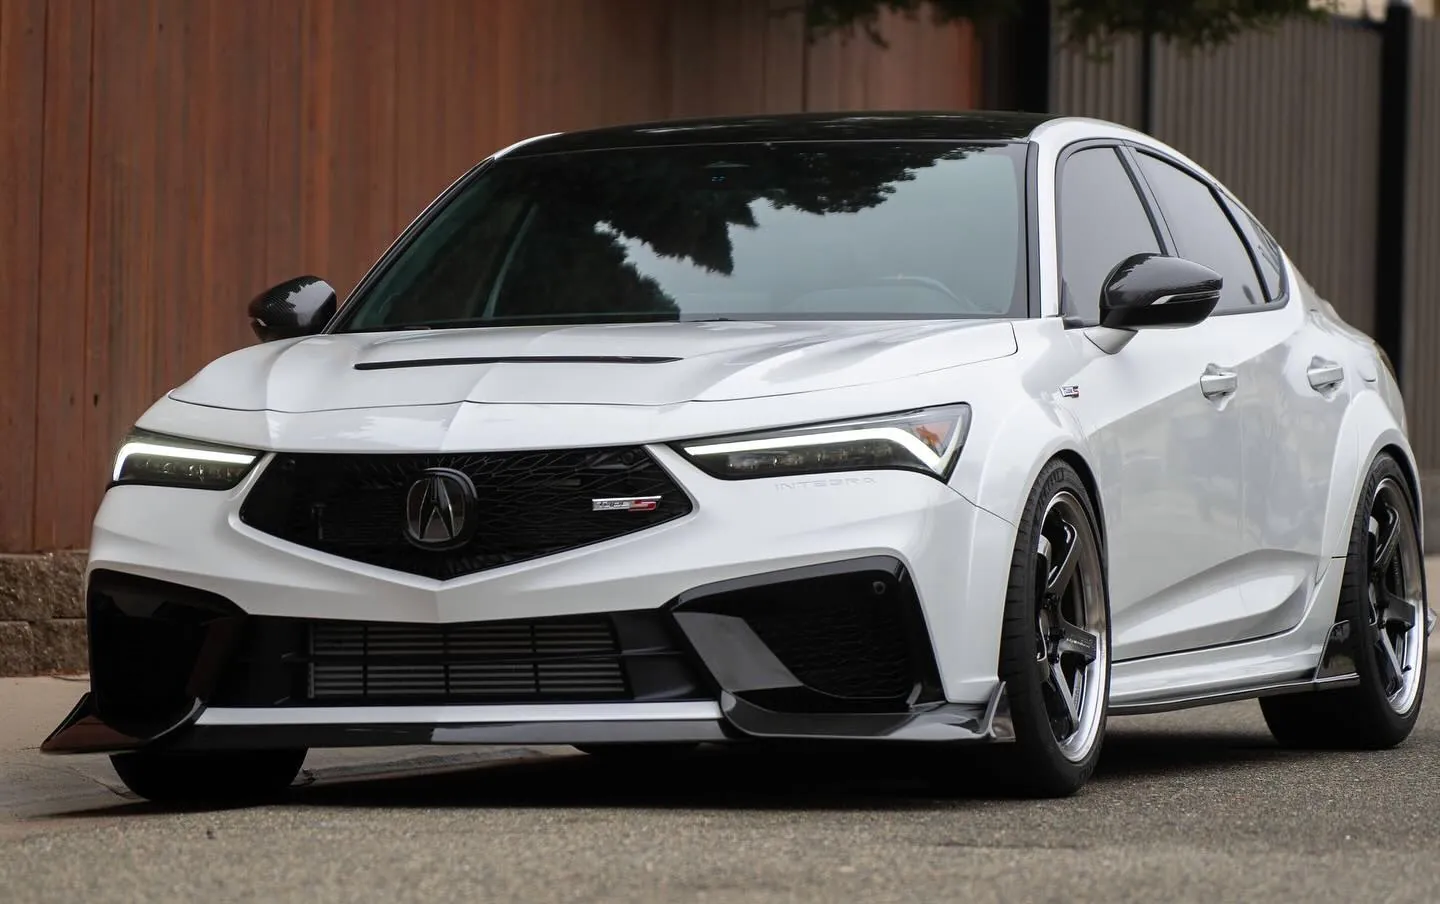
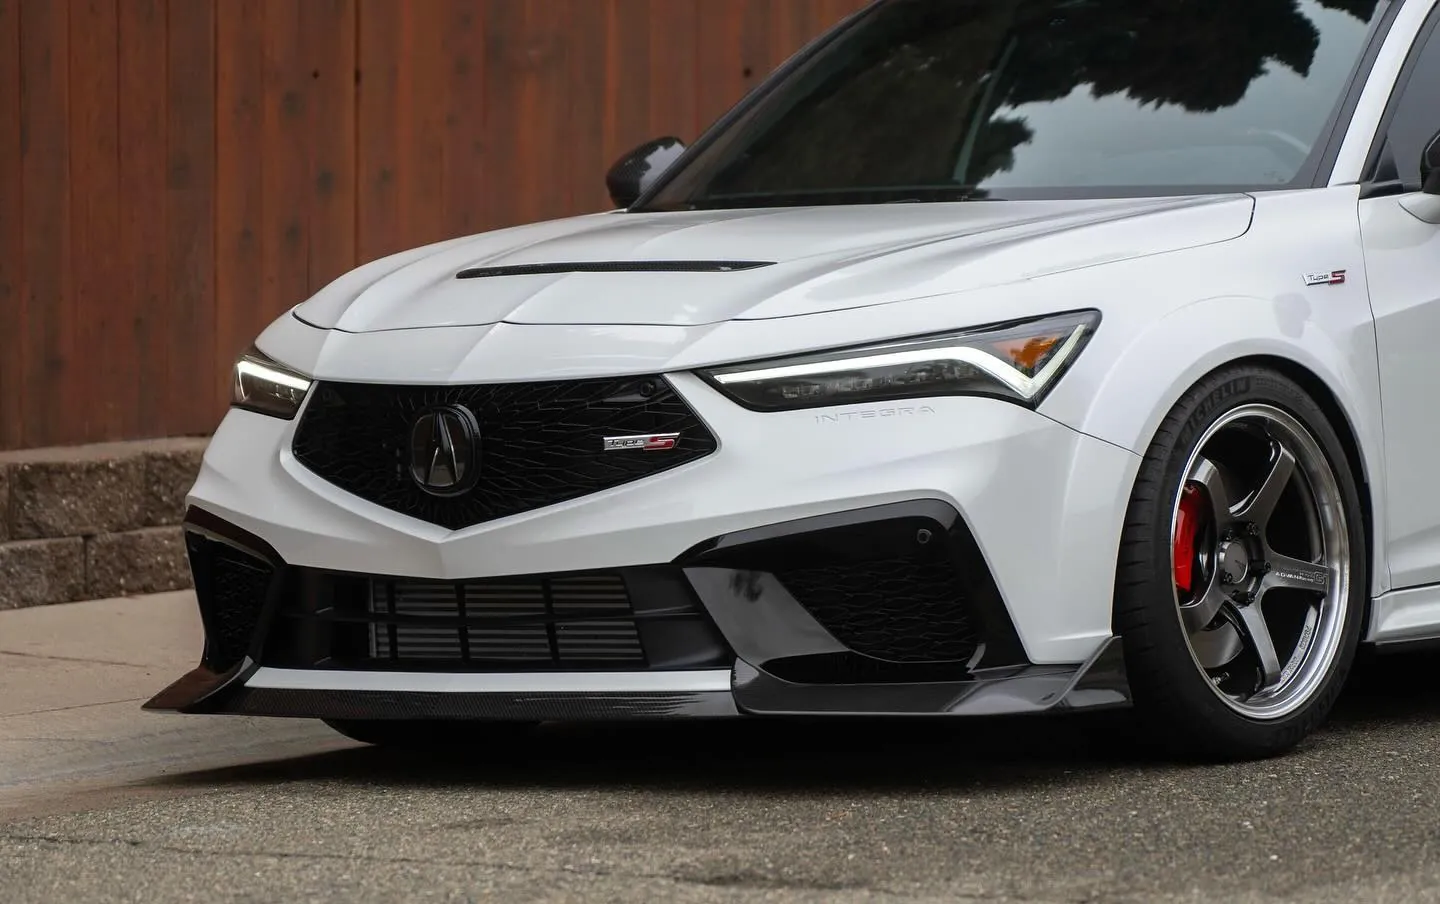
Photos from @ngooyen on Instagram. Follow for more.
Full transcript
Show the full transcript (84 lines) +
0:00What's up guys, it's your boy, John. We are back again here with another video something exciting came in today
0:06It's the PRL HBI intake for the Civic Type R and the Integra Type S
0:12So yeah without further ado, let's do a quick unboxing sound comparisons between the other ones
0:20I did earlier which is stock and then the sprit filter and
0:24Now we'll get my reactions
0:27PRL? Okay, so those poems that expand, we have this plastic molding
0:46the outside is texturized, we have a coupler
0:51and more of that poem, nothing on anything
0:56Look at the meat and potatoes of it, you can see on the insides it's smooth which is great
1:06And while everything's inside of it, this one's gonna screw
1:18this so we can get more access
1:24Notice it's pretty expensive but compared to other intakes on the market, it's a great deal
1:31All right, I'm not into like okay engine bay with carbon fiber, it's awesome
1:38I think there's a fine balance between performance
1:41Looks, I kind of might dig this OEM looks
1:45Heat soap, okay I'm not gonna just leave like that
1:55Now the coupler here in the mouth house, let's do the design, it's like a
2:14velocity stack, PRL printed
2:28Hardware, looks like some washers
2:40Now this is all interesting piece right here, this is a snorkel
2:48for the bottom of the intake, so I haven't seen any really good footage
2:53So imagine the car kind of like this, it's gonna sit like that
2:58And the OEM one
3:01Takes air here, goes down
3:04And goes back up, this one just goes straight in
3:07But even with that change, it's not enough air accordingly
3:27Gonna be cool
3:32Install, there are some good videos out there, I'll see if I will
3:38Do a quick install, but I really want to do just do a comparison
3:42All right, so the box is in, I know it's got a lot of steps, I'm just gonna tell you what I ran into
3:47And some mindful thoughts
3:51When you install the box, try to give this, make this area loose, don't bolt anything that kind of goes without saying
3:58The the bottom right here has a part near reuse from the OEM box that kind
4:04And then there's that drain hole, so there's just one, this one kind of helps align the bottom
4:10And then it reuses this back when right here as well
4:14Now for the mass sensor harness
4:18There's this plastic piece that used to go around the OEM box kind of like this
4:23And it goes here
4:25So that piece is kind of a pain the butt to take off
4:32But you could just remove one of these pins and kind of route it like this
4:37You could take it off, I just left it on there because it kind of just works like that
4:43Um, you can see right there
4:47Taking it off this priority, I mean you just unplug this and take it off one
4:51Just like I feel like 20 little those pop clips
4:55And um
4:57Yeah, I just didn't want to do that in case I need just I live in California, so
5:02It's a pain the butt just in case I need to swap back to the OEM box you just flop it real quick
5:07So I just like I'm not gonna spend like 30 minutes
5:12Maybe you can do it better, but they're plastic, so they're it's easily to break
5:16And let's see what else
5:18This piece right here is normally
5:23It is like they kind of like grind it off so you can't
5:27Unscrew it from the factory
5:29So instead of like unscrewing it just loosen these two OEM ones and then you can just pull it straight out
5:37Um
5:38Yeah, we use OEM seals
5:41These little things are kind of hard to push in but they push in
5:46And uh, yeah, that's about it
5:48I'll go for a test drive give you guys a
5:52Sound comparison. I'll try to make it similar to my original video
5:56I do have the Honda out of tune now, so it's a little bit more aggressive in terms of the pops
6:03But if you can just focus on the startup
6:07So I already started the car just in case
6:10And I've warmed it up set like four barters three bars right now, so
6:14Should be good. It's already warmed up. I'm gonna start it do some revs and then move on to the
6:21My impressions of me driving it. Sound comparison is what you guys are here for. So
6:26I'll try to do a good job
6:28And keeping it pretty
6:30Similar all right, so that concludes it the PRL intake my thoughts on it much louder than stock
8:32It is louder than the OEM
8:35Stock box with the sprint and spoon filter
8:40And I definitely hear it more towards the less side of the car
8:46You can hear it with the windows actually up now like a good amount
8:52Um, power wise it feels
8:55Okay, like the same to be honest
8:57I actually have a fairable tune that has it for the intake each
9:02HVI for the PRL intake so I have a tune for it
9:06I need to put on and you know
9:09Shout out to John Vega for that. That's gonna be an upcoming video of having it all that
9:15Jazz going on right now. Just have the Honda data stage one tune the 91 octane. So yeah
9:22Overall do I recommend it?
9:25For the price and if you're into all this stuff and if you like intake noises
9:29I think you'll love it
9:31Yeah, thank you guys for watching. I'll catch you guys in the next one peace out PRL intake. It's a dub
Machine-transcribed from the full-length video and lightly cleaned (product names fixed). Watch the video for exact wording.
Next step


