Acuity Stage 2 Shift Kit on the Integra Type S (11th Gen Civic Type R Too): Install and Driving Impressions
John installs Acuity's Stage 2 shift kit (short-throw adapter, shifter bushings, centering springs and knob spacers) in his DE5 Integra Type S, shows how the console trim comes apart, and explains how the shifts feel after.
Full video (13 min): Stage 2 Shift Kit for the 11th Gen Civic & 5th Gen Integra | Type R / S · John's YouTube channel
Get the parts
- Search Amazon for an Integra / Civic Type R short shifter kitSearch on Amazon ↗
- Clip and trim removal tool set: Generic pickGeneric pickBuy ↗
- Phillips screwdriver set: Generic pickGeneric pickBuy ↗
- Socket set with 10mm: Generic pickGeneric pickBuy ↗
- Find Acuity shift kits for the 11th-gen Civic / Integra on eBaySearch on Amazon ↗
As an Amazon Associate I earn from qualifying purchases. Some links are affiliate links.
John installs Acuity's Stage 2 shift kit (short-throw adapter, shifter bushings, centering springs and knob spacers) in his DE5 Integra Type S, shows how the console trim comes apart, and explains how the shifts feel after. This 13 min guide covers the Acuity Stage 2 shift kit made for the 11th-gen Civic (including Type R) and 5th-gen Integra (including Type.
Overview
John already runs Acuity bushings and wanted the full Stage 2 shift kit. The kit includes a short-throw adapter (it replaces the ball on the shifter), harder shifter bushings, a shifter centering spring that adds roughly 50% more centering force over stock, and spacers that raise the knob about 0.3 inch, which John likes because he sits close to the wheel. Acuity says the kit tightens gate spacing (the side-to-side distance between gears) and slightly stiffens the center action for quicker shifts, and it swaps plastic parts for metal ones. To get to the shifter, remove the shift knob (on the stock knob, turn the collar clockwise while pushing down), pull the shift boot trim toward the rear, lift the console panels by hand or with a trim tool, unplug the harness clips, and remove the screws under the panels, inside the cubby (lift out the rubber tray) and under the cup holder trim. After driving, John says the short throw is worth it: shifts are tighter and more precise, there are no rattles, and it feels more like a direct linkage, closer to an S2000 or BRZ. With less rubber in the bushings you feel a bit more of each shift in your hand, and it takes a little more effort, but it never feels like a race car. The kit came from Acuity Instruments, which isn't one of John's affiliate stores, so the buttons below are search links and generic tool picks.
Vehicle & fitment
- Product
- Acuity Instruments Stage 2 shift kit for the 11th-gen Civic and 5th-gen Integra
- Shown on
- Acura Integra Type S (DE5, John's car); the kit is sold for the 11th-gen Civic / Civic Type R and 5th-gen Integra
- Acuity Stage 2 shift kit made for the 11th-gen Civic (including Type R) and 5th-gen Integra (including Type S), per the video description
- The console trim comes apart almost the same way on the Civic Type R and Integra Type S, per John
- John's car has an aftermarket shift knob; the stock knob comes off by turning and pushing down on the collar
Always confirm fitment for your exact year and trim with the seller before buying.
Tools & parts
Tools
- Plastic trim removal tool (or your hands)
- Phillips screwdriver
- 12–13 mm wrench or socket (for the shift knob lock nut on John's aftermarket knob)
Parts
- Acuity Stage 2 shift kit: short-throw adapter, shifter bushings, shifter centering spring, knob spacers
Step by step
- 1
What's in the kit▶ 0:00
Short-throw adapter, bushings, a centering spring with about 50% more centering force than stock, and knob spacers that raise the knob about 0.3 inch.
- 2
Why it helps▶ 2:19
Together the parts tighten the shifter so it feels more mechanical, closer to a direct shift linkage, even though the car uses cables.
- 3
Remove the shift knob▶ 3:28
On the stock knob, rotate the collar clockwise while pushing down until it drops, then loosen the lock nut and spin the knob off. Put it somewhere safe.
- 4
Shift boot and console trim▶ 4:26
Pull the shift boot trim toward the rear. Lift the next panel by hand or with a trim tool and unplug the harness clips.
- 5
Find the hidden screws▶ 5:30
Remove the screws below the panel, the one in the cubby (lift out the rubber tray first) and the two exposed after popping the next piece.
- 6
Cup holder trim▶ 6:55
Two tabs hold the cup holder piece. Pull it straight out to reveal two more screws, then the console comes out.
- 7
Shifter springs and parts▶ 7:51
Release the spring clips by pushing the white part and twisting, then replace the bottom parts and spring with the kit pieces.
- 8
Driving impressions▶ 9:05
Shorter, tighter and more precise shifts with no rattles or cheap feel. It feels more direct, like an S2000 or BRZ.
- 9
The trade-off▶ 10:56
With less rubber in the bushings, more of the shift force comes back into your hand, so it takes a bit more effort. John still calls it a great purchase.
Wiring notes
- No wiring. Reconnect the console harness clips you unplugged when removing the trim.
Get the parts
- Search Amazon for an Integra / Civic Type R short shifter kitSearch on Amazon ↗
- Clip and trim removal tool set: Generic pickGeneric pickBuy ↗
- Phillips screwdriver set: Generic pickGeneric pickBuy ↗
- Socket set with 10mm: Generic pickGeneric pickBuy ↗
- Find Acuity shift kits for the 11th-gen Civic / Integra on eBaySearch on Amazon ↗
As an Amazon Associate I earn from qualifying purchases. Some links are affiliate links.
FAQ
What vehicle does this install fit?
It is shown for the Acuity Stage 2 shift kit made for the 11th-gen Civic (including Type R) and 5th-gen Integra (including Type S), per the video description. The console trim comes apart almost the same way on the Civic Type R and Integra Type S, per John Always confirm your exact year, trim and factory audio with the seller.
How long does the install take?
John's full video is 13 min. Plan on that much time for a careful DIY install, plus extra if you are new to dash work.
What tools do I need?
Tools called out in the guide: Plastic trim removal tool (or your hands); Phillips screwdriver; 12–13 mm wrench or socket (for the shift knob lock nut on John's aftermarket knob).
Where do I get the parts?
Use the buy links on this page for the unit and any harnesses John used. Some links are affiliate links.
Is this beginner-friendly?
The guide breaks the job into 9 steps with timestamps into the video. If you can remove trim panels carefully, you can follow along.
John's Acura Integra Type S
More photos →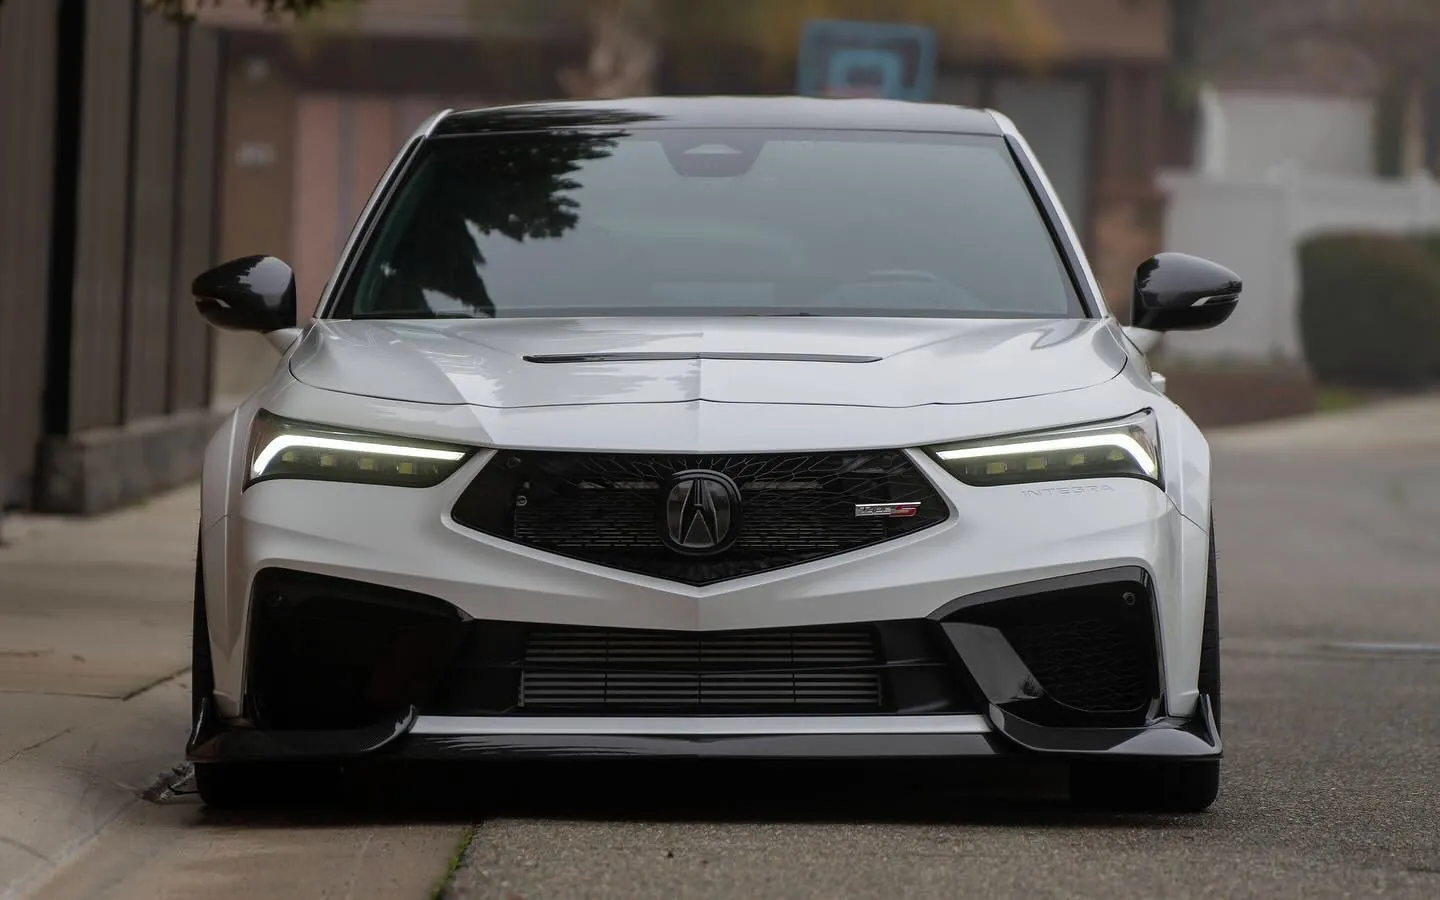
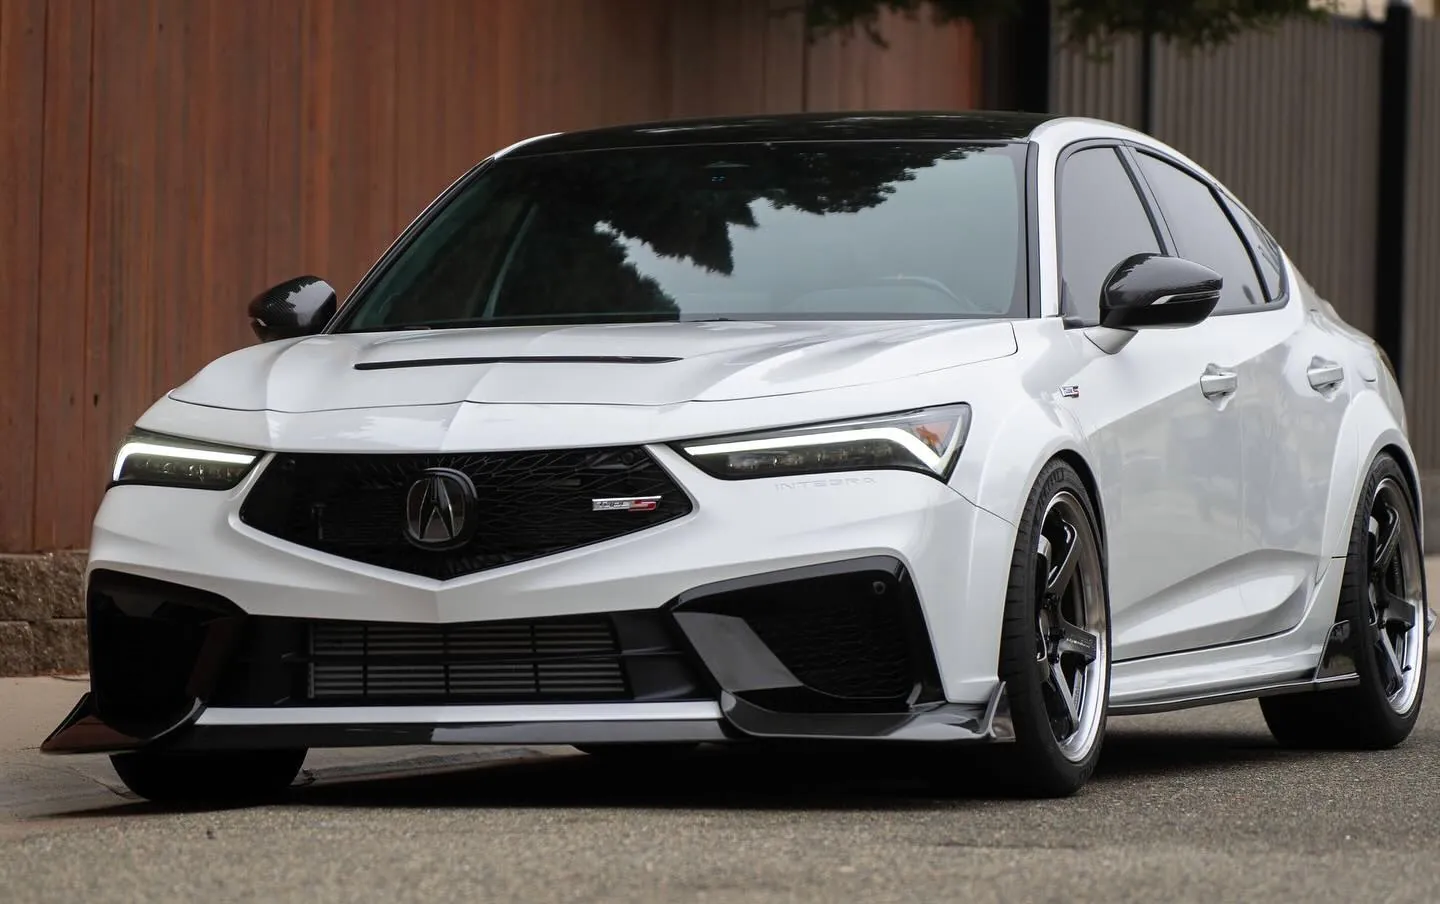
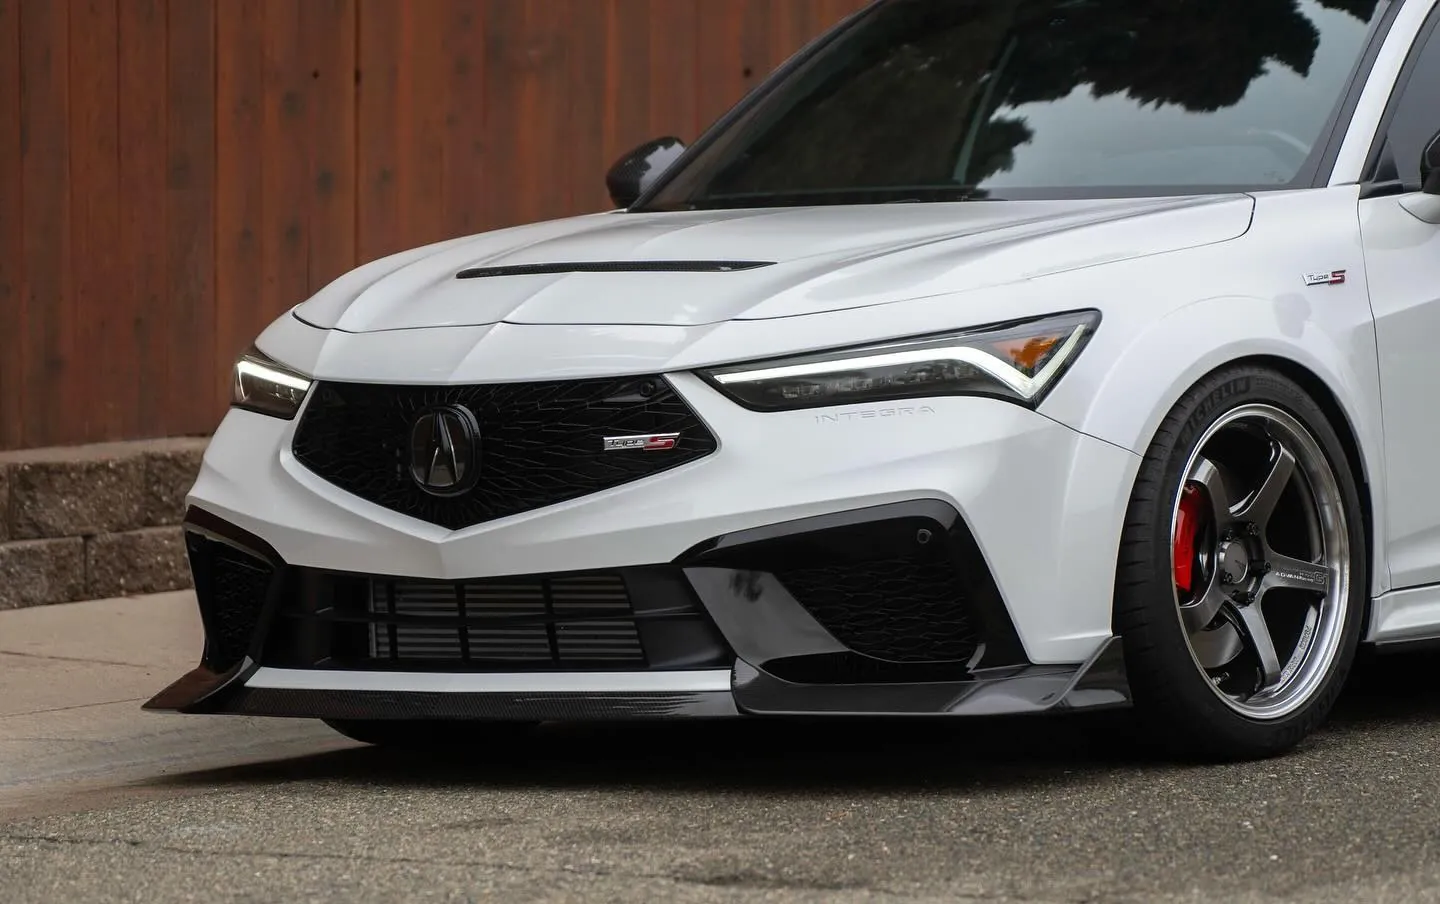
Photos from @ngooyen on Instagram. Follow for more.
Full transcript
Show the full transcript (148 lines) +
0:17What's up guys, it's your boy John with back again here with another video today
0:21We're taking a look at the Integra type s and upgrading it with equities new stage 2 kit now
0:27I've improved it with some of the bushings
0:30And stuff from the equity and their their products are just
0:33Insanely high quality so I'm really excited for the stage 2 kit even had a little sticker right there
0:38You know, shout out, it's a good product. I really like this is the shifter rocker upgrade and just a real quick
0:46It helps with a number of features such as the gate spacing lateral distance between gears
0:52So for example left and right space from gear two and three
0:56It's gonna make it better and it also will stiffen will slightly stiffer the center actions and quicker shifting
1:03So there's that and
1:06We have the short throw adapter, so I guess it'll tell you what it does
1:11It's a proprietary binding nut that looks like this and it reduces the shift throw by 20%
1:17Spacers will raise the knob height about
1:23That's just more information so having a higher shift shift knob is actually a good feel for me
1:28I want to be really close to the
1:31the steering wheel so when I'm driving just a little bit closer point three doesn't seem that
1:36Much of an inch, but you know, I think that's good little oem plus in terms of the height
1:42Then we have the shifter centering spring
1:46Again, let's see what does increase to the center force by approximately 50 over stock
1:50So I guess when you're like shifting first a second and then it goes back to neutral that kind of feel right there and
1:57You got a little nut and I just got a little this is just a
2:03trim removal tool
2:05So this is the stage two and I already have the bushings, but here is the rocker upgrade
2:16Looks so beautiful
2:18Again, this should really help tighten everything and making it feel
2:23Very like mechanical in terms of more like an s2000
2:28Direct shift linkage. I know it's a the shape of the linkage is like cable actuated
2:31the shift linkage is like cable actuated,
2:34but all these parts together,
2:35it's going to make it feel like it's a direct trans,
2:37like you're really shifting it.
2:39And there's no cable, but of course there is.
2:43just saying. This is going to make it so mechanical. Of course replacing all the
2:48plastic parts with some metal ones it's always going to be a plus. Here is the
2:52short-throw adapter. Here is sort of the root. Looks like the the razors and then
2:59the there it is. You basically replace the little ball with this new one
3:06right the right here.
3:08Oh, I am looking forward to it, so here we go.
3:13I'm going to cut to a video of me removing the shift knob, the shift, like the interior
3:20trim, now the Integra Type-S and the Civic Type-R is very similar, I mean if you have
3:26a Type-R, then it's kind of almost the same.
3:28Alright, so to remove this dash, it's pretty easy, first you want to pop this little matériel,
3:35the OEM one you want to rotate it I would say clockwise and then kind of like
3:40this so you were rotating clockwise while pushing down and you'll still you'll
3:44still a little notch where you can actually push it down all the way then
3:48there is going to be a little nut here nut looks like because this is an
3:52aftermarket one this is a 13mm you kind of want to put it on it right here
3:57Kind of like this, well that's my 12, this is my 12 because it's an aftermarket and you
4:03just want to let the loose see it upside down. it's like it's righty tidy and then you're
4:10basically applying force here and this whole thing just comes out.
4:16Now because we're going to be putting this somewhere safe, you can put it on your seat
4:19because you don't want to put in your cup holders because we're removing the whole
4:23bad boy anyways.
4:26Now, for this piece right here, it's also pretty easy as well you just pull towards the back of the rear so you just pull it and the whole thing
4:35of the rear so you just pull it and the whole thing comes out. Of course it's not going
4:41to be that easy but I already pulled it and all the tabs are facing backwards. There
4:48is this little notch right here so when you pull you might have to kind of rotate it
4:53like this. I think pull upwards. Let's see if the tabs out. Great now for this I
4:59usually just use my hand but you can use a plastic trim remover if you
5:04need to have a little bit more leverage and what I do is I just pull it up and
5:13there's gonna be a retaining harness like a clip for the harness and you
5:24can also unplug these bad boys as well. That's one way to the remove it. Alright and then there's gonna be some screws down here that you can pull out and also
5:30Alright, then there's going to be some screws down here that you can pull out.
5:39And also, there's going to be a screw in the cubby hole right here, so you remove that
5:47little plastic tray on the bottom.
5:50Oh, it's actually pretty tight.
5:53There you go.
5:55And then you also have, well, it's because it has this part kind of sunken and it's just
6:01going to reveal two more screws and you can pop that bad boy out right there.
6:25So after you remove that one screw and then you popped it up and pulled it out, it's
6:39gonna reveal two new screws right here so we're just gonna take care of that real
6:43quick. Alright and there's this cup holder piece there's two tabs
7:00holding it you just kind of want to pull it from here pull straight out after that
7:04it will reveal two more screws and this whole thing can come out. Now this is a
7:20good time if you guys were trying to do it is you can put rear vents could be
7:27helpful if you have kids. Alright so I'm just loosening everything but just
7:42remove these four bolts and then I'll show you how there
7:46you need to remove this whole thing just comes out. You twist this to get the springs
7:59same with this you pop the white part twist it left the loosey. There you go
8:04Same with this.
8:05You pop the white part twist that left the Lucy.
8:07So there's two of them, and then you just release it.
8:12There you go.
8:13You have the OEM shifter.
8:15All right, so I have the shifter right here.
8:17What we're going to be replacing is this part.
8:20this bottom part as well. Well, you can see the spring right there, too. To remove this,
8:50Alright, I'm going to go over my thoughts, I've been driving for a bit, kind of collected
9:11my thoughts all on through first gear versus second second and third third oh overall this is
9:29is my thoughts after driving for about five minutes but the short-throw shifter definitely
9:30driving for about five minutes. The short throw shifter, definitely worth it. I would
9:35pick that up. The bushings and the throw adapter. That's spring too. It
9:41really tins it up. You can really feel that 50% more spring
9:45back to, to neutral kind of that left and right. It makes your shifter feel actually
9:49faster and more precise. I was worried that I might not be able to shift as
9:54as precise. Here's 6th to 5th. I'm not having any issues here
9:58here. It's great. No rattles. No it doesn't feel cheap. It actually feels
10:02It actually feels better.
10:03Now the best thing I can say is if you're more used to like a super BRZ or an S2000,
10:11this kind of feels more direct in that kind of a, it feels like there's less link, like
10:16a shift linkage, and more like a, it's direct, it feels really great, it makes it more enjoyable
10:29to shift.
10:30It doesn't feel a sloppy, not that I'm saying,
10:32the Type S is not that sloppy, but it does feel tighter.
10:36And Type S Type R is one of the best shifters.
10:38This just improves on that
10:40and
10:41it doesn't make it so it's too race car-y.
10:43This actually feels like how if you wanted like a dealer
10:47option to have a shorter shifter,
10:49I can kind of imagine how this would feel,
10:51which is a good price.
10:53Now, thing that I noticed
10:56is because there's no more rubber bushing
10:59or less rubber on the bushings.
11:02It feels more direct is when you're shifting from like
11:07in gear when you're in first gear
11:08and you throw in the second,
11:09there's less of a little wall,
11:11like a little sloppy on the wall
11:13and it just feels more direct.
11:15Now that means that it feels less spongy and cushiony.
11:19So when you throw it, it could that more,
11:21most of that force goes back into your hand
11:22for you go third or fourth.
11:24Like it's just a little, it's like more stiff.
11:28So you feel it, and that actually translates into,
11:31hey, you know you're in gear,
11:33like here's third of a second in the neighborhood,
11:35and you just feel it a little bit more in your hand
11:37because you're not hitting that rubbery bushing anymore,
11:40it's just more direct.
11:42Which could be a good thing, could be a bad thing for you,
11:45because it is a little bit more harsh in your hand,
11:48but yeah, I have to say, man up a little bit,
11:53it's not that bad,
11:58But overall, I think this is a great purchase.
12:01it's not that expensive the stage two kit really improves on the formula of having
12:07a great transmission even better that throws our shift shorter the feel is better
12:14it's tighter there's less slop so it's like that actually requires a lot of force
12:21not a lot but it requires a little bit more forearm strength so I'm a, I'm kind of like
12:27a scrawny little boy or a fat boy so I might be complaining a little
12:33bit saying like maybe a little weak but I think for most
12:37including me I'm just trying to nitpick to criticize it over OEM it is a
12:42little bit more stiff anyways if you guys are interested in this product I'll leave a
12:52link down below on where you can find the equity stage two kit the install wasn't
12:58too bad but yeah thank you guys for watching I'll catch you guys in the next one
13:00thank you guys for watching. I'll catch you guys in the next one. Peace.
Machine-transcribed from the full-length video and lightly cleaned (product names fixed). Watch the video for exact wording.
Next step


