FITCAMX 4K OEM-Style Dash Cam: Acura Integra Install
Drop the mirror and overhead sunglass tray, plug the FITCAMX harness into the overhead power plug, fish the camera lead, and clip the matching cover back on.
Full video (9 min): OEM Like 4K Dashcam | FitcamX Install Honda / Acura · John's YouTube channel
Get the parts
As an Amazon Associate I earn from qualifying purchases. Some links are affiliate links.
Drop the mirror and overhead sunglass tray, plug the FITCAMX harness into the overhead power plug, fish the camera lead, and clip the matching cover back on. This 9 min guide covers the Honda / Acura FitcamX kits that match the mirror cover (Integra shown) with tools, parts links and the full video.
Overview
A factory-looking 4K dash cam that replaces the trim behind the rear-view mirror. Power comes from the overhead console through the included harness — no fuse tap. On the Integra you remove the sunglass-holder screws to reach the plug; the finished cover looks OEM from outside and inside.
Vehicle & fitment
- Product
- FITCAMX 4K OEM-style hidden dash cam with matching mirror cover, overhead pass-through harness, microSD and card reader
- Shown on
- Acura Integra (shown; Honda / Acura FitcamX kits)
- Honda / Acura FitcamX kits that match the mirror cover (Integra shown)
- Cars without a sunglass tray skip the two overhead screws
Always confirm fitment for your exact year and trim with the seller before buying.
Tools & parts
Tools
- Included plastic pry tool
- Small screwdriver for the overhead sunglass-tray screws
Parts
- FITCAMX camera + matching cover
- Overhead pass-through power harness
- microSD card + USB reader (included)
Video chapters
Step by step
- 1
Unbox the kit▶ 0:00
You get the camera cover, the overhead power harness, a pry tool, USB-C to USB-A cable, microSD and a card reader.
- 2
Remove the mirror trim and mirror▶ 1:09
Pull the center cover so it splits, twist the mirror mount (lefty-loosey) and pull the assembly off. The surrounding trim is held by clips — pull straight forward.
- 3
Open the overhead console▶ 2:11
On the Integra, loosen the two screws that hold the sunglass tray (keep the washers), then pull the console down. It's held by two yellow clips.
Tip: If your car has no sunglass holder, you can often just pull the overhead piece straight out.
- 4
Plug in the FITCAMX harness▶ 3:50
Unplug the OEM overhead connector, plug it into the FITCAMX harness, then plug the harness back into the car. The dome lights should come back on — that confirms power.
- 5
Route the camera lead▶ 4:33
Tuck the camera power lead so it exits by the mirror, then reinstall the overhead console.
- 6
Clip on the camera cover▶ 5:19
Open the cover, fish the notched plug into the camera (one way only), tuck the wire clean, and clip the cover in. Rehang the mirror about 10° in and tighten.
Tip: Finished look is factory from outside and inside. Pair the FITCAMX app over Wi-Fi to review footage.
Wiring notes
- Power: inline harness at the overhead-console plug (no splicing)
- Camera lead exits at the mirror and plugs into the cover assembly
Get the parts
As an Amazon Associate I earn from qualifying purchases. Some links are affiliate links.
FAQ
What vehicle does this install fit?
It is shown for the Honda / Acura FitcamX kits that match the mirror cover (Integra shown). Cars without a sunglass tray skip the two overhead screws Always confirm your exact year, trim and factory audio with the seller.
How long does the install take?
John's full video is 9 min. Plan on that much time for a careful DIY install, plus extra if you are new to dash work.
What tools do I need?
Tools called out in the guide: Included plastic pry tool; Small screwdriver for the overhead sunglass-tray screws.
Where do I get the parts?
Use the buy links on this page for the unit and any harnesses John used. Some links are affiliate links.
Is this beginner-friendly?
The guide breaks the job into 6 steps with timestamps into the video. If you can remove trim panels carefully, you can follow along.
John's Acura Integra Type S
More photos →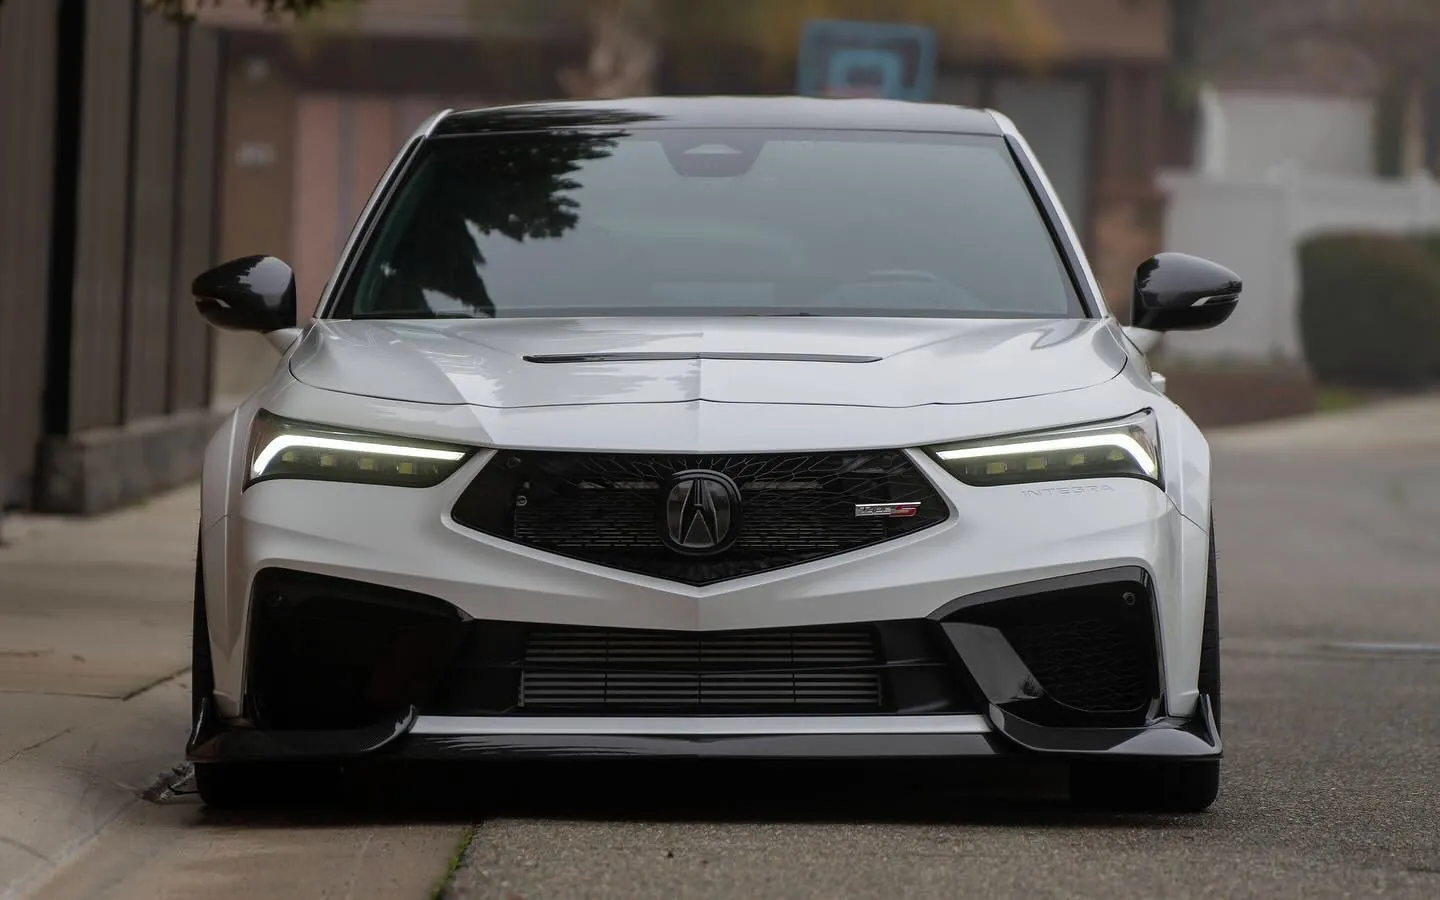
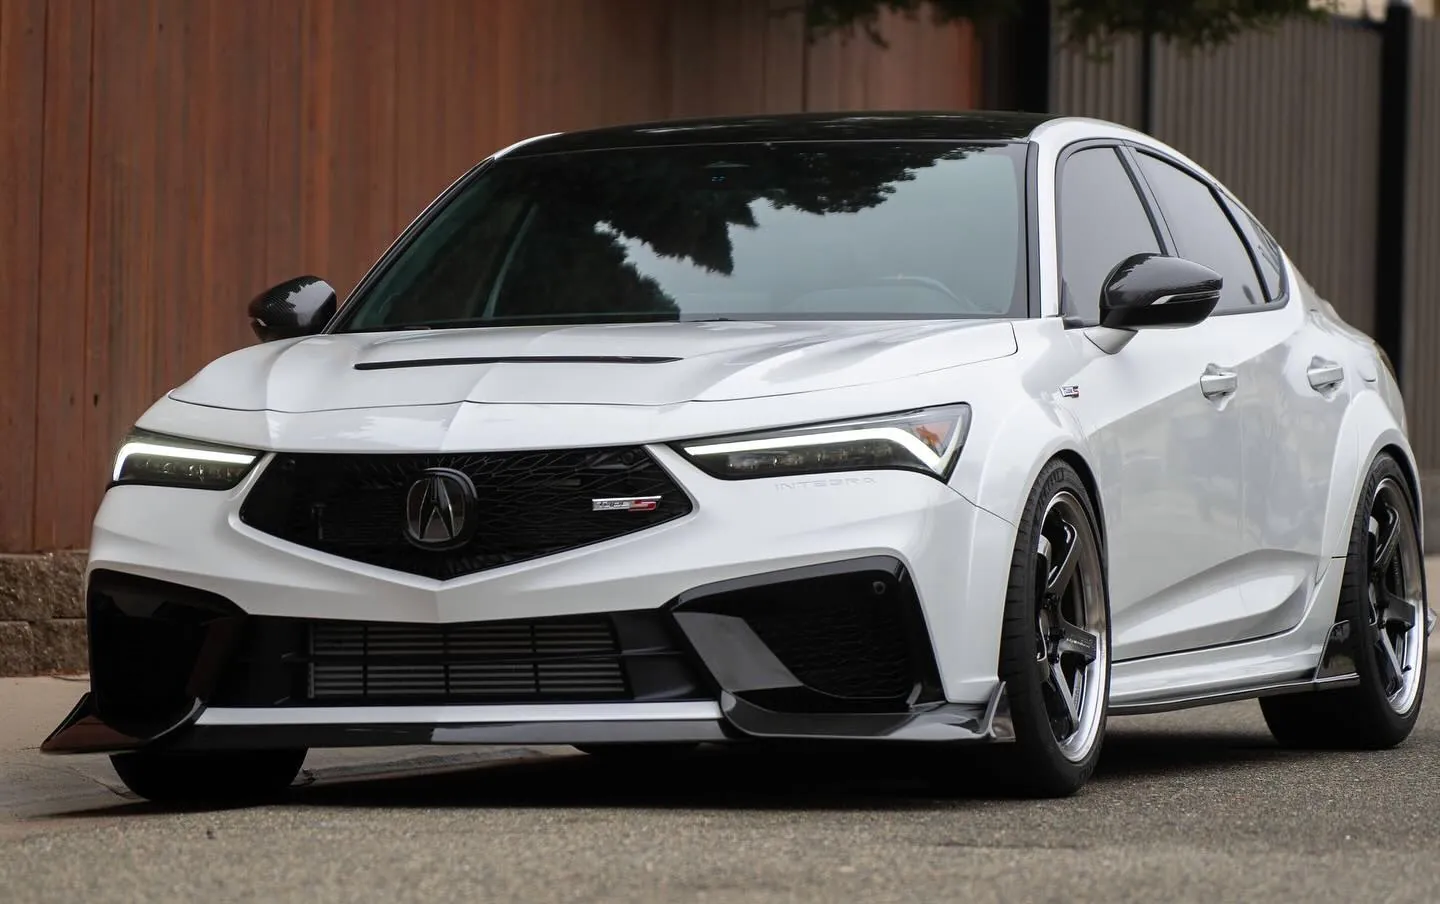
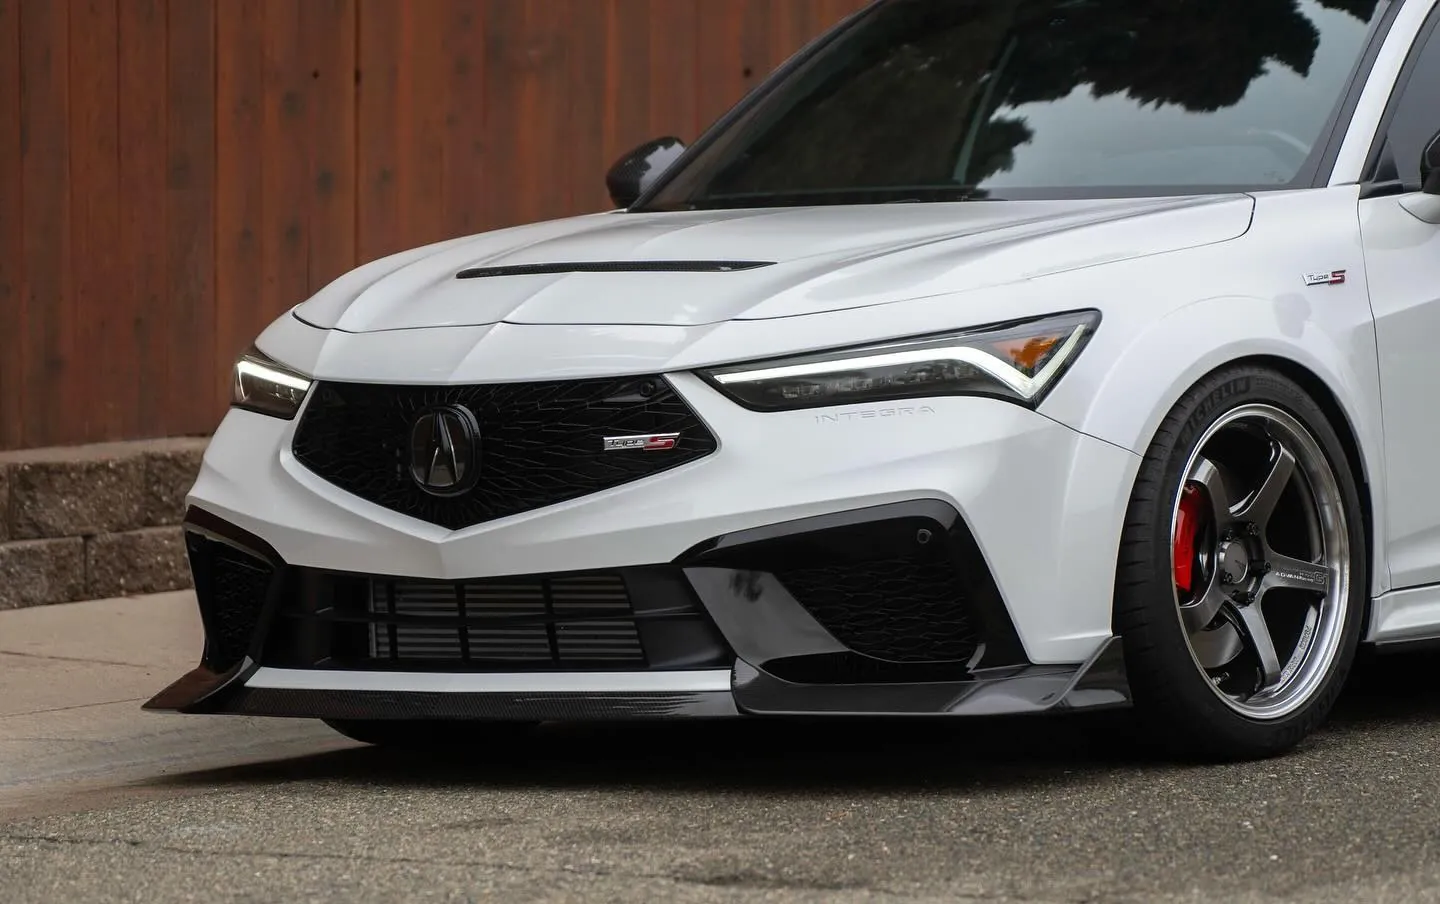
Photos from @ngooyen on Instagram. Follow for more.
Full transcript
Show the full transcript (85 lines) +
0:00What's up guys, it's your boy John. We are doing an install on the Fitcam X
0:04It's very important to get a dash cam. So we're gonna do that on the integrity today do a little unboxing
0:12Look at that
0:14Okay, accessories and then the dash cam itself
0:17Let's look at the accessories first
0:20And here you have the wire that plugs into the top
0:27Get a nifty little pry tool and a USB-C to US
0:35Type A
0:37The SD card and a micro SD card
0:41I'm thinking this is a reader
0:44Awesome accessories
0:47There it is it is quite massive and
0:58Nothing's huge
1:06All right, so
1:09You take this piece off it just comes out of the middle and you just pretty much just pull it and it'll split
1:15After you take that part out you'll be able to see more so that one twists is lefty Lucy and
1:31Then after you apply it you can pull the whole thing out like that
1:36You need to also remove this and this one's being held by clips
1:43Like this, then you want to pull straight forward
1:49Here's the back of that so pull it to top and these are kind of where it's resting
1:56So you'll see the power for the mirror
2:04That's not what you're really using
2:06So we don't need to go actually one step deeper
2:11And to do that you're gonna need to unfortunately loosen this
2:20There are two
2:22screws here and then it pops out
2:25Now if your card does not have this
2:29sunglasses
2:30Then there are no screws you can just pull it straight out
2:34Then Tegras does have some sunglasses holders
2:40So
2:42Unscrew that in the screws that these two little things have is you have to screw
3:05And then you also have the little
3:09Like washer so make sure you guys keep that all together
3:14It's like that
3:16All right, after that this whole thing just pulls straight down
3:20So after that this whole thing just pulls straight down
3:24It's only held by these two yellow clips right here and that's the little holder
3:30So you can kind of see
3:36This is what we need to get access to
3:39To get the power
3:42All right, so once you pull it out
3:45This is what we are going to use to
3:48Tap into for the power of the new
3:54Camera
3:55So we want to use the harness
3:59That was provided by if it came X and
4:05Tap into that and then you can this powers your lights
4:11So this is the harness that is provided
4:16Now you want to plug in unplug this and after you unplug it
4:22Plug it in like that
4:24And then you make that little connection here you can see these lights are turning on
4:30Now we want to tuck this one
4:33Kind of right here, so you see where I think it goes
4:36Just kind of sneak it there
4:39That way
4:41We can power
4:51So you're in the unit and that's it
4:56Screw this back on
4:59and
5:01Be able to proceed to the next step
5:13So the next step is kind of doing everything in reverse
5:19But you kind of want to fish this little plug right here
5:22So this is the main camera right here
5:25Okay, I guess you can take this off
5:33You want to open it because you're going to have to put it in between this
5:38Get that wire plugged in and it only goes in one way
5:42Because there's a notch grab this bad boy
5:52You have to tuck it keep it clean place right here and you clip it in
6:03Then we're going to do the mirror
6:16You can pretty much kind of do it 10 degrees in
6:20And then you screw it back in
6:23Like so
6:26And then finally
6:37It's installed
6:40I like it
6:41Ooh, it looks beautiful
6:47That looks clean
6:49So let's get a better look of the fitment
6:52And everything
6:57Wow
6:58Looks factory, that's amazing fit cam X
7:04Now you can also download the app
7:09But yeah, well, I'll show you how it looks like from the outside too
7:27It looks factory
Machine-transcribed from the full-length video and lightly cleaned (product names fixed). Watch the video for exact wording.
Next step


