Subaru WRX Welcome Lights, Side Camera and Dash Cam
Walkaround of the extra tech on John's WRX: proximity puddle / welcome lights, a clean-mounted Uniden R3 and dash cam, an Avest side-marker turn signal, and a side camera into the Seicane Android unit.
Full video (8 min): Adding Cameras to the Car! Cool Tech: Side Camera/Welcome lights/Features · John's YouTube channel
Get the parts
- Avest side-marker / mirror turn signal (Amazon link from the description)Buy ↗
- Dash cam (Amazon link from the description)Buy ↗
- Radar detector (Amazon link from the description)Buy ↗
- Side camera (Amazon link from the description)Buy ↗
- Wireless video receiver and transmitter (Amazon link from the description)Buy ↗
- Boomba BPV (Amazon link from the description)Buy ↗
- Q300 cat-back exhaust (Amazon link from the description)Buy ↗
- Perrin shift stopper (Amazon link from the description)Buy ↗
- ISC coilovers (Amazon link from the description)Buy ↗
- S208 front lip (Amazon link from the description)Buy ↗
- Seicane Android head unit for 2014–2016 Subaru WRX (link from the description)Buy ↗
As an Amazon Associate I earn from qualifying purchases. Some links are affiliate links.
Yes — you can install This kit on the Filmed on John's WRX. Welcome lights use the push-to-start / keyless proximity to also trigger puddle lights he wired in with a 8 min DIY job. Walkaround of the extra tech on John's WRX: proximity puddle / welcome lights, a clean-mounted Uniden R3 and dash cam, an Avest side-marker turn signal.
Overview
John walks the extra tech he added to his WRX. Walking up with the keyless fob turns on the map lights and the puddle / welcome lights he wired so the ground at the door is lit before you touch the handle; Diode Dynamics smart tails hold the turn signals. Inside, a Uniden R3 radar detector and a dash cam are mounted cleanly with the wires hidden, only the 12V plug showing. He then covers the Avest side-marker turn signal, a side camera feeding the head unit (wireless transmitter in the description), and other on-screen features he likes — including flex-fuel percentage. The Seicane unit is linked later in the description; Amazon-first buttons follow the description order: Avest, dash cam, radar detector, then the side camera and the rest of the listed WRX parts.
Vehicle & fitment
- Product
- Avest side-marker mirror turn signal, dash cam, Uniden R3 radar detector, side camera with a wireless video transmitter, and the Seicane Android 7.1.2 head unit already in the car
- Shown on
- Subaru WRX (John's car, with the Seicane Android 7.1.2 unit already installed)
- Filmed on John's WRX. Welcome lights use the push-to-start / keyless proximity to also trigger puddle lights he wired in
- The Seicane WRX unit is the same 2014–2016 listing linked in the description; the first Amazon links are the Avest marker, dash cam, radar detector and side camera
Always confirm fitment for your exact year and trim with the seller before buying.
Tools & parts
Tools
- Wire and trim tools for the puddle-light and camera leads (installs are already done in this walkaround)
Parts
- Avest side-marker turn signal
- Dash cam
- Uniden R3 radar detector
- Side camera and wireless video transmitter / receiver
- Seicane Android head unit (already installed)
Video chapters
Step by step
- 1
Welcome and puddle lights▶ 0:00
With keyless / push-to-start, walking up turns on the map lights and the puddle lights John wired so the ground by the door is lit. The car stays locked until you touch the handle. Diode Dynamics smart tails keep the turn signals on as part of the welcome.
- 2
Radar detector and dash cam▶ 1:29
The Uniden R3 is the piece that sticks out in the cabin; he recommends a clean mount (two spots he likes) and running the dash cam and detector wires together so only the 12V plug shows.
- 3
On-screen extras▶ 3:00
He shows features he likes on the head unit, including being able to see flex-fuel percentage.
- 4
Side camera and Avest marker▶ 5:02
The side camera (and the wireless transmitter in the description) is an easy add if you want more than the rear view. He also points out the Avest side-marker turn signal. He refers viewers to another install video on the channel for the longer how-to.
- 5
Why he likes the setup▶ 7:02
He calls the package unique and says he likes it — cameras, welcome lights, and the cabin electronics kept clean.
Wiring notes
- Puddle / welcome lights are tied into the keyless proximity / map-light circuit so they come on as you walk up, before you touch the handle.
- Dash cam and radar detector share a clean 12V run; the side camera uses the wireless transmitter / receiver linked in the description.
Get the parts
- Avest side-marker / mirror turn signal (Amazon link from the description)Buy ↗
- Dash cam (Amazon link from the description)Buy ↗
- Radar detector (Amazon link from the description)Buy ↗
- Side camera (Amazon link from the description)Buy ↗
- Wireless video receiver and transmitter (Amazon link from the description)Buy ↗
- Boomba BPV (Amazon link from the description)Buy ↗
- Q300 cat-back exhaust (Amazon link from the description)Buy ↗
- Perrin shift stopper (Amazon link from the description)Buy ↗
- ISC coilovers (Amazon link from the description)Buy ↗
- S208 front lip (Amazon link from the description)Buy ↗
- Seicane Android head unit for 2014–2016 Subaru WRX (link from the description)Buy ↗
As an Amazon Associate I earn from qualifying purchases. Some links are affiliate links.
FAQ
What vehicle does this install fit?
It is shown for the Filmed on John's WRX. Welcome lights use the push-to-start / keyless proximity to also trigger puddle lights he wired in. The Seicane WRX unit is the same 2014–2016 listing linked in the description; the first Amazon links are the Avest marker, dash cam, radar detector and side camera Always confirm your exact year, trim and factory audio with the seller.
How long does the install take?
John's full video is 8 min. Plan on that much time for a careful DIY install, plus extra if you are new to dash work.
What tools do I need?
Tools called out in the guide: Wire and trim tools for the puddle-light and camera leads (installs are already done in this walkaround).
Does it support wireless CarPlay or Android Auto?
Yes — wireless CarPlay / Android Auto is listed for this unit in the product copy John used.
Where do I get the parts?
Use the buy links on this page for the unit and any harnesses John used. Some links are affiliate links.
Is this beginner-friendly?
The guide breaks the job into 5 steps with timestamps into the video. If you can remove trim panels carefully, you can follow along.
John's Subaru WRX
More photos →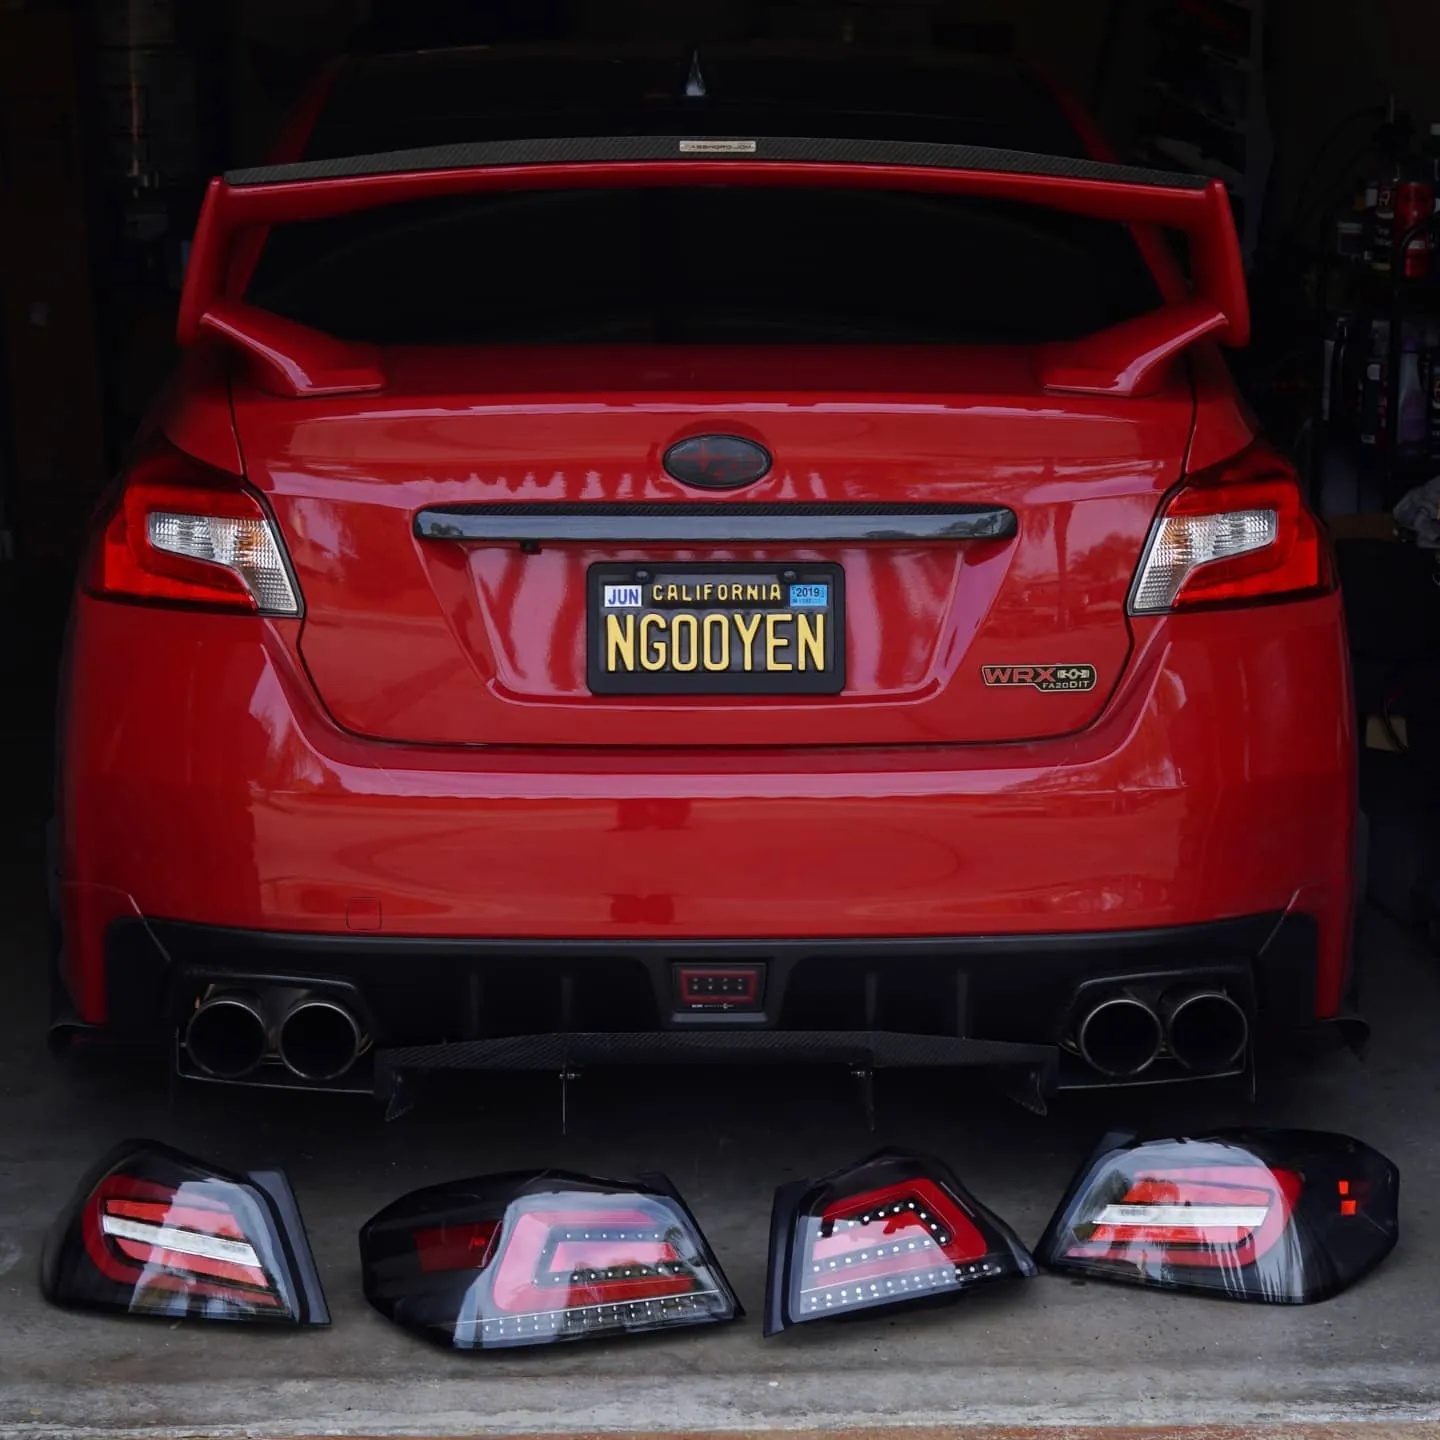
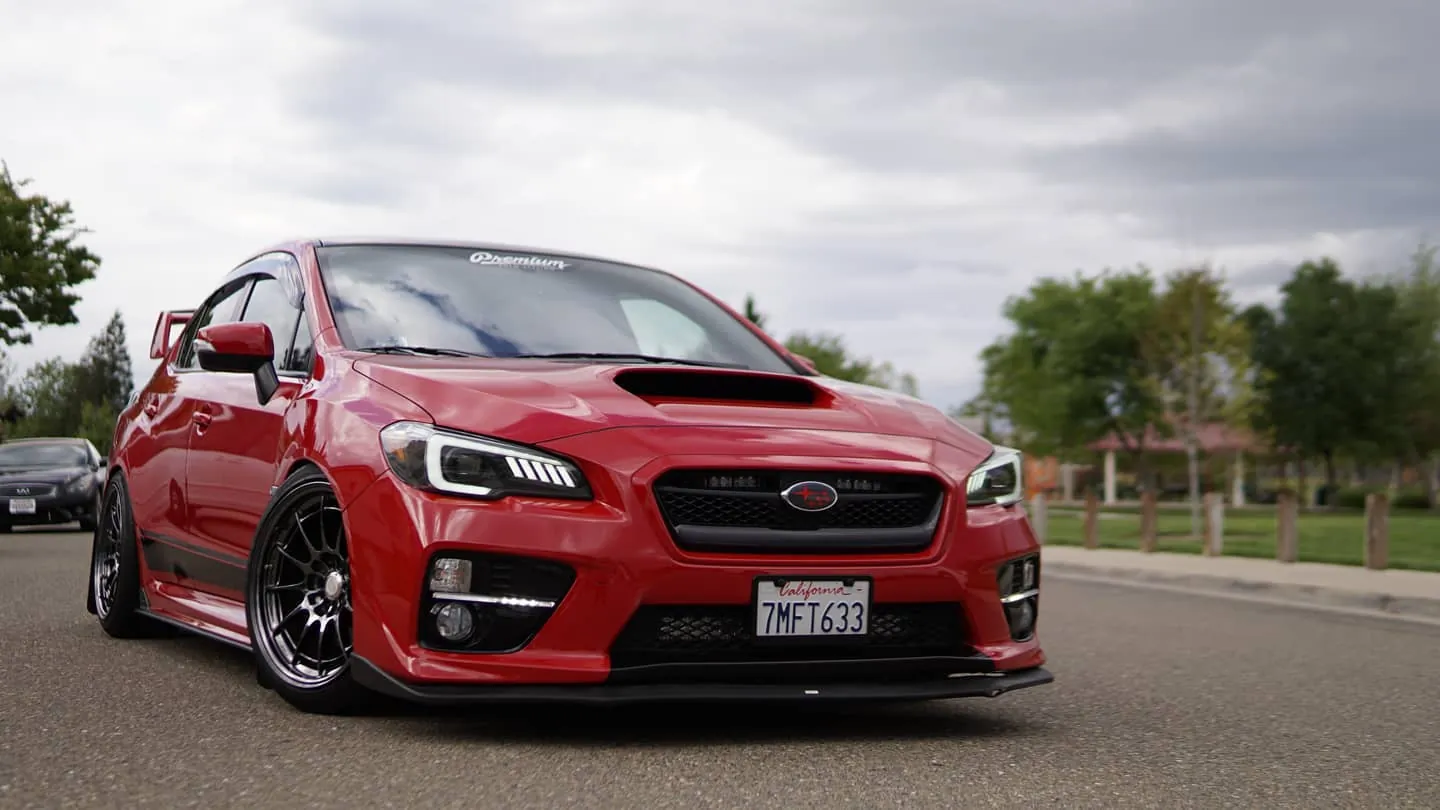
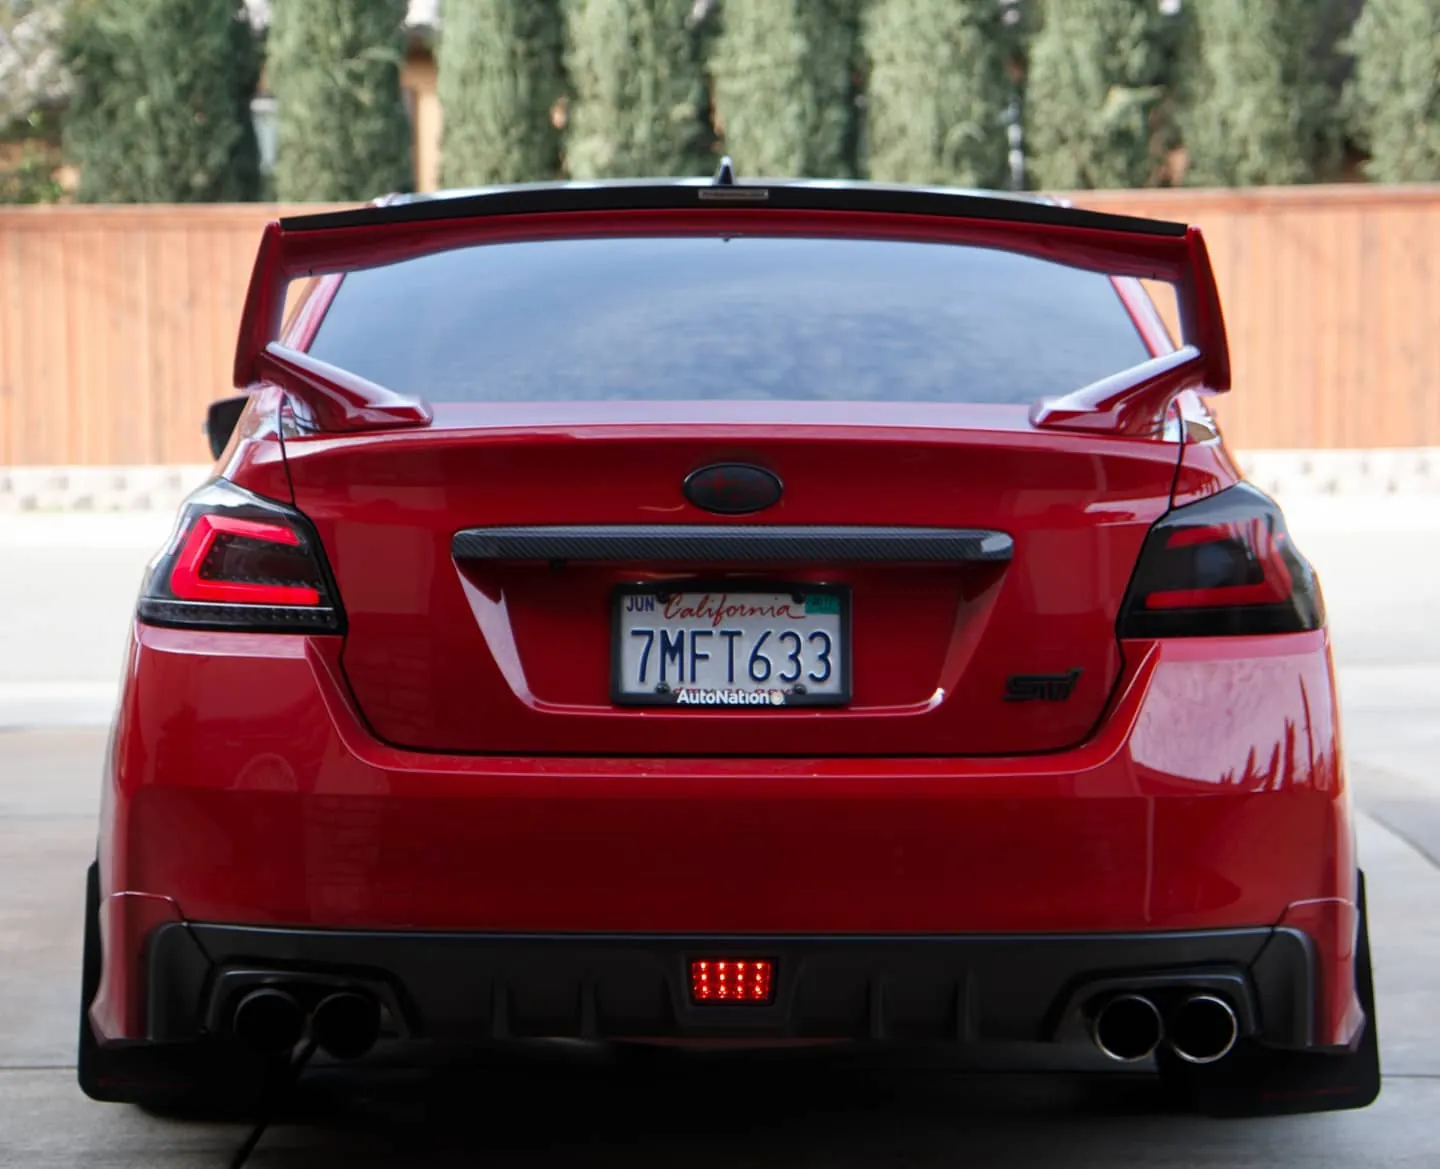
Photos from @ngooyen on Instagram. Follow for more.
Full transcript
Show the full transcript (102 lines) +
0:00it's your boy back again with another video today we're gonna look at
0:04my unique features I added a camera some welcome lights and things like that in
0:09all right the first thing is let's talk about my welcome lights when you walk up
0:23to the car they're
0:26gonna have these lights turn on right here and that's all proximity base if you
0:31have the push to start keyless you're gonna need a feature to have that
0:35proximity it basically turns on your map lights which you can tell right there
0:40but I wired this light right here so when I'm walking close they're called the
0:45puddle light so when you get really close to your car it basically shines,
0:49light at the ground because you want to avoid those puddles right it's the nice
0:53feature and it's also very welcoming of course so my car is still locked unless
1:00I touch the handle of the car stays unlocked and as you can tell my turn
1:08signals stay on this is because I have the diodynamics smart retap then again
1:16these headlights also stay on the turn signals and the turn signal on the
1:20bottom on the headlights and the blinker let's go in the car all right so the
1:29first thing you notice is definitely the is fairer bull and clean thing that
1:37thing that does stick out is the unit and R3 radar detector. It's a
1:42the best one on the market I highly recommend it. Of course if you're
1:46gonna mount it, mount it cleanly. There's two spots where I would recommend here
1:51or a little bit of pie right here as well as I do have a dash cam you want to
1:58stay protected from stuff like that. Peace of mind is important so those two
2:01mine is important so those two things radar detector and dash cam behind the
2:06camera all wired through this little cleanly through here no wires visible
2:11except of course the one plugging into the unit then but it's not hanging down
2:16to the AC jack 12 volt next thing I want to talk about is my
2:23cobalt axis port mounting of course oh yeah this button right here is the I can
2:28take pictures of my web little dash cam just press this button and I'll take
2:34a picture it's always importing but if you want to pictures it's there now the cobalt
2:40axis port it's pretty simple I always like to monitor my stuff it's like my
2:46gauges I don't
2:47I don't have it up here so I definitely like to see my damn AFRs and whatever
2:54ethanol content so I have it right here mounted because you definitely running
2:59flex feel you'd like to see your flex feel percentage I have it mounted on this
3:00like to see your FlexFeel percentage.
3:03I have it, mounted on this blank right here,
3:06this little, I drilled a little hole that way,
3:09It's actually hard mounted and I'm not going to have any issues.
3:12You can still tilt it, things like that.
3:16It's nice.
3:17I used to have it mounted
3:18right here, but I was running issues with double sided tape
3:21failing the summer.
3:22Times I didn't like there are car mounts for your cell phones that will
3:28work, but I don't like it on the thingy I like to keep it low.
3:33little bit discreet as well as I have a fog light switch right here and this is
3:41for excuse me for my light bar I'm planning to use use this for potentially
3:46other accessories I also have my new light bar button right here see you can
3:53then it's just a little light that's where my light bar switches and then I have my
3:58dynamics ultra-high beams in here moving on turn the bad boy since we're
4:00in here.
4:02Moving on.
4:04Let's turn the bad boy since we're already talking
4:06about the cobaxes for it.
4:15All right, so here is my information regarding my intake.
4:22I like the intake temp.
4:23You probably want the one right before the intake manifold
4:27where it's getting the real air after the intercooler,
4:29but I like seeing the intake temperature.
4:32ethanol final at 43% right now boosts knock feedback and feel pressure these
4:38are the ones I like to monitor see if there's any issues followed up by my
4:43nice Android head unit this is a beautiful unit still super fast and
4:47slick way better than the stock unit if you're planning to buy one you
4:52should go get it especially if you have a 15 to and 18 because it just fits
4:57super snug even the 19 should be able to fit no problem it's a very relatively
5:02easy install, if you're looking to buy I do have another video on my channel that
5:06you can check out that talks more about this unit itself because of this unit I
5:11have a lot more features another one I want to show you is if you have a
5:142015 WRX low battery low battery on my little thing right there but yeah if you
5:24throw into reverse the reverse camera is on there what I did was I added another
5:30added another camera on my side mirror like the Honda cores and stuff when
5:34you're running wider wheels with some poke you definitely want this is actually
5:40a wireless transmission to the side right there you definitely want a camera on
5:45the side especially if you park in downtown a lot so if I show you if I
5:53open this so you can tell it's doing its job I have a little I have a little
6:03ball right there to show you that it is real time it's a little McWire spray
6:10bottle but yeah it's a cool thing if you to throw it out of reverse it's
6:14automatically goes back to the screen but yeah that's for the interior I hope
6:20you guys like it let me show you the camera on the outside dang it's a
6:26beautiful day out and here's my camera kind of DIY style I don't know if you can see
6:39but there's a little socket right here that you can cut out and have your
6:44little camera mounted. The Japanese models have a little welcome light right
6:49there so that a little blank you can kind of mess with. Of course I changed my
6:53welcome light right here wired to the map lights but yeah it's a pretty
6:59cool setup overall very unique and of course but yeah with that Android head
7:02Very unique, and of course, I like it.
7:08But yeah, with that Android head unit
7:10it has a lot of creative things.
7:11I'm thinking of adding a front camera to my car.
7:15That way I have three cameras going a little bit crazy
7:17but I like to be a little adventurous.
7:23The car is warning me that there is nobody in the car and I still the car and I still have it
7:30on.
7:32That's if you have pushed it to start and of course you can lock the car with that right
7:40there.
7:41Anyways, I just wanted to give you guys a quick tutorial of an overview of the cool
7:49parts I have in my car.
7:51A little bit different, unique,
7:54some custom ones that people generally don't do.
7:58But yeah, thank you guys for watching,
7:59which is a a quick video.
8:01Peace out.
8:02I love you
Machine-transcribed from the full-length video and lightly cleaned (product names fixed). Watch the video for exact wording.
Next step


